
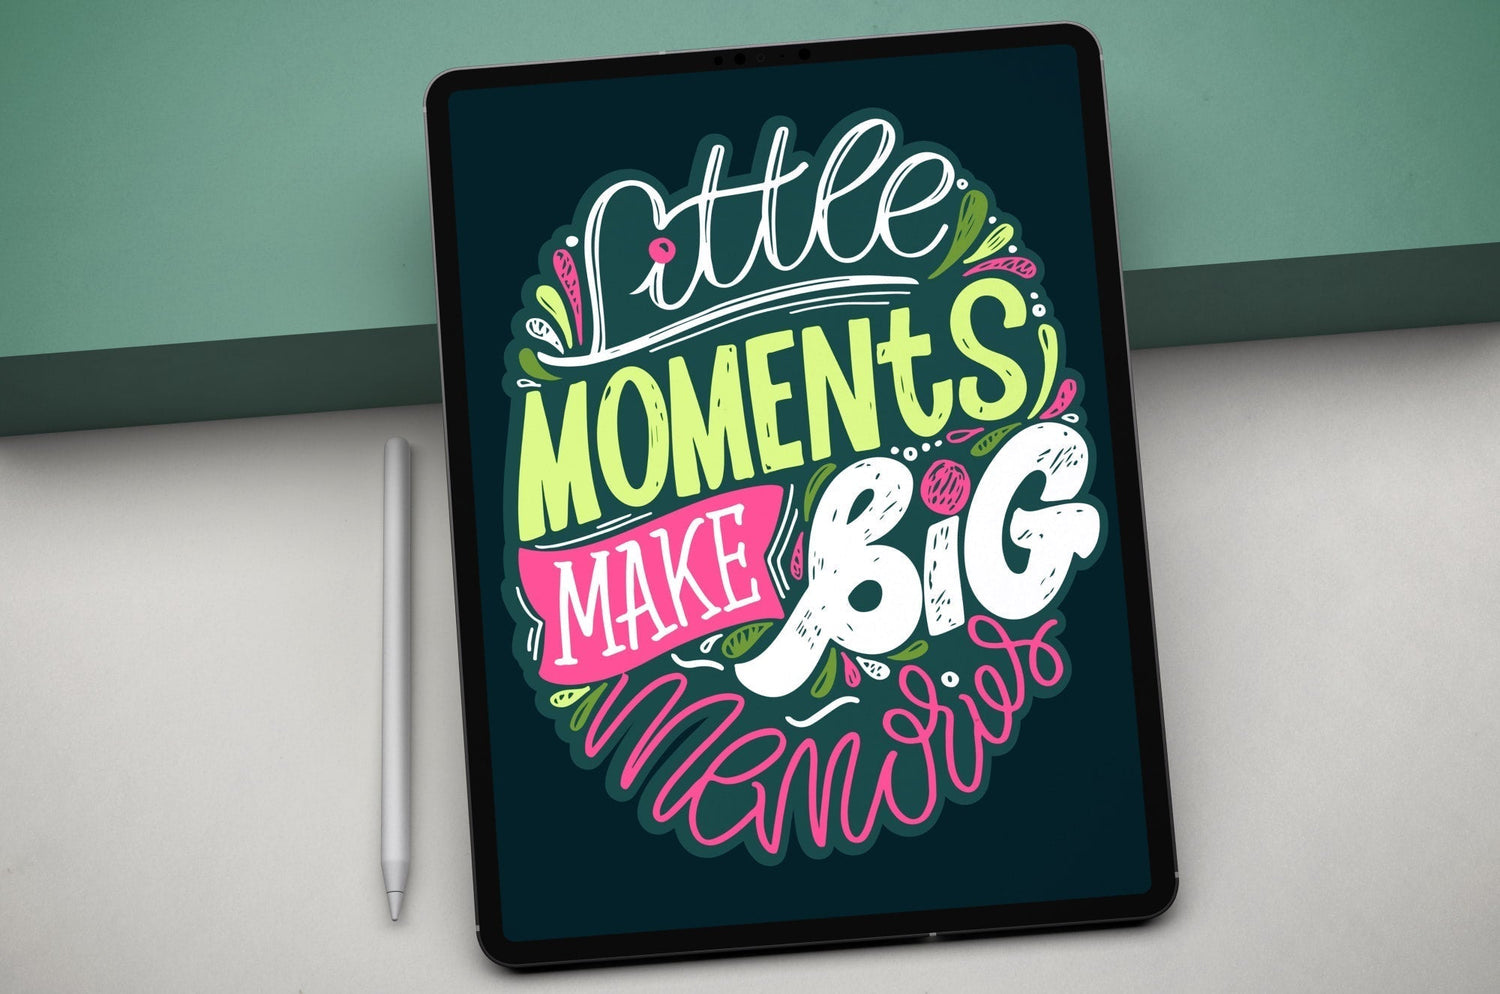
Lettering and calligraphy transform the use of letters and words into an artform. With the advancements we've seen in technology and digital tools, many artists have transitioned from pen and paper to stylus and screen.
For many letterers and calligraphers, it's not uncommon to think about whether to continue working traditionally or if it's time to dive into the world of digital art.
But what tools will you need? What programs should you use? And most of all, is it really worth it?
This guide will be your introductory resource to determine how and why to take the leap, and why a transition to digital art doesn't have to mean abandoning pen and paper forever.
Let's jump in.
Lettering & calligraphy: The basics
While we don’t want to put too fine a point on it (see what we did there?), it’s important to know a little about hand lettering before you get started.
Hand lettering isn’t a study in calligraphy or typography, though both are closely-related and fall under the broader “lettering” umbrella. Any knowledge you gain in any of these disciplines can help you improve your lettering skills and establish your unique style as a hand lettering artist.
While we’ll touch on the different styles of lettering and get into the details about upstrokes, downstrokes, and everything in between, let’s start with a few basic questions.

What is lettering?
Put simply, lettering is the art of drawing letters, and calligraphy is the art of writing them.
Lettering uses multiple strokes and forms to create individual letters to design a piece that usually has a unifying theme.
With lettering, a lot happens along the way to the final output. It’s a multi-step process of sketching and refining before you complete the piece, because each letter is completely customized by the artist.
When creating traditional lettering, typical tools include (but aren't limited to):
- Pencil.
- Brush markers/pens.
- Tracing paper.
- Erasers.
- Ruler.
- Lettering worksheets.
When I first started getting into lettering, I would draw on just about anything—from cocktail napkins at restaurants to the backs of receipts. So don't feel like you have to limit yourself! There are also many different styles, from brush lettering to script. You can even combine a mix of lettering styles in one piece.

What is calligraphy?
Calligraphy is the art of writing and is often done in a series of fluid passes with a pen and ink.
When learning calligraphy, you'll see that each letter can be broken down into a series of strokes. This is referred to as a ductus, or a sequenced breakdown of the number and direction of strokes needed to create each letter.
To create calligraphy, typical traditional tools include (but aren't limited to):
- Nibs.
- Nib holders.
- Ink.
- Brush pens.
- Paper.
With practice over time and the right tools, a ductus can be replicated closely for uppercase and lowercase letters, and you can even learn particular styles of calligraphy through workbooks and training.
It found its popularity in the United States, rooted in styles like Spencerian script, and has continued to grow as modern artists engage with the artform on a global scale.
All that aside, both calligraphy and hand lettering use the principles of typography to arrange words and phrases. There’s composition to consider, including visual impact and legibility.
A lot goes into creating a single piece, and when creating traditionally, it can take a lot of time, patience, and supplies.
Now let's take a look at what the digital world has to offer to traditional letterers and calligraphers.

Advantages of digital hand lettering & calligraphy
Everyone's reasons for transitioning from traditional to digital art will be different.
Maybe you want to try something new with your work, you're curious, or you can't find space for your ever-growing collection of art supplies.
No matter what your reason, here are a few advantages to going digital with your lettering and calligraphy.
Clean & flexible tools
When creating with traditional materials, a mess often comes with it. And while there’s a charm to washing pens and brushes, there are times when you'd prefer to keep your hands and workstation clean.
When working digitally, you can move from a chalk brush without any of the dust, and then grab a calligraphy pen without ever dipping it in ink. It’s seamless and clean and allows for greater experimentation between tools.
Working traditionally also often means it’s easy to accumulate a lot of supplies, and a completely digital workflow can help you reclaim a lot of workspace.
Keeping your area clutter-free is key for focusing as you create.

Screen recording
Want to take a look back at your process? Your entire process is recorded by most apps for you to replay and use as an MP4 that you can upload to social media or your website.
And don't worry if you have an especially lengthy process. In apps we'll see later, like Procreate and Adobe Fresco, your screen recording is a sped-up time-lapse and can be customized.
In Procreate, you can choose to export the full recording or a 30-second version. Meanwhile, Adobe Fresco allows you to customize the exact length of your screen recording and preview it before exporting it to your devices.
Beyond its utility, a screen recording is an interesting way to view your workflow as it happened.
Unlimited undo & redo
By looking back at your process, you'll be able to review, undo, and redo every stroke you make.
While examining every stroke will also make you acutely aware of every mistake you made along the way, the ability to undo or redo any stroke you draw is a major advantage of digital art.
Many digital art programs allow you to quickly reverse course with a simple tap or gesture. That’s a huge advantage when you consider that some mistakes would be impossible or time-consuming to undo when working in traditional mediums.
When creating digitally, something as simple as a two-finger tap on your screen can undo any mistake. This doesn’t damage your canvas, and no one will know that a mistake was made.
There is also (usually) no limit to the number of times you can undo or redo something. So embrace the mistakes — or don’t — but don't lose time over it ever again.
Improved workflow
Working digitally doesn't mean you have to abandon the way you work. You just need to learn how to translate your process from traditional to digital. This often leads to a faster and more efficient workflow.
For lettering, you can simulate a similar process to using tracing paper and pencil on tablets like the iPad, using programs with layers like the Procreate App and Adobe Fresco. Doing so simply requires lowering your layer opacity, creating a new layer, and using the layer below as an under-sketch. This is my current and preferred method of creating my digital lettering.
For creating calligraphy, you can import worksheets and templates that you can follow and practice on with ease. In the coming sections, you’ll find that there is a vast amount of resources for artists looking to practice and create using these art forms.
Take your work anywhere
While you can take a sketchbook and pencils with you anywhere, those supplies are limited.
On the other hand, one tablet and stylus can hold the potential of a full artist toolkit. You'll never run out of paper, and the programs you can download are virtually endless.
Having a mobile workflow for your digital lettering or calligraphy opens you up to expand your work to other programs on the desktop as well. While it helps to have your hand directly interacting with your tablet, you'll find that most apps have a desktop companion so that you can transition seamlessly from your tablet to a larger screen and more robust creative software, if needed.
For example, I create my lettering on my iPad in Adobe Fresco, then I like to use Photoshop on my desktop as a companion tool for its effects, expanded layer organization, and for sending working files to clients.

Realistic tools
At this point, you might still be intimidated by the idea of having to try something new, including apps and tools. Maybe you're not convinced by the sophistication of the brushes and assets and how they measure up against the real thing.
It’s likely that you’ll want to achieve the most authentic and true version of your personal style when producing work in a digital format.
Fortunately, all the progress you’ve made in developing your unique style isn’t lost during your digital transition. You just need the right set of tools to faithfully replicate your work in a new format.
There are a lot of ways to go about this, including the ability to use a combination of blend modes with texture image files (or using certain textured brushes) to create the feel and responsiveness of a traditional brush.
You’ll also find that many digital brushes for sale from high-quality artists (free downloads here) are created using textures from real-world brushes and pens. These assets provide true-to-life replication inside digital apps, and their authenticity might surprise you.
Keep in mind that, as with anything, discovering what works best for you will take time. Even so, I’d urge you to lean into that process and see what happens.
With the help of world-renowned developers and groundbreaking technology, digital tools can definitely look as realistic as your favorite traditional materials.
Creating your own assets
As you get a feel for the programs that you'll be using, you'll find that there is room for customization. For example, a digital art program like Procreate allows you to customize existing brushes and create your own using the Brush Studio.
Taking control of your brushes and other tools will help you feel more confident as you use the program and find a unique visual language for producing your lettering or calligraphy.
You can also see creating custom brushes as an additional revenue stream for you if you choose to sell them online. They're easy to package as a digital download and can be useful for other artists as well.
There are a lot of marketplaces that we'll see later that are tailored to helping artists expand their businesses.

What you'll need
Transitioning to digital art as a lettering artist or calligrapher means finding new tools and ways to create.
Thankfully, this space has been growing over the years, and there are seemingly endless resources.
Here are a few of the things that will help you on your journey if you choose to go digital.
iPad and other tablets
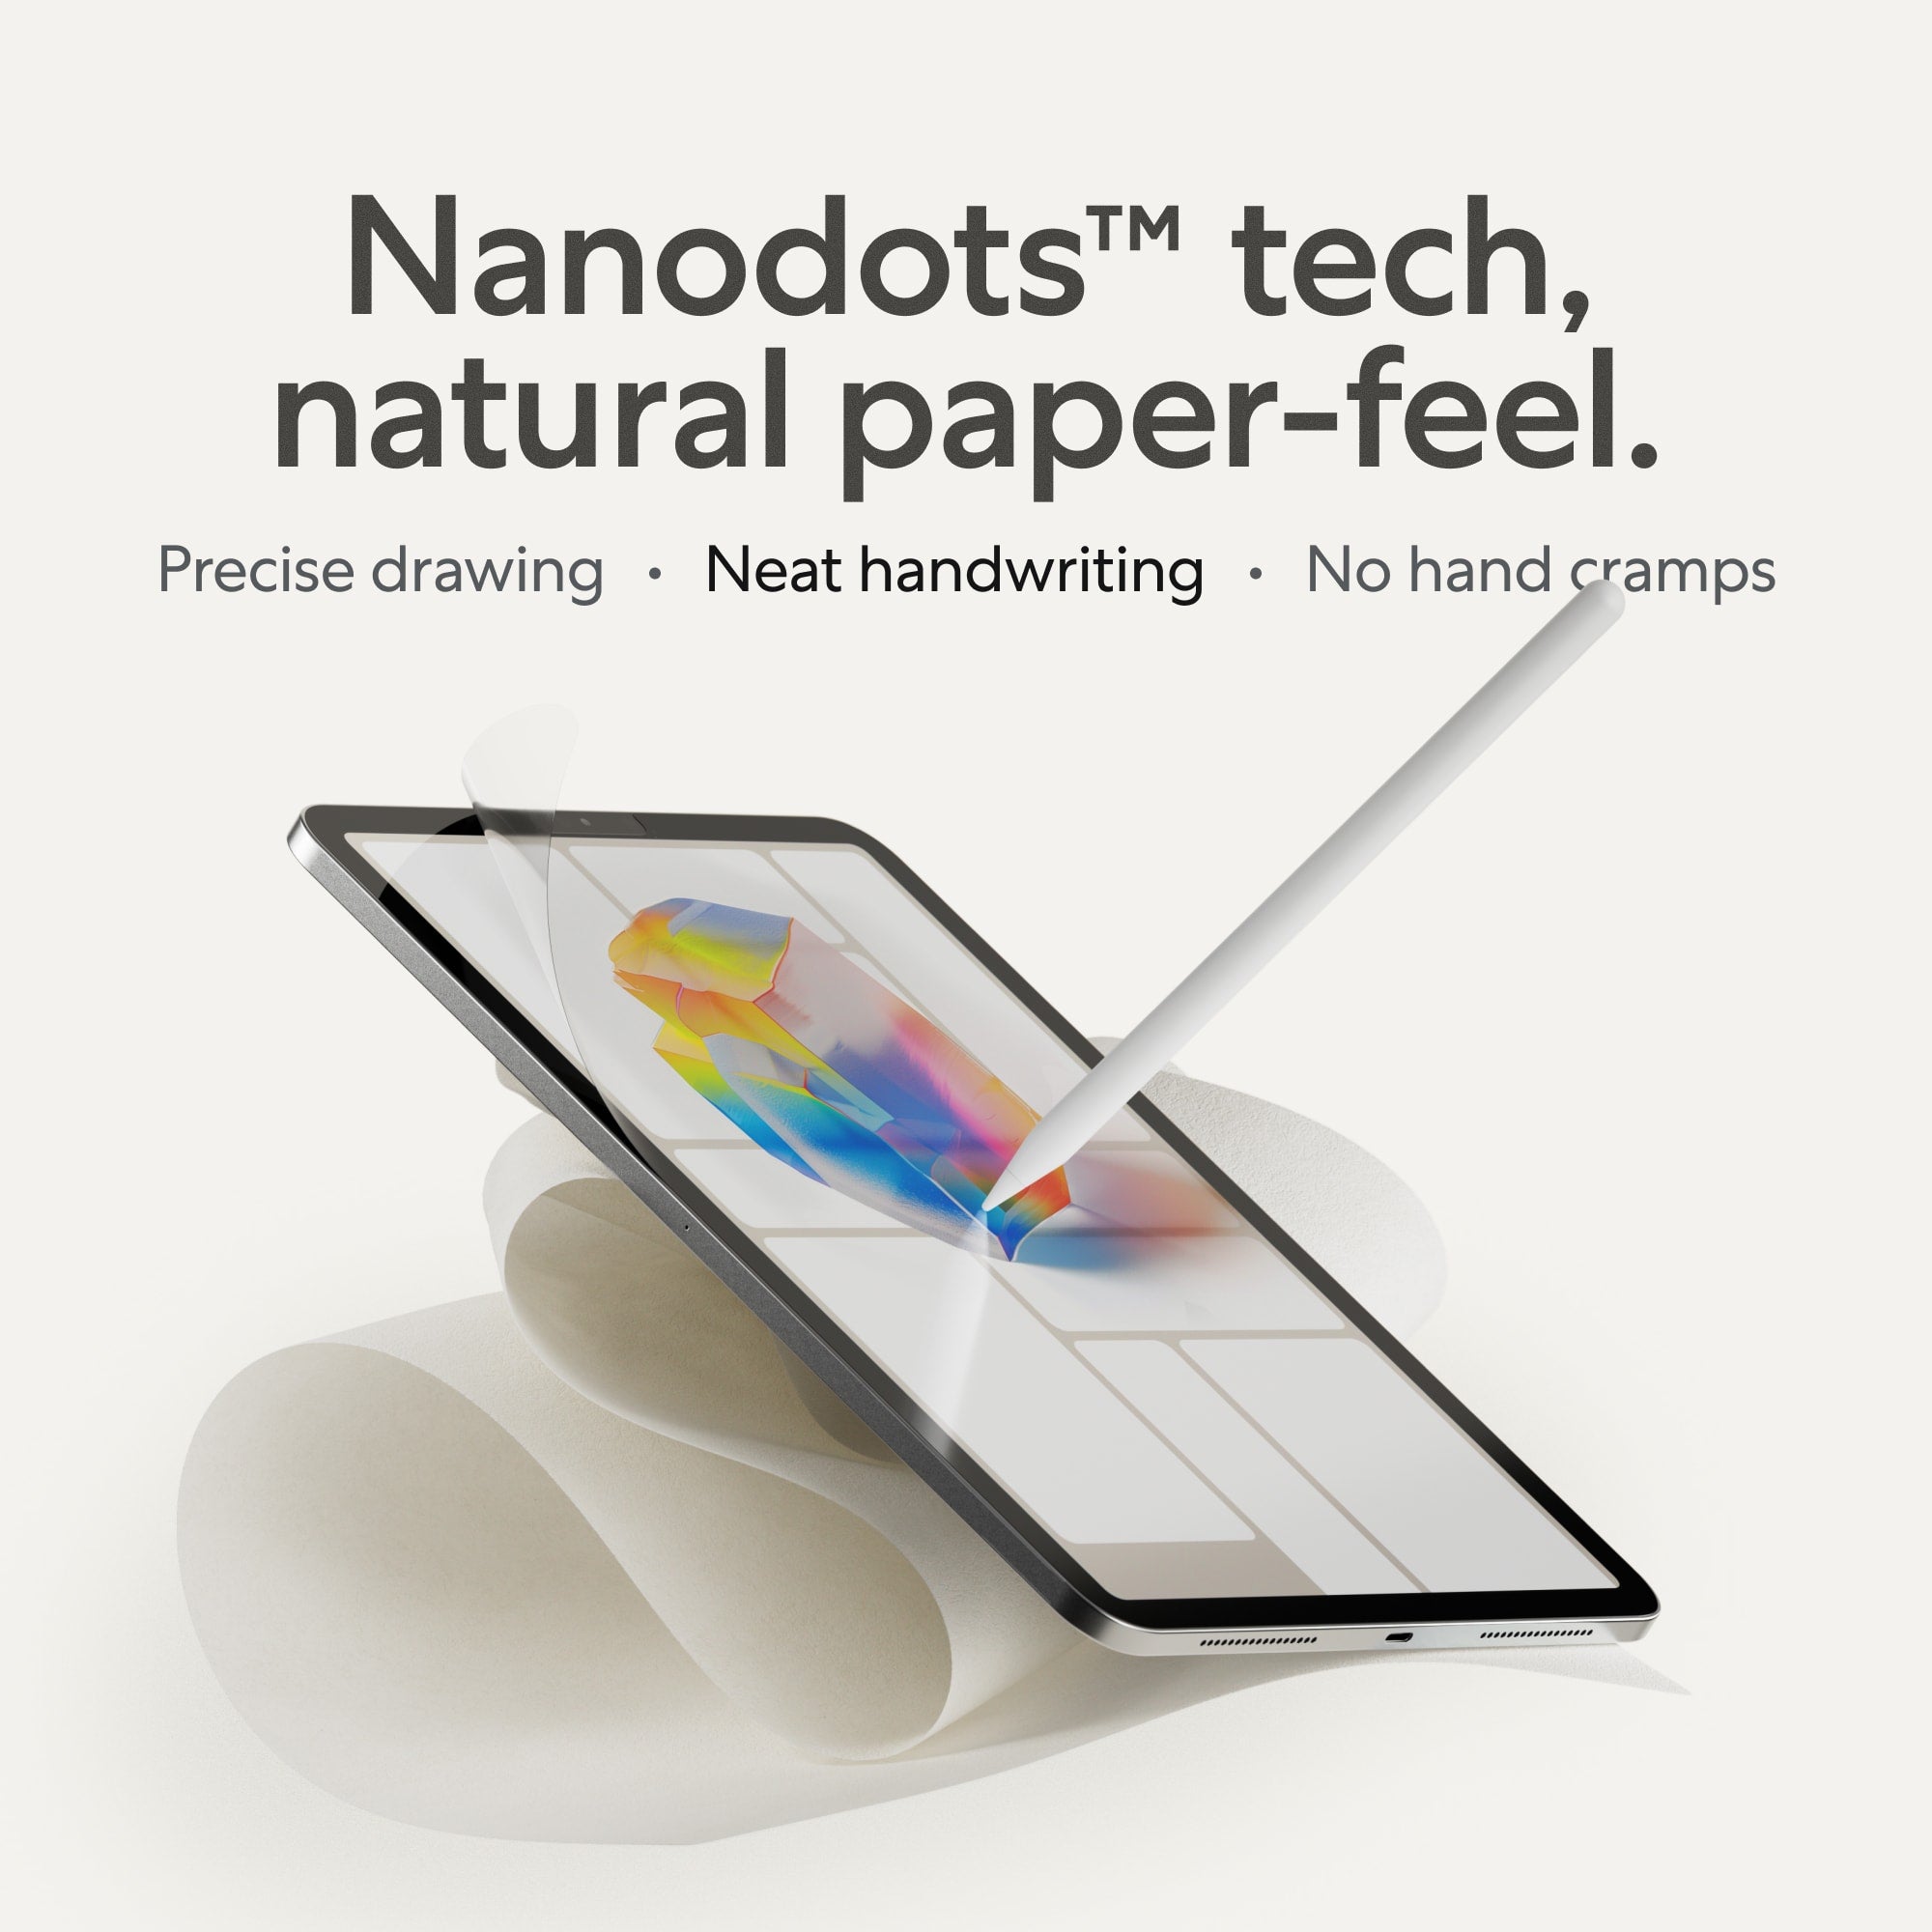
Digital tablets have changed everything for hand-lettering artists. Pair one with a stylus and a Paperlike™ Screen Protector (the one that gives your iPad the real drag and resistance of paper) and suddenly your sketchbook has some serious competition.
The iPad Pro is one of the more versatile and well-supported tablets for artists looking to go digital with their art. These devices range in size, storage, and memory, but you don't need the latest model to start your journey into digital art. Starting with a refurbished iPad from Amazon is a great way to save money and still get a quality device.
You might also choose to invest in an iPad Air, which costs considerably less than the iPad Pro.
Android and Microsoft tablets are another alternative. The problem with these options is that many of the best drawing apps are available exclusively for iPad. Some programs, like Adobe Fresco, do support select Surface tablets, but if you’re serious about hand lettering and calligraphy on a tablet, an iPad is typically the best option.

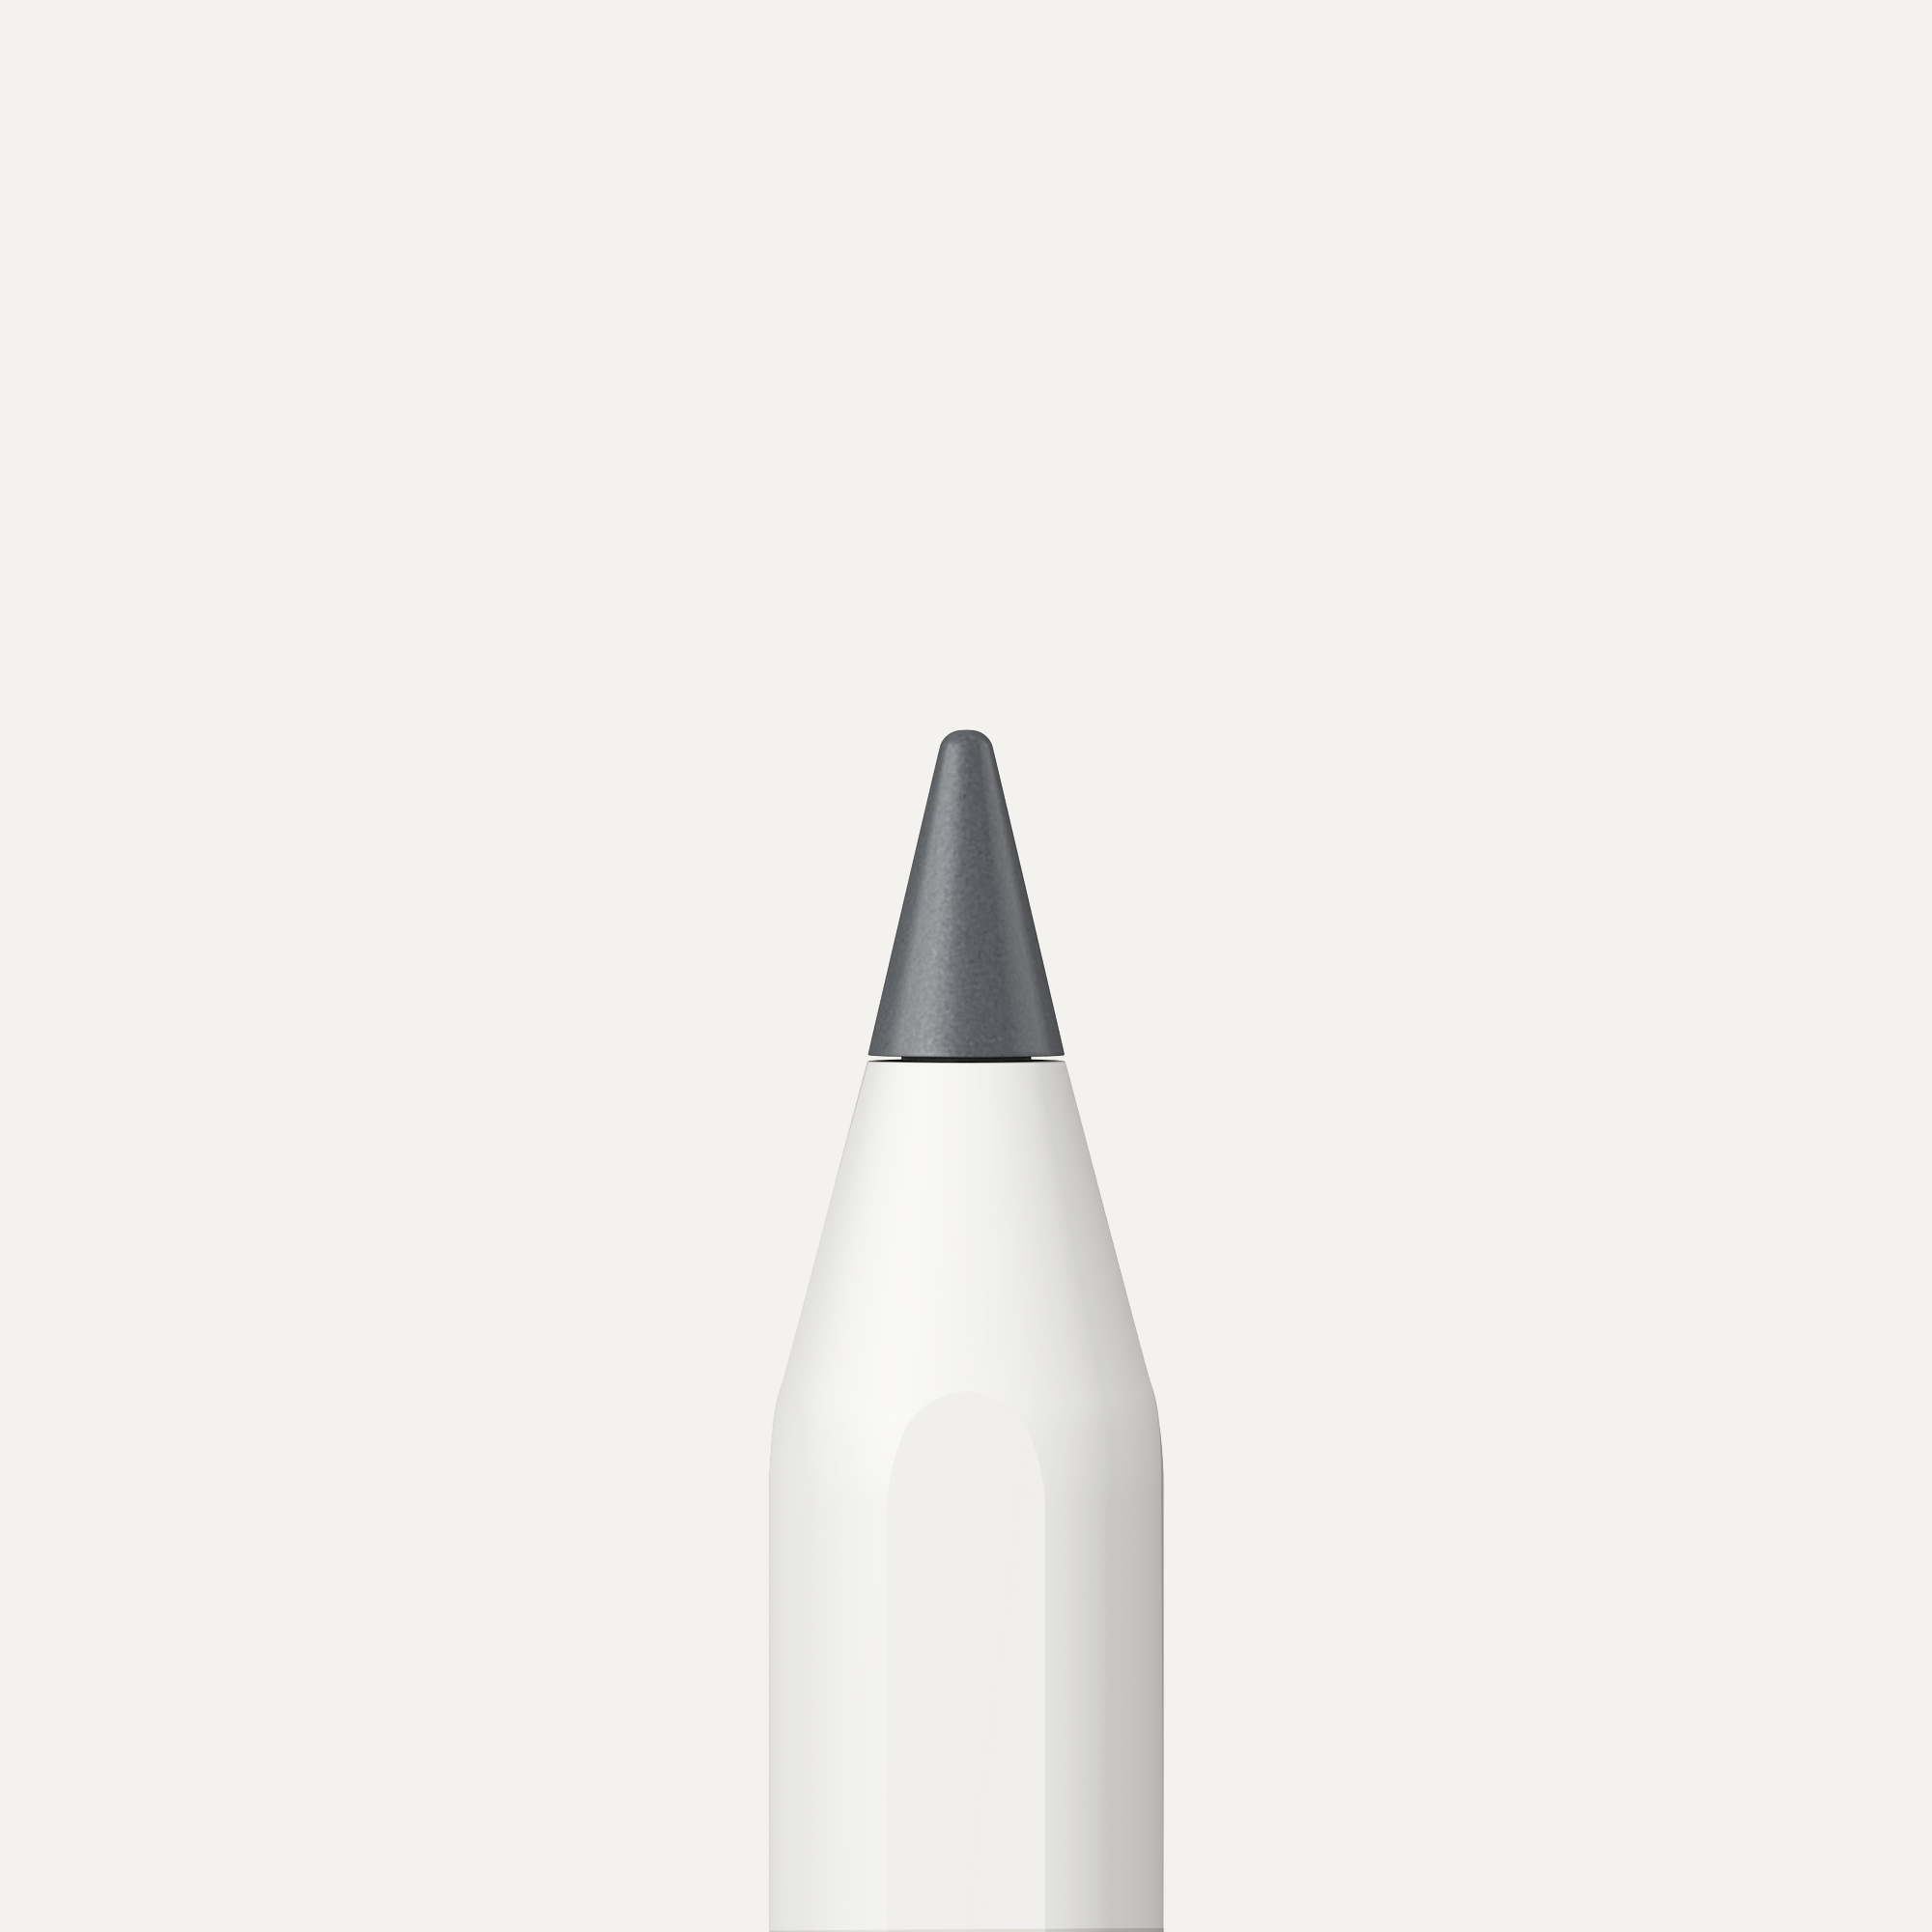
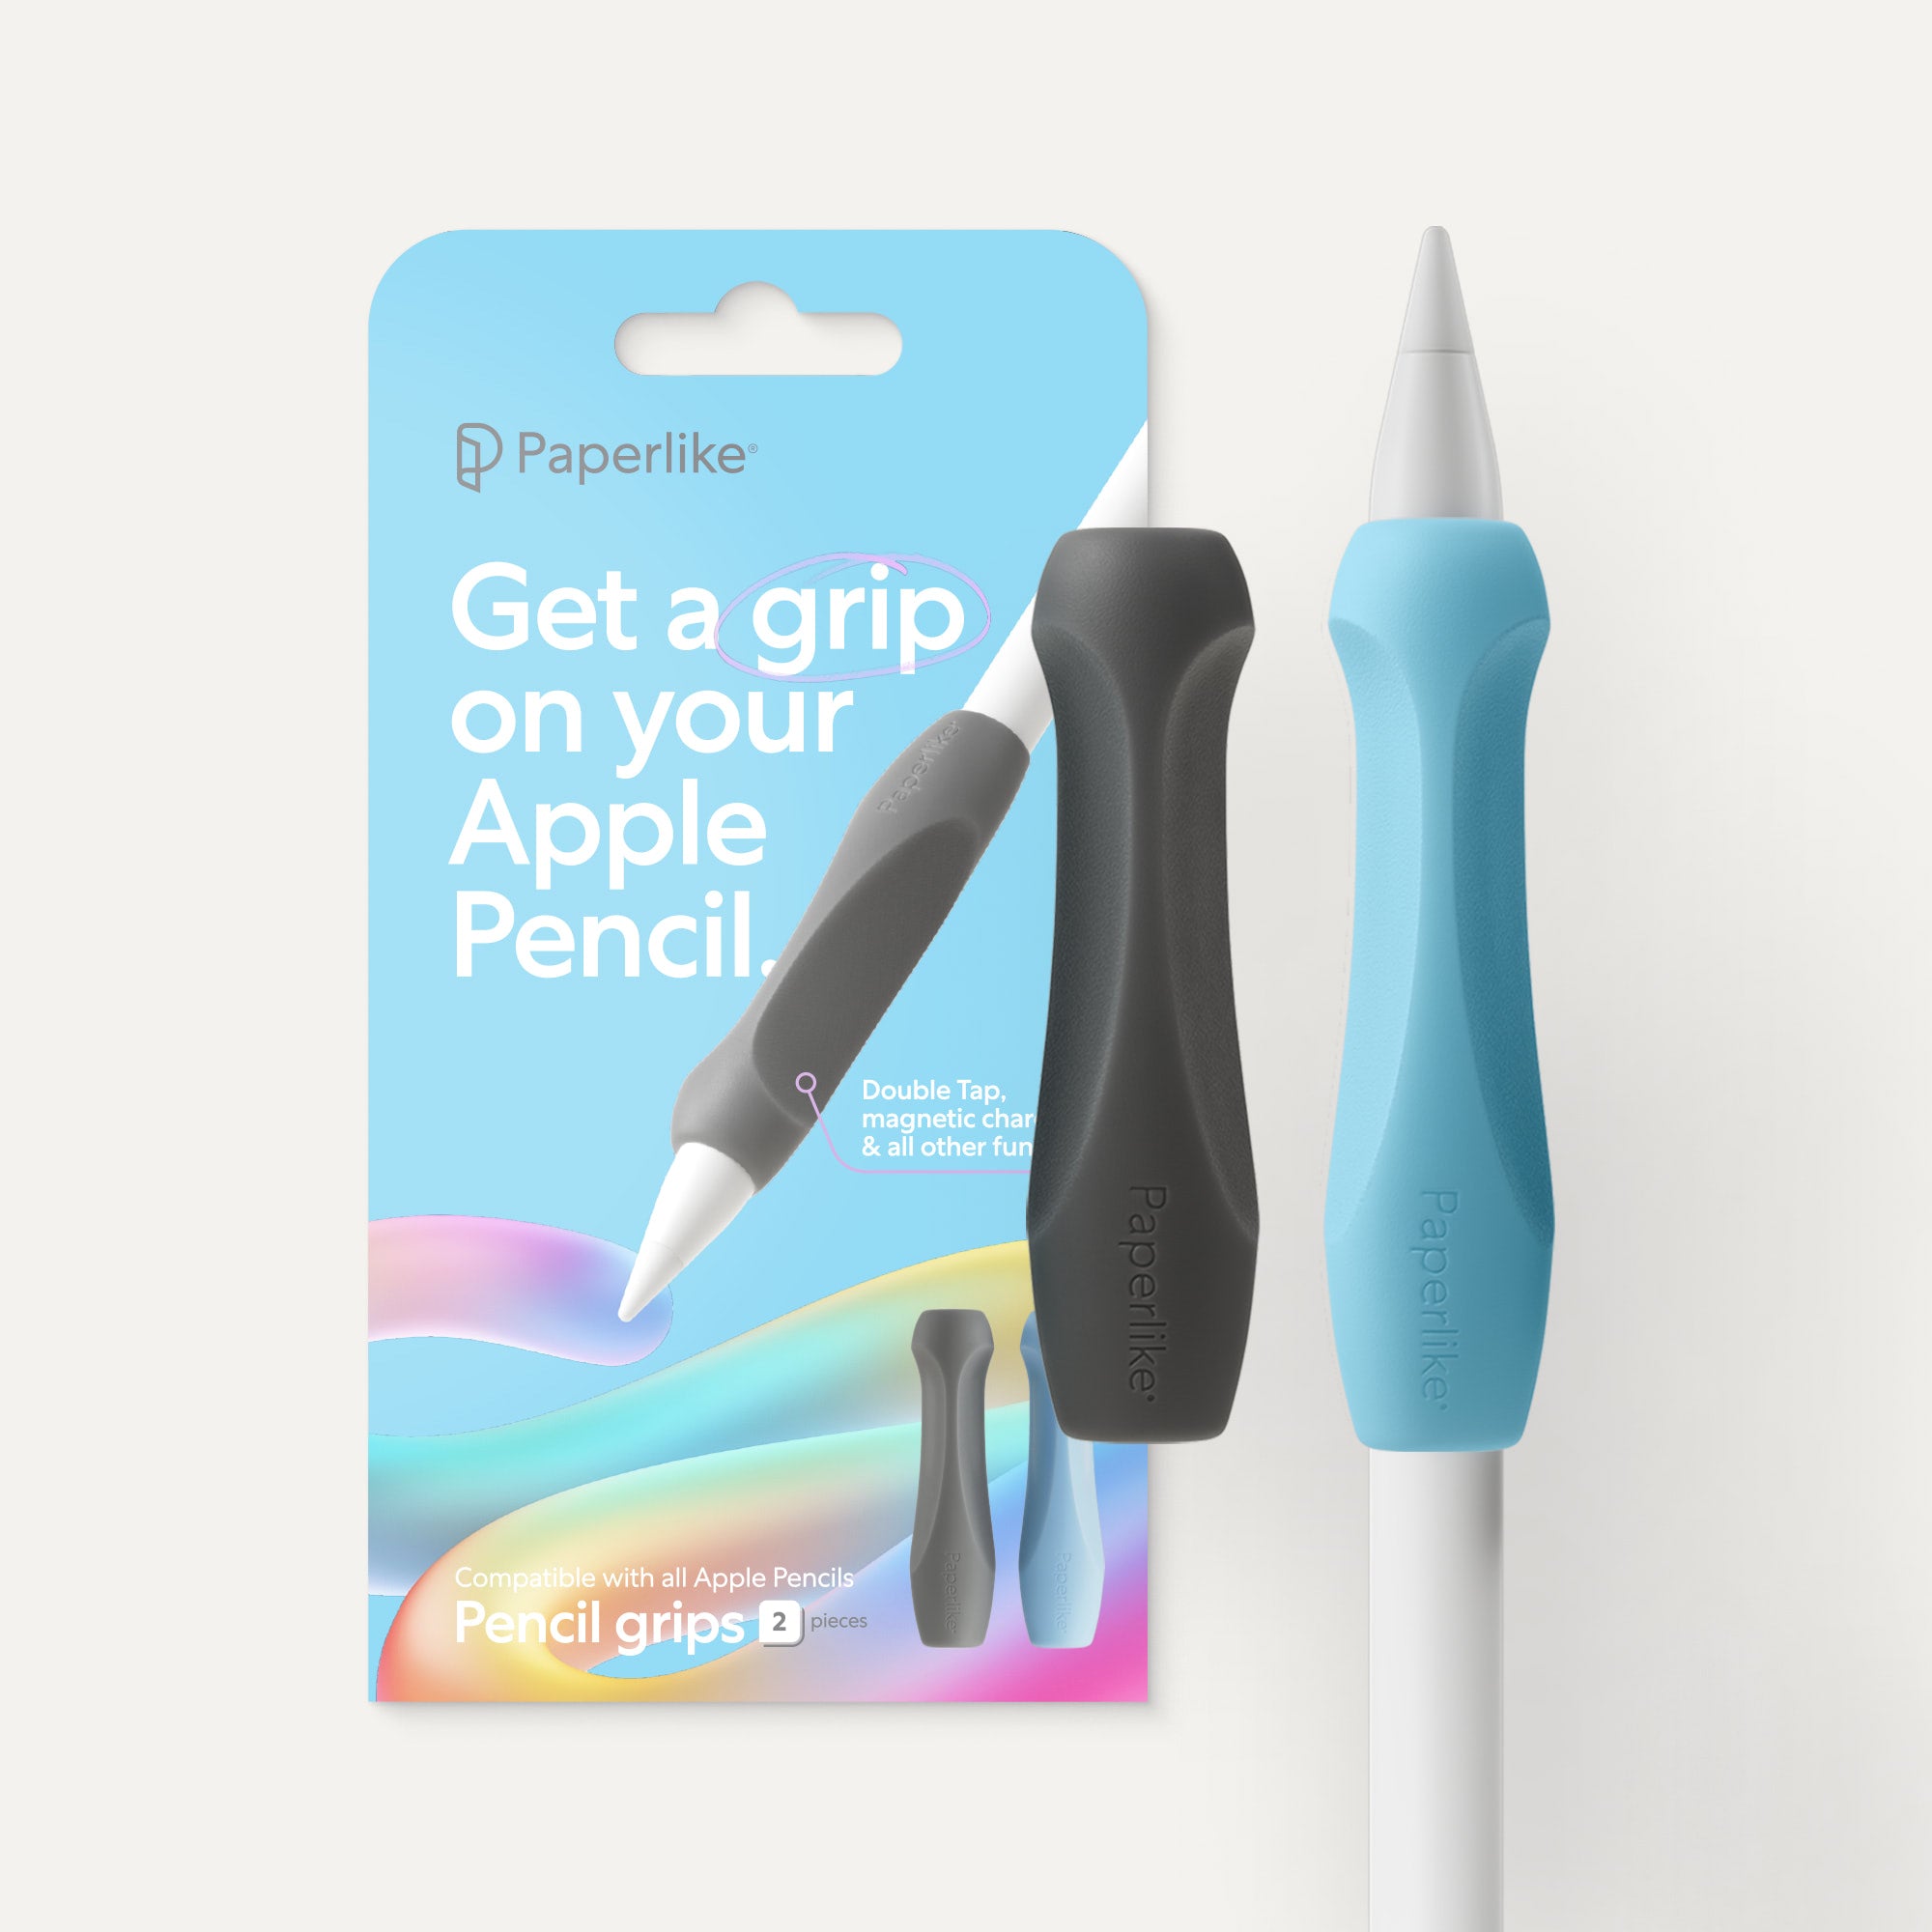
Stylus
All current iPad models, aside from the iPad 9th and 10th generations, have transitioned to using the Apple Pencil (2nd generation) as their compatible stylus.
This is a step up from the prior model because of how the stylus charges. The Apple Pencil 2 is also equipped with touch functionality that isn’t available on the previous-gen model.
The good thing is that both generations of the Apple Pencil are completely wireless, so you won't have to alter the way you draw or write currently.
While there are other stylus options out there, we recommend the Apple Pencil for iPad users. It’s the best and most responsive stylus on the market.
Desktop setups
If you want to go with a more traditional setup, you’ll find that you’ll have more options, but at the cost of your mobility.
Some digital art programs, like Adobe offers a full suite of desktop software for Windows and Mac operating systems.
Dedicated graphics tablets, like those offered by Wacom, are another way of creating art digitally. These typically hook up to the desktop, and the included stylus acts as another input device for your computer.
Wacom tablets work with most popular desktop art programslike Adobe Illustrator or Affinity.
Even so, the apps that are most used and widely recommended are native to digital tablets and tend to offer the most realistic experience.
Which setup is best?
Honestly, hardware decisions are tough. It comes down to your budget and your use case. Desktops offer a ton of great options and configurations, but these limit your mobility. Machines equipped with cheaper hardware may also struggle to run your desired software.
Compatibility is something you'll have to think about, especially for digital lettering or calligraphy.
Because your device will ultimately determine which programs you’ll have access to, the iPad is (historically) the best-supported tablet for digital artists and is the most recommended option.
In the next section, we’ll dive deeper into the programs you'll most likely be using.

Digital art programs
If you’ve really honed your skills as a traditional letterer or calligrapher, entering the digital space can feel like you’re starting from zero.
There are also a lot of programs to choose from, which can be its own unique challenge. However, a slight shift in perspective will show you that these apps are tools that will enable you to continue to create amazing work.
One of the most important decisions you make for your digital art will be which programs to use. But while each program has features that are designed to be helpful to a multitude of artists, you might end up using more than one to achieve a specific style.
That’s right! You don’t even have to commit to a single program if you don’t want to!
Here are a few things to consider when deciding which app to choose for digital lettering and calligraphy:
- Does the app support raster graphics, vector graphics, or both?
- How much does it cost?
- What device support for this program is there?
- What's the brush selection like?
There are a lot of different programs out there. And before you can open the next calligraphy or hand lettering tutorial, you should know what your options are.
You can compare a lot of the most popular programs in our comparison articles:
- 11 Best iPad Apps for Hand Lettering & Calligraphy.
- Adobe Fresco vs. Procreate.
- Affinity Designer vs. Adobe Illustrator vs. Curve.
- Procreate vs. Illustrator.
If you’re not sure where to start, try having other experts and artists teach you through courses and tutorials. We’ve got a lot of Skillshare courses in this article for artists at all skill levels.
Skillshare courses are structured like step-by-step tutorials that you can rewatch, and they encourage practice and engagement with fellow students.

Digital vs. traditional brushes
Still not convinced that digital art can look as real as traditional art?
By default, these programs come loaded with hundreds of brushes, with the option to download even more.
As you're navigating these programs, you're likely to find brush categories that will help you zero in on exactly the kinds of tools you're looking for. From sketching to inking, there's a digital tool for every stage of your process.
For example, Procreate has a Calligraphy and Lettering brush category with over 20 brushes to choose from. You'll see that they vary in width, texture, and style. There's also a separate Inking category with fun tips and pens to explore.
These brushes, like many you'll find in other programs, are largely pressure sensitive, which gives them the varied stroke weight between upstrokes and downstrokes.
There’s so much that you can create, as Procreate lettering and calligraphy have grown in popularity among digital artists.

Adobe Fresco also has a Lettering brush category with eight brushes to choose from. You can explore them all for yourself and see which best suits the piece you want to create. The Small chisel brush, for example, is great for beautiful ribbon lettering.
Another perk of the Adobe programs is that you have access to additional exclusive downloadable brushes here.
There are also plenty of marketplaces online that sell brushes for lettering artists and calligraphers. Retro Supply Co., True Grit Texture Supply, and Creative Market are just a few among many.
These shops allow you to browse by program, keywords, and more to help you find different brush packs. As you browse, you’ll definitely want to make sure that you're getting the right brush formats, as not all brushes work with all programs.
If you want a head start on finding the best Procreate brush, Paperlike has partnered with a number of artists, like Shelly Kim and Stefan Kunz, to create realistic and versatile brush sets for you to enjoy for free here.
As we mentioned earlier, you’ll also find that a lot of digital brushes were created from actual textures and materials.
There are many sets to choose from, but among them are brushes made with lettering artists and calligraphers in mind. From textured brushes for lettering to calligraphy pencils, there's something for everyone.
As you're using these digital brushes, you'll notice that a lot of what it comes down to is texture. This is part of what can keep digital art from feeling tactile and real.
To get the most texture out of digital programs, it's usually better to use raster- or pixel-based programs, like Procreate or Adobe Photoshop, and their compatible brushes.
Vector tools like Affinity Designer and Adobe Fresco generally won't give you the same texture in their brushes by default. The final output usually ends up looking more sleek and polished.
However, certain brush settings can add roughness to the outer edges of vector brushes to give them more texture and personality. You also have the option to download high-quality texture brushes specifically designed for vector programs from marketplaces that specialize in texture, like True Grit Texture Supply.
Adding paper texture image files is also a way to make your digital canvas look and feel more authentic.
At the end of the day, it’s completely up to you. Just remember to let the flexibility of the digital programs empower your work, not hinder it.

Paperlike
So far, we've seen that there are a lot of advantages that come with switching to a digital workflow.
But nothing is perfect. At times, we rely on accessories to help us achieve the best experience possible. This is the case for many iPad artists who use their tablet and stylus for the majority of their work.
The slick glass screen causes lines to wobble, your hand to overcorrect, and other subtle micro-adjustments to compound over hours of drawing. When you’re composing the perfect quote in Procreate, even small instability becomes noticeable.
This is where a screen protector like Paperlike can help.
Using paper and pen has a certain resistance that's hard to find using just the iPad and Apple Pencil. Paperlike makes it easier to control your strokes and take notes by adding a more natural level of resistance. That way, drawing on your screen feels like you're drawing on real paper.

Share with a global community
One of the best parts of creating is being able to connect with other people who are interested in the same kind of art as you.
There are so many artists out there who are practicing their lettering and calligraphy skills and just want some support along their journey. It helps everyone feel less alone and gives them motivation.
Here are some of the online communities designed for lettering artists and calligraphers:
Goodtype
Goodtype is the place for type lovers to level up their skills and expand their businesses. They have a number of courses and host the Kernference annually, tailored to help artists who love type. You can also connect and grow with other artists by joining their Slack channel.
Lettering Daily
Despite the name, the Lettering Daily community is a great place for lettering artists (and calligraphers!) who are looking to learn about everything from different lettering and calligraphy tools. You’ll find tips for those creating traditionally and on the iPad, and there are video tutorials on the Lettering Daily YouTube channel that you can browse and learn from.
Loveleigh Loops
Jillian and Jordan, founders of Loveleigh Loops, have built a community for calligraphers creating both traditionally and digitally. You can learn calligraphy as a Procreate user from their practice sheets and printables. If you feel that you'd benefit from following a workshop instructor, they host free training sessions and tutorials on their YouTube channel.
iPad Lettering
Karin Newport, creator of the iPad Lettering website and community, shares her love of all things lettering and modern calligraphy on the iPad through her many social channels. Through her resources, you'll find a lot of support and project ideas for artists using Procreate and the iPad. Check out her extensive library and learn hand lettering through her YouTube channel.
Typism
Typism is an engaged global community of lettering artists, calligraphers, and type nerds who want to improve their skills. Typism shares tips and advice from seasoned artists to help you on your journey. Typism also hosts the Typism Summit, a three-day event that teaches you about lettering through different workshops for beginners and seasoned professionals.
Other options
If personally joining a community is too much for you, there's always social media. You can use it to share your progress as you create new calligraphy or lettering designs and develop your unique style. It also helps that creating digitally makes sharing online seamless. Not to mention how cool it is seeing an artist's journey play out in real time. Think of it as a fun way to connect with future followers and fellow artists from around the world. If you need a bit of motivation, participating in art challenges on social media is a great way to foster community with other artists working towards a similar creative goal.

Disadvantages of digital hand lettering & calligraphy
Whether you're using an iPad or another device, you're bound to hit some roadblocks along the way. Digital art isn’t a perfect alternative in every case for artists.
Let's take a look at some of the most common disadvantages digital artists face.
Battery life & connectivity
While you do have an unlimited amount of virtual canvases to create with, your tablet can still run out of battery.
Just like a sketchbook can run out of paper, the idea of limitless creation is still limited by battery life. When you’re preparing to leave the house with your tablet, make sure it’s got enough charge.
It’s also worth keeping in mind that a lot of the functions of digital art programs can rely on an internet connection. If you’re not going to be connected to Wi-Fi, you might find yourself with limited ability to access certain files, which can be a pain and require additional planning.
Initial investment
There is also the initial investment in an iPad and Apple Pencil, and depending on the drawing app, the cost of the programs themselves.
You can still take alternate routes, but the cost will always be a factor when starting a new medium for your art.
Refurbished devices are great for artists looking to save money. As you create digitally, adding new accessories for your device, like a case, a drawing easel, and more, can add up as well.
Be sure to take these into consideration before you get started.
File archiving
Storing your art is no longer about accumulating physical papers but rather about organizing art files.
Digital file archiving can be its own unique challenge. With the ease of creation that’s enabled by digital art, it’s even easier to become disorganized.
You’ll need to put in place a system for backing up your digital work, so files don’t become misplaced or corrupted. Art programs like Procreate don’t support automatic cloud backups, while Creative Cloud programs like Adobe Fresco do.
No matter which you use, file archiving and routine device backups are good habits to form as you become a digital artist.
Learning curve
Starting your journey as a creative can be difficult enough. If you're new to digital art, it can feel like a new hurdle to creating that you didn't anticipate.
Thankfully, there are plenty of digital art programs that are great for beginners. Procreate and Adobe Fresco offer brush categories specifically for lettering artists and calligraphers, and are also relatively easy to learn.
Before you get started, it can help to check out Procreate tutorials for all skill levels and use Fresco's in-app tutorials under their Learn tab.

FAQ
Can digital art look traditional?
Yes, and we've seen this with apps like Procreate and Adobe Fresco that are constantly pushing the boundaries between digital and traditional art. Digital painting, illustration, and so much more can be rendered beautifully while only using digital tools.
The live brushes from Adobe Fresco were engineered specifically to look like wet watercolor and oil paint. You're able to interact with and manipulate digital paint in a way that's impressive to see for artists.
Textured brushes in raster-based art programs are also another way that digital art can look more authentic.
Is digital art more expensive than traditional art?
While there can be an initial sticker shock to buying digital art tools like iPads, Apple Pencils, and the art programs you'll need, you'll find that digital art is very cost-effective. Think about the amount of money that you've put into buying traditional art materials over the years.
The resources for traditional materials are finite, while digital art tools can be used over and over without ever running out. You'll be sure to get your money's worth out of your art programs as you move toward digital art. And you can always invest in refurbished tools to save money and get started.
Which app is the best for digital art?
The best digital art app will be relative to the artist. But these apps usually feature a great brush selection, are compatible with the latest devices, and empower you to create the way you want.
Digital art apps aren't all created equal, and while there are a lot of similarities in gestures, UI, and controls, as you create and try them for yourself, you might find you prefer one over the other. Start by exploring these app recommendations.
Are paid digital art apps better than free apps?
You don't have to pay for art programs to get the best experience as a digital artist. There are high-quality art apps like Adobe Fresco and Affinity that are available completely for free.
The true value of digital art apps is in their performance and how much they help you as an artist.
How can I improve my skills as a digital lettering artist or calligrapher?
There are many ways to improve your skills as a digital lettering artist or calligrapher.
This might include taking courses on Skillshare, following artists that you admire on social media, downloading practice materials, and much more.
The amount of time that you can invest in your skills will help you improve over time. Even if you can only do a few hours a week, you'll see your creativity and style develop, no matter what you choose to create.
Is the iPad worth it for digital artists?
The iPad is a great investment for digital artists because of its high quality and ease of use. You also won’t need to buy the newest iPad to get the most out of your art programs, especially if you're just starting out.
On top of that, the Apple Pencil is one of the best stylus options on the market, and it’s only available for iPad users.
Most, if not all, digital art apps have support on the iPad because it is among the most popular devices. It’s also the only one compatible with Procreate.
When it comes to creating digital art, the iPad is a versatile tool that acts as a channel for a variety of artistic disciplines.

Wrap up
At the end of the day, transitioning from traditional to digital doesn't have to mean choosing one over the other.
Personally, I see it as a way to make my workflow faster and easier. When I got my first iPad in 2017, it made creating lettering and sharing it on social media less tedious. I credit that leap into digital art and lettering for my freelance career as a lettering artist today.
Even if you're just looking into using digital tools for fun, it can still be a great way to connect with other learners who enjoy lettering and iPad calligraphy on tablets.
I hope this helps you on your journey, whether you're a letterer or a calligrapher, and that it encourages you to try digital art and enjoy its many benefits (while still using your sketchbook from time to time).
And of course, don't forget to take Paperlike with you on your journey through digital art. It reduces screen glare and increases resistance to provide such a natural feel that you’ll forget you’re working digitally.


