


Online courses are convenient and beneficial for all types of students eager to learn something new. Thanks to platforms like Skillshare, you have access to thousands of courses designed to help you hone your skills across a variety of topics.
You can learn at your own pace, choose the courses you’re interested in, and more. However, having instant access to a large scope of courses can make it hard to narrow down which ones are right for you.
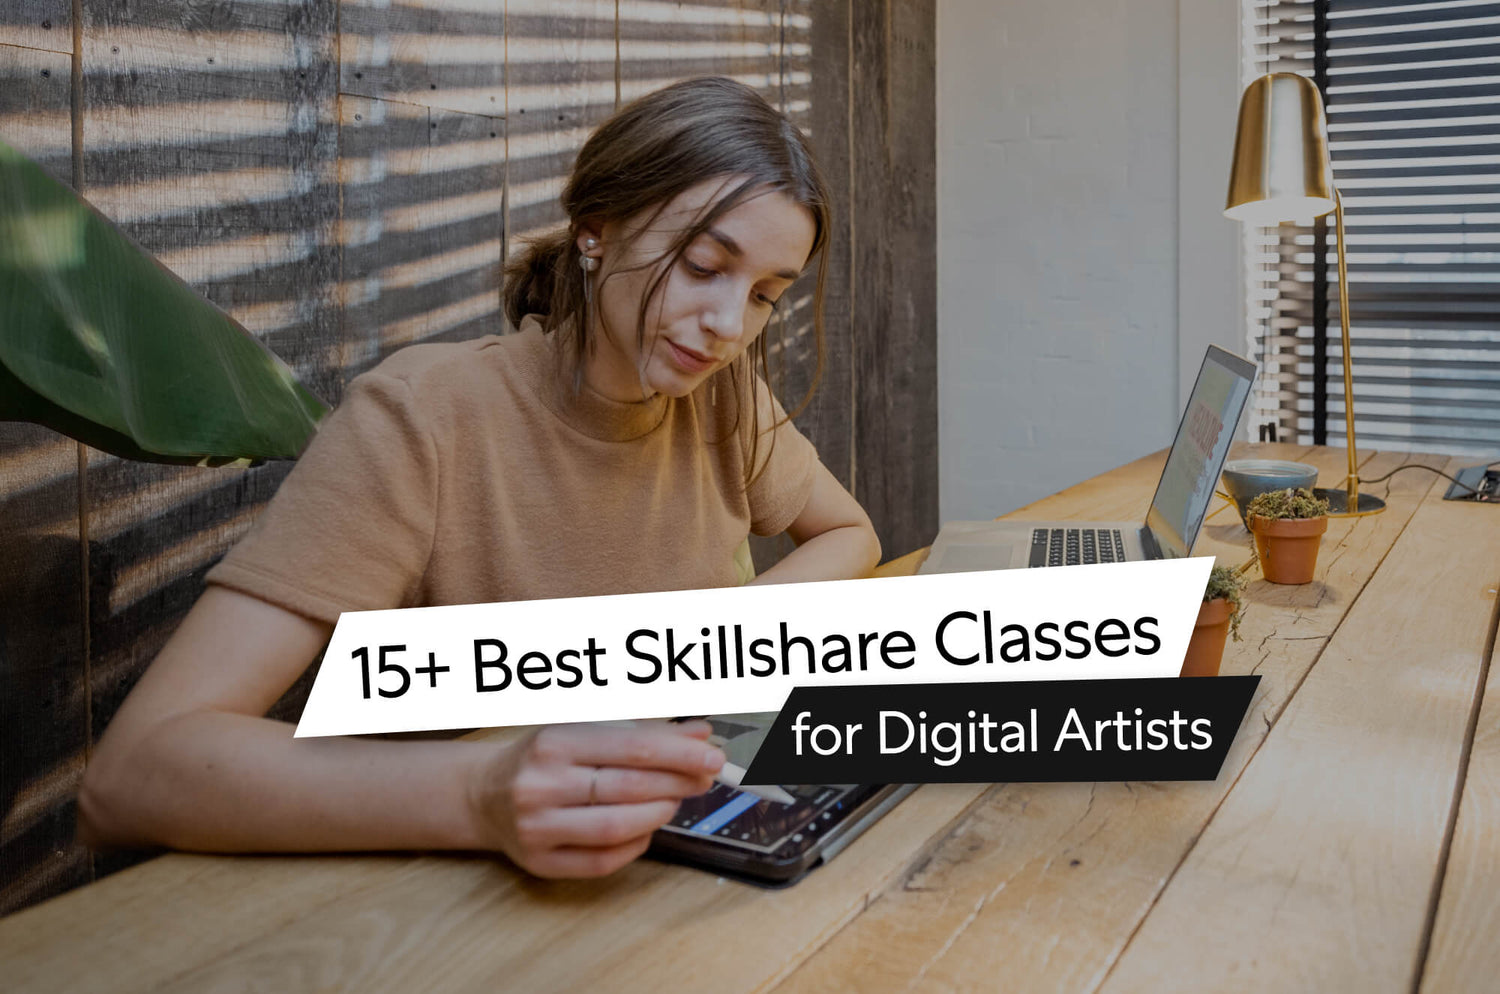
That’s why we’ve gone through and found the best Skillshare art classes for the digital artists in our community. These teachers are highly skilled professionals teaching topics ranging from illustration and animation to graphic design. Grab your iPad, and get ready to level up and create.
#toc#
Getting started in Skillshare
Skillshare is home to many classes and talented teachers sharing what they know. Before you get started with the platform, you can enjoy a 7-day free trial to see how you like it. You'll get full access to all the classes you want before committing.
Here's a quick rundown of the platform and what you'll need to get the most out of the courses on this list:
- Price: $167.88/year for Skillshare Premium.
- Ratings: Teachers and classes are reviewed by students, so you’ll know what to expect before jumping in.
- Selection: There are thousands of classes to choose from.
- Exclusivity: Some classes are only available on Skillshare.
- Comments: Found in many classes, you can keep learning from student questions and teacher feedback.
- Perks: Skillshare offers discounted perks to popular software and services for students with an annual premium membership.
- Recommended Tools: iPad, Apple Pencil, Procreate, Adobe Fresco, Illustrator, and Paperlike.
Now that you know more about what Skillshare has to offer as an online learning platform, grab your iPad, and check out these Skillshare courses. They will help you strengthen your drawing skills, digital art, and more.
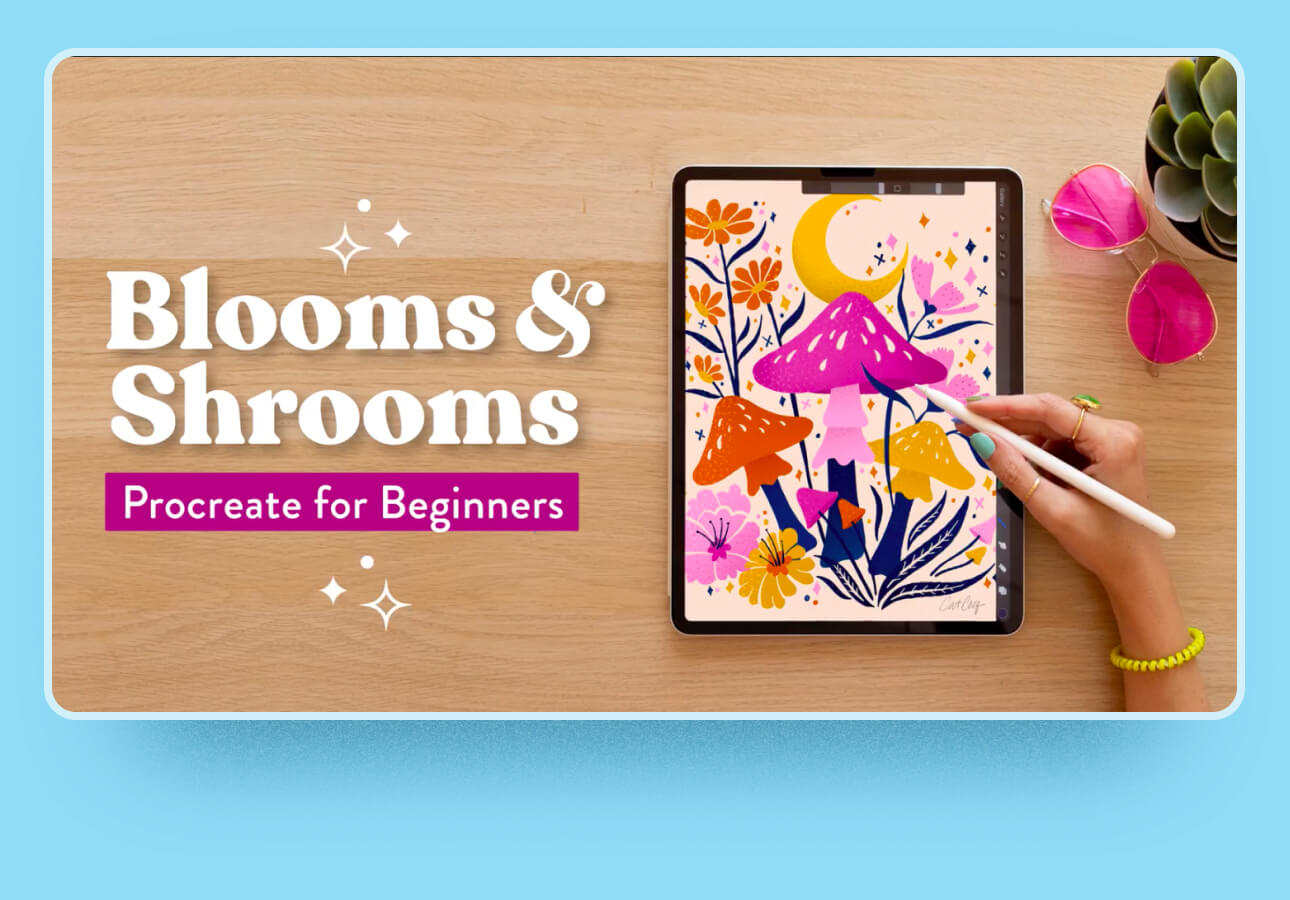
#caption# This course will show you how to draw popular motifs in surface design.
#alt# An image of an iPad with a drawing of colorful mushrooms, florals, and the moon, to the right of the words "Blooms & Shrooms Procreate for Beginners".
Blooms & Shrooms: Draw Fun & Funky Art in Procreate
This course by Cat Coquillette is an excellent introduction to the world of Procreate through the lens of surface design. You'll learn how to create a fun illustration with instructions that teach you how to use reference photos to bring your work to life on the iPad.
This course comes with a ton of free resources like free texture brushes, an on-trend color palette, and more. You'll also walk away with plenty of tips and tricks for using Procreate, even if you're a beginner.
Cat Coquillette is an artist and Top Teacher on Skillshare. Her years of experience with this kind of art style come from her background in surface design, where she has had work featured on products at Barnes & Noble, Target, American Greetings, and more.
What You’ll Learn
- Surface design trends. Cat is a professional illustrator with a background in surface design. This class focuses on popular motifs in this industry to give you a look at real-world applications.
- Procreate fundamentals. By completing this course, you'll learn how to draw in Procreate and learn tips and tricks.
- Adding texture. Take your final illustration to the next level with textures. You'll learn how to use texture brushes and overlays in Procreate to create a visual interest.
Important Details
- Skill level: Beginner.
- Estimated time to complete: Moderate. This class has 14 lessons and 2 hours and 50 minutes of video time, with plenty of freebies to help you get started.
- Number of students: 3,000+ students have enrolled in this course.
- Prerequisites: None.

#caption# You'll be able to complete a lettering piece with confidence after taking this course.
#alt# An image of the words "Hand Lettering in Procreate Fundamentals to Finishing Touches" with an illustration of an Apple Pencil between them.
Hand Lettering in Procreate: Fundamentals to Finishing Touches
This beginner course by Gia Graham will teach you the ins and outs of lettering in Procreate. In this thorough course, you'll learn how to construct letters in different styles, add embellishments, and construct a finished piece.
You'll get a comprehensive overview of how to create lettering digitally in Procreate with an in-depth PDF guide for your reference. At the end of the class, you'll have a digital lettering piece of your own name or whatever you choose!
Gia Graham is a designer, lettering artist, illustrator, and Skillshare Top Teacher. She has over 20 years of experience as a graphic designer and has worked with clients like Penguin Random House, American Greetings, and more.
What You’ll Learn
- Lettering fundamentals. Gia is a professional illustrator and lettering artist who will walk you through lettering basics. This class will guide you step-by-step through Gia's digital lettering process.
- How to draw multiple styles. The free PDF guide included in this course will help you learn how to draw in Script, Serif, and Sans Serif styles. You can use your lettering style to help change how your final piece visually communicates.
- Procreate basics. Perfect for beginners using Procreate, you'll learn the basics of the program. Gia will show you how to set up your canvas, her favorite brushes, and more.
Important Details
- Skill level: Beginner.
- Estimated time to complete: Short. This class has 20 lessons and 1 hour and 39 minutes of video time, with a free PDF download.
- Number of students: 30,000+ students have enrolled in this course.
- Prerequisites: None.

#caption# This fun effect will have your digital illustrations looking like cut paper!
#alt# An image of the words "Realistic Paper Cut in Procreate" with a drawing of a plant in the style of a paper cut illustration.
Realistic Paper Cut Illustrations in Procreate
This intermediate course by Lisa Bardot will give you the skills to create a fun illustration style that transforms your digital art into feeling closer to tactile art. To execute this realistic paper cut illustration, you'll need Procreate and some helpful lighting techniques that Lisa will show you.
You'll also get access to free paper textures to enhance the effect of your class project. When you're done, you can share it with your fellow students and get feedback from Lisa. You may even trick a few of them into thinking it isn't digital!
Lisa Bardot is an illustrator, creator, and Top Skillshare teacher who has created an extensive library of Procreate brushes and resources for digital artists. She also has hundreds of additional free tutorials on her YouTube channel.
What You’ll Learn
- Paper cut illusion. This paper cut effect will add a realistic look to your digital illustrations. The 14 free high-res paper scans will help you achieve a convincing paper texture.
- Colorizing your illustration. You'll learn how to use selection tools, layers, and masks to apply color to your work.
- Lighting techniques. In this course, you’ll learn techniques to create realistic lighting effects. These are what will push your artwork over the edge to look realistic.
Important Details
- Skill level: Intermediate. This course includes some advanced techniques for illustration.
- Estimated time to complete: Moderate. This class has 22 lessons and 2 hours and 25 minutes of video time, with free high-resolution paper scans for your project.
- Number of students: 5,000+ students have enrolled in this course.
- Prerequisites: Check out Lisa's Procreate for Beginners tutorial if you're new to Procreate.

#caption# Learning Illustrator on the iPad will let you enjoy the power of the program on the go.
#alt# An image of the Adobe Illustrator logo above the words "Illustrator on the iPad Masterclass" above an Apple Pencil on an orange background.
Adobe Illustrator on iPad Masterclass
This beginner course by Martin Perhiniak will give you a full overview of how to use Adobe Illustrator on the iPad. It's a great intro for those looking for an alternative to the desktop program that you can use anywhere on the go.
With this course, you'll enjoy downloadable example files to reference as you follow along. Additionally, this class comes with ten projects to choose from to apply what you've learned, ranging from illustrations to lettering and patterns.
Martin Perhiniak is a certified Adobe Instructor with over a decade of industry experience. He's worked with companies like Disney, Warner Brothers, and more.
What You’ll Learn
- Illustrator on iPad tools and features. You'll learn the essential tools and functions of the program. Martin goes over each individually so you can experience everything the program has to offer.
- How to use cloud documents. Illustrator for the iPad uses cloud documents, making it possible to use the files on your desktop. You'll go through how they work and how you can utilize them in your workflow.
- Gestures and shortcuts. One of the advantages of using the iPad is the gestures. You'll learn which gestures there are in Illustrator for iPad to make working in the program a breeze.
Important Details
- Skill level: Beginner.
- Estimated time to complete: Long. This class has 63 lessons and 3 hours and 9 minutes of video time, and free downloadables.
- Number of students: 300+ students have enrolled in this course.
- Prerequisites: None.

#caption# Texture is a great way to add depth and personality to your illustrations.
#alt# An image of an illustration of lemons and a pink house with the words "Illustrating with Layered Texture & Color".
Illustrating with Layered Texture and Color in Procreate
This intermediate course by Liz Kohler Brown will teach you how to create colorful illustrations with textures that create depth and highlights. Using reference images and inspiration boards, you'll see how Liz creates illustrations using a layering of different texture techniques from the class.
You'll be surprised how much you'll learn in this short class that’s jam-packed with tips and tricks for adding more texture to your work. In addition to the course, you'll get free texture brushes.
Liz Kohler Brown is an illustrator, designer, and Top Skillshare Teacher. Her work has been licensed for use on wallpaper, fabric, greeting cards, and more worldwide.
What You’ll Learn
- How to add shadows and highlights. Liz will show you how to use texture to add shadow and highlights to your illustrations. This will keep your work from looking flat.
- How to add layered textures to illustrations. The free brushes included in this course will help you add texture to your work. You'll then combine different texture techniques to push things a step further.
- How to add details and color with clipping masks. Clipping masks are great for adding non-destructive edits to layers. Learn how to use clipping masks in Procreate to add details and color to your illustrations.
Important Details
- Skill level: Intermediate. This course includes some advanced techniques for illustration.
- Estimated time to complete: Short. This class has 12 lessons and 1 hour and 37 minutes of video time, with 12 free texture brushes included.
- Number of students: 8,000+ students have enrolled in this course.
- Prerequisites: None.

#caption# Create a stylized portrait from a vintage photo in Adobe Fresco with this fun Skillshare course.
#alt# An image of a stylized portrait of a woman with blue patterned hair, a pink blouse, and green glasses.
Digital Illustration: Using Adobe Fresco’s Live Brushes to Create Beautiful Traditional Art
This beginner course by Molly Egan will teach you how to create a portrait from a vintage photo reference using Adobe Fresco’s Live brushes. You can look for your own inspiration or use Molly's Pinterest board from the course.
With the advanced technology behind Adobe Fresco's Live brushes, you'll be able to achieve a traditional-looking illustration designed to look like one made with watercolor and oil brushes. You'll be able to start with a sketch and then slowly refine it and have it match your unique style.
Molly Egan is an artist and illustrator who has worked with clients like Adobe, Facebook, and more. She is best known for creating work featuring people and patterns using both traditional and digital media.
What You’ll Learn
- How to use watercolor and oil brushes. Adobe Sensei is the technology behind these amazing brushes. You'll see how the Live brushes in Fresco work and how they mimic traditional materials.
- How to choose a color palette. The color palette you choose will help you bring your illustration to life. You'll also learn how your brushes can affect your colors.
- How to create a stylized portrait. Using a vintage reference photo as inspiration, you'll learn how to break down the shapes within the photo to create your final project. You'll also learn how to infuse your own style into the portrait.
Important Details
- Skill level: Beginner.
- Estimated time to complete: Short. This class has 11 lessons and 1 hour of video time.
- Number of students: 3,000+ students have enrolled in this course.
- Prerequisites: Molly recommends Creative Digital Illustration: Learn to Use Adobe Fresco by Lisa Feng to learn the essentials of Adobe Fresco through illustration.

#caption# Choosing colors is one of the most important parts of the creative process.
#alt# An image of a drawing of a camel and a palm tree to the left of a color wheel and tiles of drawn color swatches.
Color Theory for Illustrators: A Fun Beginner’s Guide to Creative Color
This beginner course by Brooke Glaser is a great introduction to using color as an illustrator. Even if you don't consider yourself an illustrator, understanding color theory will help you across creative mediums and disciplines.
Not only will this course break down the components of color theory, but you'll also use what you learn to create your own color palettes that work digitally and in print.
Brooke Glaser is an artist, illustrator, and Top Skillshare Teacher. She creates cute art for clients like Design House Greetings and teaches other artists to do the same.
What You’ll Learn
- Color theory. You'll learn the different components of color theory so that you can pair colors with confidence.
- How to create a color palette. With the knowledge from this course, you'll create color palettes that pop and attract the right tone for your work.
- How to use color in the real world. When you take your work from digital to print, your colors can change. You'll learn how color is affected when printing and scanning.
Important Details
- Skill level: Beginner.
- Estimated time to complete: Short. This class has 16 lessons and 57 minutes of video time.
- Number of students: 17,000+ students have enrolled in this course.
- Prerequisites: None.

#caption# You'll get to combine lettering, illustration, and animation in this fun beginner course.
#alt# An image of the words "Making a Fun Animated Logo using Procreate 5X with Chris Piascik" drawn as lettering on a pink background.
Making a Fun Animated Logo using Procreate 5X
This beginner course by Chris Piascik will have you animating your work like a pro in no time. You'll go from creating a series of sketches to bringing your hand-drawn logo to life using morphing animation techniques.
This class is a Staff Pick on Skillshare for its exceptional value to its students. You'll be able to create a logo even if you have no prior experience with lettering or illustration and transform it into whatever you like. For your final project, you'll make it loop and export it into a GIF or MP4 that you can use on social media.
Chris Piascik is an artist and illustrator who has created animations for Nickelodeon, Cartoon Network, and Google. He's also a Top Teacher on Skillshare who shares his process and experience as an artist on his YouTube channel.
What You’ll Learn
- How to illustrate a logo. This course will show you the basics of using lettering and illustration so that you can create a fun logo design.
- How to animate in Procreate. You'll learn how to set up your Procreate file and layers for animation using the Animation Assist feature. This will help you when it's time to morph your logo.
- Exporting your animation. Chris will review the export options in Procreate for animations. Once your animation is ready, you'll be able to export it and use it in a variety of ways.
Important Details
- Skill level: Beginner.
- Estimated time to complete: Moderate. This class has 12 lessons and 2 hours and 16 minutes of video time.
- Number of students: 1,000+ students have enrolled in this course.
- Prerequisites: None.

#caption# Create a cozy scene and bring it to life with Animation Assist in Procreate.
#alt# An image of an illustration on an iPad of a cat resting on a chair in a room with a shelf, cactus and area rug.
Fun With Spaces: Create a Stylised Scene in Procreate + Animation
This intermediate course by Charly Clements will show you how to create a stylized space in Procreate. Charly shares her entire process for creating her scene and will even show you how to animate it afterward.
It can be challenging to find initial inspiration at times, but this course will take you through that. You'll also see how Charly uses Procreate features to speed up her workflow and make it more efficient.
Charly Clements is a greeting card illustrator, artist, and a Top Teacher on Skillshare. She's taught thousands of students how to create beautiful digital illustrations and hosts fun drawing challenges on her Instagram.
What You’ll Learn
- Illustrate a stylized scene. This course will show you how to create a scene using three essential tips from Charly. You'll also draw inspiration from your own space.
- Efficient workflow tips. Everyone has their own way of working. You'll learn how to use the QuickShape feature in Procreate to speed up your drawing process.
- Animating in Procreate. Once you've created your animation, you'll be able to export it and use it in a variety of ways.
Important Details
- Skill level: Intermediate. Some illustration skills and knowledge of Procreate would be helpful for this course.
- Estimated time to complete: Short. This class has 12 lessons and 1 hour and 9 minutes of video time.
- Number of students: 21,000+ students have enrolled in this course.
- Prerequisites: None.

#caption# Letters will take many forms as you reimagine them as animations in this Procreate course.
#alt# An image of a drawing of the letter "G" with abstract forms around and behind it.
Learn Procreate Animation: Create Engaging Animated Letters on the iPad
This beginner course by Esther Nariyoshi is your guide to creating animated letters in Procreate. You'll get to take basic forms and shapes and bring them to life using five different animation techniques.
If you're a letterer or illustrator, this course will be perfect for you, even if you're a beginner. It'll break down the basics so you can approach each technique easily as you hone new skills.
Esther Nariyoshi is a designer, illustrator, and Top Teacher on Skillshare. Her work is playful and whimsical and features vectors and digital painting.
What You’ll Learn
- Basic lettering. This course will show you how to animate letters by breaking down their basic shapes.
- Animation techniques. You'll get to use five different types of animation to bring your work to life.
- Animating basic shapes. The techniques you learn can be applied to basic shapes as well as letters.
Important Details
- Skill level: Beginner.
- Estimated time to complete: Short. This class has 7 lessons and 1 hour and 10 minutes of video time.
- Number of students: 200+ students have enrolled in this course.
- Prerequisites: None.

#caption# A step-by-step walkthrough of this animation in Procreate will give you new skills in the program.
#alt# An image of a drawing of a cartoon bumble bee above a white flower on a blue background.
Procreate Animation: Create a Cute Animation in Procreate 5
This intermediate course by Floortje Visser will help you create a cute illustration in Procreate that you can animate. You can create the same one shown in the class or apply what you've learned to your own illustration.
When you take this course, you'll get a comprehensive PDF guide, color swatches, and a special brush set from Floortje. With easy-to-follow step-by-step instructions, you won't feel overwhelmed or left behind.
Floortje Visser is the illustrator behind the YouTube channel Art with Flo. Her tutorials are popular among all levels of Procreate users looking to learn from her illustration classes.
What You’ll Learn
- How to create a digital illustration. This course will show you the basics of drawing a bee and flower illustration step by step.
- How to animate in Procreate. You'll learn how to animate your illustration frame by frame in Procreate. The PDF guide shows you how to arrange your layers so your animation will flow naturally.
Important Details
- Skill level: Intermediate. Some basic illustration skills in Procreate would be helpful for this course.
- Estimated time to complete: Short. This class has 8 lessons and 1 hour and 3 minutes of video time.
- Number of students: 1,000+ students have enrolled in this course.
- Prerequisites: None.

#caption# Making your own GIFs from your illustrations is made easy in this short Procreate course.
#alt# An image of an iPad and Apple Pencil with the words "Procreate Animation Make Fun Gifs & Videos".
Procreate Animation: Make Fun GIFs & Videos by Richard Armstrong
This beginner course by Richard Armstrong will help you create a GIF and looping animation from a digital illustration. You can create a doodle, portrait, or anything else to animate for the final project.
This class is a Staff Pick by Skillshare, which highlights it for its exceptional value to the students who have taken it. It teaches animation basics and how to prepare your artwork for animation in Procreate. Plus, it has a lot of additional tips and tricks for using the program.
Richard Armstrong is a multi-hyphenate creator and Paperlike Ambassador. He's also a Top Teacher on Skillshare, where his classes have taught thousands of students how to animate, gather creative inspiration, and more.
What You’ll Learn
- Animating in Procreate. You'll learn how to animate your digital illustrations in Procreate using Animation Assist. From setting up your canvas to choosing your frame rate, you'll be sure to create something fun.
- Procreate tips and tricks. Richard will show you how to make your workflow more efficient with additional tips and tricks he uses in Procreate.
- Exporting your animation. Your looping animation will become a GIF that you can export and share on social media and with the other students in the class.
Important Details
- Skill level: Beginner.
- Estimated time to complete: Short. This class has 12 lessons and 1 hour and 12 minutes of video time.
- Number of students: 28,000+ students have enrolled in this course.
- Prerequisites: None.

#caption# Ready to take your characters places? Learn how to animate a walk cycle from Danni Fisher-Shin.
#alt# An image of the words "Animating in Procreate: Mastering the Walk Cycle with Danni Fisher-Shin" on top of an out of focus image of Danni in a yellow chair.
Animating in Procreate: Simple Steps to Create Awesome Animations
This intermediate course by Danni Fisher-Shin will help you create a walk cycle in Procreate. A walk cycle is a series of animation frames that loop to make your character look like it's walking.
Learn how to go from rough sketches to a completely refined and animated piece of artwork. You'll be able to create your own unique character using references and slowly start bringing it to life.
Danni Fisher-Shin is an animator and illustrator who has worked with clients like Google, Procreate, and more. She's known for creating empowering female character designs and making the work she wants to see in the world.
What You’ll Learn
- Animating in Procreate. You'll learn how to animate your character in Procreate and create a walk cycle using Animation Assist.
- How to work with a moving reference. Don't worry about not knowing where to start. You'll learn to use footage as a reference to guide you on how to create a walking character.
- Exporting your animation to GIF. Your looping animation will become a GIF that you can export and share on social media.
Important Details
- Skill level: Intermediate. Some basic skills in Procreate would be helpful for this course.
- Estimated time to complete: Short. This class has 16 lessons and 1 hour and 10 minutes of video time.
- Number of students: 9,000+ students have enrolled in this course.
- Prerequisites: None.

#caption# Learn how to animate in Procreate and Photoshop using a combined workflow.
#alt# An image of a laptop with Adobe Photoshop open and a drawing of a woman riding a bicycle and holding ice cream.
Animation for Illustration: Adding Movement with Procreate & Photoshop
This intermediate course by Libby VanderPloeg will open your world to animating using Procreate and Photoshop. You'll create your own character and animate it using her unique workflow.
Libby shares techniques on how to create a storyboard to plan your animation and a workflow that incorporates the layers from Procreate to apply the final motion in Photoshop.
Libby VanderPloeg is an artist and illustrator who has worked with brands like The New York Times, Netflix, and more. Her work infuses her love of letterforms, wildlife, ephemera, and storytelling.
What You’ll Learn
- Storyboarding. Before you start, it helps to have a plan. You'll learn how to animate your character in Procreate with storyboarding.
- Animating in Photoshop. Using the timeline feature, you'll take your layers from your Procreate document and animate them in Photoshop.
- Exporting your animation. Your looping animation will become a GIF that you can export and share on social media.
Important Details
- Skill level: Intermediate. Some basic skills on how to use Procreate and Photoshop would be helpful for this course.
- Estimated time to complete: Short. This class has 11 lessons and 51 minutes of video time.
- Number of students: 23,000+ students have enrolled in this course.
- Prerequisites: None.

#caption# Ever wonder how client work gets made? Take a look behind the scenes of freelance design with this course.
#alt# An image of the words "Watch me work real client projects a Skillshare class by Dylan M" and drawings of a book, a postcard, and a webpage.
Watch Me Work: Real Client Design Projects
This intermediate course by Dylan Mierzwinski gives you a behind-the-scenes look at her freelance design practice. She'll take you through three projects, from the initial email with the client to the final delivery. Afterward, you'll create your own project with the option of making a trifold brochure or invitation.
This course is a Staff Pick by Skillshare. It's unique because it shows you a freelance design workflow for projects like book covers, postcards, and web design. You'll take a lot away from seeing Dylan's professional process and how she conducts client projects.
Dylan Mierzwinski is an illustrator, surface designer, and Top Teacher on Skillshare. She's worked with clients like Martha Stewart, Anthropologie, and more.
What You’ll Learn
- Contracts. You'll see how Dylan provides clients with contracts and what she includes. This is a critical part of being a freelance designer.
- Presenting work to clients. See how to professionally showcase your ideas and concepts to clients.
- Negotiate pricing. Learn how Dylan determines her rates and prices her projects based on their scope and other factors.
Important Details
- Skill level: Intermediate. Some knowledge of graphic design programs would be helpful for this course.
- Estimated time to complete: Long. This class has 15 lessons and 3 hours and 12 minutes of video time.
- Number of students: 9,000+ students have enrolled in this course.
- Prerequisites: None.

#caption# Photo mockups are a great way to put your artwork into context to show in your portfolio.
#alt# An image of a notebook with an illustration mockup in the Procreate interface.
Make Your Own Mockups in Procreate Using Photos
This beginner course by Maja Faber will teach you ways to show off your work on mockups using photos in Procreate. You'll be able to use stock photos and your own photos to help your work look realistic.
This course shows a faster mockup workflow than working in other programs like Adobe Photoshop. You can show off your artwork in a number of photos that are provided to you in the course.
Maja Faber is a pattern designer and Top Teacher on Skillshare. Her work is primarily art licensing for decor and products that can be found on sites like Spoonflower and Society6.
What You’ll Learn
- How to find and use stock photos. You can use stock photos for your mockup to save the time of taking your own. Maja also provides you with a free download of a notebook mockup for you to use for personal and commercial use.
- Editing in Lightroom. Maja will show you how to apply presets to edit your photos. This will help your mockups look professional and clean.
- How to place your artwork on photos. In Procreate, you'll see how to use layers, masks, and more to create a realistic-looking photo mockup.
Important Details
- Skill level: Beginner.
- Estimated time to complete: Short. This class has 13 lessons and 1 hour and 23 minutes of video time.
- Number of students: 600+ students have enrolled in this course.
- Prerequisites: None.

#caption# Music is a great inspiration for creating bold and expressive artwork.
#alt# An image of the words "Exploring Graphic Design: Create an Album Cover with Temi Coker" on top of an out of focus image of Temi sitting in a chair.
Graphic Design: Create a Bold, Colorful Album Cover
This beginner course by Temi Coker will show how to create a bold album cover in Illustrator. There will be a research phase where you explore the music you want to take inspiration from so that you can create your playlist cover.
This course is a fun exercise in taking your love for music and translating it into a fun design. Temi will walk you through his process, from sketching in Adobe Fresco to completing the design in Adobe Illustrator. At the end of the class, you'll have a cover that you can add to your Spotify playlist and share with the class.
Temi Coker is a digital artist and photographer who helps people tell their stories with his visually striking composite designs. He's worked with clients like Adobe, The Oscars, and more.
What You’ll Learn
- How to research. Temi will show you how to gather inspiration and do research to help initiate your process.
- Exploring color. In Illustrator, you'll use the Live Paint Bucket tool to add color to your work.
- Playing with composition. Find your ideal composition by starting with basic shapes and diving further into your inspiration from Pinterest.
Important Details
- Skill level: Beginner.
- Estimated time to complete: Short. This class has 8 lessons and 43 minutes of video time.
- Number of students: 9,000+ students have enrolled in this course.
- Prerequisites: None.

#caption# You can create your own logo to share your family legacy using Adobe Illustrator.
#alt# An image of file boxes with the words "Logo Design the Draplin Way: Building with Shape, Type and Color Enroll at skillshare.com".
Logo Design with Draplin: Secrets of Shape, Type, and Color
This intermediate course by Aaron Draplin will show you how to use text and design fundamentals of shape and color to design a logo. This course will show you how you can draw from your own life to create a family crest.
This course highlights the efficiency of using shortcuts in your workflow for projects in Illustrator. While exploring your options, figure out which font and imagery are best for your family crest logo project.
Aaron Draplin is the graphic designer of Draplin Design Co. Throughout his decades-long career, he has worked with clients like Adobe and Nike and co-founded the Field Notes stationery brand.
What You’ll Learn
- Efficient workflow and ideation. You'll learn how Aaron works and tweaks his logo. You'll learn how he uses shortcuts to duplicate and modify his logo as it develops.
- Typography. In Illustrator, you'll learn how to experiment with type and how it can change the look and feel of your crest.
- Applying color to your logo. You'll explore and find the best color palette for your logo project through inspiration from your own family.
Important Details
- Skill level: Intermediate. Some knowledge of Adobe Illustrator would be helpful for this course.
- Estimated time to complete: Short. This class has 10 lessons and 1 hour and 7 minutes of video time.
- Number of students: 100,000+ students have enrolled in this course.
- Prerequisites: None.

Wrapping up
Skillshare is a seemingly endless source of courses, especially for creative people. Thankfully, you'll be able to get off to a good start with this list. However, these are just a small selection of the best classes the platform has to offer.
With something for artists of all skill levels, whether you're a hobbyist or a pro, anyone can learn on Skillshare. Using the iPad and digital art programs together gives you a powerful toolset for creativity without the mess of traditional mediums.
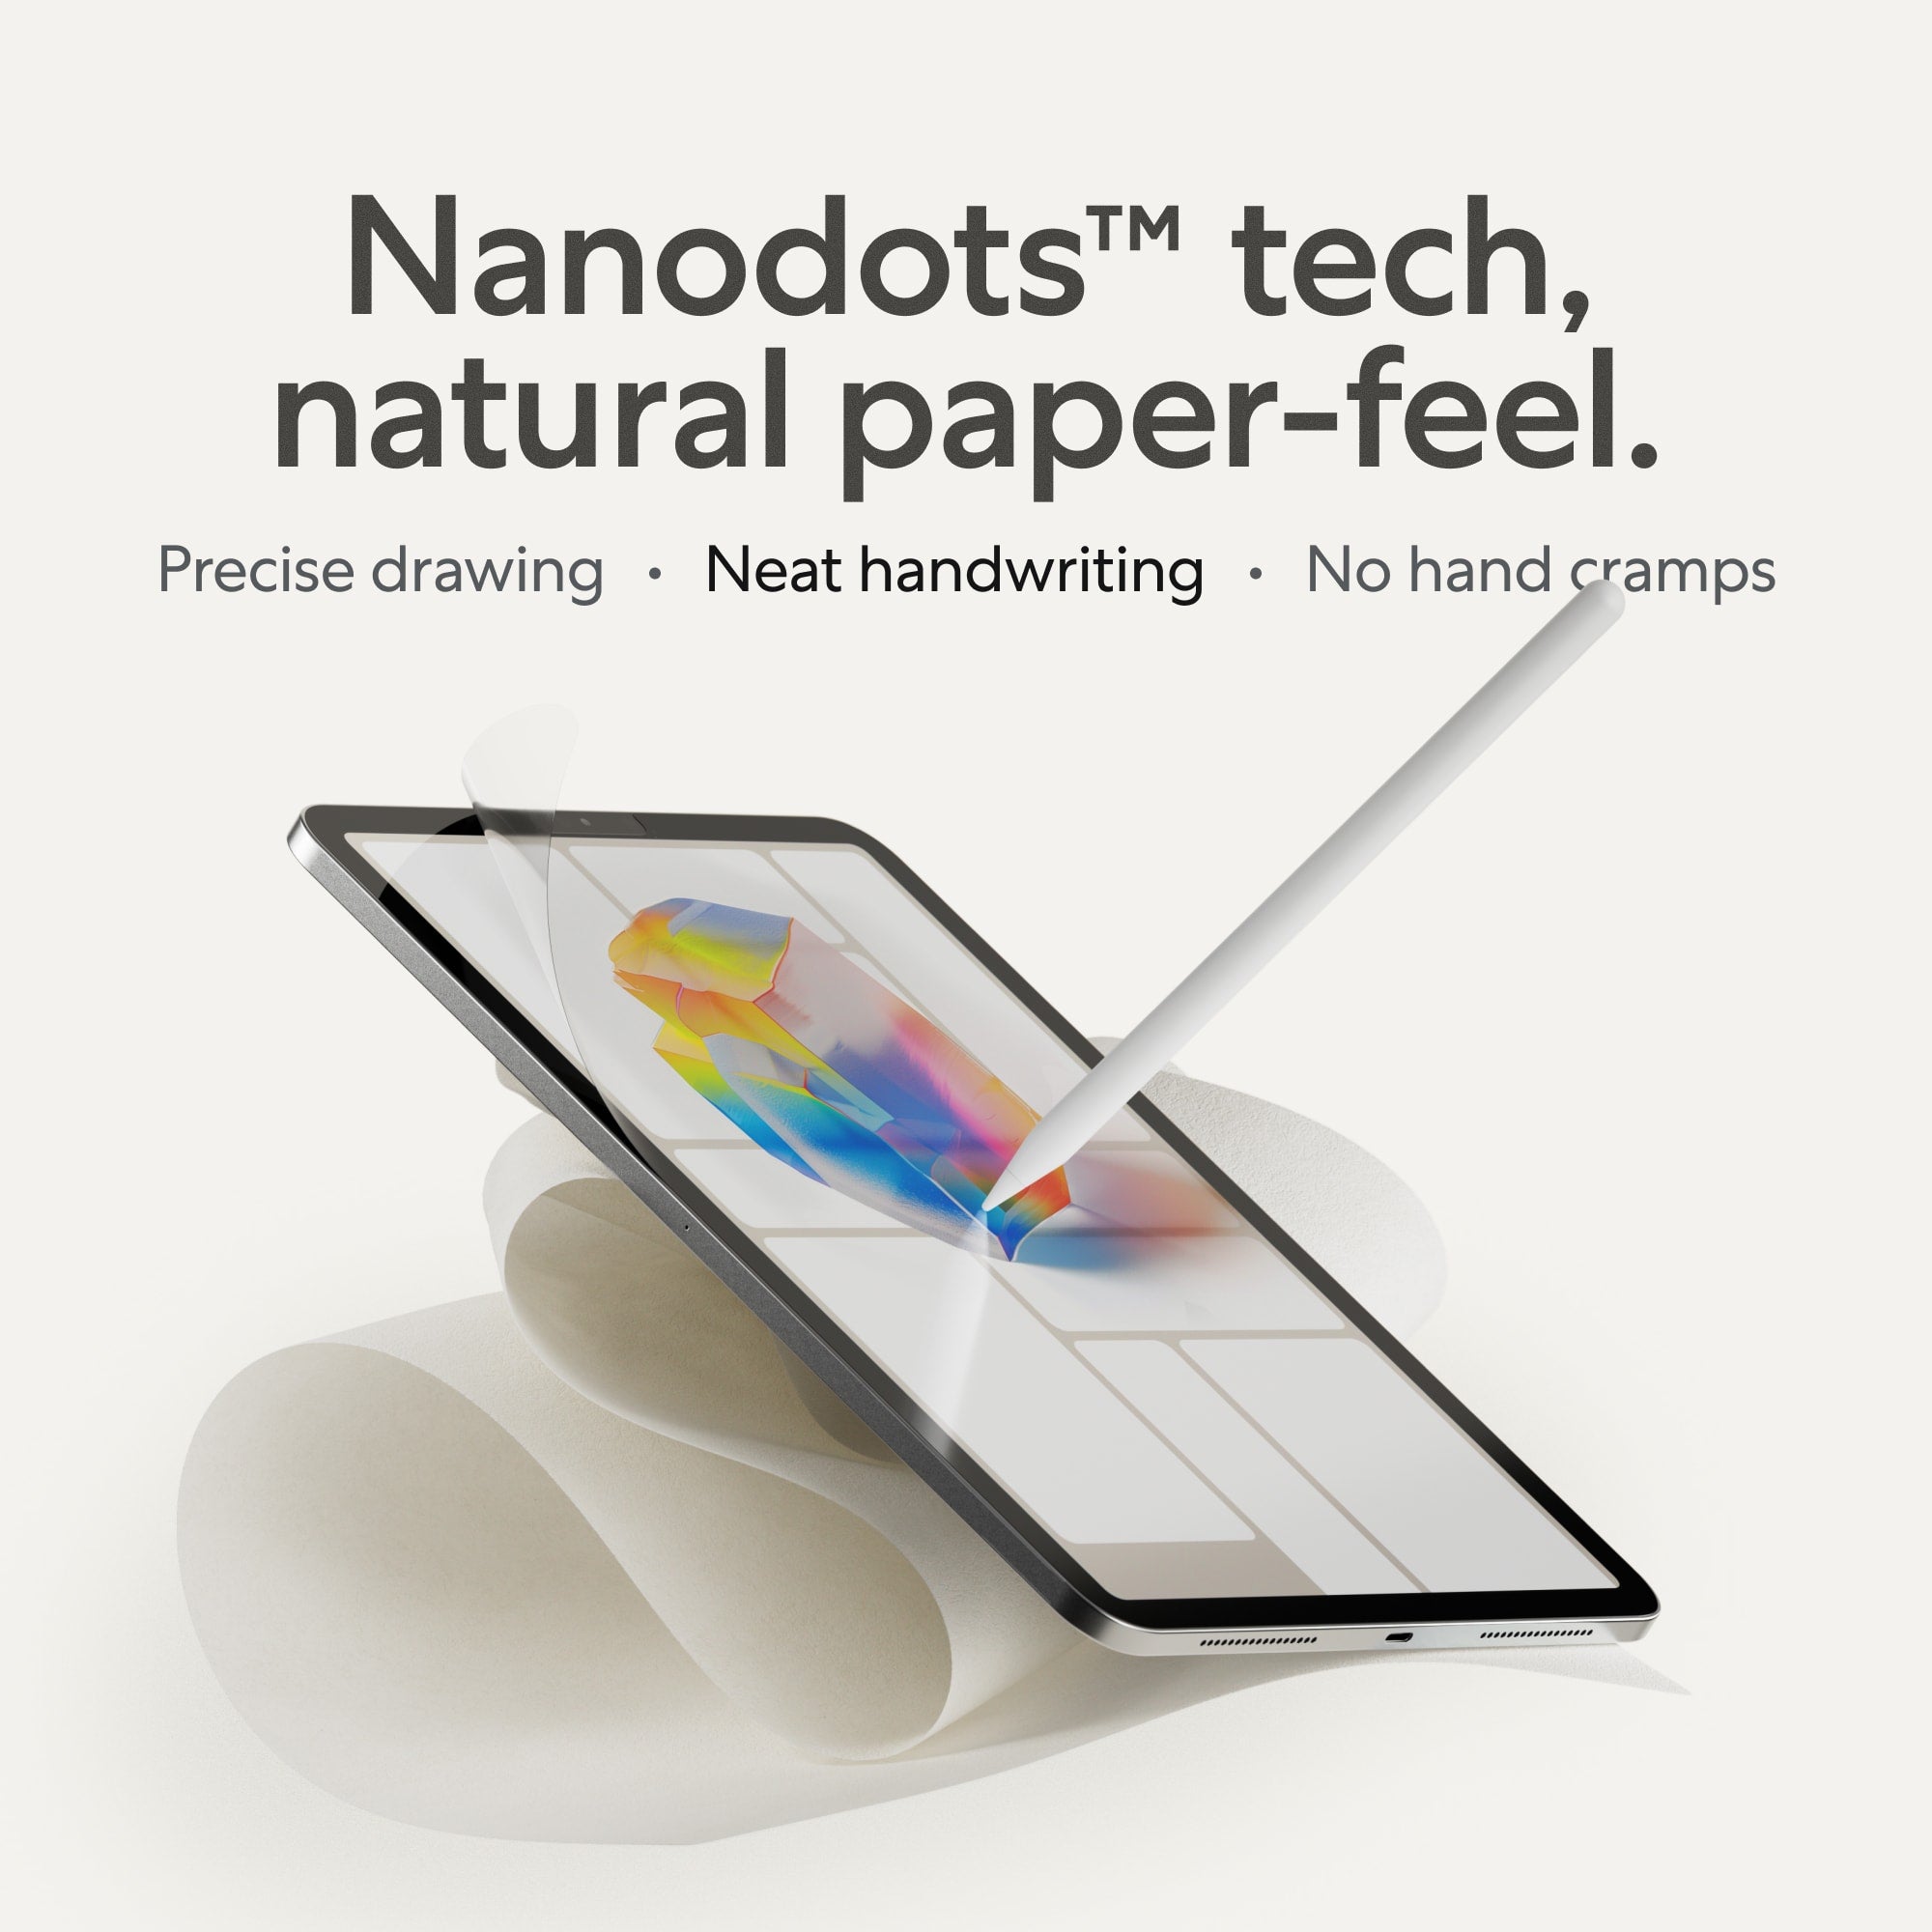
No matter what drawing classes you decide to take, don’t forget your Paperlike. You’ll have better control over your line work with the added resistance and reduced glare if working outside is your thing.
