


Struggling to take neat notes on your iPad?
We’ve all been there.
Writing on a digital screen with a stylus feels completely different from writing on paper, and the lack of friction and resistance can make your handwriting sloppy and illegible.
Sound familiar?
If you’re tired of looking at jumbled notes and you want to get a handle on writing neater, read on for some tips to fix this issue.

1. Make your screen feel like paper
Here’s the reason your handwriting looks worse on the iPad: You’re writing on glass, not paper.
And that’s a problem. Like everyone else, you’re used to a certain level of tactile feedback while writing and drawing.
As you learn to write, your brain is trained to make corrections based on that feedback. You instinctively know how much pressure to apply to your pen stroke and how to angle your writing instrument to get the results you want.
This is something most people learn in elementary school and master in high school while taking class notes.
Unfortunately, glass provides no additional information that you can use to guide your letterforms.
Glass lacks the friction and resistance that you’ll find in paper, which leads to imprecision while you write.
This miscommunication results in sloppy handwriting because your strokes are too long and too difficult to control.
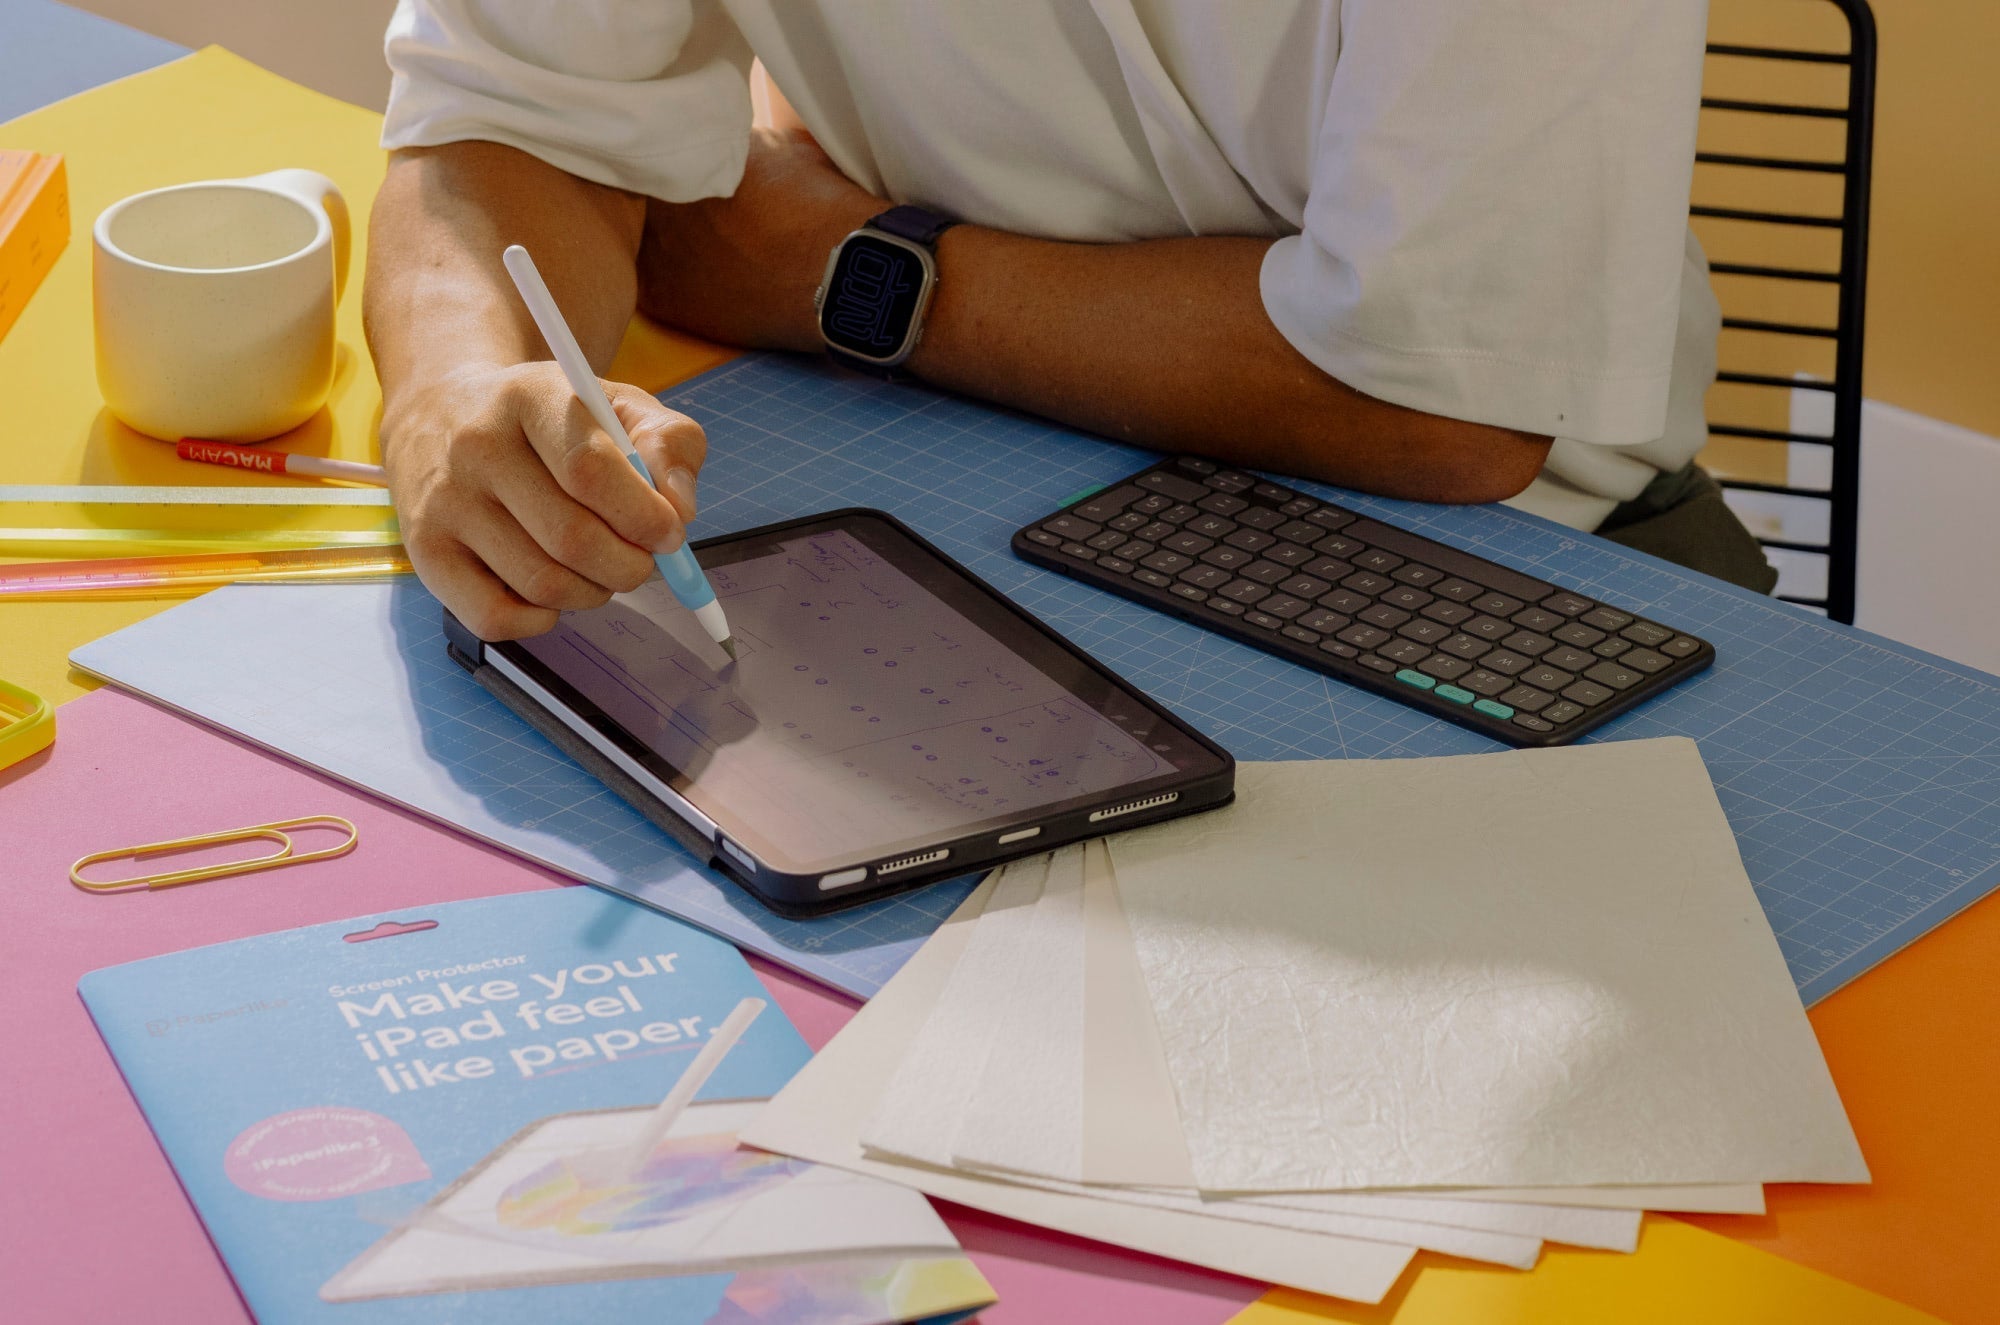
This is exactly what Paperlike is designed to fix.
Our screen protector uses unique technology (called Nanodots®) to add friction and resistance to your screen so that you’re getting the feedback you need to create precise strokes.
This results in a writing experience that’s much closer to the feeling of writing on paper.

2. Structure your notes
Neat handwriting doesn’t always equal neat notes.
Perfect handwriting certainly makes your notes easier to read, but if you’re just jotting down sentences willy-nilly and filling up the pages, your notes will still be a mess.
That’s why the most effective notes are often summaries written in your own words rather than line-for-line copy/pastes from a lecture or a textbook.
But even if you summarize, you still need to be able to make sense of your notes when it’s time to study.
Unstructured notes leave too much text to successfully sift through during review.
It’s just as difficult to study and comprehend pages full of unorganized notes as it is to read through the textbook. There’s simply too much information to take in.
Choosing a note-taking method can help you structure your notes in a way that’s easy to understand.
There are a variety of choices, but the Cornell Method is one of the most popular, and it’s our favorite for most subjects.
This method separates your notes into different, designated sections, giving the page an organized and neat structure that’s easy to study and review.
It also takes advantage of concepts like headings, bullet points, and abbreviations to help separate topics, all of which are great visual hacks to help your brain parse information more effectively.
Most note-taking apps offer templates designed to help you keep your notes neat and orderly. These are great options if you’re looking to create the best notes.
Both Goodnotes 6 and Notability have a variety of templates built in, including a Cornell Notes template, so you can pick one and get started.

3. Harness the power of lines or grids
Learning to write on a digital screen is like learning to ride a bike: You might need training wheels.
In grade school, you probably used lined paper to learn how to place your letters on the page.
While we aren’t saying that you need to go back to school and relearn the basics, it takes some time to learn the nuances of writing on a digital screen.
That’s partially because of how note-taking apps are set up.
When you open up these apps and start a new note, the default template is almost always a blank canvas.
Especially if you’re trying to create pretty notes, that’s a huge problem. Inconsistencies in the size and positioning of your letters are more common when writing on an unlined or blank page.
Without any guidance to help you size and place your letters, your words may start sloping up/down or get bigger/smaller as you write your own notes. This looks sloppy and makes your notes harder to read.
Yikes.
Fortunately, there’s an easy fix.
Most note-taking apps offer templates with lines or grids. Think of them like training wheels for your digital notes.
Lines and grids offer a structural aid that makes it easier to keep your handwriting straight and neat. These guidelines also allow you to create tables, graphs, and bulleted lists with everything straight, even, and lined up perfectly.
You can even use grids to create defined sections and establish visual clarity in your notes.
Much like using a highlighter or colored pens, you can use these onboard tools to break up your notes in a way that makes them easier to review. Once you’re familiar with these features, you can even perform this work in real time.
But here’s the best part: Once you’ve finished taking notes, you can change your digital page back to a blank (unlined) background.
Use lines when you need them, and make them disappear if you find them distracting. (No eraser required.) Voila! You’ve created beautiful, aesthetic notes in record time.

4. Customize your experience
The mechanics of your writing process, from the way you grip your writing tool to the position of your hand, are unique to you.
Note-taking apps do their best to accommodate this, but they aren’t a one-size-fits-all solution.
Just like you probably adjust your seat and the mirrors for that perfect, comfy driving position and the best view when you get into a new car, that same principle applies to the note-taking app you choose to use.
You’ll need to tailor your note-taking experience by adjusting your app settings.
Trust us, a few tweaks to your app or device settings can make a world of difference.
Open up your app settings, and take a look at the palm rejection and writing posture settings. Choose the icon that best represents the way you hold your Apple Pencil and the positioning of your hand when you write.
This is especially helpful if you’re left-handed or you tend to angle your hand while writing. Without adjusting these settings, you may end up with stray marks messing up your notes whenever your hand bumps the screen.

Play with the hand positioning settings to get more realistic handwriting results.
You can also compare writing with your iPad vertically or horizontally to see which feels easier and offers better hand placement. Having a comfortable and ergonomic hand position will improve the quality of your notes.
Unfortunately, this might not solve all your problems.
Due to the camera, your iPad won’t lie flat on any surface. It wobbles, and that can cause your handwriting to suffer.
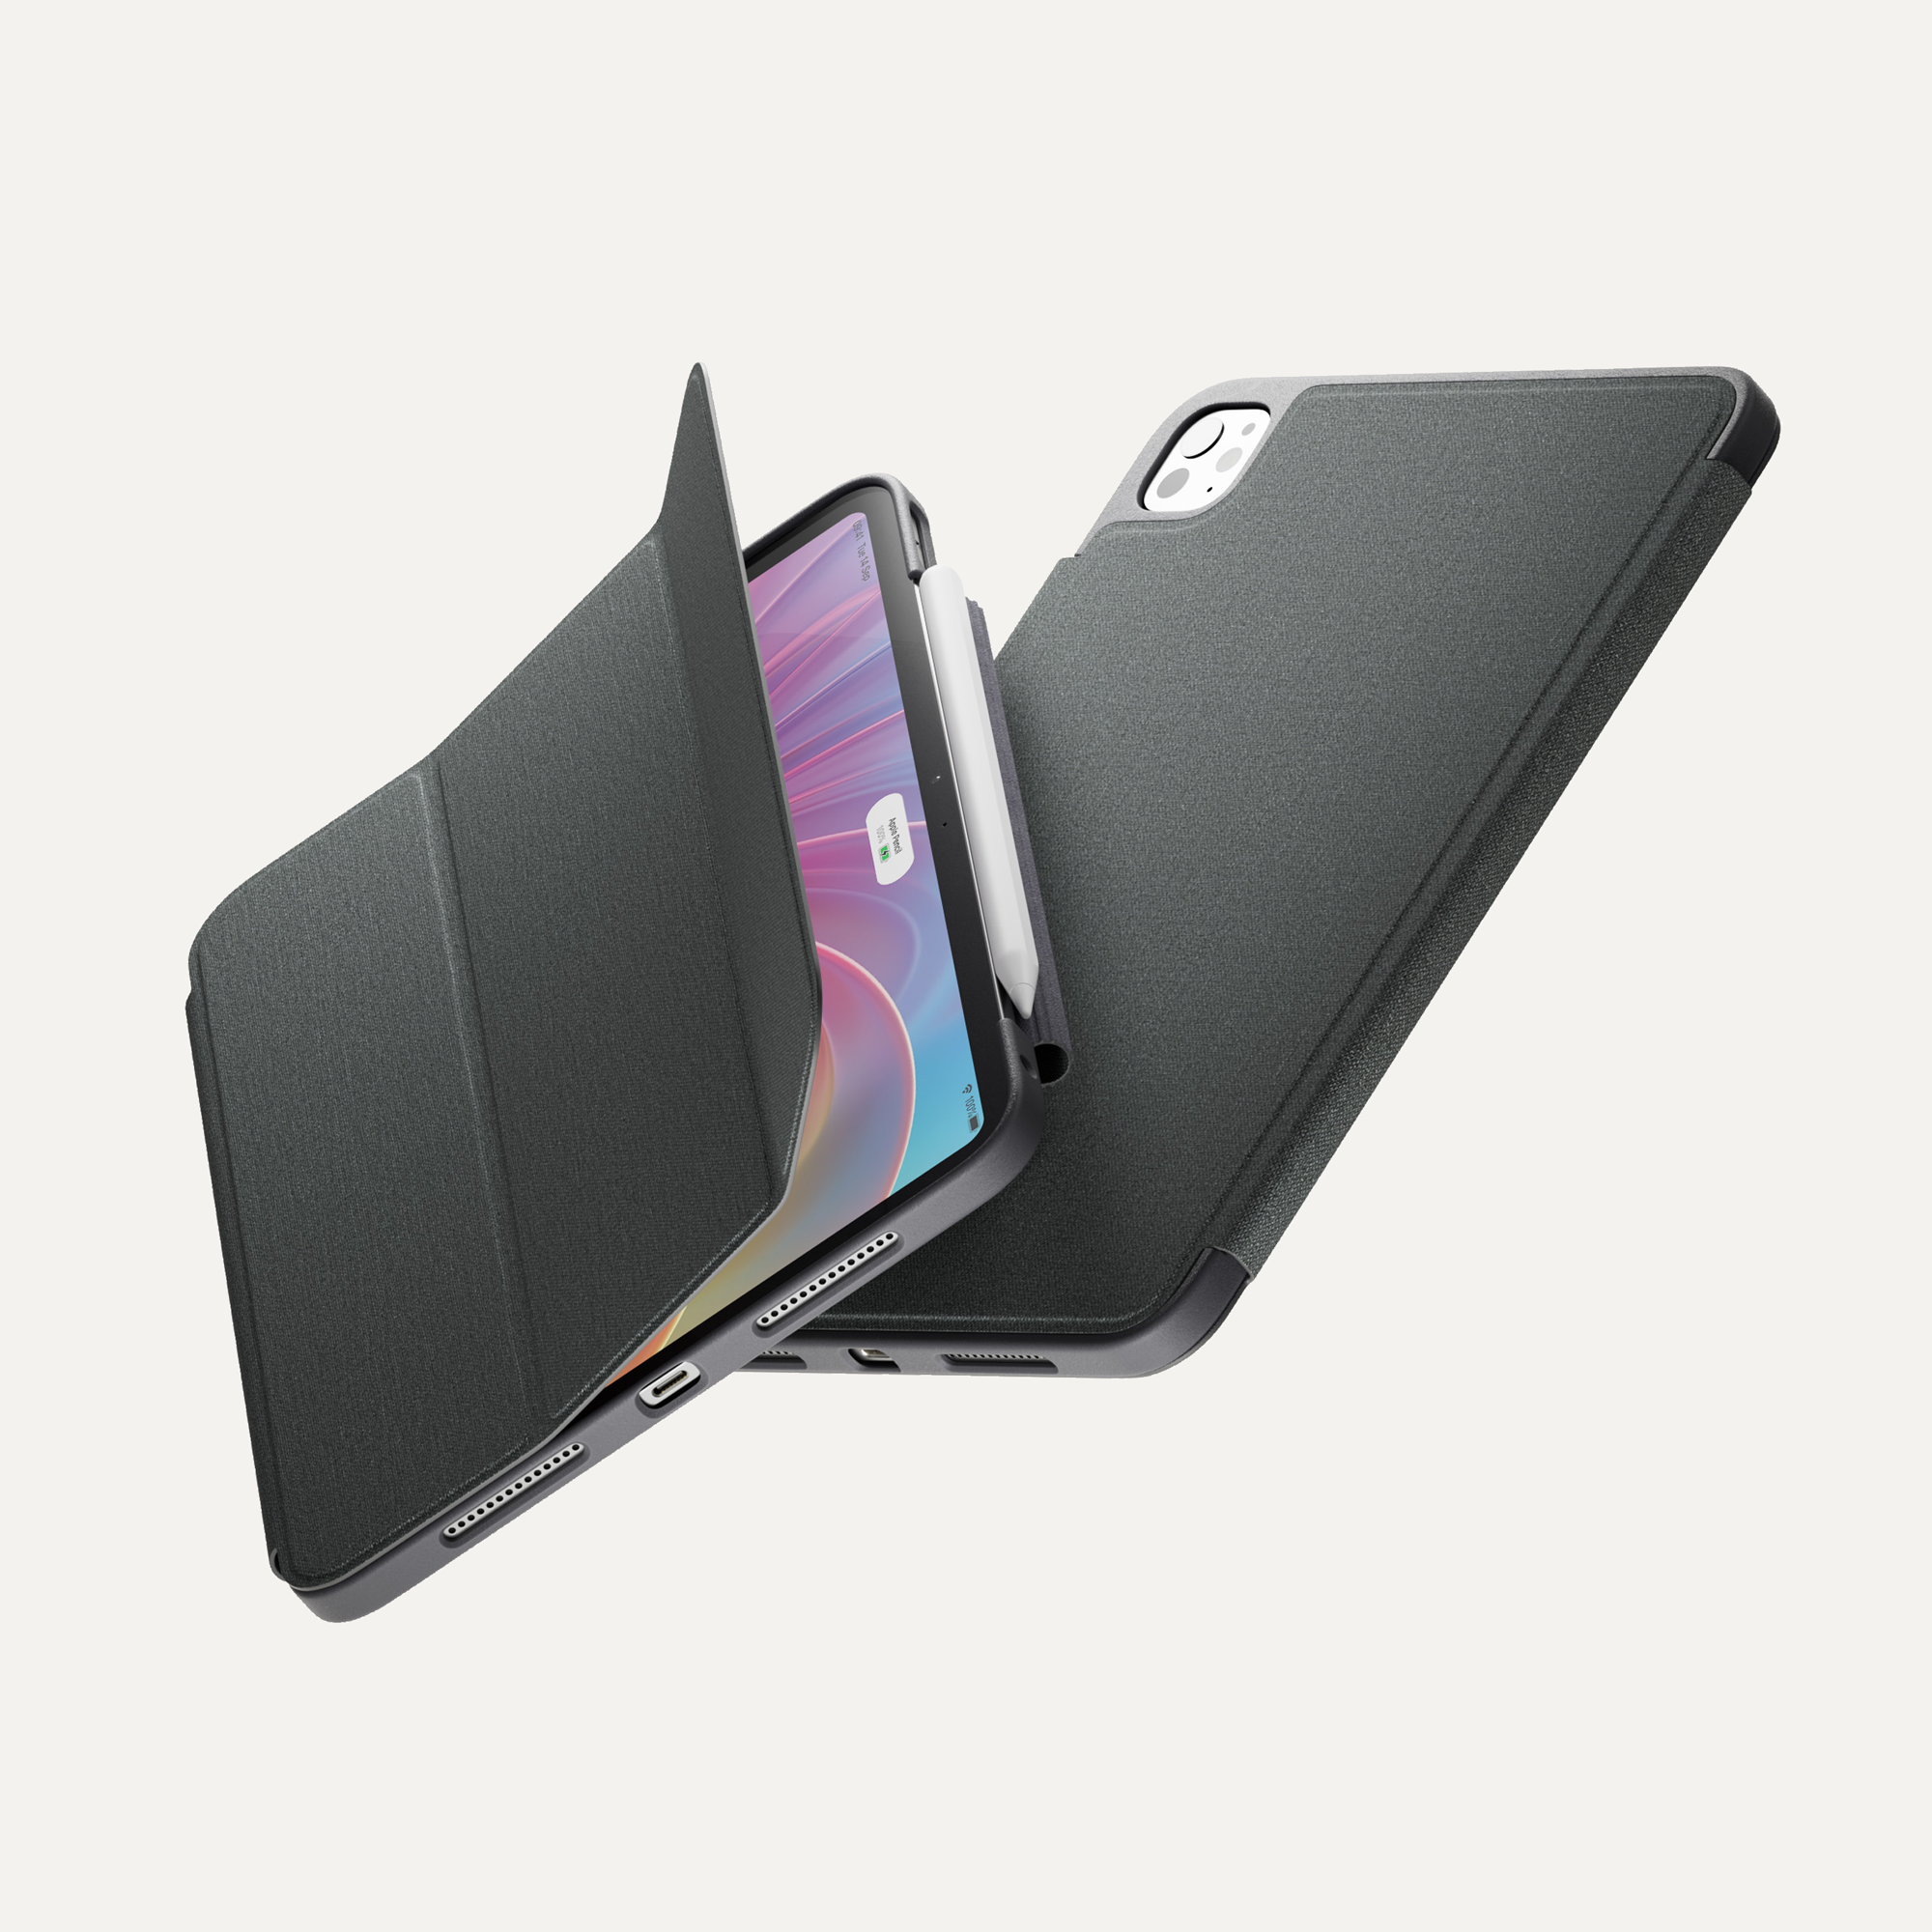
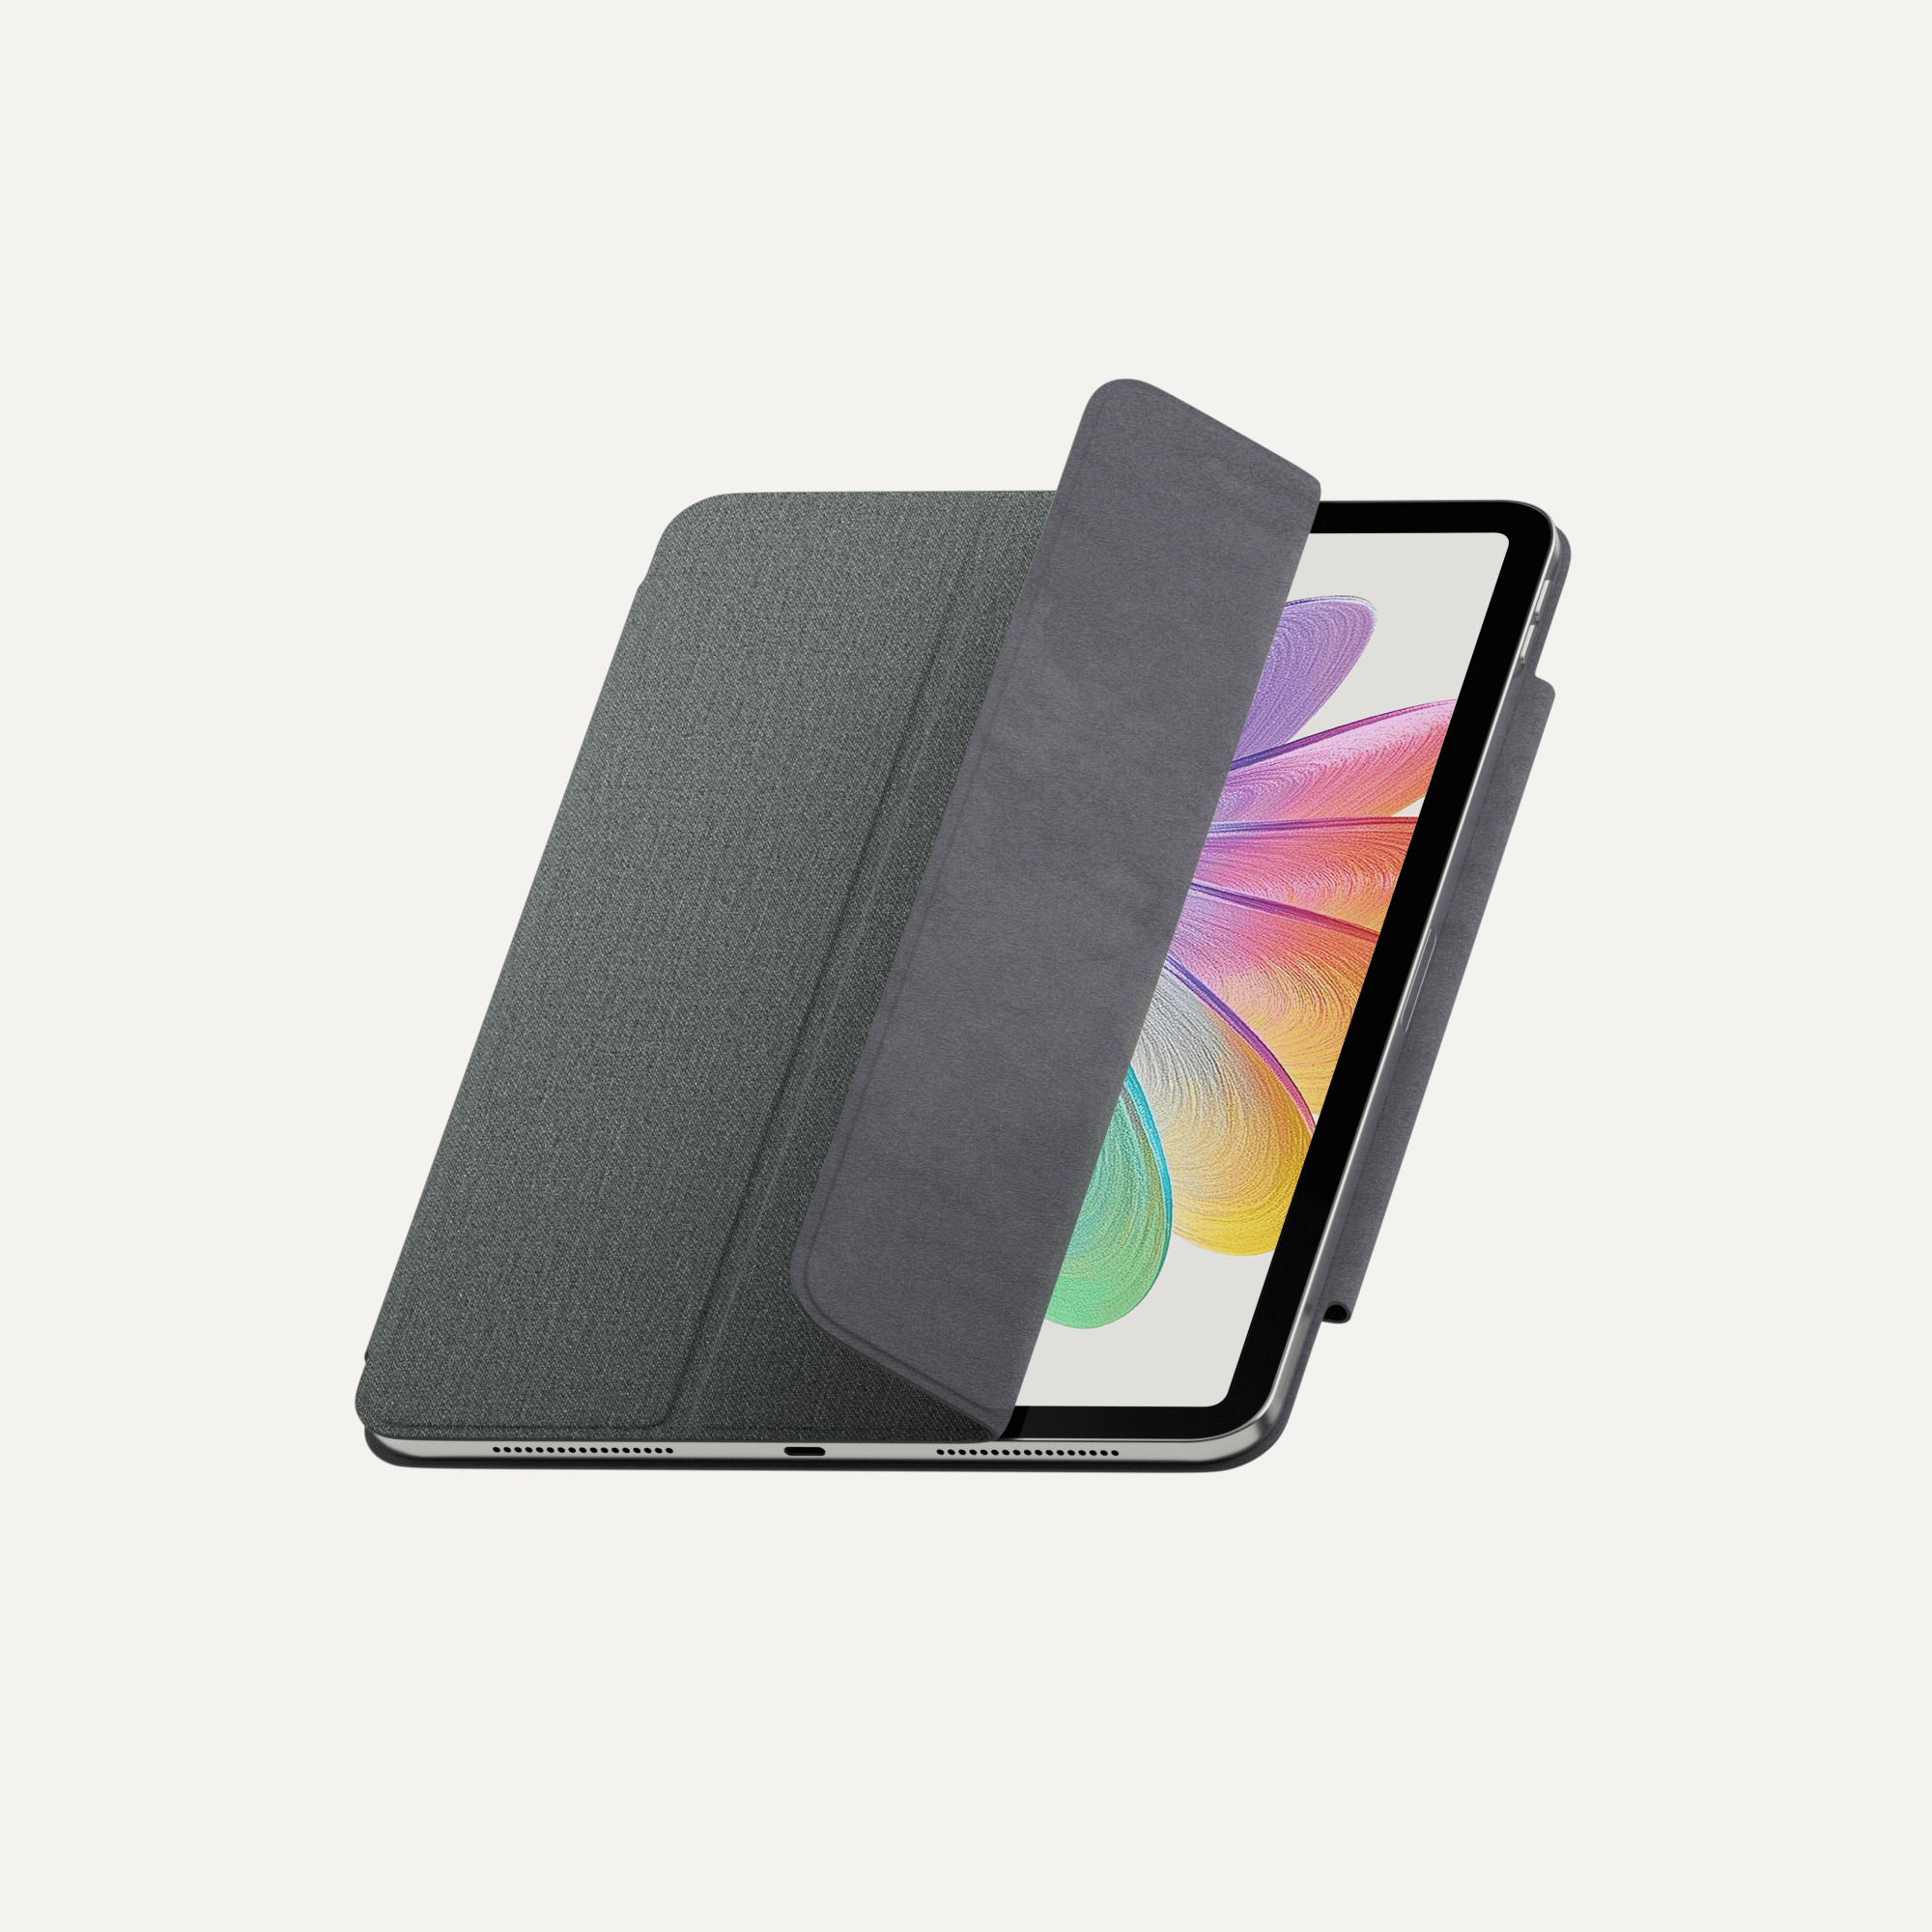
If that’s the case, Paperlike’s Folio Case offers an excellent solution.
Our Folio Case completely enfolds your device but leaves openings to all your cameras and buttons, which evens it out. You can just open up the cover, and you’ll have a flat surface for writing.
The cover of Paperlike’s Folio Case has a foldable design that allows you to prop up your iPad at two different angles. One angle offers better positioning for your wrist while writing or drawing, while the other is perfect for studying and reviewing your notes.
(Free study tip: If you’re uncomfortable while studying, you’re going to have a bad time.)
And don’t forget, having a case will also help protect your device from scratches, scuffs, and dirt, so owning a stellar case is a win-win solution.

5. Dive into the app toolbox
The right tools can make all the difference.
Think back to when you were taking notes with pen and paper.
Do you have a favorite pen brand that you have always liked to use? Think about why you picked that particular pen. Did it create smooth lines? Were they thick or thin lines? Or did you have different pens for different types of notes?
When you transition to digital note-taking, you need to find the equivalent of your favorite pen.
Most note-taking apps, like Goodnotes and Notability, offer different pen types, such as ballpoint, fountain, or brush pens. Take each one of these pens for a spin and see what you think.
Ballpoint pens usually don’t have pressure sensitivity, so it’s easier to keep your strokes consistent and your notes neat.
If you prefer to liven up your notes, you could use the fountain pen to write in calligraphy or cursive handwriting. Brush pens are another great tool to use to add flair to your titles and headers.
Play with the line thickness settings to find your sweet spot.
You might find that you can smooth out your letters just by increasing or decreasing the line thickness, allowing you to neaten your handwriting without any extra effort.

6. Unlock comfort & control
Writing with a stylus isn’t as easy as you might think.
At least, not when it comes to comfort and neat handwriting.
You’ll still use your stylus just like you’d use a pen or a pencil, but the problem is that writing on glass forces you to keep a tight grip on your Apple Pencil (or other stylus).
The surface is slick, so it’s normal to compensate by trying to better control your writing instrument.
Unfortunately, maintaining such a tight grip on your stylus leads to hand fatigue and wrist cramps.
Luckily, you don’t have to keep suffering. You can simply attach a pencil grip to your Apple Pencil!
Pencil grips will add some bulk and texture to your preferred stylus for a better grip.
You’ll find hundreds of types of pencil grips available, but they all only help with one thing. And that’s great, if they can solve your personal issue. But if you want neater notes, that’s probably not going to be enough.
Here’s why.
The way you grip your stylus will change based on whether you’re jotting down thoughts or drawing detailed diagrams.
A grip designed only for comfort can make it harder to get precise lines. A grip focused solely on precision can feel uncomfortable during long writing sessions.
That’s why Paperlike’s Pencil Grips combine the best of both worlds, offering ergonomic comfort and precision control in a single, all-purpose design.
With one of our Pencil Grips attached, you’ll have the support you need for long note-taking marathons and the stability required for crisp, clean handwriting and visuals.
And, on that note, you should also play with how you grip your Apple Pencil.
Because the Apple Pencil feels different than traditional tools, a different grip or hand position may feel more comfortable and even produce better handwriting.
Because everyone knows that comfort is king!

7. Zoom to perfection
When it comes to handwriting, size matters.
Most people learned to write on lined paper. Whether you used wide-ruled or college-ruled paper, you ingrained the motions necessary to fit your handwriting into this size.
The iPad and note-taking apps change all that. With an infinite canvas, you can write at any size you want.
But, as the saying goes, just because you can doesn’t mean you should. (Looking at TikTok trends is proof enough.)
Handwriting on an iPad often gets messier and harder to control as it gets larger.
That means that if you want really neat notes, you’ll need to write at your own optimal size. But what do you do if you’d like your notes to be larger or smaller than that?
You’ve got two options for adjusting the size of your notes without compromising your handwriting: the Zoom tool or the Lasso tool.
Most apps have a Zoom tool that allows you to zoom in on your notes. This allows you to adjust the page so that you can write at a comfortable size.
If you want to end up with smaller handwriting on the page, zoom in, write your notes, and then zoom back out. If you want larger handwriting, do the opposite.
This is great for continuous note-taking.
But what about situations where you need to shuffle and resize your text?
The Lasso tool is a great solution.
This tool helps you resize and reshape your notes on the fly. Using the Lasso, you can select whole sections of your notes and move them around the page.
You can also make your handwriting bigger or smaller by using the lasso to shrink or expand it.
Using the Zoom and Lasso tools can be a game-changer for the note-taking process. Plus, if you use them the right way, you can combine these tools with effective note-taking strategies to rearrange your lecture notes into more study-friendly formats.

8. Infuse life into your notes
Neat notes don’t have to be boring.
Sure, using a plain, ballpoint pen tool and a straightforward note-taking method might seem a little dull, but that doesn’t mean that you can’t get creative with your notes.
There are plenty of ways that you can liven up your notes without turning them into a jumbled mess.
While it’s often best to keep the main text simple and plain, you can create fancy headers using a brush script or something similar to add a little flair.
Color schemes can add some pizzazz to your notes while doubling as an organization system.
Use different colors to differentiate between different topics or types of information. Or, if you prefer a more uniform look, you can use varying shades of the same color.
This type of organization can also make it easy to spot main points from subpoints in your study notes. For example, use dark blue for topics, a middle shade for subpoints, and a light or pastel blue for supporting facts.
Use bullet journal dividers or borders in your notes.
Do a quick web search, and you’ll find plenty of examples of bullet journal dividers and borders that you can use for inspiration. These add a fun visual element to your notes that you can use for decoration or to separate topics.
Digital stickers are also a great addition. You can use these like sticky notes to add in any information that you missed or to draw attention to certain areas or ideas.

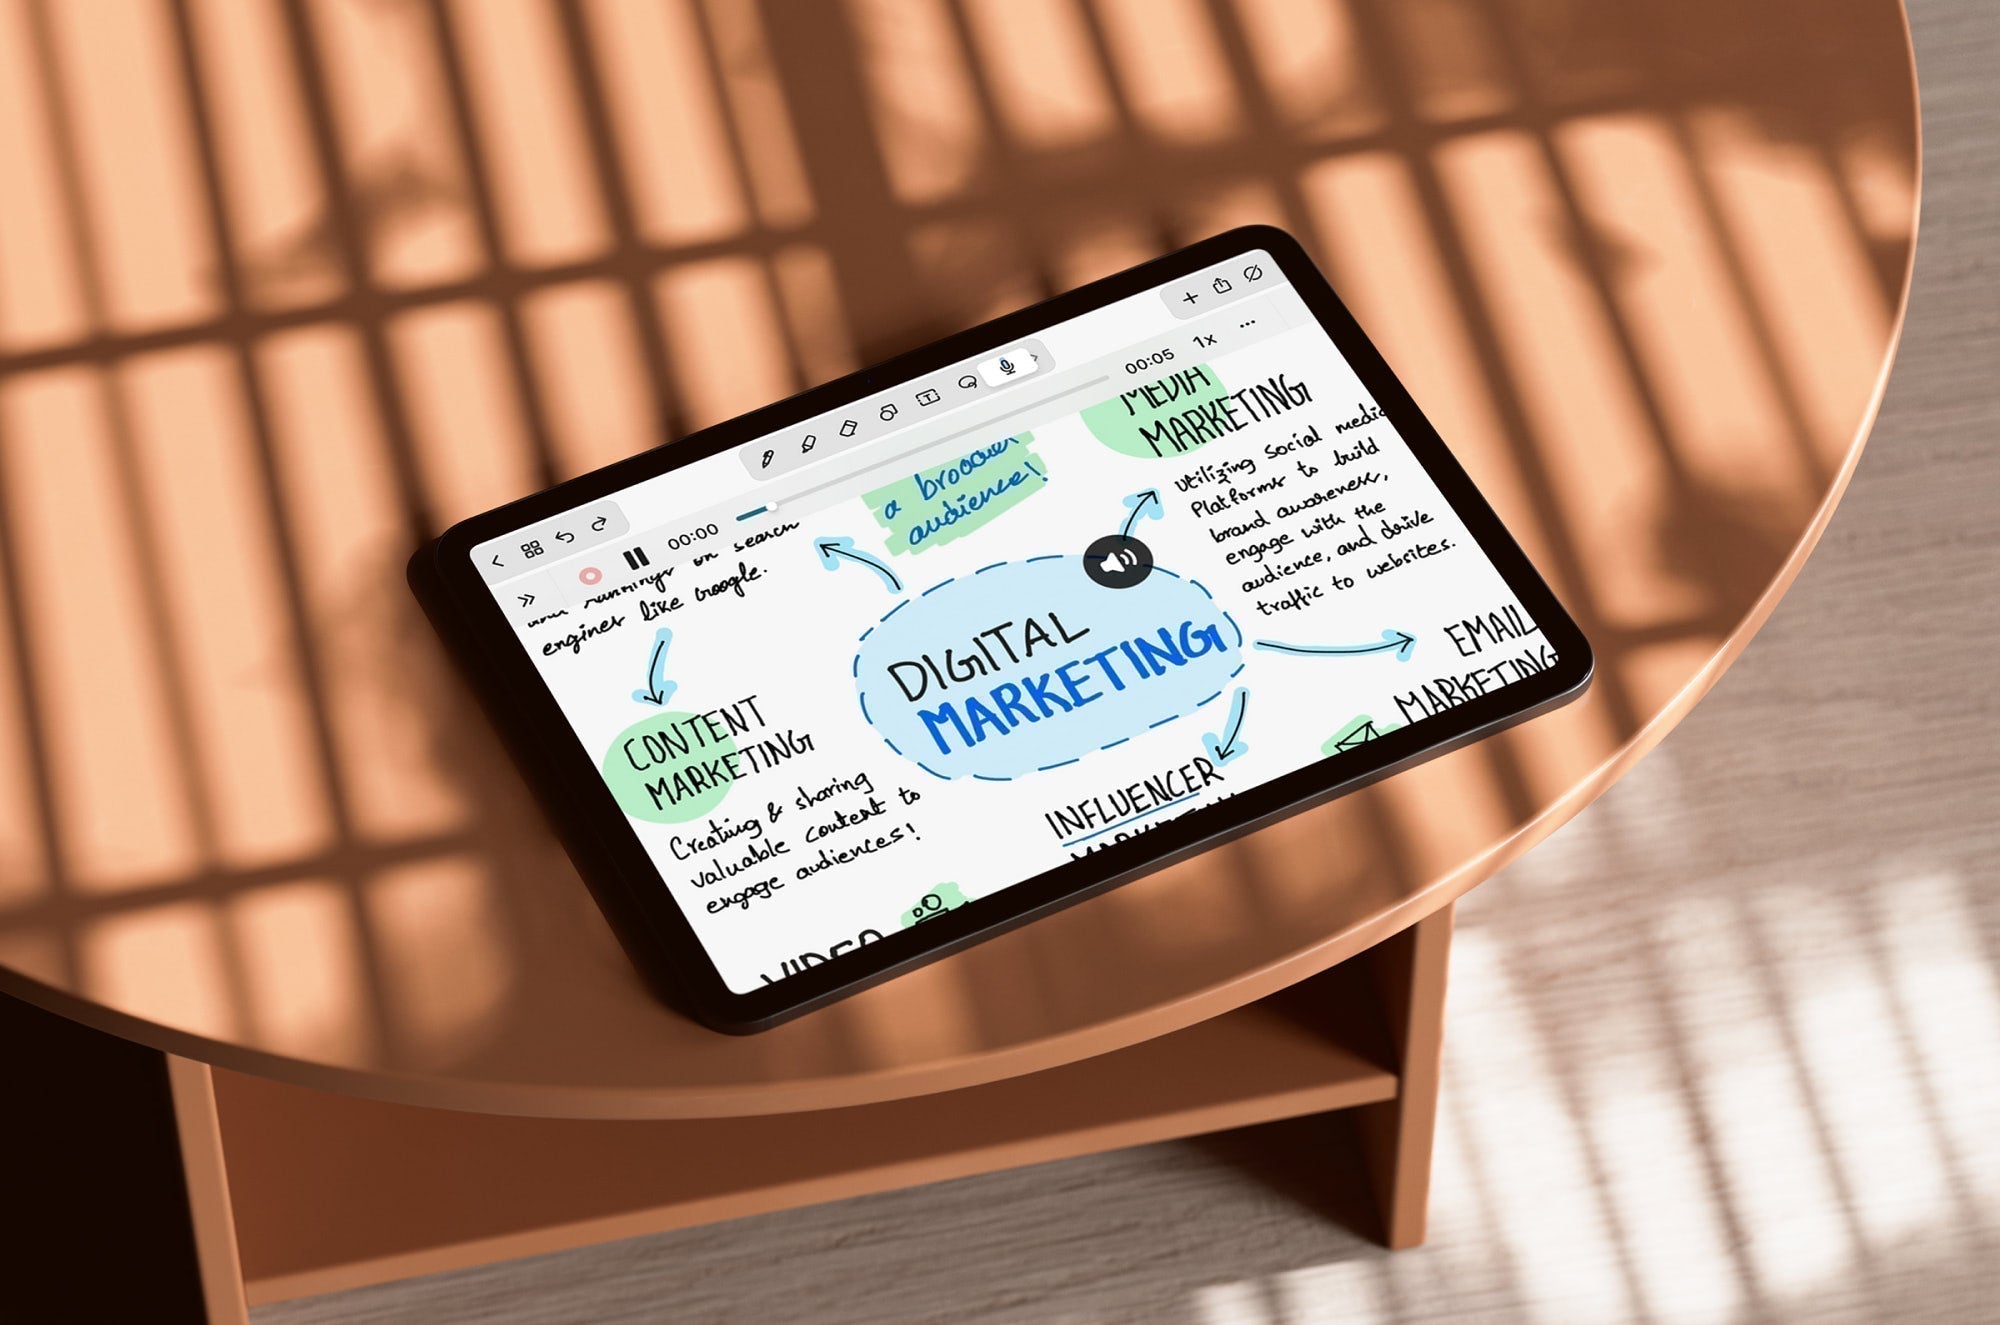
9. Utilize the power of visuals
Big blocks of text are intimidating.
One of the main reasons it’s so difficult to study a textbook is that you’re forced to read through endless blocks of dense text.
Sure, there are a few section breaks and maybe an image or two, but it’s mostly paragraph after paragraph full of words.
Without any kind of visual breaks, it’s easy for your mind to start wandering and your focus to diminish, especially if you’re a visual learner.
That’s where images and diagrams come in.
These visual cues not only help explain the material, but they also make it easier to sift through your notes. Images draw the eyes, bringing your focus back to the information at hand.
Note-taking apps make it easy to import and add images to your notes. Most apps also let you resize or move these visuals anywhere you want.
For better memorization, you can even trace over diagrams.
Import images and diagrams, and then try tracing over them in the app. Not only do hand-drawn diagrams look nicer, but the act of drawing them will also help you remember the information better in the long term.
Once you’re done, you can delete the imported image, leaving only your own version. This is especially helpful if you only need part of a diagram because you can trace the essential details and get rid of the rest.

10. Mastery through patience & practice
Strive for progress, not perfection.
Writing notes on a glass screen is a skill, and learning any new skill takes time. If you want to improve your digital handwriting quickly, you’ll need to put in the work.
We aren’t saying that you need to go back to writing your letters over and over again like you did in your grade-school English class, but you should experiment with settings and try things out.
Once you’ve found the grip and hand positioning that you like best, practice writing as often as you can.
Write slowly and deliberately for better control.
Quick FYI: The Apple Pencil is sensitive and will often leave marks if you don’t get the nib off the screen between words or sentences, much like a pen would on paper.
If you don’t know what to write and you want to practice, you can import some practice pages. You’ll find tons of options through a quick web search, from calligraphy practice sheets to more standard fonts, and many of them are free.
Using the text box is another great option.
Click the icon that allows you to type text in your note-taking app. This will open a text box where you can start typing. Use the settings to pick a font you like, type out some text in the proper size, and then practice tracing the letters.
Over time, you’ll find that it gets easier, and your handwriting gets neater.

11. Embrace spotless penmanship
Digital screens get dirty.
Dust, dirt, and even oil from your skin can gunk up your screen, causing multiple problems.
A messy screen can block your vision, making it harder to take neat notes. On top of that, it can also affect how your hand and Apple Pencil tip glide on the screen, creating sloppy handwriting, extra marks, and blank spots in the middle of strokes.
A clean writing surface is key to neat handwriting.
When it comes to electronics, there are specific types of cleaners and materials that you have to use to make sure you don’t damage your device when you try to clean it.
There are a lot of options out there, but ours is one of the best.
The Paperlike Cleaning Kit is an all-in-one solution to a dirty screen.
It includes a specialized cleaning solution that’s designed to remove fingerprints, dust, dirt, smudges, and other debris from your touchscreen.
The spray bottle is encased in a convenient hardshell housing and wrapped in an outer microfiber lining, serving as a gentle screen-cleaning tool.
The all-in-one design also offers maximum portability, which means that you can clean your screen anywhere, anytime.

12. The art of clever cheating
When all else fails, cheat!
Taking the time to practice your handwriting will help improve it, but what can you do when you need to take notes now, and your handwriting technique just isn’t there yet?
Utilize the special features available in most note-taking apps to improve your handwriting.
Apple Notes (and others) have a Straighten feature. If you tend to have crooked handwriting, you can use this feature to automatically straighten your notes.
All the big apps (Notability, Goodnotes, Noteshelf) also offer a snap-to-shape feature that’s pretty useful for neatening your handwriting. Draw a line or a shape in one stroke and hold down your Apple Pencil tip at the end, and your app will perfect the shape for you. You can use this on letters like L, O, T, or W to get perfectly straight or round letters.
As a last resort, use Scribble or Convert-to-Text.
If you really can’t stand your handwriting and you need legible notes, you can turn on Scribble before you start writing, and it will automatically convert your handwriting into text while you work.
Your other option is to use the Convert-to-Text feature. With your Lasso tool, select any of your handwritten notes and tap the Convert-to-Text button. Many apps allow you to adjust the text settings so that you can choose the size and font that you want ahead of time. Nebo even shows a conversion preview as you write, so you can correct mistakes as you go.
Typed text is definitely neater than handwritten notes, but you lose some of the personality and aesthetics that come with beautifully written notes.

13. Undo, redo, repeat
Mistakes happen, especially when you're writing fast.
But clean notes aren’t about never making mistakes. They’re about fixing them fast.
When you’re taking digital notes, the Undo and Redo tools are your secret weapons for keeping everything neat and tidy.
Instead of scratching out a mistake or scribbling over a wonky letter, you can just tap Undo, erase it cleanly, and try again — no messy crossouts, no distractions on the page.
Most note-taking apps offer simple tap or gesture controls to undo or redo actions.
In Goodnotes, Notability, and Noteshelf, you’ll usually find Undo/Redo icons at the top of the screen, or you can double-tap with two fingers to undo and triple-tap to redo.
Getting comfortable with these shortcuts can make a huge difference. You’ll spend less time worrying about perfect pen strokes and more time focusing on capturing the information that matters.
Pro tip: Don’t be afraid to undo multiple times if you’re not happy with how something looks. Your notes will look cleaner, and you’ll save yourself the headache of trying to work around messy corrections later.
Because when it comes to neat notes, a little course correction goes a long way.

Take neater notes with Paperlike
We hope these tips will help you improve the neatness of your notes so you can study and review effectively. You can also check out our top note-taking tips to take better notes.
Here at Paperlike, we’re avid digital note-takers and creators. All our products were specifically designed to make writing and drawing on the iPad a better experience.
If you really want to master neat notes, Paperlike can help you do that by providing resistance and friction similar to what you’d experience when writing on real paper.
Get your Paperlike here or check out the Notetaker Collection, where you can get all the essential Paperlike products at a discount.