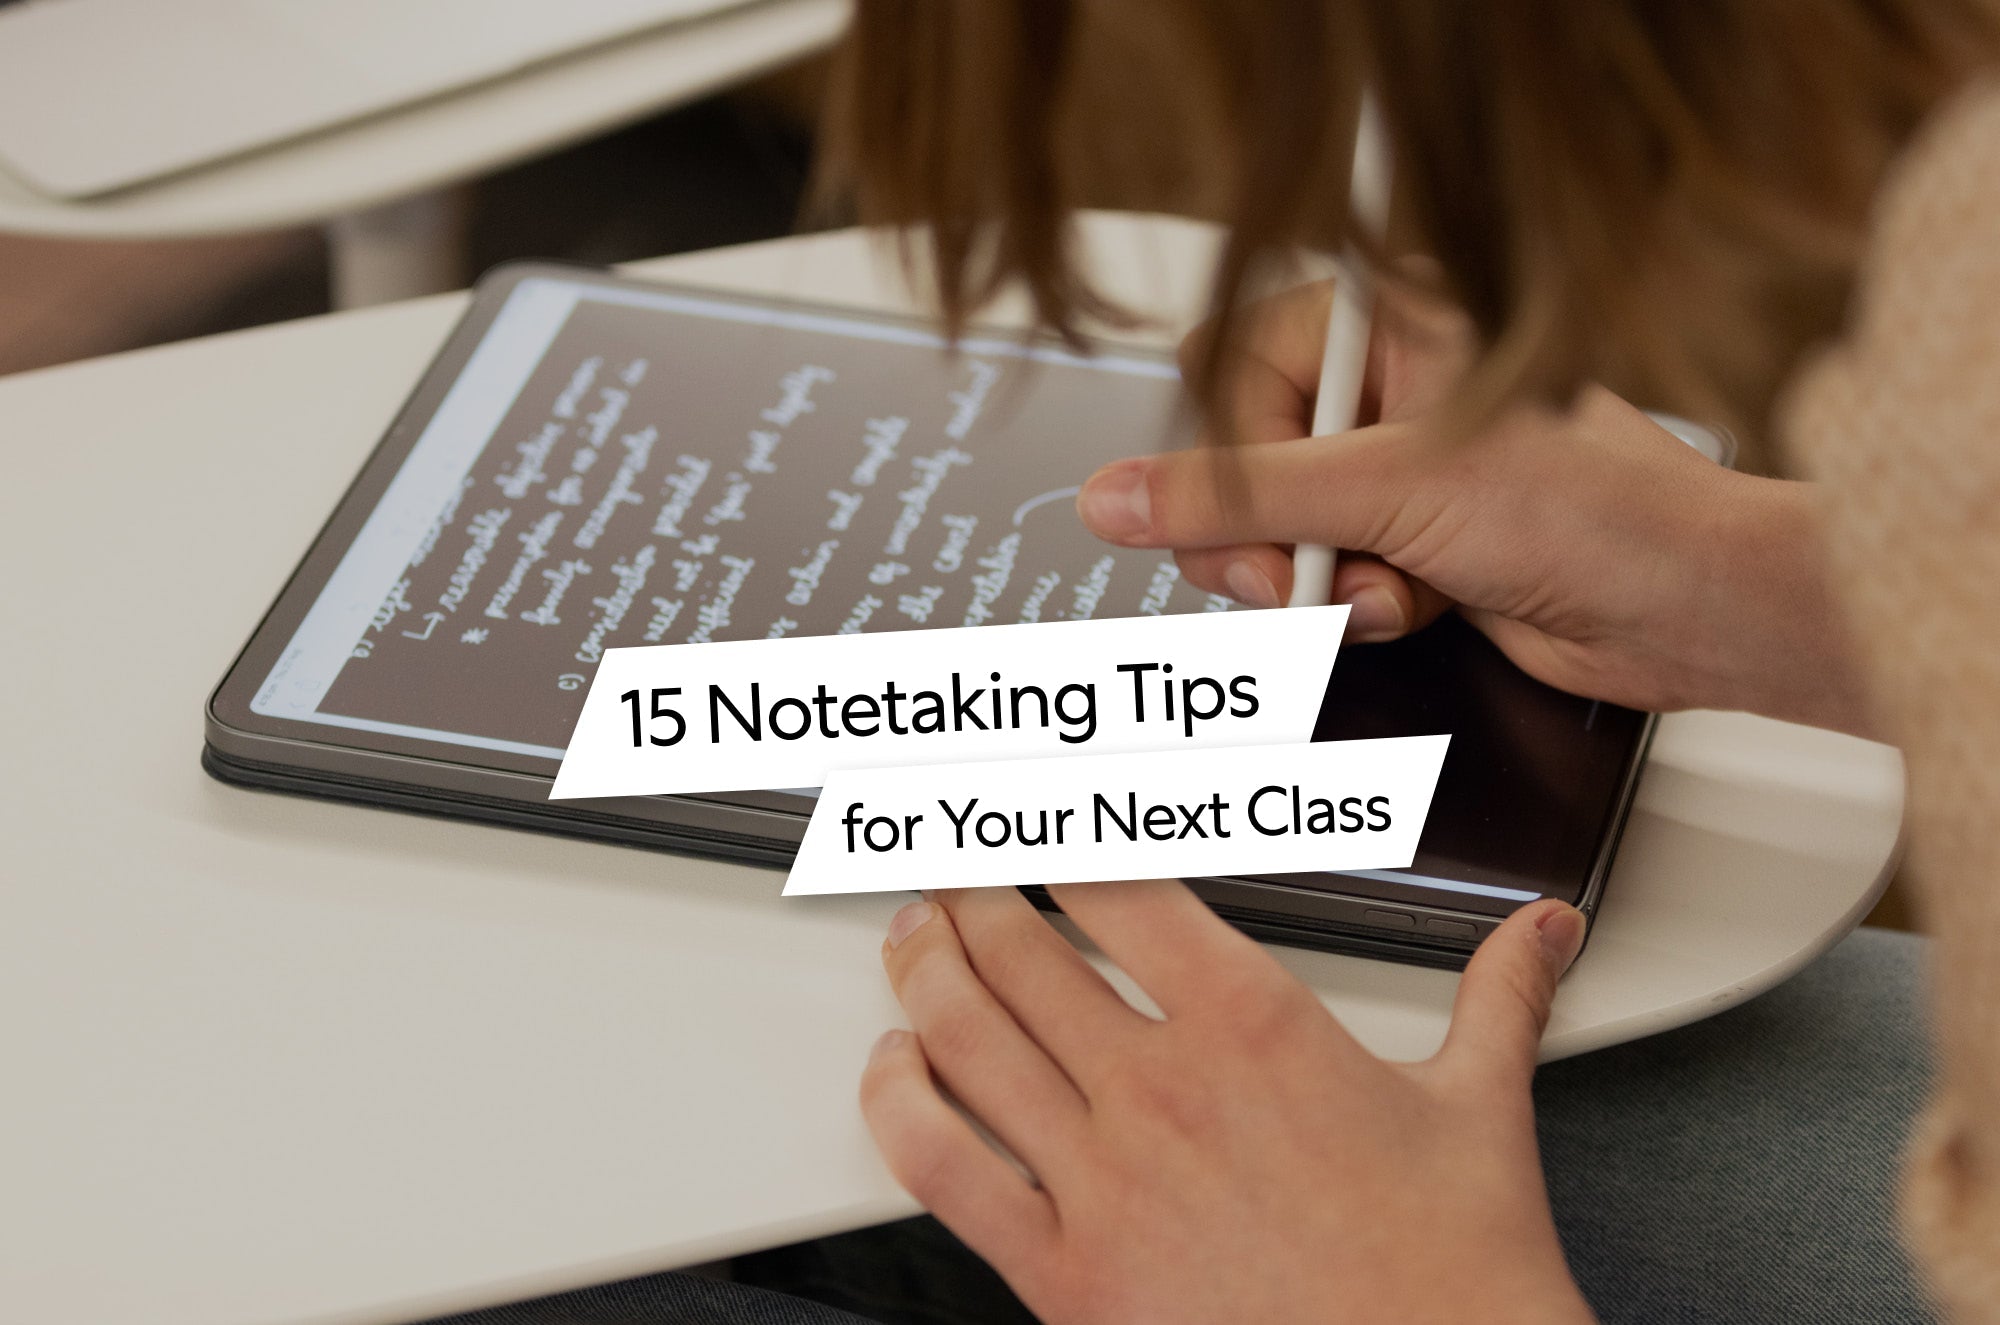


Are your notes a disorganized mess? So much so that you can’t ever find what you need?
You’re not alone.
While notetaking can be used for school, work, to-do lists, and much more, none of your notes will do you any good if you can’t find them when you need them!
Organizing your notes can be a challenge, but it’s not impossible.
Here are 11 tips to help keep your notes accessible and ready for action.
Organization: Physical vs. digital notes
No matter how you choose to take notes, staying organized is key to long-term success.
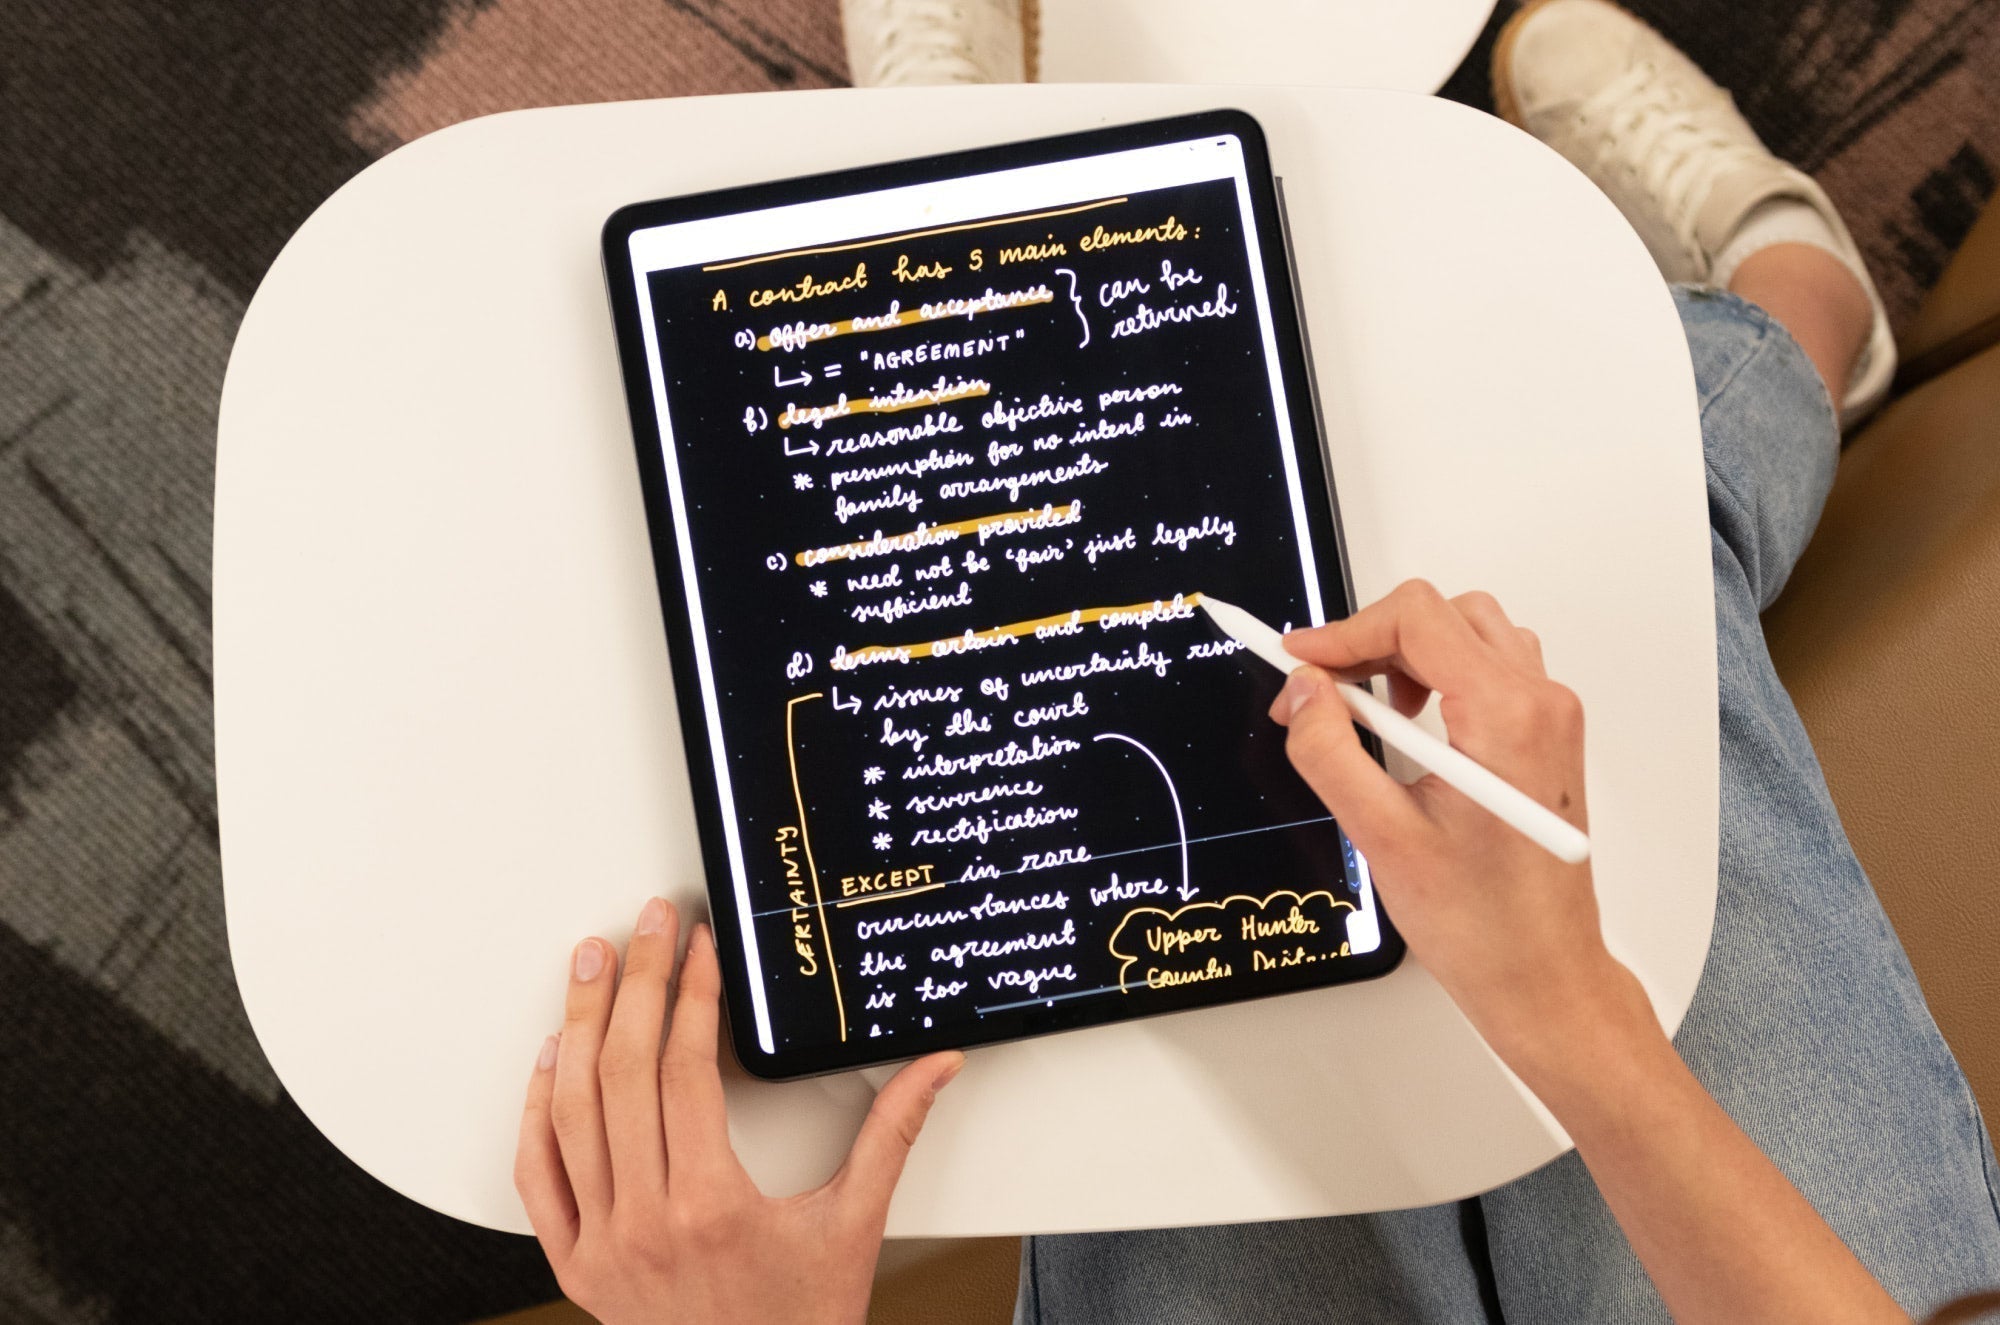
At Paperlike, we use our iPads, Apple Pencils, and Paperlike Screen Protectors to create digital notes and stay organized.
But if you’re still taking notes by hand, don’t worry! From mind maps to bullet points, we still use a lot of the same techniques you’d use with pen and paper!
While the images in this article are mostly focused on how to stay organized using digital notes in Notability, we’re talking about techniques that can be used to keep your physical notes in prime condition!
1. Sort notes into folders/notebooks
The easiest and most obvious way to organize your notes is to sort them into different folders or notebooks by type.
If you’re still using pen and paper, use separate notebooks for each class, subject, work project, or task. You can add tabs or dividers throughout the notebook to further separate topics.
Digital notes can be divided and organized using the same system. Most notetaking apps allow you to sort your notes into different folders and subfolders for deeper organization.

In Notability, you can group related notes by creating Dividers (think of these as folders). Each Divider can then contain Subjects, which are a second level of organization that lets you group multiple Subjects together.
For example, you might use a Divider called “School” and have Subjects underneath for each type of class: “Math,” “Science,” “Literature,” etc.
To create a new Subject in Notability:
- Tap the + button in the Library view.
- Choose Subject and give it a name.
- To move notes into a Subject, just drag and drop them from the All Notes view.

To group Subjects under a Divider:
- Tap the + again and choose Divider.
- Drag the relevant Subjects into the Divider to nest them.
Color coding also comes in handy when trying to stay on top of your notes.
Notability automatically assigns different colors to your Subjects, which creates a clean, easy-to-scan layout. You can also go into Settings, tap on Themes, and toggle on the Colorful subjects, so you can visually distinguish between topics or types of notes.

If you’re taking notes by hand, you can buy a regular notebook with a solid color cover for each subject so that your notes for a given subject or project are easy to spot.
You could also store additional handouts (syllabus, slides, etc.) in a folder of the same color, assuming that you can’t keep all of your documents together in a shared binder.
You can do the same thing with digital notebooks by changing the cover in your notetaking app. For any handouts, simply scan the document and add it as a page or attachment in your digital notebook.
2. Create a Table of Contents
Before you even start taking notes, set yourself up for success by creating a table of contents.
This easy reference point will help you find the sections you’re looking for without having to search through the entire notebook.
The best part? You can do this in regular or digital notebooks!
In a regular notebook, you’ll just label the top of the first two or three pages “Table of Contents.” Then you’ll number the rest of the pages. But don’t worry! You can do that as you go along.
Any time you start a note, write the subject and date at the top of the page. When you finish your notes, you’ll add the subject and coordinating page numbers to your table of contents.
It’s that easy.
Using a naming convention will also help to keep your titles consistent and distinguishable when you’re searching through them later.
Digital notes offer a few more options for fast navigation.

In Notability, you can create your own version of a table of contents by linking between notes or using the Favorites and Note Title features:
- Give each note a clear and consistent title. From the note screen, tap the title at the top to rename it with a specific format, like “Week 1 - Lecture Notes” or “Project Kickoff - 04/10.”
- Mark important notes as Favorites by pressing and holding on the note and selecting Favorite from the pop-up menu. This adds a star icon and moves them to a shortcut list you can access from the top bar.
- Create a separate note called Table of Contents and paste links to your favorite or frequently referenced notes. This is a little complicated in Notability, but it is possible.
- To link to a note, tap More > Create link > Share link > Copy Link, then paste it into your table of contents note.
- Once it’s in your note, you’ll need to use the Freeform Selection tool to copy and paste it again. The newly pasted link should be hyperlinked, and you can delete the first one.

You’ll still need to name each link, so you know where they go, but this lets you build a clickable dashboard to jump between related notes, creating your own custom reference system.
If you don’t love the idea of creating a table of contents, you could try something like a bullet journal instead. Bullet journaling is a unique and fun way to keep your calendar, to-do lists, notes, and everything else organized and separate.
3. Choose a notetaking method
A good notetaking method will help you keep your notes structured and organized, regardless of whether you’re handwriting your notes or taking them down digitally.
There are a ton of great systems out there, but how do you know which one is right for you? Here are a few different approaches to consider:
Outline method
Pretty much everyone has tried this easy-to-use method at some point in their life. Outlining is the most structured, and its hierarchical nature helps students to get down the content and create relationships. If you choose this method, your notes will be neat and easy to review.
The downside is you might be so focused on getting the information in the right locations that you’re not necessarily understanding it as you write it. Best for structured classes or lectures.

How to do it in Notability:
- Create a blank note or select an outline template. (You can also check out the Gallery for outline templates.)
- Use the Text tool or the Pencil tool to quickly add headers for major sections, and then add subheaders below.
- You can also use colors or highlighting to make headings stand out.
Cornell method
The Cornell method utilizes a split-page notetaking system with three sections. You’ll have a large column for your notes and a narrow column for cues or recall. This column should contain the key points, important connections, and relevant questions. You’ll also write a quick summary highlighting the main takeaways at the bottom of the page. Best for quick recall of key points.

How to do it in Notability:
- Create a new note and tap Templates at the bottom of the page. Notability has a built-in Cornell Note template that you can choose, or you can search the Gallery for one that you like better.
- Once the layout is set, start taking your notes in the larger section. Use the narrow column for cues and write a summary at the bottom.
Visual notes
Visual notes, or sketchnoting, combine drawings, symbols, and handwritten notes to quickly get down the information in a visual way.
Instead of transcribing or writing down information word for word, this method allows you to engage different parts of the brain and really pushes you to comprehend the material and make connections. Best for taking down notes fast and for visual learners.

How to do it in Notability:
- Use the Pen Tool to draw, write, or highlight important concepts.
- Add shapes, arrows, and lines to create diagrams that help you visualize connections.
- Don’t forget to use the Zoom Tool if you want to add more detail to small areas or annotations.
- You can also insert images or stickers to make ideas even more visual.
Want to learn more? Jump over to our article on how to take notes fast for an in-depth look at other notetaking methods that we didn’t cover here.
4. Systematize your notes with templates
We’ve already mentioned templates a few times in the previous sections, and for good reason. A solid template gives your notes structure, saves time, and makes it easier to stay consistent across different subjects and projects.
In Notability, you can use built-in paper styles or upload your own custom templates to match your workflow.
Whether you’re tracking workouts, planning projects, or taking notes in class, templates allow you to:
- Keep information consistent and easy to scan.
- Reduce setup time.
- Create a reusable system for recurring tasks or subjects.
If you’re using paper, you can find a template online and print it out to use, or you’ll just have to set up your page the same way every time you start a new note.

How to use templates in Notability:
- Open a new note by tapping the + New button. Along the bottom, you’ll see choices for Rule, Grid, and Dot. You can also Import, Scan, or tap Templates.
- When you choose Templates, you’ll be taken to Notability’s built-in template options. You can scroll down to find a variety of different types, including Notepads, Academic, Creative, Planning, and more.
- At the very top, you’ll see selections from the Gallery, but you can also tap the Browse More button to see all the options available to download from other users. You can also access the Gallery from the sidebar.
- To add a custom template, go to Settings > Note Paper > Custom and tap Import to upload a PDF. Once uploaded, this paper style will be available as a background option anytime you start a new note. You’ll find it in My Templates when you enter the Templates menu. (You can find some awesome templates on Etsy or with a quick web search.

You can also create your own templates for just about anything:
- A Cornell layout for lecture notes.
- A daily log with checkboxes for task tracking.
- A meeting notes page with preset sections for agenda, attendees, and action items.
- A weekly workout tracker with slots for sets, reps, and rest time.
You can check out instructions and a YouTube tutorial from Notability for more in-depth details on how to do this yourself.
5. Create a consistent notetaking process
The most important organizational hack is to build a consistent notetaking process.
It doesn’t matter which of the tips on this list you choose to use, as long as you use them (or don’t) every time you take notes.
What does this look like?
- Choose one of the above notetaking methods and stick to it. Switching back and forth between different styles can create a lot of confusion.
- Take your notes for each meeting or class in the same notebook every time, or file them in the appropriate folder when you’re done.

- Use the same colors, fonts, and themes. If your first note has all the main topics in red, subtopics in blue, and details in black, use those same colors every time.
- Use a naming convention or title your notes in the same way for each item. For example, use a consistent format like Topic – Date or Client Name – Meeting Notes. In Notability, tap the note title at the top to rename it.
- Make sure to put important features, such as the date and your summaries, in the same location every time, whether that’s in the top corner, at the bottom of the page, or anywhere else.

How to reinforce this process in Notability:
- Create a template with your ideal layout (or duplicate a clean version of your notes each time).
- Use the Favorite Pen and Highlighter settings to keep your color scheme consistent. (Change out the default colors on the toolbar to reflect your preferred colors.)
- Rename each note using the title bar at the top and follow your chosen naming convention.
Studies show that information workers regularly lose up to two hours a week searching for lost digital documents. If you have a consistent notetaking system, you can save yourself a lot of time and headaches.
6. Summarize your notes
Taking effective notes and creating a summary at the end of your notes makes it easier to find the key pieces of information quickly and is the best method for comprehending the material you learn.
Some of the notetaking methods we’ve talked about already utilize a summary (like the Cornell method). For the ones that don’t, it’s a good idea to add it at the end of your notetaking session.
There are a couple of different ways you can do it.

Progressive summarization
This is a great way to capture the key points, and it doesn’t require a whole lot of rewriting.
- Read through your notes and bold or underline the important points.
- Then, read through the sentences you’ve selected and highlight the best of the best.
- From there, write a brief summary section. Just a few sentences to capture the big ideas.
To do this in Notability:
- Use the Highlighter tool in different colors to visually distinguish between “important” and “very important.”
- Use the Pen tool to write your final summary at the end of the note.
- Add a horizontal line or box around your summary to make it stand out.

Box off or highlight a section
Use the bottom of your notes for a quick summary. You’ll see this in any Cornell Notes template, but it’s useful in other formats, too. Your summary should include the main points of each section, so you can get the gist of what you’ve written in a few (brief!) sentences.
- Use the Pen tool to draw a box around this section or label it clearly.
- You can also use a different paper background (like grid or dotted) if you want to visually separate your summaries from the rest of the content.
Regardless of which method you choose, try to summarize your notes right after your class or meeting while the information is still fresh. If that’s not an option, try to get it done sometime the same day.
Digital notetakers can create a separate notebook for summaries to keep them all in one place. When it’s time to study, you’ll know exactly where to look to find all the key points.
7. Consider using a notetaking app
Going digital introduces a lot of quality-of-life features to speed up and refine the notetaking process.
You’ll have plenty of choices when it comes to notetaking apps, so you’ll need to find one that suits your needs, your writing style, and helps you take your best notes.
We love Notability because it’s simple to use, packed with useful features, and makes organization easy, especially if you’re using your iPad and Apple Pencil.
Here are just a few of the benefits (found in most apps):
- Templates and duplication tools can help you save time on setup and stay consistent.
- Pens, highlighters, and other tools allow you to customize your notes on the fly.
- Lasso and selection tools make it easy to structure and arrange your notes in a logical way.
- Nesting structures like subjects, dividers, notes, and tags all allow you to easily organize your notes.
- Optical character recognition (OCR) scans and recognizes typed text, text in images, in PDFs, and even handwritten notes, increasing your searchability.
- Automatic saving and syncing with the cloud make it easy to access your notes on multiple devices.

And honestly? Carrying an iPad with everything inside one app is way easier than hauling around a stack of color-coded binders.
To figure out which notetaking app will work best for you, you’ll need to determine what kinds of notes you’ll be taking the most.
There are a ton of great options out there, and most of them are free to try.
8. Make your notes easier to search
Taking great notes won’t matter if you can’t find what you need.
Even if you’ve highlighted and boxed all the important bits, you can still end up rifling through pages upon pages of notes without some way to quickly identify critical information.
To solve this, try adding something to your notes that will make them easier to spot. For paper notes, that might include:
- Drawings or symbols that represent key takeaways.
- Graphs or tables with relevant information.
If you’re flipping through a paper notebook, looking for a specific drawing will be a lot easier than sifting through all the handwritten text for one sentence.

The same applies to digital notes, but you’ve got a few more options. Here are some ways to help find the content you need in Notability:
- Use the search bar in the Library view to find text, even handwritten words or scanned PDFs. Notability’s OCR (optical character recognition) makes all your notes searchable by default.
- Add images or diagrams to make certain notes visually stand out. Notability uses note previews (thumbnails) in the Library, which helps you identify content at a glance.
- Use colors or symbols in your titles (like ✏️ or 🔍) to create visual cues and break up long lists of notes.
- Mark important notes as Favorites by tapping the star icon — this adds them to the top bar for quick access.
- Inside a note, use bold headers, highlighted text, or stickers/emojis to quickly locate important info later.

If you tend to bury key ideas in the middle of your notes, try using a consistent symbol (like a star or exclamation mark) or color highlight to flag them. Then you can quickly scroll through and spot those visual markers.
9. Use checklists to track tasks
Your notes aren’t just for remembering stuff. They’re often the launchpad for action.
Whether you’re prepping for a test, planning a project, or taking notes during a meeting, you can stay more organized by building simple checklists directly into your notes.
In Notability, it’s easy to create actionable to-dos on the fly using the checklist feature. You can add them at the end of a note, mix them in with bullet points, or even create a dedicated to-do list notebook.
How to add a checklist in Notability:
- Tap the Text tool (the “T” icon).
- Tap the Checklist button in the toolbar. This will insert a checkbox for each new line.
- Type your tasks or steps (or write them in) as you normally would. Tap the checkbox when something is complete.

Of course, you don’t have to use the actual Checklist feature. We find it to be a bit clunky, and we prefer to do more handwriting than typing with the Text tool.
If you also feel that way, you can always just draw your own checkboxes and check them off yourself as you complete each task.
Here are some ideas for using checklists in your notes:
- Study sessions: Make a list of topics or concepts to review before a quiz.
- Meetings: Note any action items and check them off once completed.
- Project planning: Use a checklist to track steps and deliverables right inside your brainstorming notes.
- Daily tracking: Add a quick morning to-do list to your journal or daily notes.

If you’re using templates (like we covered earlier), you can even build checklists right into your note structure. Just duplicate the note each day or week, and you’ll have a ready-made layout with tasks in place.
You can also find plenty of premade templates with to-do or task lists, if you want to create a separate notebook to keep track of everything.
10. Utilize flashcards
Organization doesn’t stop with keeping your notes in order. You can also use flashcards to break down your study notes into bite-sized, easy-to-review chunks.
Flashcards are perfect for:
- Reviewing vocabulary or key concepts.
- Memorizing definitions, dates, or formulas.
- Quizzing yourself before a test.
These tools are very easy to make. Just buy some index cards and fill in vocabulary or key concepts on one side and the description details on the reverse.
Digital index card options are available for digital notetakers. These tools function the same way as their paper counterparts, and most offer just as much flexibility, without the bulk of a stack of cards. You can even download these apps on your iOS and Android smartphones so that you can study while on the go.

If you’re using Notability Learn, you can now generate digital flashcards directly from your handwritten or typed notes, with no exporting required.
How it works:
- Open any note and tap the starred page icon in the top toolbar to access Notability Learn.
- Select Study.
- Notability will scan your content and automatically pull out key concepts and questions to create flashcards or a quiz.
- Select Flashcards to start studying.
- You can review them in-app and even mark which ones you’ve mastered.
Utilizing flashcards to quiz yourself is a proven, step-by-step method that will help to improve your recall and your test scores.
11. Clean out or archive your notes
Now that you’ve got nice, neat, organized notes, it’s important that you keep them that way by setting up an archival system.
If you know you don’t need your notes anymore, don’t be afraid to throw them out. If you think you may need your notes at some point in the future, find a place to file or store them out of the way.
This is trickier with physical notes because they take up space, but using the same system over several years will help you stay organized for the long term.
For digital notes, look through your most recent notes to make sure everything is labeled and in the right place. If your notes are digital, look for untitled notes. Give them a title and move them to their proper folder.
In Notability, archiving can be as simple as creating a Divider called “Archive” and moving older Subjects or notes into it.
Here’s how to tidy up your library:
- From the Library view, tap Select, choose any outdated notes, and drag and drop them into your Archive Divider or Subject.
- You can also tap duplicate to make a copy of it before editing or summarizing, keeping the full version tucked away for reference.
- To delete notes: Tap Select, choose the notes you don’t need anymore, and hit the trash can icon.

A few of the types of notes that you can delete are:
- Finished checklists/to-do lists.
- Meeting notes that are no longer useful to your job.
- Any note that’s no longer relevant.
Notes that can be archived include:
- Draft versions of your notes. These are the full notes that you took and either rewrote or summarized on a different page, so you don’t need the full text anymore.
- Notes from classes you’ve finished but might need to revisit someday (ex: Algebra 1 notes when you’re now in Algebra 2 class).
- Any other content that you don’t need right now, but could be useful in the future.
The beauty of digital notes is that you can archive anything you’re not currently using without losing the information forever. You’ll declutter your app, stay focused, and always know where to find what you need.

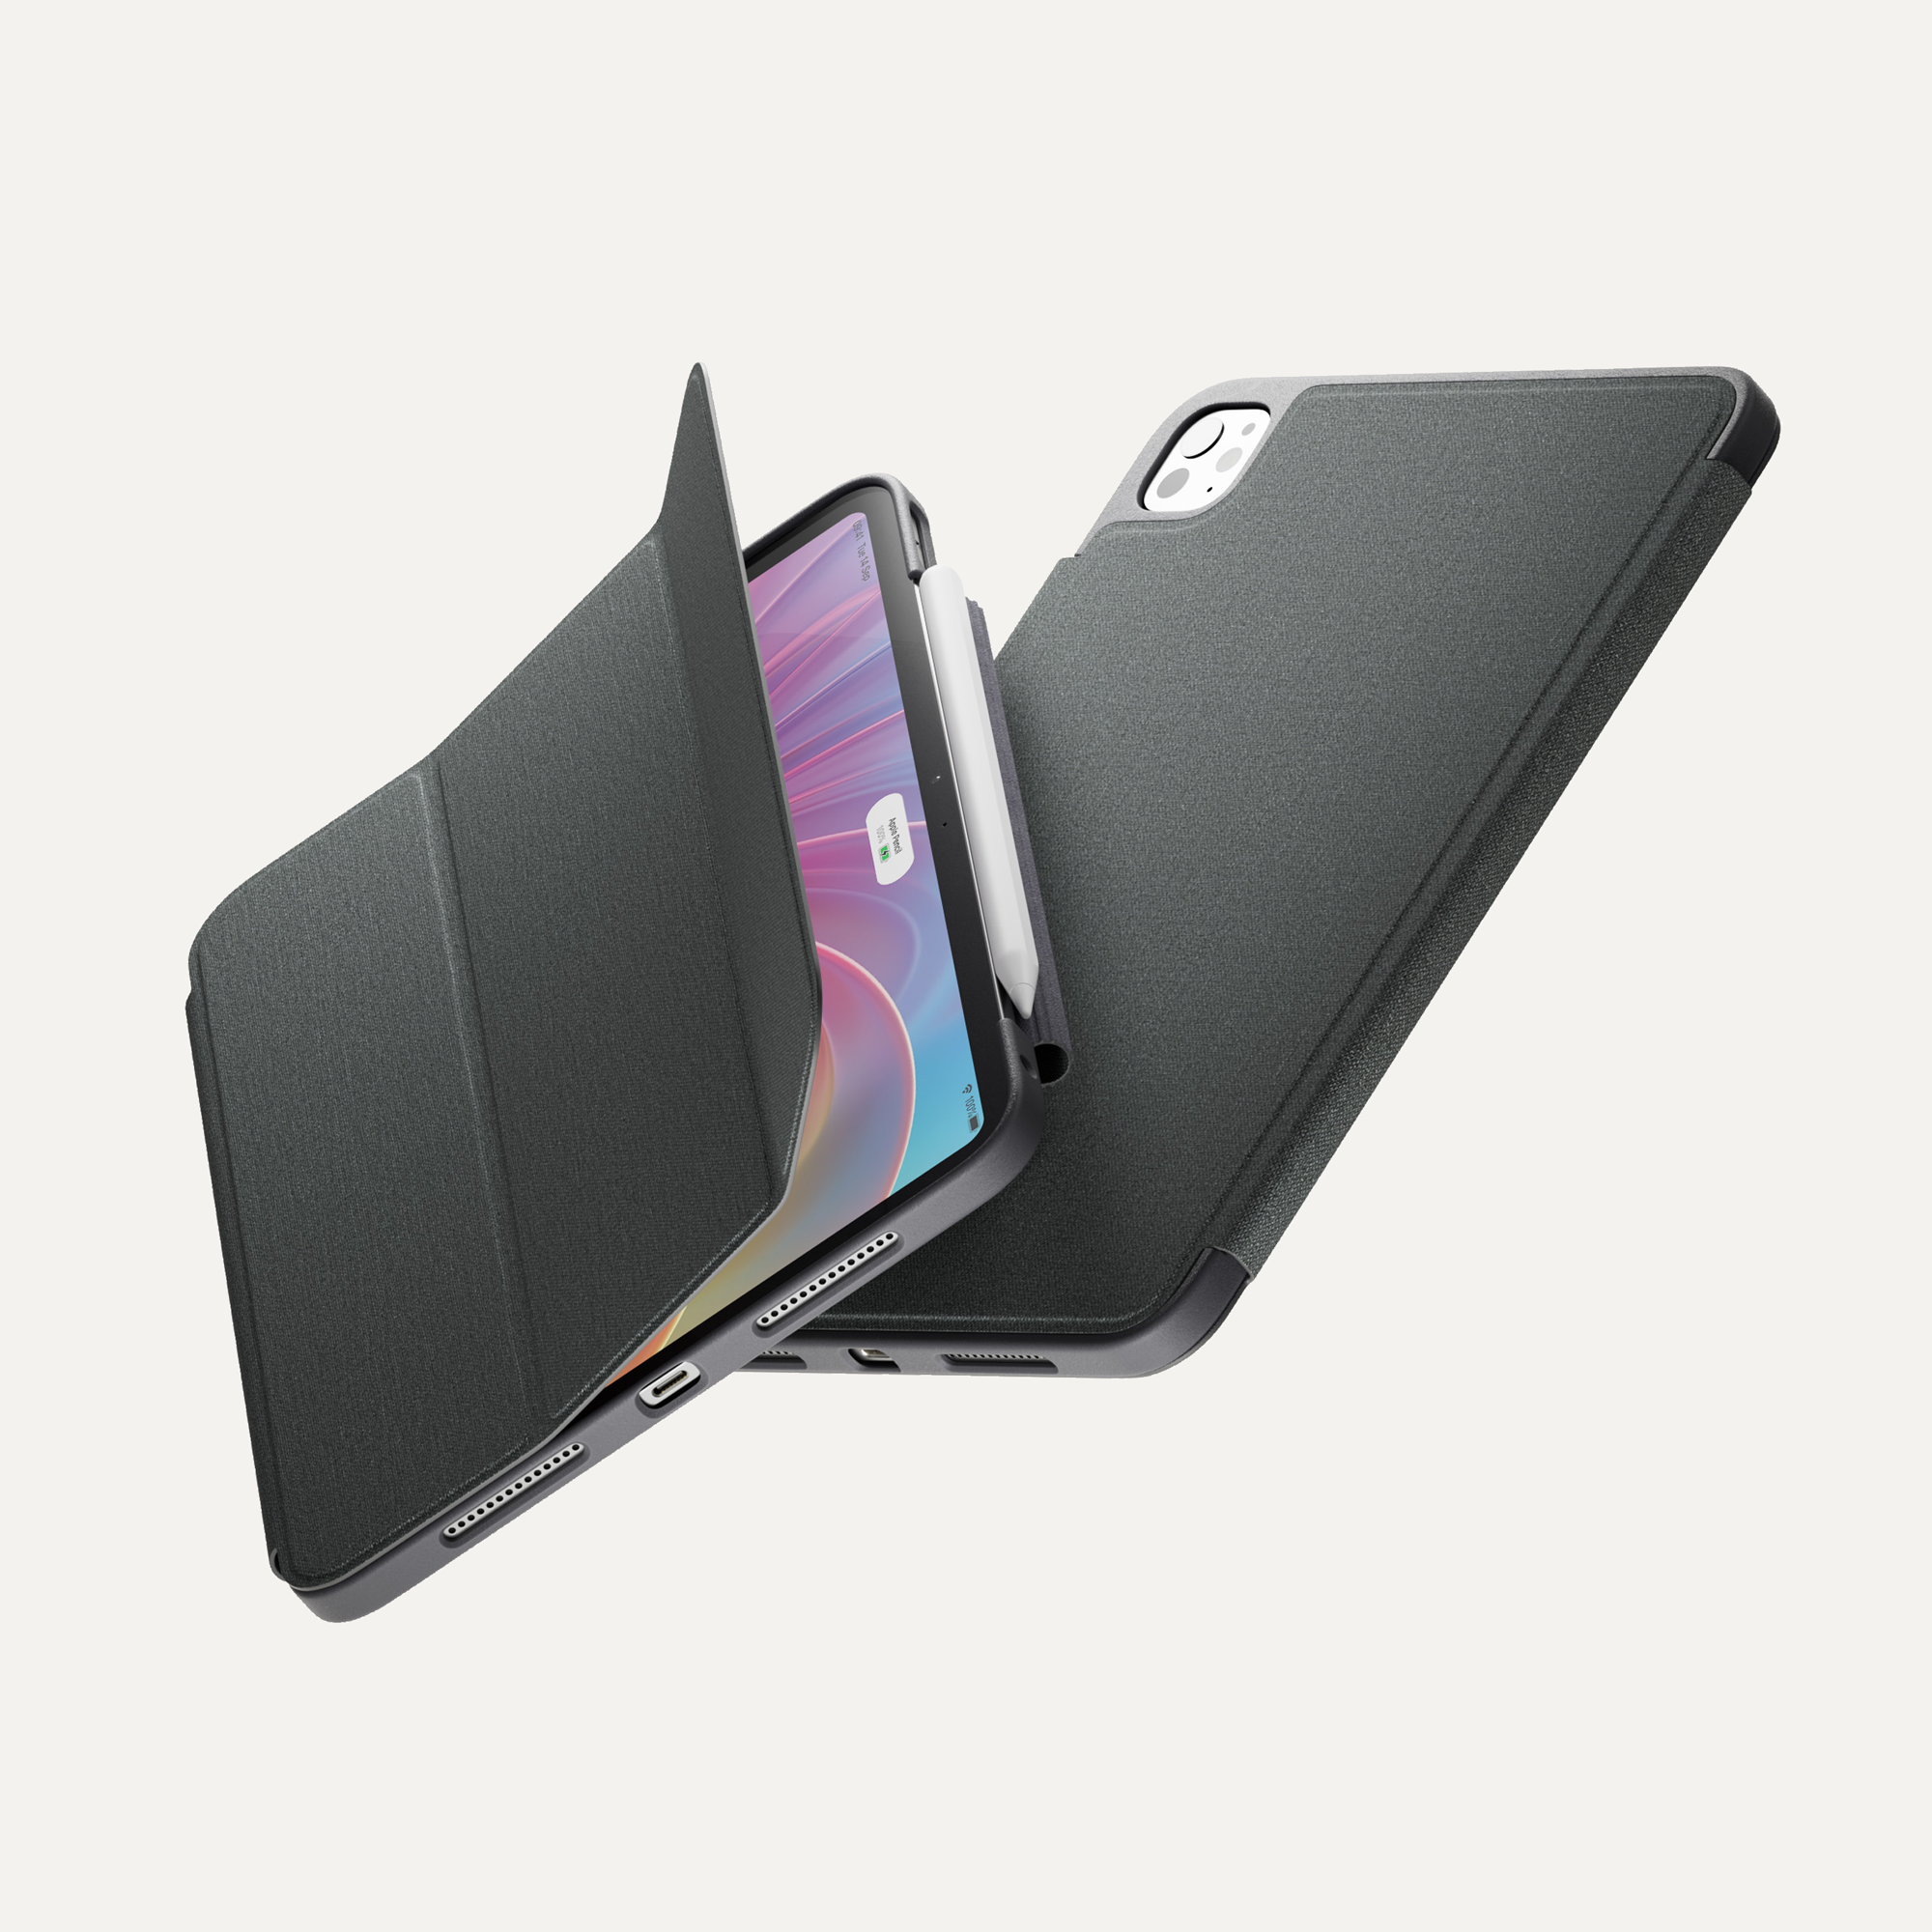
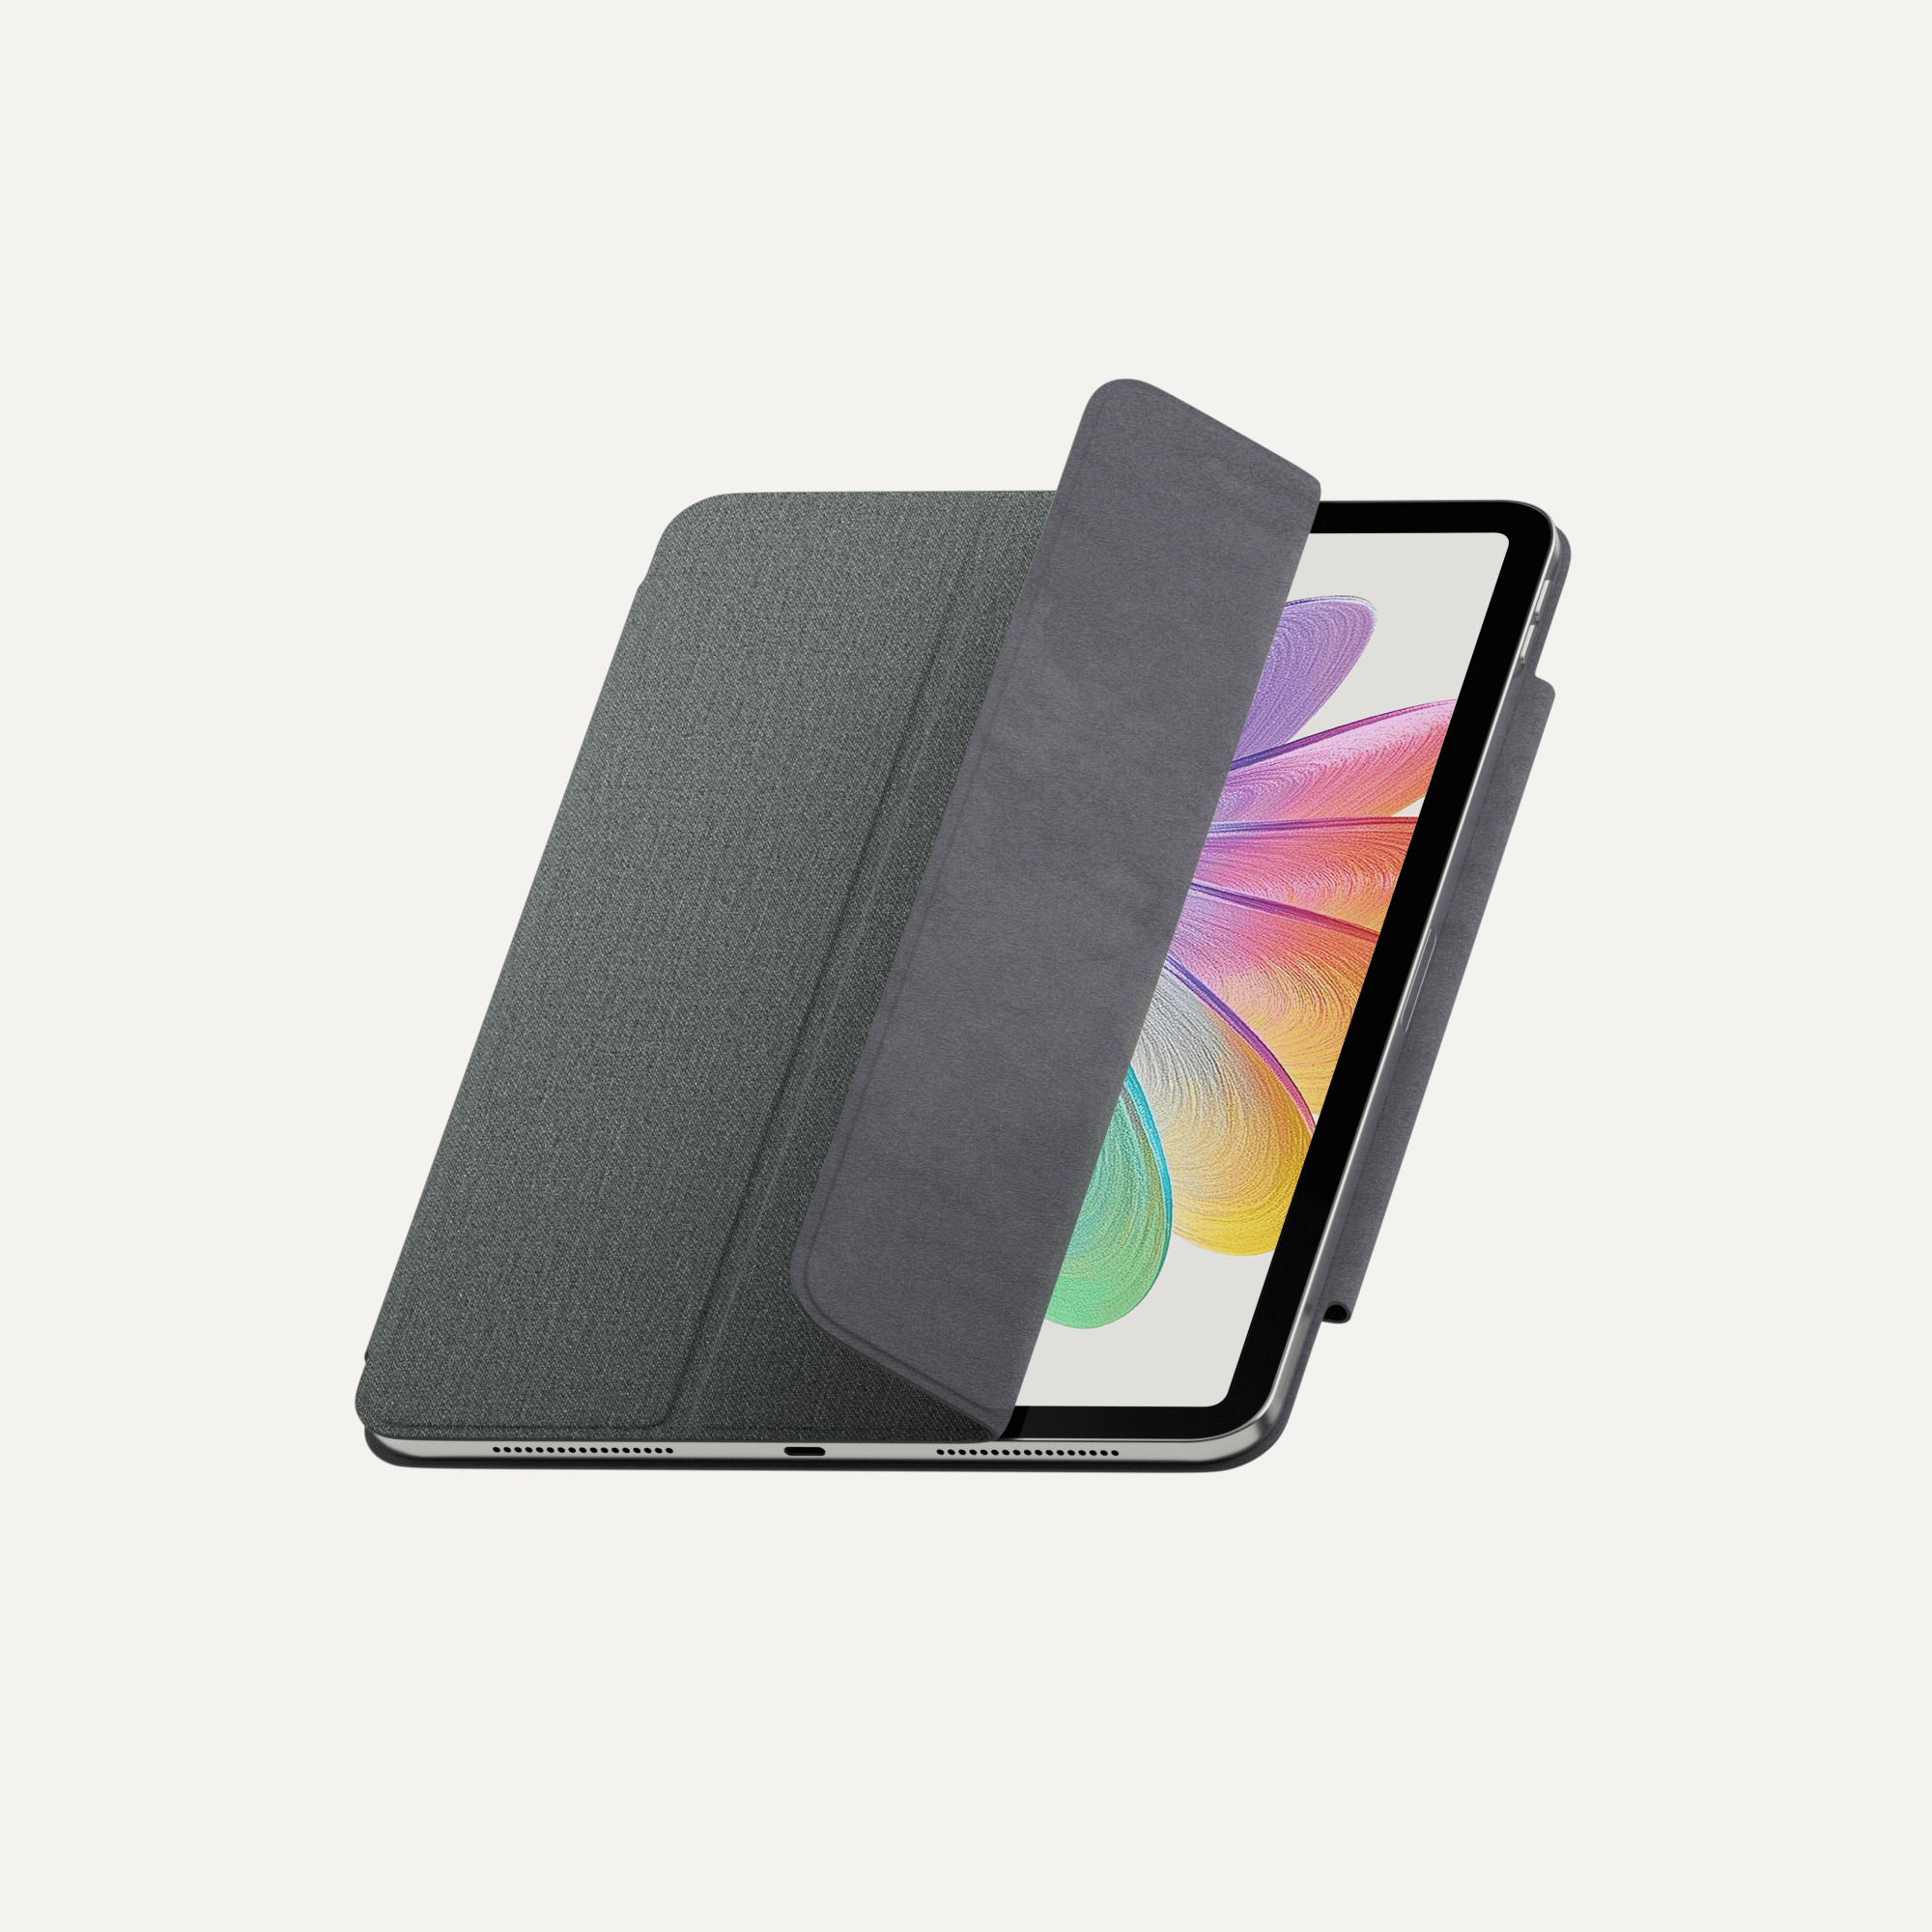
Take better notes with Paperlike
No matter which method, style, or organizational practices you use, you can take better notes with Paperlike.
Research shows that handwritten notes are better than typing on a laptop, but digital notes are more practical. That’s why the iPad and Apple Pencil are the best choice for notetaking.
When you’re writing on a glassy surface, it can get pretty annoying if your stylus is sliding all over the screen.
That’s where Paperlike comes in!
Our screen protector increases the friction and stroke resistance of the display, making it feel just like writing on real paper.
Paperlike is a must for serious notetakers who want a more realistic writing experience on their iPad.
Pick up a Paperlike today and get your notes in order to increase your productivity and notetaking abilities!