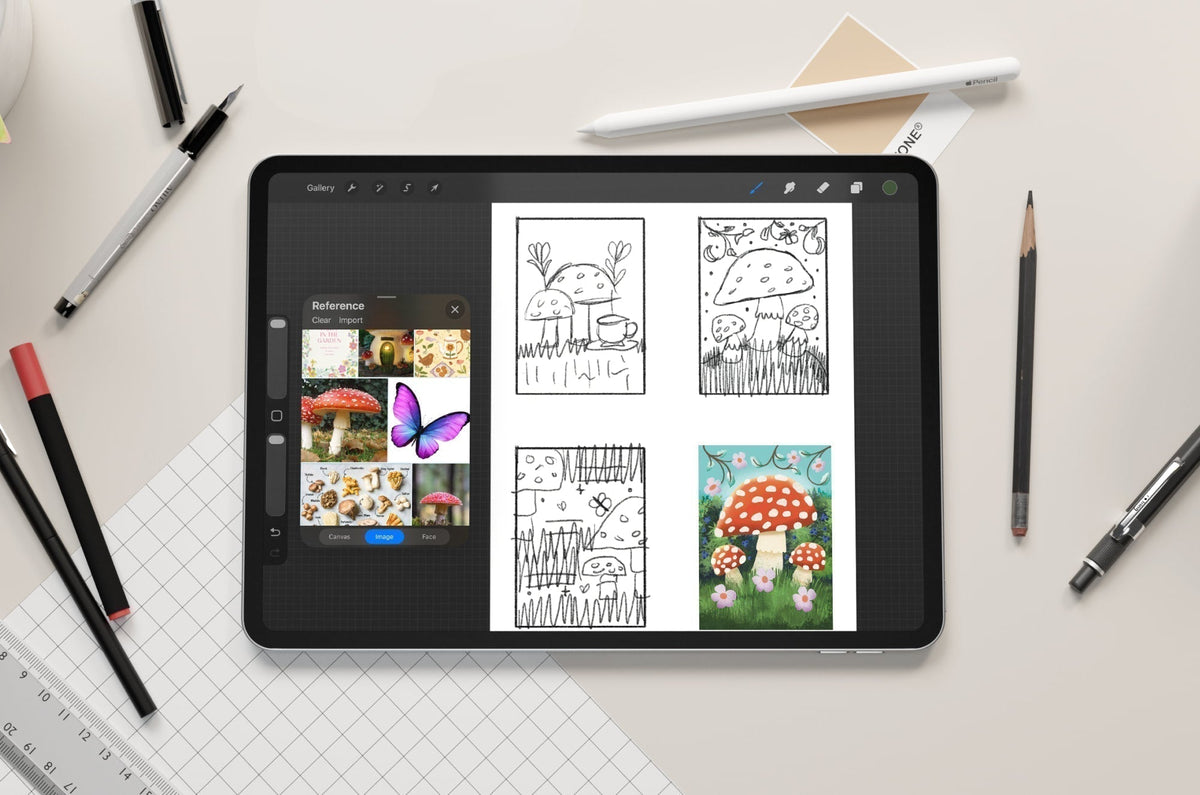

Your favorite cafe, the library, a friend’s place. The iPad can go with you. Its power and portability make it a versatile tool for creativity, expanding your ability to create without weighing you down with supplies.
But even the iPad needs a few things before it feels like a complete tool that you're ready to take with you anywhere.
This guide will take you, step by step, through what you need to become a digital artist and set up your own portable art studio.
Let's get into it.
Digital art setup checklist
Before we get started, this is your checklist of what you’ll need. Each one supports a more flexible, fully mobile creative workflow.
- An iPad
- iPad Accessories
- Sources of inspiration
- Digital tools
- Organization workflow
Choosing the right iPad
Which iPad you’ll actually need will depend on a number of factors. For drawing, you’ll be looking for a balance between screen size, processing power, and storage capacity.
| iPad Model | Screen size options | Processor | Storage capacity options | Apple Pencil Compatibility | Best for |
| iPad Pro | 11 or 13” | M5 | 256GB, 512GB, 1TB or 2TB | Apple Pencil Pro, Apple Pencil (USB-C) | 3D artists, video editors, digital artists |
| iPad Air | 11 or 13” | M4 | 128GB, 256GB, 512GB, OR 1TB | Apple Pencil Pro, Apple Pencil (USB-C) | Digital artists, note-takers, video editors, students |
| iPad | 11” | A16 chip | 128, 256, or 512 GB | Apple Pencil (USB-C), Apple Pencil (1st generation) | Digital artists, note-takers, students |
*Models and specs based on the latest Apple iPads as of August 2026.
All of these iPads are powerful pieces of hardware. But how powerful are they? The M-series chips feature unified memory architecture that makes processing AI workflows more efficient and delivers faster performance.
The iPad Pro is top-of-the-line and can handle anything you throw at it, including heavy computational loads while running multiple background tasks.
The iPad Air is the best option for artists and students who want value and high-end features. Despite its name, the Air is actually slightly heavier, thicker, and wider than the iPad Pro. When looking at both devices side by side, the Pro display is brighter, but both have True Tone, which automatically adjusts the screen color and intensity based on your surroundings.
The A16 chip in the iPad is great for everyday tasks and light multitasking. This is a great option for students who want a more budget-friendly option that still has good features and isn’t too far behind the middle-tier iPad model. The biggest drawback is that the 1st generation Apple Pencil will be your only pressure-sensitive Apple Pencil option, which is critical if you want to create digital art on your iPad, and you'll need an adapter to charge it.
As you can see, a lot goes into thinking about which direction you’ll take your creativity. In this guide, you’ll see how having the right tools supports your portable art studio setup. This will get you creating faster, taking advantage of everything the iPad has to offer.

Step 1: Ready your iPad accessories
After you purchase your iPad, you’re ready to start building your portable art studio. Having the best accessories for your iPad will support your creativity for years to come.
These are the accessories that I use to make my iPad truly portable and useful no matter what or where I'm creating, and what I’d recommend for you. And don’t worry about investing in everything all at once. You can always stagger your purchases so you're not spending a lot at any given time.
iPad case
Taking your iPad outside without a case is a little risky. A case protects your iPad from accidental drops and falls. It’s always the first accessory I buy for my electronics.
You might not realize that your iPad case should match your workflow and protection needs. Two popular iPad case styles are folio and bumper. If you value the flexibility to move your iPad to a different setup, like a keyboard or an iPad drawing stand, a folio may be the better option. Bumper cases are focused on protection and durability.
| Features | Folio style case | Bumper style case |
| Protection | Light, everyday coverage and protection from dust | Extra durability with protection from drops, bumps & scratches |
| Weight & size | Slimmer & lighter | Thicker |
| Ease of removal | Quick and easy to snap on and off | More secure for long-term use and less easy to remove |
Top recommendation: The Paperlike™ Folio Case
This gives your iPad protection, with a secure flap to hold your Apple Pencil. You'll also enjoy multiple viewing angles for watching videos and working. Sometimes I’m at my desk or on my couch drawing, so having the option to prop up my iPad in different ways is important to me.
I’ve had folio-style cases and full-coverage cases with bumpers. I like that folio-style cases like this one from Paperlike let you move your iPad in and out of the case easily if you want to change your setup. You can compare it with the Paperlike Bumper Case to see which is best for you.
Screen protector
The glass screen on the iPad is slick. A screen protector can instantly improve the feeling of your stylus on your iPad. That's because they're designed to add a layer of resistance, making your experience feel more like it would with traditional mediums.
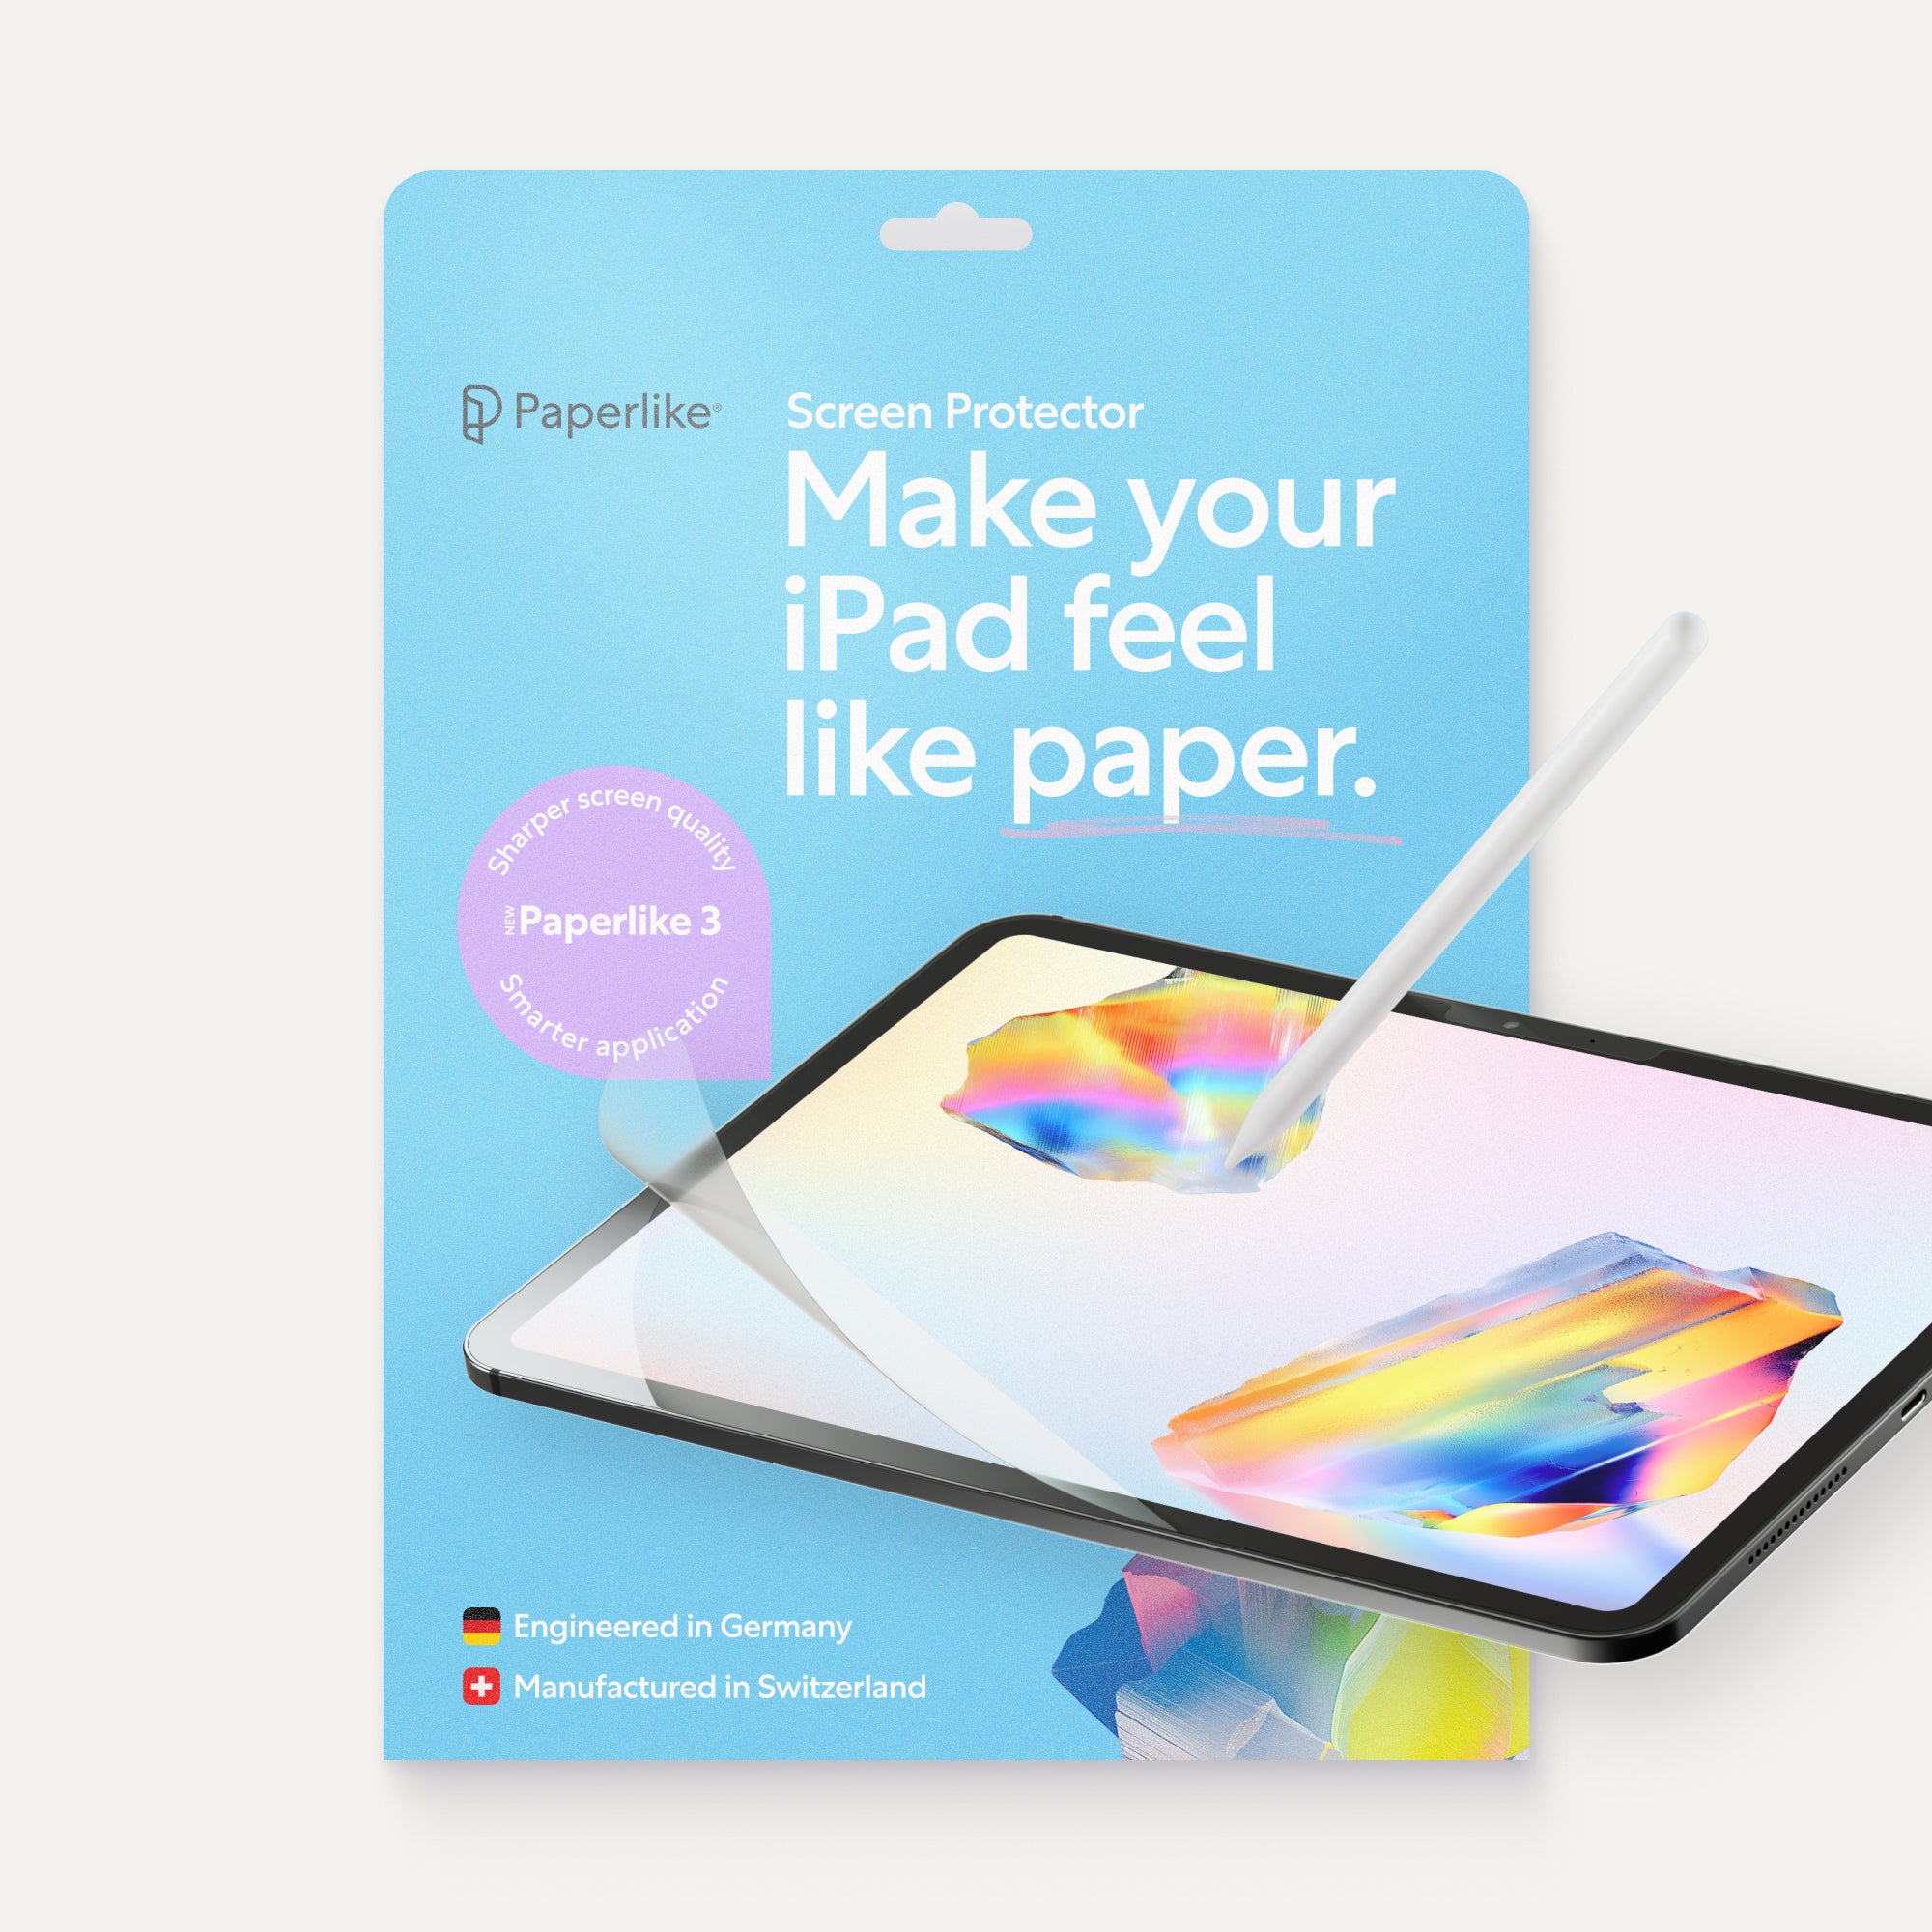
Top recommendation: Paperlike Screen Protector
I’ve been using the Paperlike Screen Protector for years. Before getting a screen protector, it was harder to control my strokes in Procreate because the glass screen was so slippery.
Not only does it improve my control over my strokes, but it also has a satisfying tactile feel. It has step-by-step guidance to make applying it easy (even if you're bad at that sort of thing).
Stylus
While I love touch gestures and typing on my iPad, the stylus is what unlocks the drawing experience. If you look up styluses for the iPad, the choices will seem endless, even if you limit your search to just the Apple Pencil.
The problem artists run into is that it's possible to buy the wrong stylus for your iPad. You’ll need to know which iPad you have and consider how much investment you’re willing to make.
| Features | Apple Pencil Pro | Apple Pencil (2nd generation) | Apple Pencil (USB-C) | Logitech Crayon |
| Low latency | Yes | Yes | Yes | Yes |
| Tilt sensitivity | Yes | Yes | Yes | Yes |
| Pressure sensitivity | Yes | Yes | No | No |
| Wireless pairing and charging | Yes | Yes | Yes | No |
| Double-tap to change tools | Yes | Yes | No | No |
| Barrel roll | Yes | No | No | No |
| Squeeze | Yes | No | No | No |
| Hover | Yes | Yes (with supporting iPad models) | No | No |
| Haptic feedback | Yes | No | No | No |
Top recommendation: Apple Pencil
It’s hard to beat the real deal. The Apple Pencil was specifically designed for use with the iPad. And yes, there are quite a few of them.
Third-party styluses can limit the capabilities you'd normally get with the Apple Pencil. Even if they save you money, I think the Apple Pencil is the best option for digital artists.
Using the Apple Pencil means you’ll get the latest updates, making it the best option if you want to stay up to date as more features are released. And you can buy yours refurbished to save money without compromising on quality. That's what I did when I broke mine (don't ask), and it works great!
Depending on your iPad and Apple Pencil models, your Pencil can rest and charge when attached to the side of your iPad. It's easy to carry around and worth considering when buying a case, since you don't want it getting in the way of your stylus.
Drawing glove
If you're a frequent iPad user, a drawing glove is in your future. What counts as frequent? For me, it’s anything over 45 minutes in a single drawing or note-taking session. When you’re in the middle of working, the last thing you want to be thinking about is your hand comfort or getting random marks on your screen.
The constant interruptions to my workflow whenever my palm rejection would fail slowly drove me insane. Palm rejection is what tells your iPad to ignore your hand as it rests on your screen. And as it naturally rests on your screen, it gets hot, and the cycle continues. This is where using a drawing glove can help.
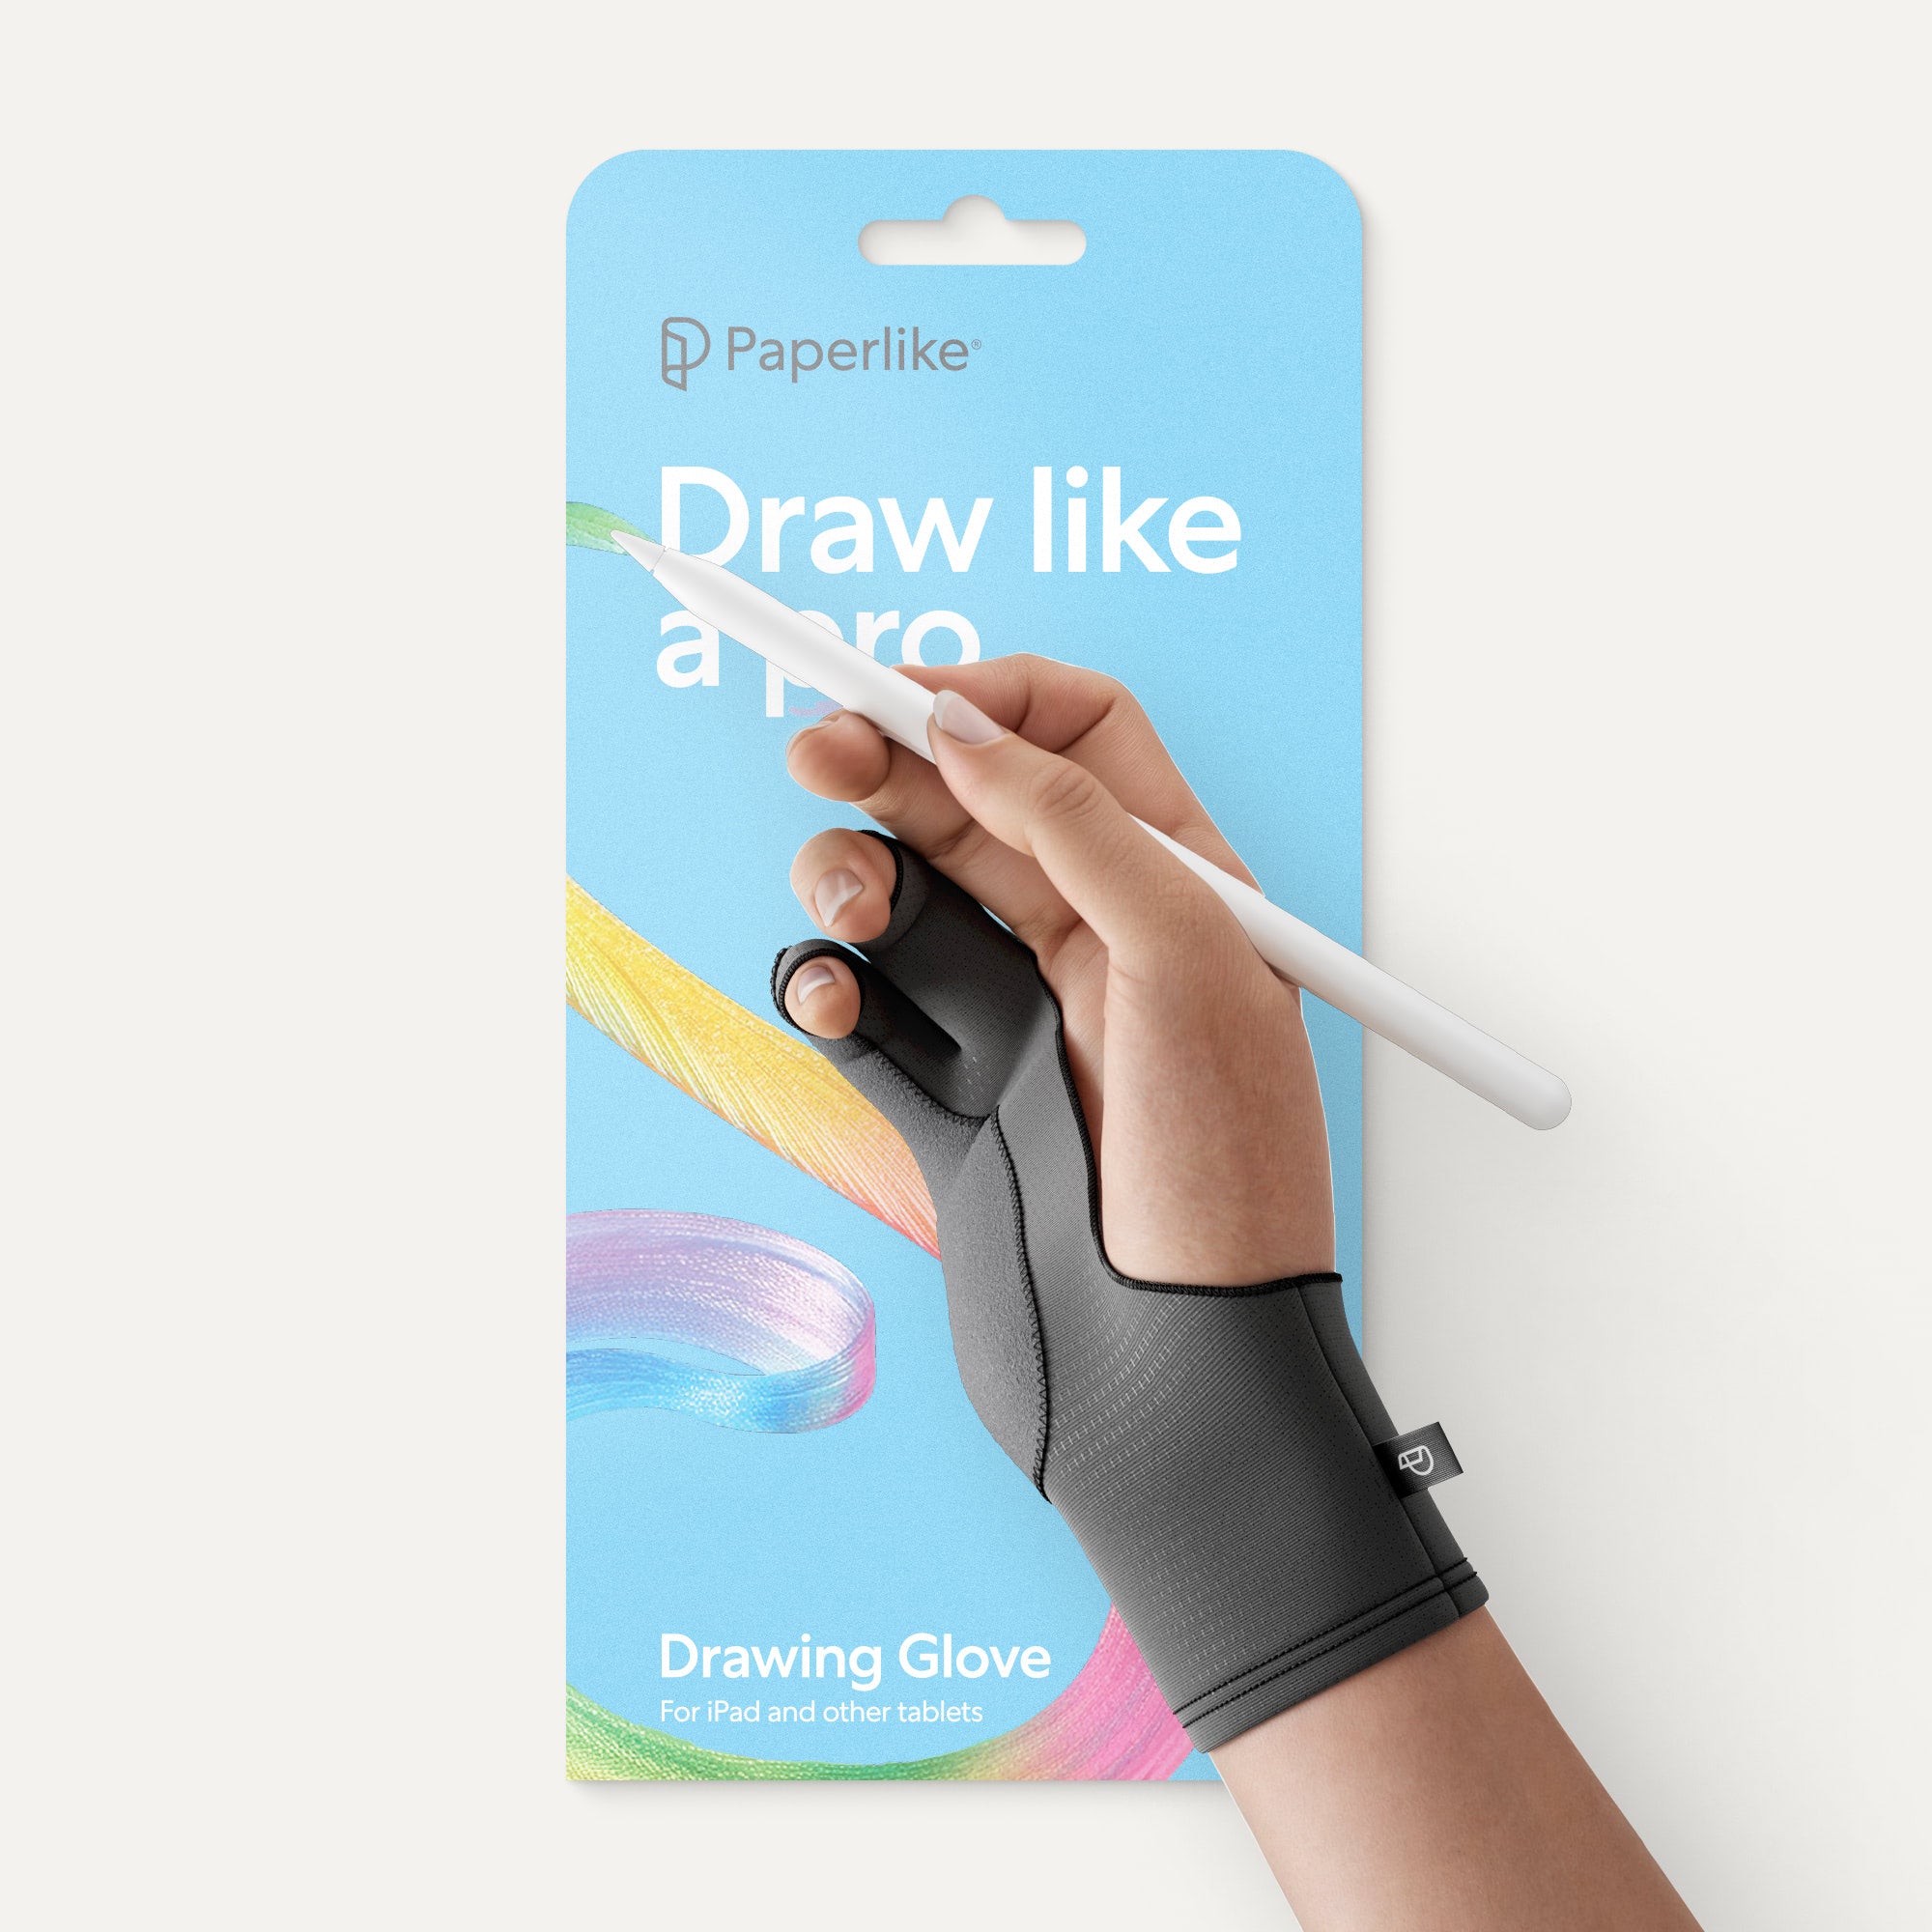
Top recommendation: Paperlike Drawing Glove
This is my preferred drawing glove. It’s a comfortable, breathable glove with two finger cutouts that don't disrupt my gesture workflow in my favorite drawing apps.
It keeps my hand at a comfortable temperature, preventing skin oils from building up against my screen. All of this aids the iPad's palm rejection. Not to mention, it's also extremely light and easy to pack in your bag with your iPad.

Step 2: Find inspiration
Inspiration can strike anywhere. Good thing you can have your iPad ready when it does. A key part of being inspired is staying open. I find that when I’m more open-minded about where my inspiration comes from, I’m more in tune with my creativity.
There are a number of ways to find inspiration as an artist. You can seek it out intentionally online, or visit places where you can gather inspiration.
Apps
Let’s start with apps you can use to find and save inspiration. Pinterest and Ar.ena are great free apps you can download to your iPad.
Pinterest is very visual and lets you organize images of your inspiration into boards. It’s easy to search for content already posted to the platform and add it to your own boards.
Like Pinterest, you can search Ar.ena for existing content, but its site capabilities are more robust. This allows you to save images, links, and even PDFs into groups called channels. It’s also an ad-free option, which is nice.
Libraries & bookstores
Your inspiration could be hidden in a book about a completely random topic. Explore your local library or bookstore to surround yourself with fresh stories. Or maybe you have an author in mind that you enjoy. Take your time browsing each section before moving to the next.
I find looking at book cover designs very inspiring as a lettering artist. Explore a genre you enjoy and one you don’t engage with often. Diversifying your sources of inspiration opens you up to seeing things differently. As I find books that I like, I save them into folders on my iPad so I can reference them later.
Outdoor walks
Working inside all the time can make you feel disconnected. Change your surroundings to spark new ideas. Walking to fuel your creativity is an excellent place to start. Themed walks like type and color walks are great for training your observation skills.
I did this when I was in Spain, and it was a lot of fun! It helped me appreciate the small details more because I was taking the time to look for them. And I ended up with a camera roll of fresh type inspiration. Best part? My iPad was easy to carry in my bag, so I could sit in a cafe or park and review all the shots I took. Have your camera ready and get out there.
Museums
Learn from artists past and present. Certain museum exhibits are only up for a limited time. Research the ones that interest you, and plan a day around it.
Can’t make it to a museum? Bring the museum to you with the National Gallery of Art's archive of over 60,000 open-access art pieces. Explore by medium, time period, country of origin, and more. You can even download the images and use them for personal and commercial projects. See what kinds of archived treasures you dig up.

Step 3: Establish your toolset
The tools that you’ll use to create on your iPad will largely mimic traditional tools, without taking up any space. The ones you choose will depend on what you’re creating. These are different types of apps that offer a wide range of tools to meet your needs as a digital artist.
Drawing & painting apps
Digital drawing and painting are the main reasons artists get an iPad. One of the most popular iPad apps for digital drawing and painting is Procreate. It’s got a huge brush library and is affordable at just $12.99. There's also a huge community of Procreate artists and resources for learning how to use the app.
Adobe Fresco is Procreate’s main competitor. It’s great for drawing, painting, and animation. It’s available for free with a 5GB storage limitation in Creative Cloud. In the app, you can discover tutorials and other artists who are working in Adobe Fresco. Compare both programs to decide which is best for you.
Calligraphy apps
As a lettering artist, I began my journey with brush pen calligraphy. I loved it, but it did result in me accumulating a lot of supplies that I was running out of space for. And while nothing can truly replace the real thing, I didn't realize there were calligraphy options on the iPad until much later. Here are the ones I've tried and liked.
Tayasui Calligraphy is a simple app with beautiful brushes and realistic paper textures. You can choose between a customizable brush pen and a broad nib pen for varied stroke widths and profiles.
Calligraphy Penmanship helps you practice your calligraphy with five different styles, stroke guidance, pen customization, and references.
Calligraphy Handbook is best for practicing and challenging yourself. There are also options for adding flair and details to your calligraphy with color effects, textures, and backgrounds.
Animation apps
You might already be into animation, but even if you’re just curious, there are a lot of accessible animation apps for all skill levels.
In addition to drawing and painting tools, Adobe Fresco and Procreate both have animation features. Procreate uses Animation Assist to transform your Layers panel into a frame-by-frame timeline. Adobe Fresco has two ways to animate: frame-by-frame and path motion.
Path motion is unique because you can draw the line your elements follow. There are also presets that you can use to animate your work in a single click.
There are also dedicated animation apps that build on key features, resulting in sleeker, more complex animations.
Procreate Dreams is the latest app on the scene and has made a big impression. It's the same price as Procreate while greatly expanding its frame-by-frame capabilities and includes motion graphic options as well.
Linearity Move is the motion companion app to the vector graphic app Linearity Curve. You can use the timeline to animate your work using automatic keyframing and motion presets.
Reference apps
Artists use references to get proportions, features, and details down correctly. This is common practice for 3D artists, illustrators, character designers, and more.
Apps like Magic Poser and Handy Art Reference Tool let you access different reference models.
Magic Poser has hundreds of models and objects for you to start from. Use the colored nodes to manipulate the models. Free users will have a limited number of poses and preset options, but there's still enough to get you started.
Handy Art Reference Tool has models for male and female hands, props, and more. They also have camera and lighting settings so you can control angles and shadows.

Step 4: Stay organized
Using your iPad is more difficult when you can’t find your apps.
Drag and drop your apps into named folders to make it easier to navigate your iPad. For example, I like to keep all my Adobe apps in one folder and my other digital art apps in another.
Organization applies to the files inside of your apps as well. Make sure your files are named and grouped in some way that makes them easy to navigate.
While not all apps use the same organizational structures, the basic rules still apply. Never save your work in one place, and make sure you have a file flow that supports how you think and work.
How to organize and back up your art files
Option 1: Cloud services
Third-party apps like Dropbox or Air are great for backing up your files. This will help you keep your files accessible on other devices than your iPad in case they become corrupted.
You can also use an iCloud storage plan to save your files in the Files app and keep your work synced across your Apple devices.
Cloud storage is also available to Adobe users through Creative Cloud with any subscription plan. But even that storage eventually runs out. I strongly recommend routinely syncing your files to iCloud or another app, in addition to Creative Cloud, to free up space.
Option 2: External hard drives
Did you know that you can plug in a hard drive directly into your iPad? This is a way to save your files if you’re looking to keep them somewhere besides locally on your iPad. They're highly portable and can go anywhere you take your iPad.
For external storage, I prefer solid-state drives because they’re more secure, transfer files faster, and are more durable. They also tend to have a slimmer profile, making them even lighter and easier to travel with. That being said, I started out with an external hard drive because of its large storage capacity at a much lower price than an SSD.
Wrap up
I hope that after going through this guide, it’s clear where your iPad can take you. Now the question is, where will you take your iPad? Having a completely mobile workflow is a huge advantage. So don't get stuck inside.
I know that endless possibilities can be overwhelming. But once your iPad is paired with the right accessories, your mind will be clear to focus on what you love to do. Take it step by step, and you’ll be churning out masterpieces in no time.
Frequently Asked Questions
Which iPad is best for digital art?
The iPad you choose for your art will depend on a number of factors. If you’re primarily a digital illustrator and painter, an iPad like the Air will work great. If you’re looking for high computing power for 3D modeling, complex video editing, or animation, I’d recommend the Pro model with at least 1TB of storage.
Do I need an Apple Pencil for digital art?
If you want the latest features, yes. The Apple Pencil will usually get priority when new capabilities are rolled out for digital drawing apps like Procreate. It will also be easiest to pair and charge with your iPad.
Is Procreate or Photoshop better for digital art on iPad?
It depends on what you’re using them for. If you’re looking to primarily draw and paint, Procreate is the better option for iPad. Photoshop for iPad is best for photo editing.
What are the best apps for digital art on the iPad?
Procreate and Adobe Fresco are the best apps for digital drawing and painting on the iPad. I've used and enjoy both. Which you choose will depend on your current workflow and budget.
Which case is best for the iPad?
Folio-style cases offer a mix of protection and flexibility, while bumper-style cases offer added protection. I've used both case styles and prefer folio cases. Paperlike has both, so you can explore which is best for you.