


Creating digital art on your tablet is easier than ever with a number of powerful drawing, painting, and graphics apps to choose from.
We’ve already reviewed apps like Procreate, Adobe Fresco, and Adobe Illustrator but what else is out there?
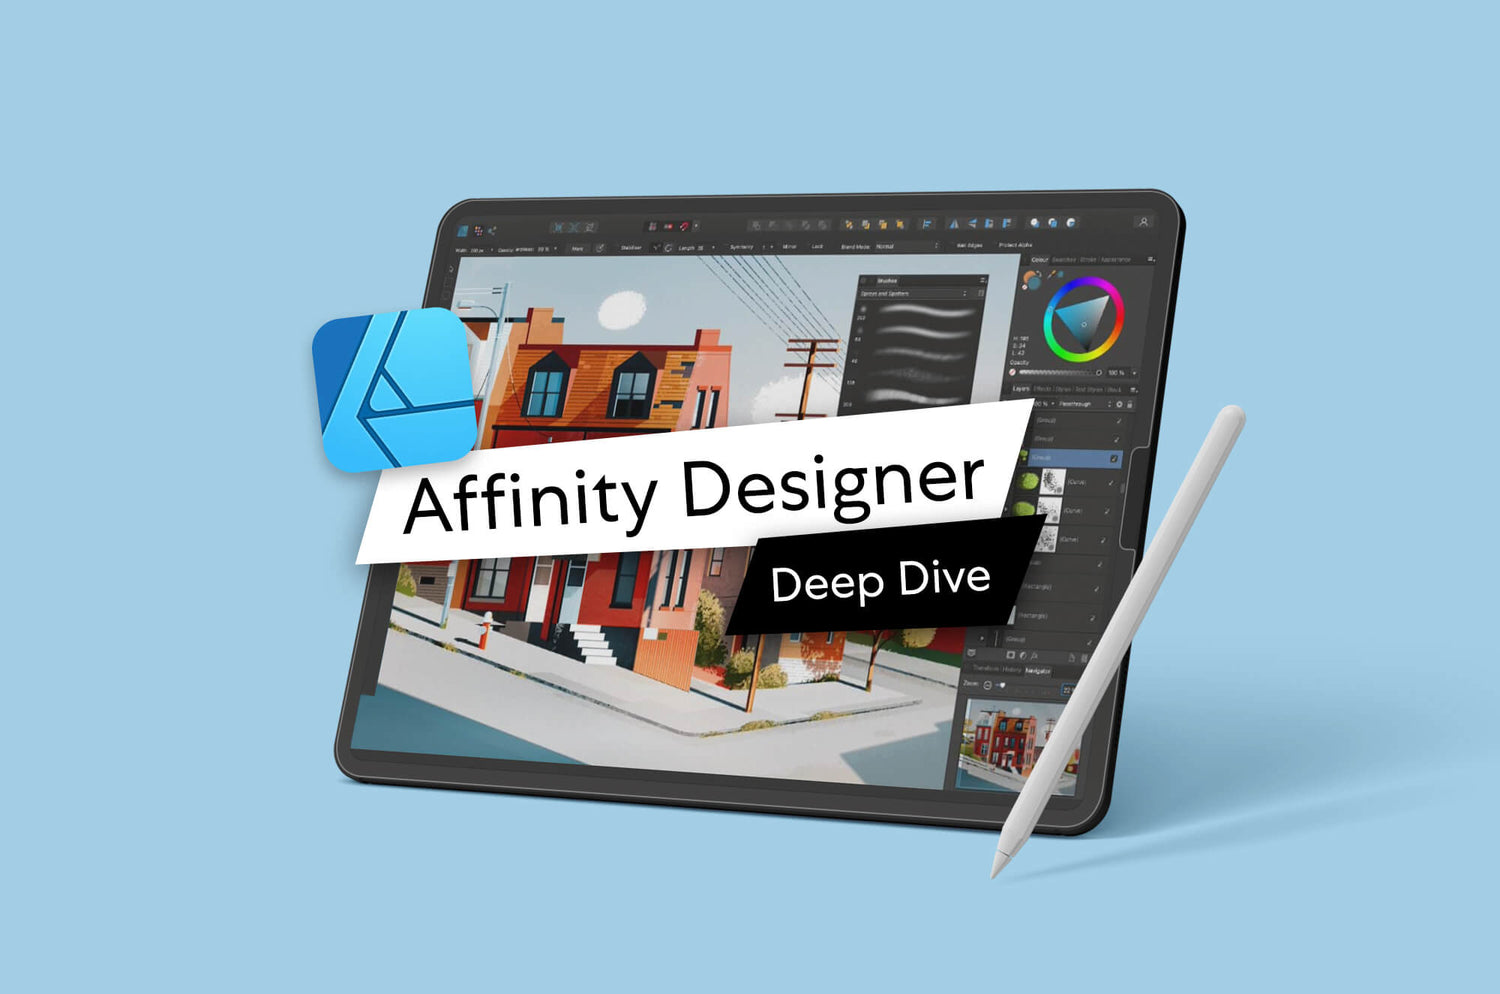
Affinity Designer by Serif is a cross-platform, compatible graphic design program for desktop and iPad. This app is making big waves in the digital art sphere by doing things differently.
In this deep dive, we’ll show you what it’s all about and why it’s worth a look.
Ready? Let’s jump in.
Why Affinity Designer?
As digital artists and creators, we're constantly looking for software to help us create our best work. There's a lot out there to choose from but here's why Affinity Designer might just be the app for you.

Caption: Affinity Designer has a wide selection of vector brushes in categories like oils, markers, inks, and more.
Alt Text: An image of several vector brushes drawn on a white canvas inside Affinity Designer.
Affinity Designer vs. Adobe
- 100+ vector brushes. Affinity Designer has a larger vector brush selection than Adobe Fresco
- Single-purchase model. Affinity is $22 on iPad and $55 on desktop. No subscription required.
Drawing apps like Adobe Fresco and Illustrator are similar to Affinity Designer in that they all feature vector graphics capabilities.
An even greater advantage to using Affinity Designer is that it can handle both raster and vector brushes, just like Adobe Fresco. However, Affinity Designer features a selection of over 100 different vector brushes while Fresco has just 11 vector brushes to choose from.
That’s a huge difference.
With Adobe Illustrator, you can create stunning vector-based graphics but it lacks the flexibility of changing between raster and vector. In the same way that we see Fresco and Illustrator work together as companion apps, Affinity Designer packs this idea into a singular experience.
This isn't to say that Affinity Designer does everything. It's a part of a creative suite for graphic design with two other Affinity apps, Affinity Photo and Affinity Designer, which are similar to Adobe Photoshop, Illustrator, and InDesign.
Aside from Affinity Designer's wide range of capabilities, it'd be hard not to notice that it uses a one-time purchase model.
For just $22 for the iPad version in the App Store and $55 for the desktop app, you’ll never have to worry about paying a monthly subscription or missing out on future updates.
That’s a huge win for anyone looking for professional design software without the hefty price.

Affinity Designer vs. Procreate
- Raster & vector capabilities. Affinity Designer has the ability to produce high-quality pixel and vector graphics in the same document.
- Vector brushes. These brushes have raster characteristics giving them a lot of texture and flexible editing capabilities.
- iCloud saving. You can save your documents automatically to your iCloud drive ensuring your documents are recoverable.
- Edit Illustrator & Photoshop files. Affinity Designer can open other file formats while preserving your layers.
When it comes to other popular drawing apps like Procreate, Affinity Designer has a few advantages.
The ability to automatically save files to your iCloud Drive is a big one. For Procreate users, saving files is something of a manual process. You’ll have to create a workflow if you want to save files outside of the app.
Affinity Designer makes this simple. From your home screen, you can edit your Preferences to select iCloud Drive as your Default Save Location.
Procreate also only uses raster brushes in its app. And while the look of raster brushes may be greatly preferred among some artists, Affinity Designer has figured out how to create vector brushes that offers as much texture and personality as pixel brushes.
You’ll see some other key differences, as well. Affinity products are cross-platform compatible, so you can use them on iPad Pro or Air, Mac, or Windows machines. Plus, while both apps can edit Photoshop files, Affinity Designer is much better at handling vector files and preserving layers.
Related: See how Procreate measures up to other apps

Tools
Within Affinity Designer, you can expect to find standard tools and features like artboards, pencil, shape, and pen tools.
You’ll also find unique tools and functions.
To understand these tools we're going to first review Affinity Designer's different modes. There are three Personas or modes within Affinity Designer, and each Persona comes equipped with its own set of tools.

Designer Persona
- Vector Crop Tool. Allows you to crop your vector-based graphics non-destructively.
- Vector Brush Tool. Gives you the benefits of the feel of raster brushes with the editing capabilities of vector graphics.
- Shape Tool. Choose from over 15 shapes including call-out clouds, cogs, donuts, and more.
The Designer Persona is for creating with vectors.
As you may expect, you have the option of plotting your points individually with the Pen Tool and editing your points and curves with the Node Tool.
Then you have others options, like the Vector Crop Tool, which allows you to non-destructively crop your vector elements. Use it to hide or isolate parts of your vector graphics from your document.
It's a simple idea that we really haven’t seen anywhere else.

The Vector Brush Tool allows you to draw with brushes that have the look of raster brushes but with the added benefits of editing and scaling. Any lines you draw will have a trail of points along them allowing for easy manipulation.
One of the biggest setbacks many people find when creating with vectors is that it seems to lack the personality and texture that pixel brushes have.
In Affinity Designer that's a thing of the past.
From brushes that mimic acrylics and inks, to textured shaders, you're sure to find something for your piece.
That’s a major step up from the cookie-cutter, vector graphics you might see in other apps, and it’s a great option for pixel artists who want to try their hand at vector work without compromising on flexibility.

Also exclusive to the Designer Persona toolset is the Shape Tool.
And I know what you're thinking: What could possibly be so special about that? Not much — except that you have over 15 shapes to choose from.
In apps like Illustrator and Fresco the most interesting shape you'll find is a star. In Affinity Designer, you can choose from the basic shapes to donuts, call-out clouds, cogs, and more.

Caption: When the Pixel Persona is active, you can create raster graphics using a wide selection of brushes.
#alt#Multiple squiggly lines created as rasterized elements inside Affinity Designer.
Pixel Persona
- Flood Fill Tool. Allows you to easily recolor objects using regions of your document with similar color values.
- Flood Selection Tool. Can make selections from your documents using current colors.
- Refine Selection Tool. Creates more precise selections with options for fine-tuning.
The Pixel Persona is all about creating with pixels.
Affinity Designer is so robust in its capabilities that you might just find that a lot of the tools found in the Pixel Persona perform similarly to Photoshop.
I found this to be true of the Flood Fill Tool and Flood Selection Tool.
As its name implies, the Flood Fill Tool can be used to apply color to regions of your document of similar color values. This makes recoloring and experimenting a much smoother and more efficient process.

The Flood Selection Tool is similar except that, instead of using it to apply color, you can make selections based on current colors. This allows you to apply smart universal edits to sections of your document.
This is a feature most often seen in programs like Adobe Photoshop, which shows off Affinity Designer's versatility since this app feels more like a competitor to Illustrator than Photoshop or Procreate.
The amount of options that you have for making selections doesn't end there. You also have the option of using the Refine Selection Tool.
With this tool, you can more precisely make selections. Any pixels that are missed can be filled in using your Apple Pencil and the software will make an increasingly accurate selection. It’s is great for removing backgrounds.

Brush Studio
- Large brush selection. There are over 200 brushes across 10 categories for creating vector or raster graphics.
- Brush formats. Affinity Designer can read .afbrushes, and .abr Photoshop brushes formats.
- Brush edits. You can create and edit your own brushes within the app.
In Affinity Designer, the tools on the right side of the screen are called “Studios.”
The Brush Studio is where you'll find your selection of brushes. With over 200 brushes across 10 categories to choose from, you're likely to find something for every type of project.
And as you may have guessed, your brushes will change depending on your Persona.
While you're creating, it's likely that you might try to use vector brushes while you actually have a pixel layer selected. However, Affinity has a tool called “Assistant” that will help you keep everything in the right place.
If you enable the Assistant from the Documents menu, the app will recognize this and switch your settings accordingly. This prevents your elements from getting mixed up and keeps things organized.

If you want to make edits to your brushes, you can change your settings in the Brush Editor. Brushes you edit will automatically go to the bottom of their assigned category.
While Affinity Designer uses .afbrushes format, you can also import your favorite .abr Photoshop brushes.
By comparison, Adobe apps are less flexible and don't allow you to import brush formats from other programs. Some apps, like Illustrator for the iPad, don't actually allow brush import.

Assets Studio and Symbols Studio
- Assets Studio. Comes with built-in UI elements that you can easily drag and drop into your documents.
- Symbols Studio. Great for making global edits to graphics.
- Save your own graphics. You can create, save and organize your own graphics to the Assets or Symbols Studios.
A great benefit of using Affinity Designer is the number of services that are integrated into the app.
Let's take a look at the Assets Studio first.

While Affinity Designer can be used for a variety of creative fields, the Assets Studio is where you'll find a lot of built-in UI elements that are great for web and product design.
Drag and drop iOS elements straight into your document to create a mockup in minutes. With certain projects, you might find yourself going back to the same elements over and over.
In Affinity Designer, you can save your frequently used assets to the Assets Studio and organize them into their own subsets and categories.

Similarly, in the Symbols Studio, you can take graphic elements and drag, drop and apply them to your document.
Unique to the Symbols Studio, however, you can make global edits to any of your symbol elements making real-time edits.
This can come in handy for branding projects where elements need to be formatted in a variety of sizes for various applications.
An added benefit of the Assets and Symbols studios is that they don't require any additional downloadable packages or connections. They are built-in and ready to use.

Working with Images
- Stock image libraries. Pexels and Pixabay are built into Affinity Designer for royalty-free use.
- Place & import images. Use iCloud or your own Photo Library to quickly import and place your own images.
- Mask photos. Drag images into shapes on your document using a selection of versatile tools.
Within the Affinity Designer app, there are two stock image libraries, Pexels and Pixabay, so you’ll have access to millions of royalty-free images that you can use in your mockups and projects.
A simple keyword search will bring you to a library of photos that you can select, drag and drop into your document.

You also have the option to use your own photos in the app as well. Under the Documents menu, select “Place Image” and import from either your iCloud or your Photo Library.
Images can also be placed within shapes creating a quick mask to add a fun effect to your photo. This is done easily by dragging your image layer into the shape you want it to fill.
All of this functionality, coupled with the impressive selections features we saw in the Pixel Persona, show how capable Affinity Designer is at making light photo edits.

Working with Text
- Art Text. Allows you to create expressive text through flexible scaling and editing.
- Frame Text. Great for working with long, flowing body text like blocked or multi-column paragraphs.
- Open Type Features. Available in the Text Studio, the features allow you to access alternate character styles.
- Versatile Formats. Affinity Designer can recognize .OTF, .TTF, and .TTC font types.
As a lettering artist, I'm definitely impressed by Affinity Designer's text capabilities.
Within the app, there are two tools that you can use to work with text: Art Text and Frame Text.
Art Text is for controlling your type with great flexibility in both scale and styling. It's a great way to create expressive headlines and impactful statements with your type.
Frame Text is best used for paragraphs and large flowing body text. The bounding box that your text sits in scales proportionally and allows you to fill all your frames with automatic filler text giving you a better look at your overall layout.
A lot of other apps like Procreate, Adobe Fresco and Illustrator don't have advanced functionality for Open Type fonts.
Open Type is a font format that allows for letters to have alternate styles and predesigned settings depending on where they appear when used. These more advanced settings can be found within the Text Studio.
If you find the default font selections aren't exactly what you're looking for, you also have the option to import your own fonts, including fonts you might use in other apps like Procreate.
Affinity Designer recognizes .OTF, .TTF, and .TTC font files. Within the Fonts section of your Preferences menu, you can view, add, and delete fonts to be available in all of your Affinity Designer documents.
Gestures
We've seen that gestures have been historically innovated by Procreate, but Affinity Designer has decided to take their gestures a step further. In addition to the standard two-finger tap to undo and three-finger tap to redo, Affinity Designer has incorporated a number of multi-touch gestures as well.
Duplicating objects can be accomplished by having two fingers pressing the screen and dragging your object to duplicate it. To constrain the proportions of an object, simply scale from the corner with one finger and press the screen with another.
This is similar to Adobe's Touch Shortcut feature, but with a bit more freedom. In Affinity Designer, you can have your finger pressing any part of the screen, whereas the Touch Shortcut is a button that needs to be pressed.
You'll also find that scrubbing is an efficient feature that can be executed using your Apple Pencil or by sliding one finger. You can use scrubbing to adjust any of your values like brush sizes, zoom, and more.
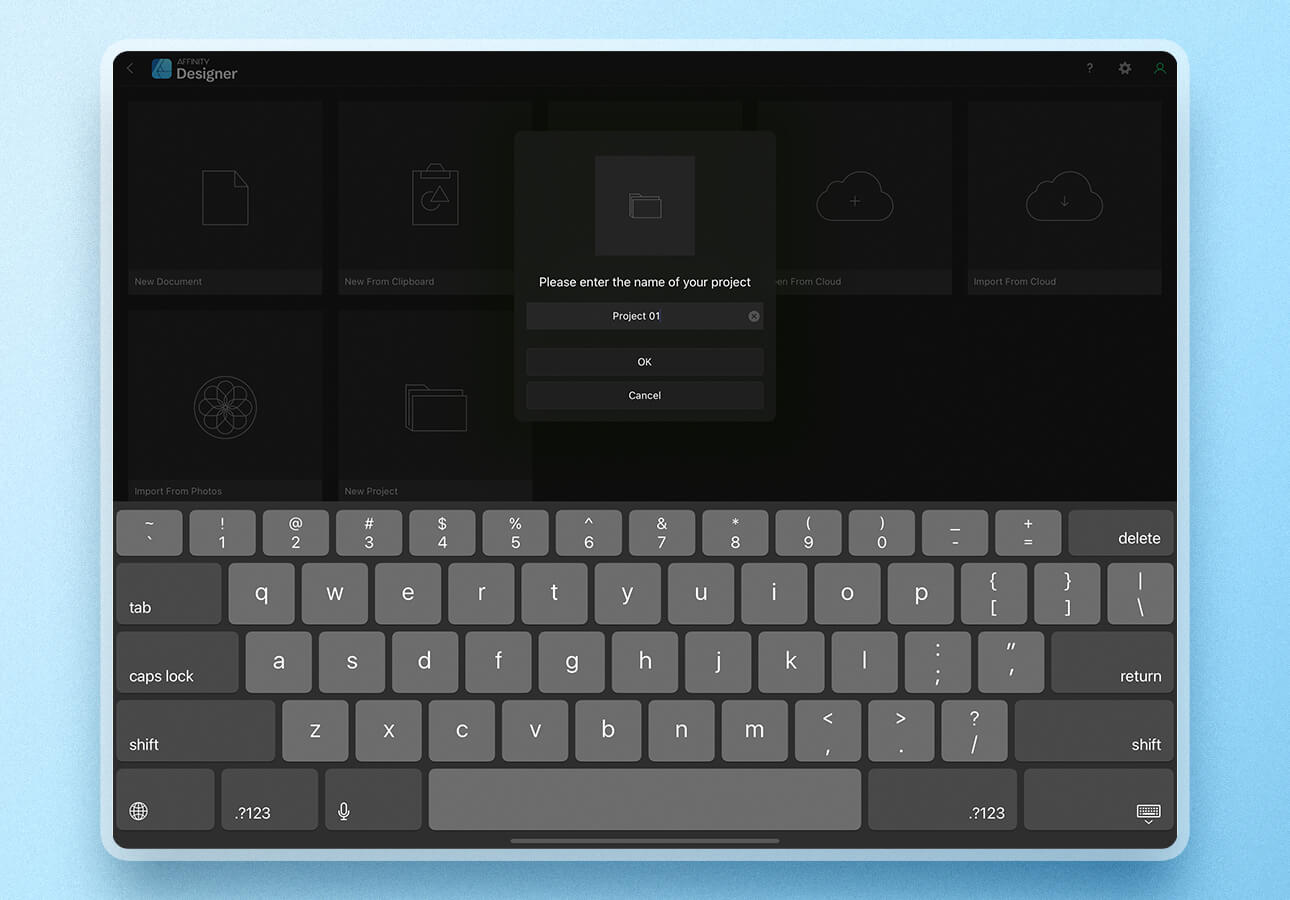
Caption: Use Projects in Affinity Designer to keep your documents organized.
#alt#A popup window showing the New Project creation workflow within Affinity Designer.
Organization, File Management & Cloud Storage
Affinity Designer promotes speed, efficiency, and organization.
Similar to folders, you can create projects from your Home Screen and keep related documents together when sorting your content locally.
Affinity Designer also takes advantage of a lot of what's great about the iPad and puts it to use for its users. In the Preferences menu, you can set your program to save directly to your iCloud, ensuring that your documents are accessible across all devices.
With this in mind, keep in mind that files can be imported from iCloud as well. Something that's worth mentioning with this is that there are a few ways to bring in files.
When you choose, Import from Cloud, you're creating a copy of that document. When you choose Open from Cloud, you are working on that same document and once you save it, it will be overwritten.

Exporting & Platform Compatibility
There's actually one more Persona that we haven't mentioned yet: the Export Persona. Like the other two Personas we've seen, it changes the tools on your screen. This Persona is specifically for preparing your document for export.
Affinity Designer can export to the following formats:
- PNG
- JPEG
- GIF
- TIFF
- EXR
- HDR
- PSD
- EPS
- SVG
Affinity Designer manages your export settings using the Slices Studio.
The Slice Tool allows you to manually configure specific document selections or slices as opposed to using the Layers Studio. Alternatively, to export the entire document you can select the Page slice.

This is interesting because it allows you to get super specific with your export options. Using this tool, you can even export 1x, 2x or 3x resolution versions of your artwork simultaneously.
With Affinity Designer being cross-platform compatible for Windows, MacOS, and iPad, it's no surprise that it can also read and edit documents from other programs.
You can open up Adobe Illustrator documents with complete layer preservation. The editing capabilities within Affinity Designer will depend on the features you used and how the document was saved. You can even import and work on PSD files within the app for added flexibility and range.
This is great for users looking to make a switch to a more affordable, but equally powerful app.

Final Thoughts
Affinity Designer is here to make us think about our apps differently.
The capabilities of Affinity Designer are so robust that trying to navigate or realize its full potential can be a bit overwhelming. Between the grids, gradients, and blend modes, and vector drawing capabilities, it can be a lot to wrap your head around.
Hopefully, this article has helped, but the catalog of video tutorials is great for beginners and definitely helped me navigate it for the first time.
Would I recommend this app to other artists? Yes.
If you're looking for an app that you can use to cut costs without losing any of the quality, Affinity Designer is a great option and one we think you’re sure to enjoy.
Affinity Designer is available at two main price points:
- $22 for iPad App
- $55 for the desktop version (Windows & Mac apps)
Pick up your copy today and give this app a try.

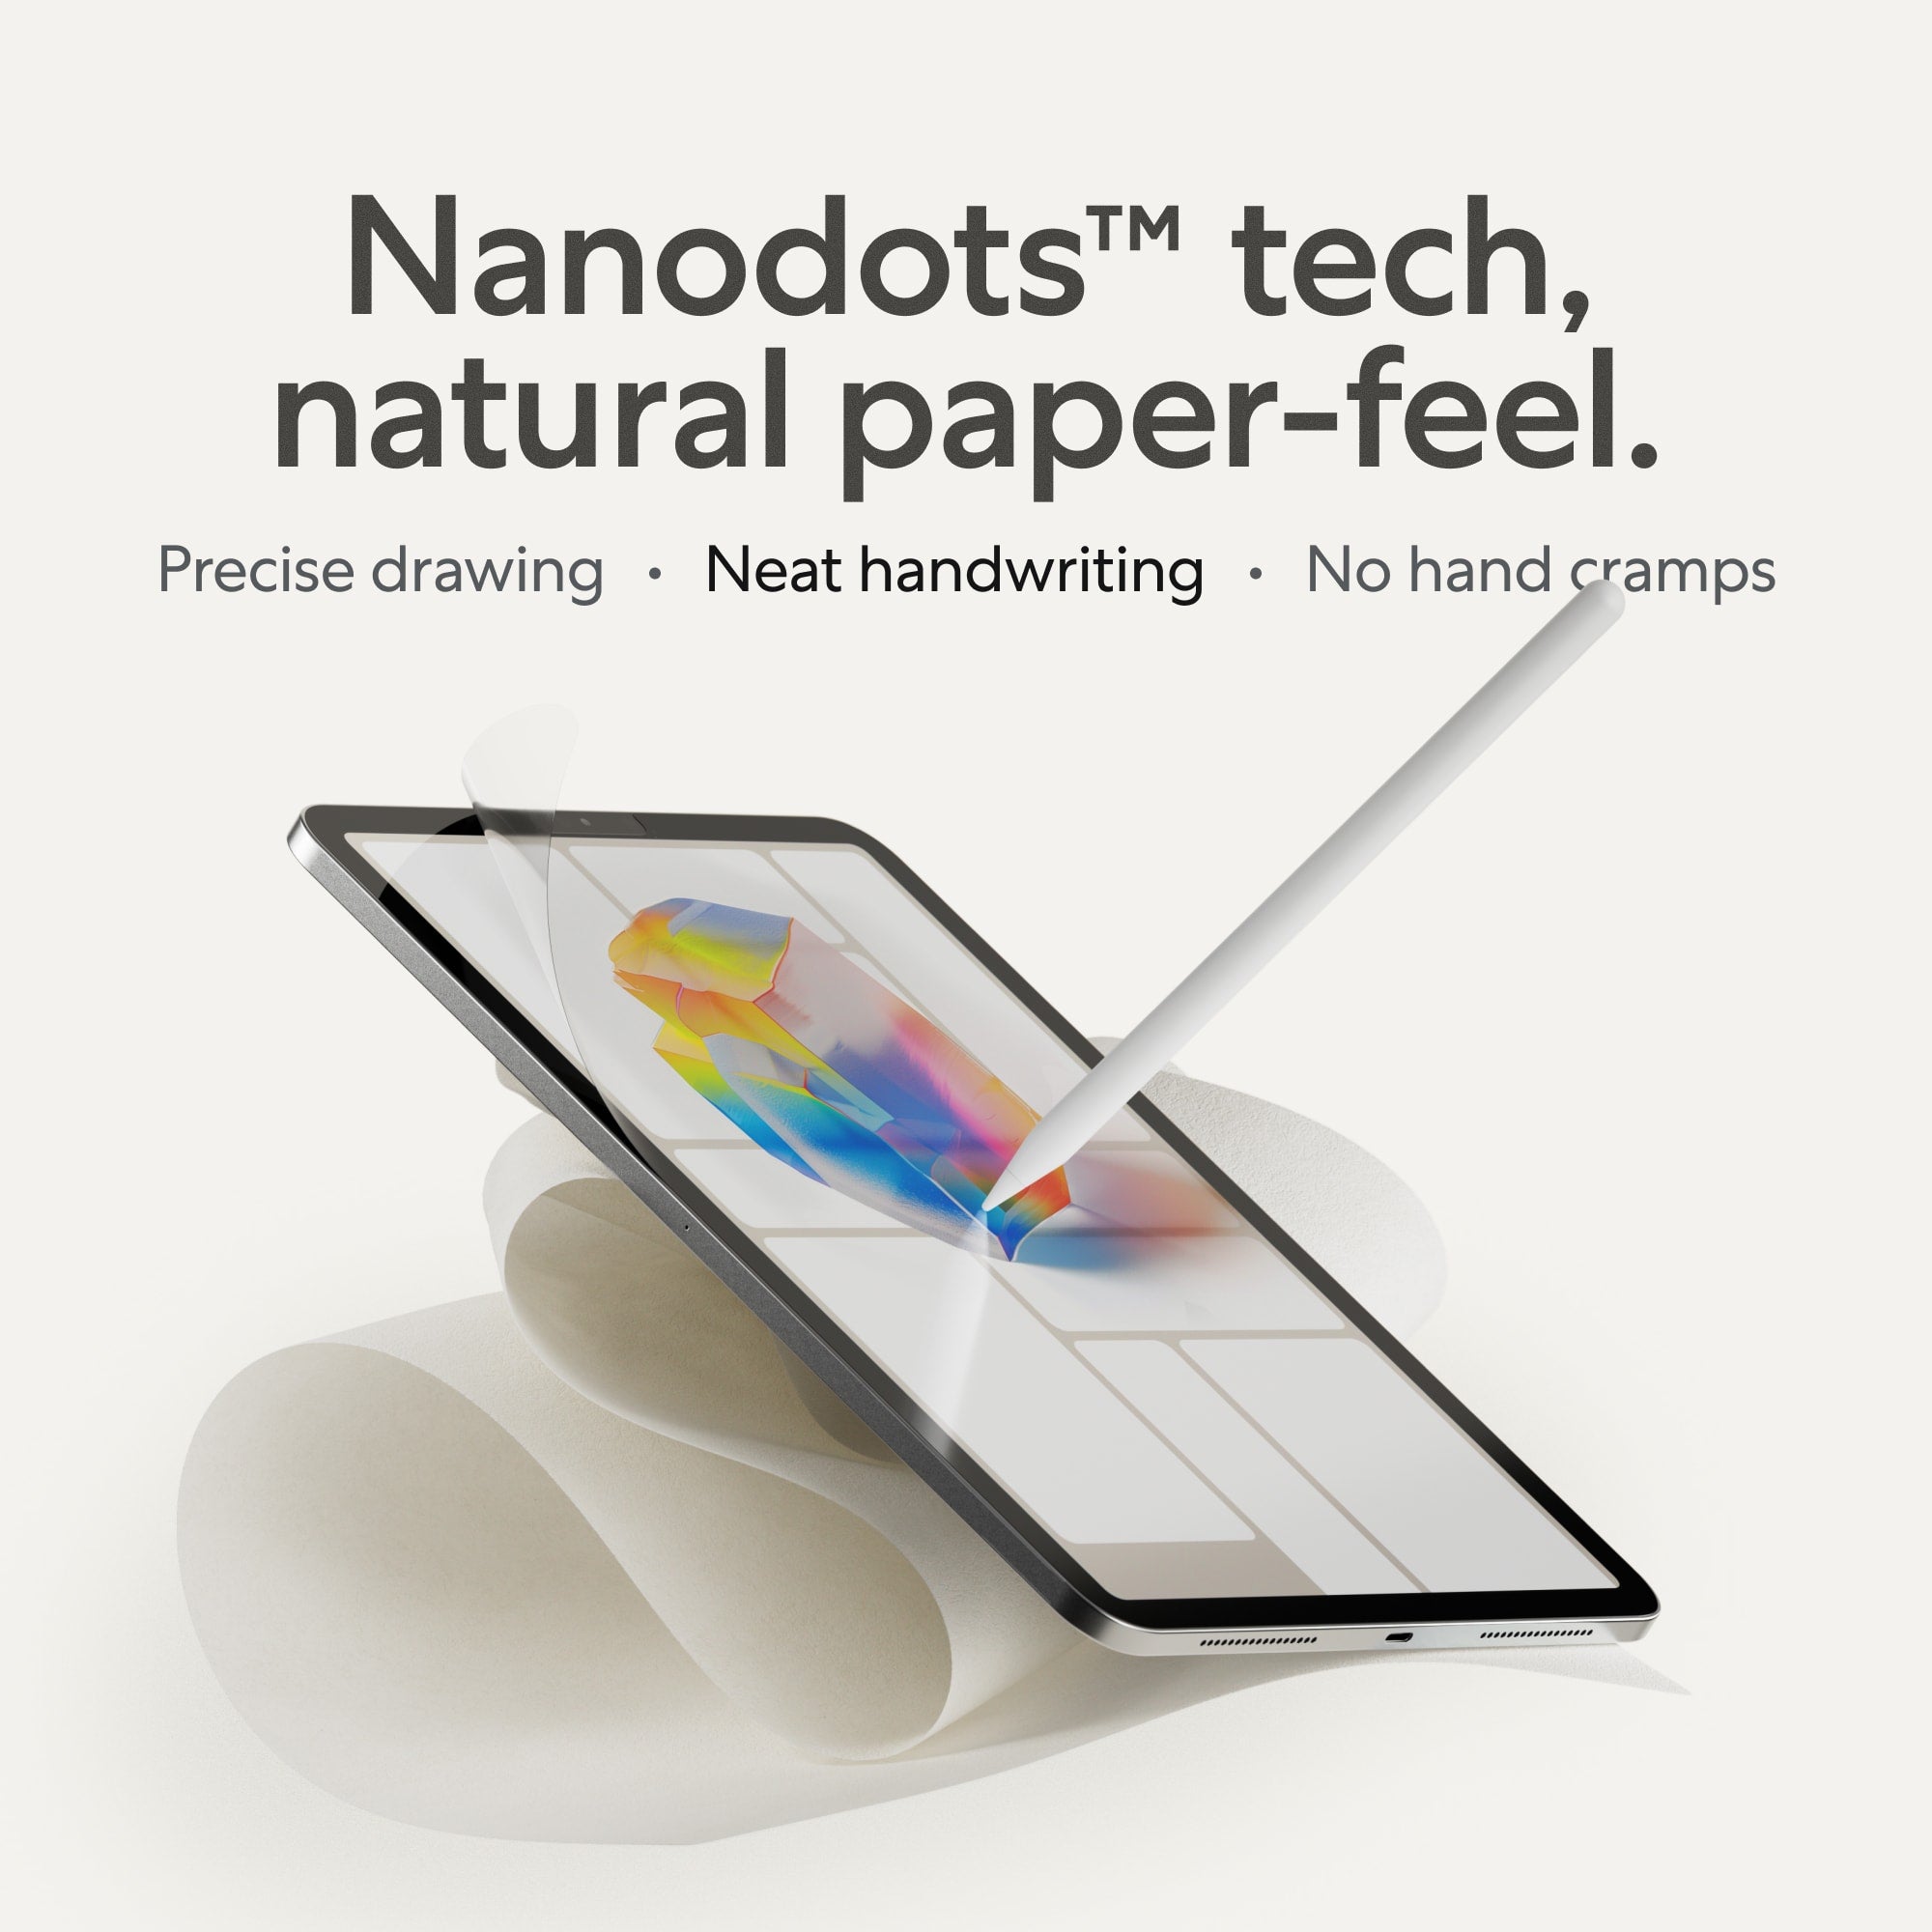
Better Art with Paperlike
As an artist, the tools that you use are important. It’s one reason that we spend some much time giving you the knowledge and information you need to find the best tool for the job.
But, no matter what app you use to scratch that creative itch, Paperlike can help you bring your digital art to life.
Our screen protector offers an enhanced experience when drawing or notetaking by adding more resistance to your screen. That’s a major upgrade from trying to use your Apple Pencil on a slick, glassy surface.
Pick up a Paperlike today and feel the difference for yourself.


