


This article was originally published in October 2021 and most recently updated in July 2026.
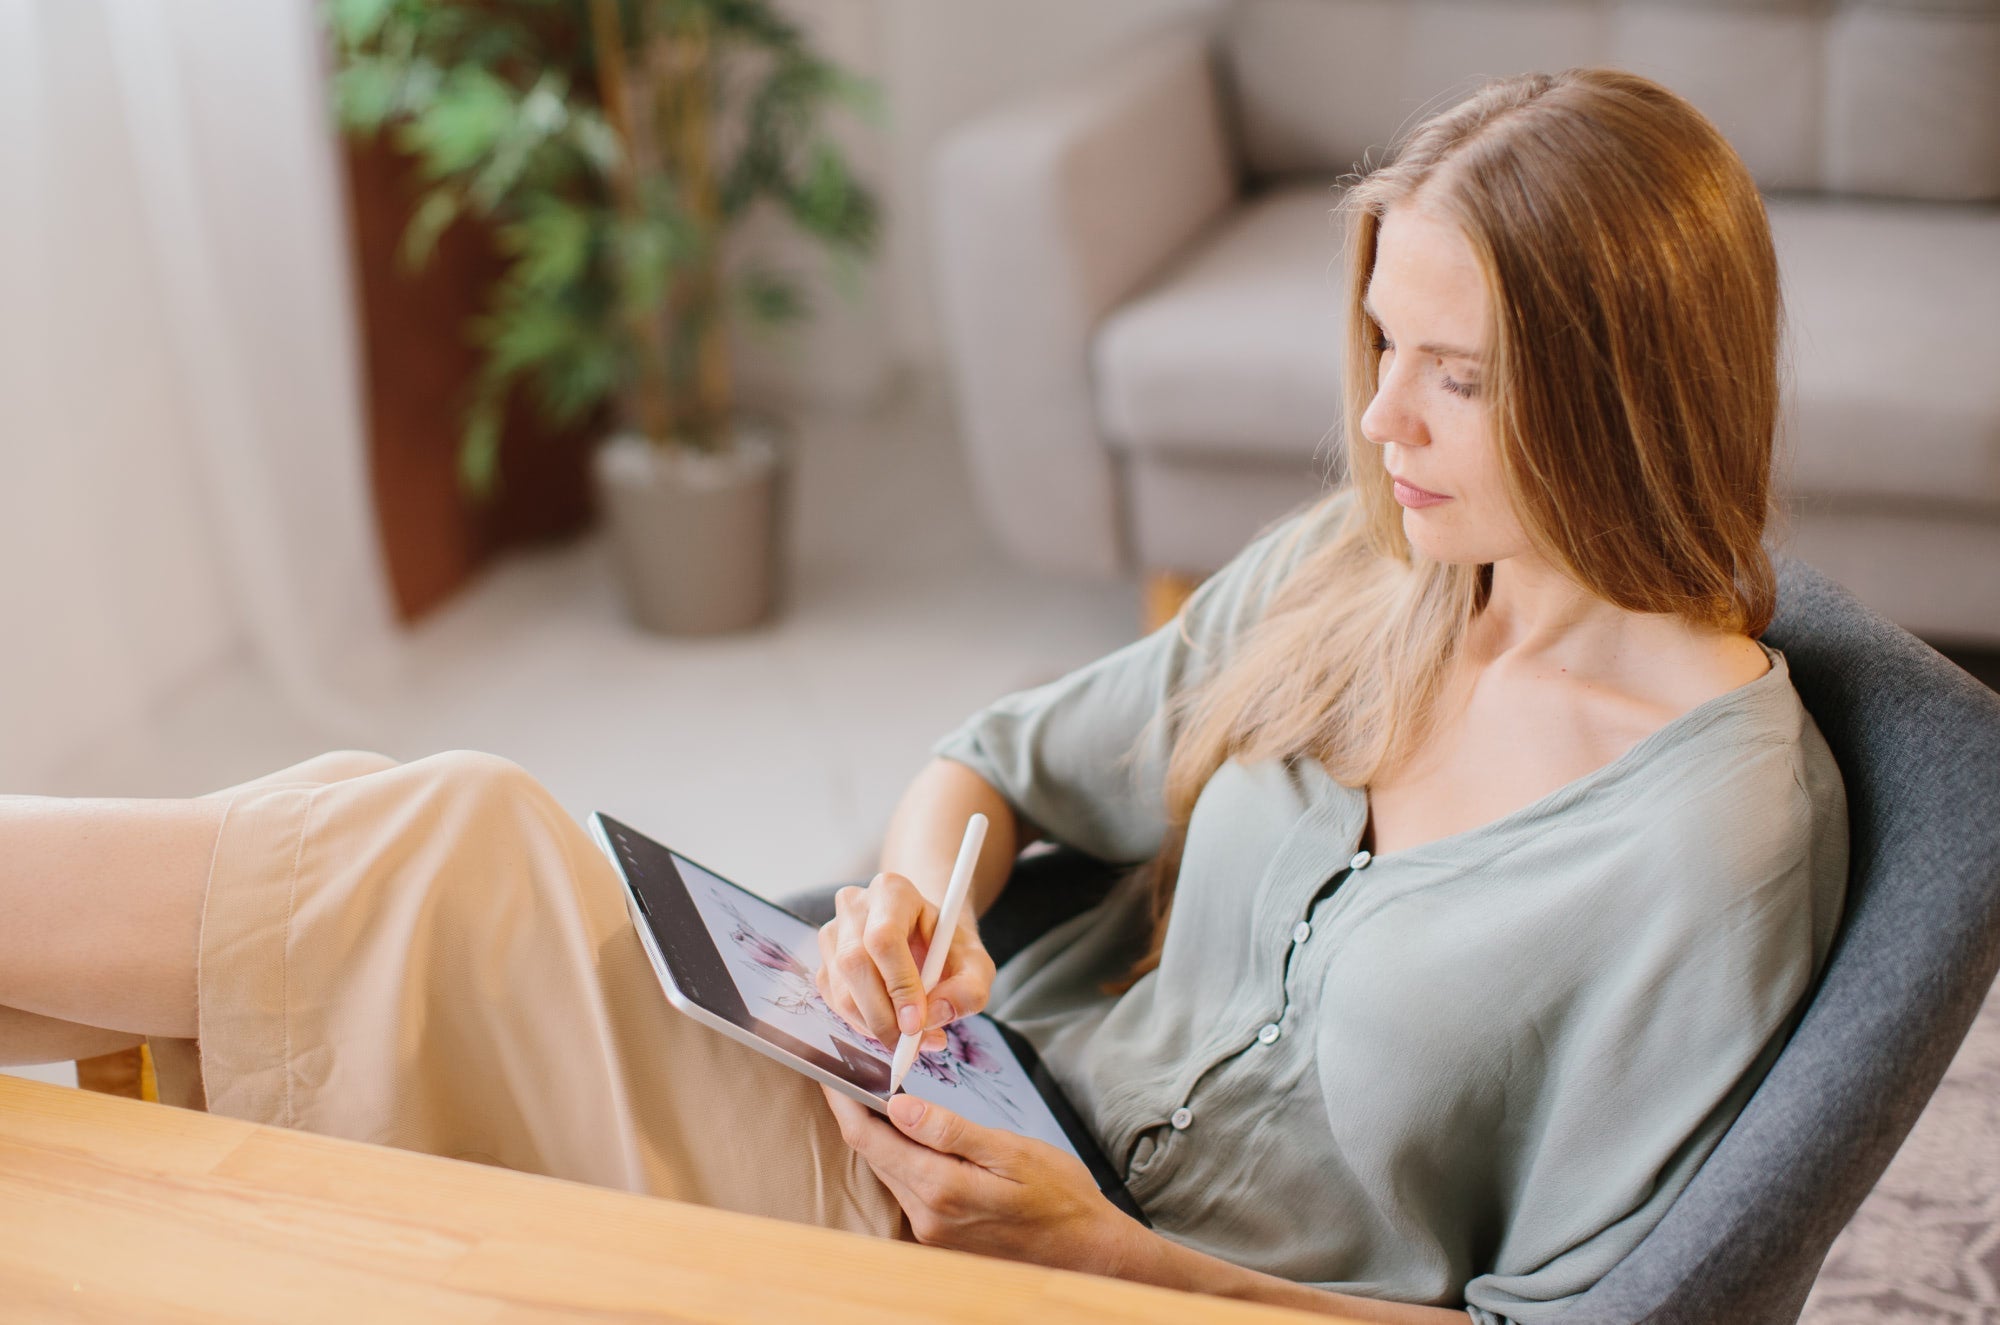
If you're a busy digital creative, Procreate is one of the best drawing apps out there.
But you probably don't have time to read through their ridiculously comprehensive handbook. So we did it for you!
We scoured through all the documentation and tutorials we could find, and we’ve discovered 33 Procreate tips you absolutely have to know when using this incredible software tool.
In this article, we’ll show you what we’ve found and how you can use these techniques step by step to create your next masterpiece.
Let’s get started.
01. Setting up your canvas for success
Before you start drawing, you’ll need to set up your canvas. While Procreate comes loaded with several great canvas presets, sometimes you just need something custom.

Here’s how to set up a custom canvas:
- Open your Gallery.
- Tap the + icon in the upper right-hand corner.
- Tap the rectangle icon in the top right.
- Set your custom dimensions & DPI.
When setting your DPI, you’ll need to know how your drawing will be used. Will the drawing be for social media, or will it be a print?
Here are the settings that I’d recommend:
- High-quality prints: 300 DPI.
- Digital art: 150 DPI.
- Web-only images: 72 DPI.
One of the coolest things about Procreate is that you’ll only need to set up a custom canvas once!
After you create your own canvas, the Procreate app will save all of your settings automatically as a new preset template. The next time you need to create a canvas, simply select the preset, and you’ll be good to go.
02. Say goodbye to random marks
Have you noticed that you’ve accidentally created random marks all over your canvas while trying to add line work and details?
Don't worry, we've all been there. Going back to erase every single line is pretty annoying.
You can put your eraser away and eliminate random marks entirely by turning on Disable Touch actions. This feature will prevent you from accidentally marking up your canvas with anything other than your Apple Pencil.

Here’s how to activate Disable Touch actions:
- Open the Actions Menu.
- Select Preferences.
- Select Gesture Controls.
- Go to General.
- Turn on Disable Touch actions.
A great part of this feature is that it won't disable your other touch gestures, so you won’t have to worry about breaking your workflow.
Popular gestures like two-finger undo or three-finger redo will still be recognized and ready to use. Now, you can enjoy having full control over every mark and stroke on your canvas without those silly mistakes.
03. Work smarter & stay organized
Once I get in the groove of my drawing process, I often find myself juggling a lot of layers.
Managing high layer counts without a method for organization can make editing or completing a piece needlessly difficult — trust me, I know!
Controlling your layer count is something to keep in mind as you work at higher resolutions because your layer limit will be lower as you work with larger canvases.
Before you add another new layer, here are four key methods for optimizing your workflow and keeping your layers organized:
Stacking files in the Gallery
There are multiple ways to keep your files organized in your Gallery. One of the most efficient ways is by creating Stacks.

- Using Select mode, tap your artwork and then tap the Stack button.
- To add artwork to a stack, drag and drop your artwork into any existing stack.
Creating stacks not only organizes your files but also makes them easier to bulk move and share later. You can also select the entire stack and save it quickly in your preferred format.
And don't forget to name your stacks so that you can easily know what's inside each without having to open it. Some artists even create Procreate art pieces that serve as covers for their stacks to further organize their work.
Saving your files
You can also use the Select feature in your Gallery. Procreate doesn't have automatic Cloud backups to protect your work. This means you should have your own workflow for backing up your work outside of the app. This is critical when you upgrade your device.

Here's how you can save your Procreate files:
- Click Select from your Gallery.
- Select the artwork you'd like to save.
- Hit Share and save your artwork in Procreate format.
- Export and save them to an external hard drive or the Files App.
What's unique about the Procreate file format is that it preserves all of the information from your Procreate artwork. This includes key information like metadata, timelapses, your brushes, and more.
When you go to reopen these files, they'll automatically open in Procreate. You'll also see that you can save your artwork in other formats for sharing on social media or anything else you need.

Grouping layers
- Open the Layers Panel in the upper right-hand corner.
- Tap the first layer you'd like in your group.
- Swipe left-to-right on each additional layer to select it.
- Select Group in the upper right-hand corner of the Layers Panel.
- To add additional layers, drag them directly into your new group.
To get the most out of this feature, I suggest categorizing your layer groups by identifying similar elements like text, backgrounds, and effects.

Merging layers
- Open the Layers Panel in the upper right-hand corner.
- Swipe right to select additional layers.
- Use two fingers and pinch your layers together.
Unlike grouping layers, merging will take the elements of any of the selected layers and combine them into a single layer.
Merging is useful when you need to reduce your total layer count. It also forces you to carefully review parts of your piece and determine which elements can be on the same layer.
This might seem a bit tedious, but you'll thank yourself later.
04. Make automatic selections
Selection tools in Procreate make it easier to isolate parts of your artwork and make quick edits.

- Tap the Selection button.
- Choose Automatic from the toolbar.
- Drag your finger left to reduce the selection and right to increase the selection.
- Select any other tool to begin editing.
If you have Hover capabilities on your iPad, you can easily preview the selections you're making and the color before making the change. If you don't, they're still easy to undo with the Undo gesture.
05. Have fun with Clipping Masks
The freedom to easily experiment with a variety of effects is a unique advantage of digital drawing.
Clipping Masks let you make changes while staying flexible as you edit and improve your artwork. With Clipping Masks, you can easily recolor your work and experiment with blend modes, shadows, and more in a non-destructive way.
Any layer can become a Clipping Mask, but you first have to make sure it's positioned above the layer that you want to edit.

Here’s how to create a Clipping Mask in Procreate:
- Add a new layer.
- Select the layer.
- Select Clipping Mask.
Your Clipping Mask layer can be identified by a small arrow that will appear on the left side of the layer.
Unlike the Alpha Lock feature, which only affects existing artwork on a layer while leaving transparent areas untouched, edits you make with a Clipping Mask sit on top of your original artwork in a completely separate layer.
Using Clipping Masks, you’ll never have to worry about compromising the integrity of your original artwork, no matter how many changes you need to make.
This level of functionality makes Clipping Masks a must-have tool for any digital artist.
The next time you're thinking about adding color or additional details, try using a Clipping Mask.
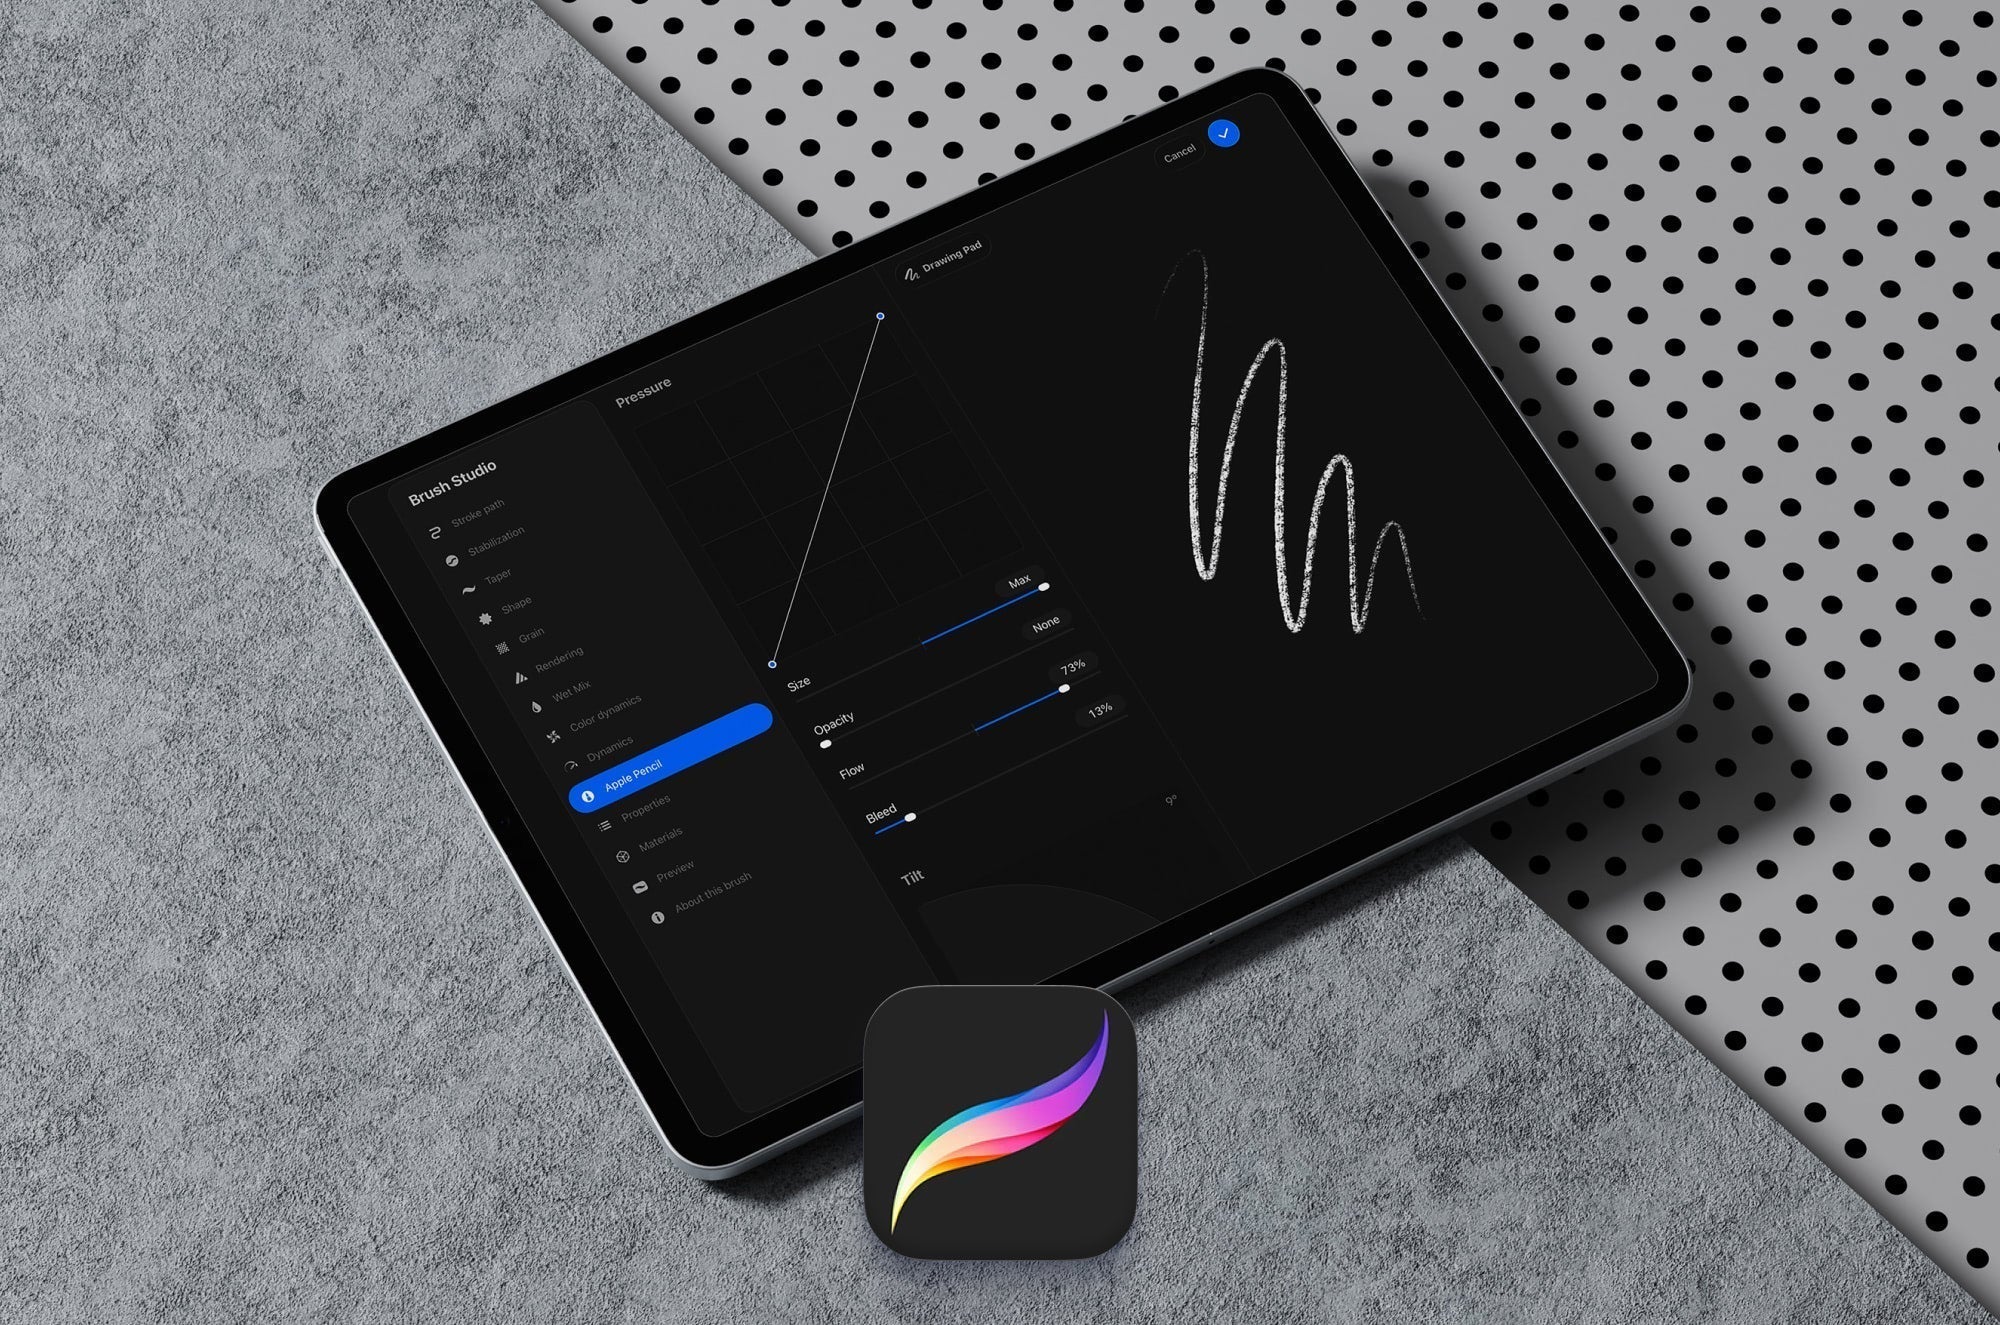
06. Create smoother strokes with StreamLine
Creating great art requires a diverse collection of skills, but thanks to the StreamLine feature, a steady hand isn't one of them!
StreamLine helps you smooth out every stroke, curve, and loop that you draw for fluid and flexible lines.

Here’s how to enable the StreamLine feature in Procreate:
- Open the Brush Library.
- Select your brush.
- Go to Stabilization within Brush Studio settings.
- Under StreamLine, adjust the Amount setting to taste.
The higher the StreamLine amount, the smoother the line becomes. With a lower percentage, your lines will appear more natural. At higher percentages, the line almost follows the Apple Pencil as you draw.
In my experience, StreamLine feels different depending on the brush you use, so feel free to experiment with it and see what feels most comfortable for your style and preference.
This is a very useful feature if you're into calligraphy or lettering, because you can use it to create smooth lines and curves. Tackling script styles is much easier with this feature in play, so be sure to try it out for your next piece.
In addition to the StreamLine feature, you'll find Stabilization. This feature is similar to StreamLine, but it's designed to create a straighter, smoother line based on the amount of wobble in a stroke.
07. Add dynamic type to your artwork
You don't need to be a professional lettering artist to add fun and dynamic type to your digital art.
Anyone can add text to their artwork with a simple click.

Here’s how to add text to your art:
- Go to the Actions Menu.
- Go to Add.
- Select Add text.
By default, you’ll have access to the entire iOS font library when using Procreate. But if you find that none of the default options fit your vision, feel free to import your own font files into the app.
To import custom fonts in Procreate:
- From the text menu, select Import Fonts.
- Select your font file from the Files App.
Once you’ve selected your font, you can use the keyboard on your iPad to type your text, or you can take advantage of the Scribble feature on your iPad and use your Apple Pencil to write directly inside the text box!
Just like the objects or drawn elements on your canvas, text can be moved, edited, and resized. To take things a step further, Rasterize your text layer from your Layers Panel.
This will turn your text into editable pixels, allowing you to apply complex transformations and effects to your text.
There are no limits to what you can do with typography in Procreate. You can learn all about Procreate Fonts and how to use them in our article here.
08. Add color with ColorDrop
Who says coloring can't be fun?
Similar to the Fill Layer or Paint Bucket tool in other apps, the ColorDrop feature puts the power of color at your fingertips.
Use this feature to add color to your canvas in a quick and highly customizable way.

Here’s how to use the ColorDrop feature in Procreate:
- Tap the Color Button (the little color circle) in the upper right-hand corner.
- Select your color using the color picker.
- Drag your color from the Color button onto the screen.
If your canvas is blank, ColorDrop will simply fill your entire layer with your selected color.
You might notice that, sometimes, your objects don't fill with color completely. Instead, ColorDrop leaves a thin, white border around the edge. Before you pull out your Apple Pencil to manually fill in the rest, try adjusting your ColorDrop Threshold.
To do this, ColorDrop into your object as you normally would. Before you lift your finger from the screen, hold for a moment, then slide your finger to the right.
As you do this, note the ColorDrop Threshold percentage that appears at the top of your screen. This will show you how much more of the area you can fill. Once you’ve achieved the desired fill amount, lift up your finger!
Using the ColorDrop Threshold will help you achieve complete color fills every time. Enjoy these features for added control, speed, and ease in your coloring process.
09. Color with Alpha Lock
You can use Alpha Lock to isolate edits to only the artwork on the Alpha Lock layer. This feature is great for adding dimension, detail, and texture to your artwork. It's also a great way to control your layer count if you need to.

Here's how to activate Alpha Lock on your layers:
- Activate Alpha Lock by swiping left-to-right with two fingers.
- You'll know it's active when you see a checkered background on the layer preview thumbnail.
Alpha Lock is similar to a Clipping Mask, but it's unique in that all of the information is contained within a single layer. When you make additional edits, you'll be restricted to only the areas that are already filled with paint.
That means no more worrying about coloring outside the lines! If you need to make any changes to the artwork itself, you can always easily deactivate Alpha Lock and then reactivate it when you need to.
10. Create inspired color palettes
Color is a detail that can aid in visual storytelling and complete your piece, but gathering inspiration for the drawing and painting process is hard enough without thinking about your color palette.
Well, what if I told you that you can create color palettes in seconds?

Here’s how to use Procreate to create dynamic color palettes:
- Tap the Color button (top right) to open the Color Panel.
- In the bottom right-hand corner, select Palettes.
- Select the + icon in the upper right-hand corner.
- Select New from file or New from photos.
Not only is this a huge time saver, but it also allows you to use the world around you as inspiration.
Have a great photo from a recent trip? Bring it into the app and see what kind of palette it creates. Use those color swatches to create a variety of different artworks.
No matter whether you’re trying out digital watercolor brushes or following a drawing tutorial, a good set of swatches can make all the difference when bringing your digital art to life.
Want to learn more about color palettes in Procreate? Check out our article here.
11. References: The ultimate drawing guide
As much as every artist would love to have a perfect memory to refer to while drawing, we usually end up needing a reference image.
The Reference Companion window is designed to be your best friend while you draw. You can use this window to get a zoomed-out view of your canvas or to hold a reference image imported from your iPad.

Here’s how to activate the Reference Companion in Procreate:
This will make a floating window appear on the screen.
Selecting Canvas at the bottom of the window will give you a view of your canvas, while selecting Image will allow you to import a photo from your library on your iPad.
Plus, you can interact with the window in the same way you would with your canvas. You'll be able to zoom in and out, select colors, rotate, etc.
You also have full control over the position of the reference window on the screen, so you’ll never have to worry about it getting in the way while you work.
When you're in 3D mode, you can also use the Reference Companion. When in 3D, you can toggle between 2D and 3D. The 2D view will make your 3D object a flat image. The 3D version also allows you to look at and move around your 3D model.
| Bonus tip! | If you want a Reference that you can create directly on top of but don't want included in your timelapse, you can insert a private photo. Go to the Actions menu, swipe left on Insert a Photo to reveal the Insert a private photo option. |
12. Find lost layers in seconds
Have you ever gotten to a point in your drawing where you realize you have elements lost in an endless sea of layers?
Say no more!
Artists who create complex drawings that require high layer counts often deal with this problem. The Layer Select feature makes this a thing of the past.

Here’s how to use Layer Select to find lost layers:
- Open the Actions Menu.
- Select Preferences.
- Select Gesture Controls.
- Assign a custom gesture to Layer Select.
Note that if the gesture you select is already in use, assigning Layer Select to it will disable the previously assigned function.
Once activated, Layer Select will identify individual layers when you invoke the assigned gesture and will even automatically select specific layers in your Layers Panel for you.
So say goodbye to workarounds like adjusting the opacity to find your long-lost layer! No more worrying about complex blend modes, effects, and high layer counts.
If you haven't fully embraced using our tips for organizing your layers, you can count on Layer Select to save the day.
13. Balance your canvas with Symmetry
Who doesn't love balance?
Using the Symmetry Guide in Procreate can help you achieve perfectly mirrored artwork in a variety of fun ways.

Here’s how to turn on Symmetry Guides:
- Go to Canvas under the Actions Menu.
- Toggle on Edit Drawing Guide.
- Tap the Symmetry tab in the submenu.
- Tap Options and select your Guide type.
Once you're under Options, you'll be able to choose from Vertical, Horizontal, Quadrant, and Radial guides.
Using any of these grids will allow you to fill out your canvas in real time with reflections of the strokes you draw.
If you ever find yourself working on a layer that doesn’t need the Symmetry feature, you can simply tap it once and select Drawing Assist. Layers with Symmetry enabled will say Assisted underneath them, making them easy to identify.
For added convenience, you can customize the color, thickness, and opacity of your guidelines. This will allow you to work in a way that's best suited to you and what you're creating.
14. Expand your brush library
Brushes are part of what makes drawing in Procreate so much fun.
With over 200 default brushes in the app, there are endless possibilities for what you can create.
However, using custom brush sets can help you achieve a variety of styles and effects. Importing brushes is simple, and in just a few clicks, you'll have access to an expanded brush selection.
To do this, you’ll need to move your Procreate-compatible brush files to the Files app on your iPad.

Once you’ve done that, here’s how to import your brushes directly to Procreate:
- Open your Brush Library.
- Tap the + icon in the upper right-hand corner.
- Select Import.
- Select your brush file.
Individual brush files will automatically go to a folder called Imported at the bottom of your Brush Library, while brush sets will go to the top. You can also use these steps to install your favorite Photoshop brushes.
Not so hard, right?
Practice importing different brushes by downloading our free Better than the Basics brush pack collaboration designed by lettering artist Jimbo Bernaus.
15. Never forget your brushes
With such an impressive amount of brushes to choose from, it can be easy to forget which ones you've recently used. Thankfully, we have the Recent brush category.
The last eight brushes that you've used will go to this section by default, making it so you never lose track of your brushes again.

Want to make sure your favorite brushes are always within reach?
Once brushes are in your Recent category, they can be Pinned so they never go anywhere:
- Go to the Recent category.
- Swipe left on the brush you'd like to pin.
- Select Pin.
With all your brushes moving around from section to section, it can be hard to remember what category they originally came from. You can use the Find feature to do just that.
Simply swipe left on any of the brushes in your Recent brush category and hit Find. This will take you instantly to where the brush came from.
Try this out with your favorite brushes in Procreate!
16. Save your brush sizes
Not only can you find your most-used brushes in the Recent section, but you can also save your brush sizes.
This level of customization will allow your preferences to remain consistent across your Procreate documents, helping you work more efficiently and keep a consistent look and feel when using certain brushes.
Once you set your sizes, going from different brush size presets is as easy as a single tap.

To set and save your brush sizes:
- Tap your brush slider once.
- Hit the + to set your value.
- Repeat this for up to four values.
I like to use this to set minimum and maximum brush sizes for my favorite brushes. And did I mention that you can do this for your opacity slider as well?
With this feature, you can create up to four preset values for brush size and opacity, giving you more than enough options to customize your experience.
17. Combine two brushes into one with Dual Brush
Now that you know how to import and save brushes, what about combining them?
You can do just that with a Dual Brush in Procreate. Any two brushes within the same Brush set can be edited to create a unique combined brush.

Here's how to create a Dual brush:
- Open your Brush Library and tap a brush to select it as your primary brush.
- Swipe right on a different brush to select your secondary brush.
- When the secondary brush is selected, a soft shade of blue (but not as bright as the blue highlight on your primary brush).
- When both brushes are selected, tap Combine in the top right of the Brush Library window.
- Tap your new Combined brush and make edits.
You can combine any two brushes in Procreate to create a custom brush. A Dual Brush is best achieved by using brushes with noticeably different textures, characteristics, and width profiles.
You can think of it as creating an inline effect with a single brush.
Play with the edits to the Primary and Secondary brushes within the Brush Studio and adjust your blend modes to see the different effects you can produce. This will also allow you to create unique texture brushes.
In addition to blend modes, it can be fun to adjust other settings, like Spacing, to create dotted lines.
Lastly, I suggest you test your brush while still in the Brush Studio. This allows you to try out your edits in real time before committing to them.
18. Make it fast with QuickMenu
Working digitally can really streamline your workflow. But maybe you've noticed that you use certain actions in Procreate a lot. Wouldn't it be nice to have them appear in an instant?
This is exactly what you get when you use the QuickMenu.
The menu has six customizable actions that you can change and assign to make performing certain actions faster. In the Preferences menu under the Gesture controls section, you can set how you prefer to invoke the QuickMenu.

To set new actions:
- Bring up the QuickMenu.
- Press and hold the action.
- Choose an action from the Set Action menu.
This is a great way to work within Procreate if you like the idea of incorporating shortcuts in your workflow.
And if six customizable actions aren’t enough for you to work with, you can create as many different QuickMenu profiles as you'd like.
All you need to do is tap the center QuickMenu button and hit the +. From there, you can customize a completely new QuickMenu to use.
This is great for streamlining all different types of workflows you might have, depending on what you are creating.
19. Create a digital sketchbook with Page Assist
As digital artists, there are more ways than ever to replicate traditional materials.
This is true for features like Page Assist, where you can use Procreate like a digital sketchbook, which makes it an ideal tool for creating comic books, ideating, storyboarding, and more.

To activate Page Assist:
- Go to the Actions menu and hit Canvas.
- Toggle on Page Assist.
Once it's activated, a Page Assist timeline will appear at the bottom of your screen. This allows you to toggle to any page in your document and add new pages.
Unique to Page Assist, your Layers panel now represents each page in your document. Once you're done, you can easily export your Procreate document into a multi-page PDF.
20. Go virtual with Augmented Reality (AR)
Within Procreate, you have the ability to import and illustrate on 3D models, and if that isn't enough, you can take it a step further.
With the use of AR technology, you can place your 3D models into your space.

To activate AR:
- Go to the Actions menu and tap 3D.
- Tap View in AR.
From there, you can use the camera on your iPad to place your model anywhere you'd like. You can even scale your object within your space to get a realistic effect.
This is an especially fun tool to use with the sample models included in Procreate, like the soda can and skateboard. It really pushes the boundaries of creation and how we imagine seeing our work.
In addition, it comes in handy when creating case studies and putting projects in your portfolio. Context matters, and this allows people viewing your work to better understand and visualize your 3D concepts.
21. Customize your 3D model environments
When you're editing a 3D object in Procreate, you don't only have control over how it looks, but also its environment. You can also see how it looks in a virtual environment, where you can make edits to lighting, colors, and more.

To edit the lighting and environment of your 3D models:
- Go to the Actions menu and hit 3D.
- Select Edit lighting & environment.
From there, within the Lighting Studio, you'll have 11 different environment presets to choose from, ranging from Nightlife to Studio.
You also have the option to add lights and change their colors and intensity. This opens up a world of possibilities for how you visualize your models.
22. Animate your artwork
If you're just getting started with animation, Procreate's Animation Assist feature makes it easy and accessible for artists. Using the Layers Panel, you'll be able to bring your static illustrations to life.

To animate your illustrations:
- Go to Actions and toggle on Animation Assist.
- Create each frame of your animation as a layer in your Layers Panel.
- Select Play to preview a Live playback of your animation
- Go to Settings to adjust your Frames Per Second, Playback type, and more.
Useful tools like Onion Skins come in handy when making edits between frames. It's what allows you to see what was in the frames you've already drawn.
For more control over your final animation, you can adjust your frame duration, duplicate, and even delete frames from your timeline.
Simply tapping the frame will bring up those additional helpful options. As you work on your animation, the changes you make there will be reflected in your Layers Panel.
23. Import your artwork into Procreate Dreams
Procreate Dreams is a powerful program from the Procreate team for animating your artwork. It can be a great way to take your animations to the next level with a dedicated app for animation. Thankfully, it's easy to import your artwork between the two programs.

To import your work to Procreate Dreams:
- In Procreate Dreams, choose the Multitasking button.
- Drag and drop your artwork from Procreate to your Procreate Dreams timeline.
- Tap and hold the track and select Convert layers to tracks.
Procreate Dreams is the latest program from the Procreate team, and it's a powerhouse for animation. This goes far beyond the Animation Assist feature in Procreate.
You can use it to achieve a lot more advanced and dynamic animations in the program once you know how it works. Want to learn more about Procreate Dreams? You can check it out here.
24. Make it snappy with Object Snapping
Having increased precision is an added benefit of working digitally. This is where Snapping in Procreate comes in handy. This is what will keep your objects aligned as you move and rotate them.

To activate snapping:
- Select the Transform tool.
- Tap the Snapping button and toggle on Snapping.
The blue guidelines will help you know that your Snapping is on. For increased precision, you can also toggle on Magnetics.
With these features, you'll never have to worry about your work being aligned on your canvas and with other objects on your canvas. As an added tip, you can use the Uniform setting to keep your objects proportional when you scale them.
25. Bend your artwork with Warp
Once you've drawn something in Procreate, you might want to edit it further. Using the Warp tool, you can bend, fold, and manipulate your artwork.
When the tool is active, you'll see a grid overlay on your artwork. From there, you can use the nodes to control exactly how you move and push your artwork.
How to use Warp in Procreate:
- Select the Transform icon.
- Select Warp from the submenu.
- Drag the nodes that appear to move your artwork.
- Select Advanced Mesh to add more nodes for more control.
Tapping the nodes will give you more options for positional controls in the Front, Middle, or Back of your canvas. This can be used to create fun and dynamic overlaps.
Note: Once you start manipulating your artwork with Warp, the changes you make will be permanent.
I'd recommend making an unaltered copy of the layer you're about to warp to ensure you get the effect you want.
26. Make better transformations with Interpolation
Since Procreate is a pixel-based software, it can sometimes leave you with fuzzy, pixelated results when you make transformations.
Playing with Interpolation settings can help with that.
While it's generally not encouraged to transform and scale too much in Procreate, these are some methods to help you get the clearest results.

How to use Interpolation in Procreate:
- Select the Transform icon.
- Select Uniform from the submenu.
- Choose from Nearest Neighbor, Bilinear, or Bicubic.
So, what's the difference between Nearest Neighbor, Bilinear, and Bicubic?
- Nearest Neighbor will produce a result based on one pixel on either side.
- Bilinear will give you a smoother result based on a 2x2 pixel average of the pixels around your transformation.
- Bicubic will use an area of 16 surrounding pixels, producing the smoothest, average results.
As a general rule of thumb, it's best not to make too many transformations to your objects. Each time you do, you will further degrade the quality of the image.
27. Fine-tune your settings
Your settings aren't limited only to those you can find within the Procreate app. Go to Settings on your device and select Procreate from your app list.

You'll find a lot of helpful settings like:
- Canvas Orientation Memory.
- Simplified Undos.
- Fit Canvas Inside Interface.
- Preferred file format.
Navigating to these settings is also beneficial for artists who need certain accessibility features turned on. Procreate has made a lot of strides to make its app work for everyone, and it means a lot to see them work on that.
28. Keep your brush size the same
If you've ever wondered why the size of your brush increases or decreases depending on how zoomed in you are, this might be because you didn't know about this setting in the Actions menu.

It's called Dynamic Brush Scaling, and you can find it under the Preferences menu in Procreate.
To toggle Dynamic Brush Scaling:
- Go to the Actions menu.
- Go to Preferences.
- Toggle on Dynamic Brush Scaling.
When you don't have Dynamic Brush Scaling enabled, you'll notice that when you’re zoomed in, your brush size will dramatically decrease. This is not only frustrating but can also cause inconsistencies in your line weights throughout your piece. With it enabled, it keeps your strokes a uniform size. Problem solved!
This tip comes from the creator, My CG Tutor, and their YouTube video.
29. Master your color profiles
If you're thinking of printing your digital Procreate artwork, it helps to understand how color profiles work.

A color profile is a piece of code in your software that ensures consistent color management across applications. In Procreate, there are two color profile options: RGB & CMYK.
To set your color profile in Procreate:
- Select the + in the top right of the Gallery.
- Tap the canvas icon next to New Canvas.
- Go to Color Profile.
This is something you'll need to do at the beginning of creating your artwork. Once you've opened your canvas, the color profile of your document can't be adjusted. Plus, the CMYK color profile in Procreate isn't really CMYK in the traditional way. A better way to ensure that your work prints properly would be to export your artwork to Photoshop or Affinity.
This tip comes from lettering artist and Paperlike ambassador Aurelie Maron and their YouTube video.
30. A different way to create color palettes
Starting with tonal values as light and shadows in grayscale can help you add color later on. This is a method that many artists say helps them have strong color palettes in their work.

If you struggle with adding color to your artwork, using Gradient Maps in Procreate can help. Gradient maps automatically analyze the highlights, midtones, and shadows of your image, then map the colors from the gradient.
To access Gradient Maps in Procreate:
- Tap the Adjustments panel.
- Select Gradient Map.
- Choose from the Gradient Library or create a custom gradient.
- Hit the Check Mark to confirm your gradient.
Procreate starts you off with eight presets to choose from. If none of them fit the theme of your artwork, you can click anywhere on the slider and assign colors. You can add up to 10 color points for a total of 12 colors.
Your lights should be on the right, with darker colors on the left. A well-rounded amount of light and dark colors will help you color your work. As an extra tip, you can go to the Hue, Saturation, Brightness setting to quickly change the overall color of your artwork.
This tip comes from the artist and Paperlike ambassador, Jimbo Bernaus of Shoutbam Creative Studio, and their YouTube video.
31. Use adjustments for cool effects
Adjustments in Procreate can take your work to a place you never imagined. By adding glitch, noise, and more, you can add textures and different effects to your artwork using the setting sliders.

Adjustments are professional image effects that are easy to edit. Each adjustment is grouped into four sections, based on its function.
First, there are color adjustments like Color Balance and Curves. These are popular recoloring features you'll see in many photo editing programs, such as Photoshop and Lightroom. Then there are blur adjustments like Motion Blur and Gaussian Blur. You can use these to simulate fast movement or soften the details in parts of your image.
The next group of adjustments includes Noise, Bloom, Glitch, and more. They distort your work in interesting ways that mimic legacy print effects and lighting. The last group features Liquify and Clone. These allow you to warp your pixels and duplicate part of your image on another part of your canvas, respectively.
This tip comes from the Procreate course and brush creator, Freya Art, and their YouTube video.
32. Removing your background with layer masks
A challenge of bringing in an image of scanned artwork is that it includes the paper background. This tip will help you remove it using the magic of layer masks.

This is a great workflow if you don't have access to photo editing programs with automatic background removal features. If you want clean linework that you can color behind in Procreate, using layer masks will help you isolate it without losing quality.
How to remove the background:
- Tap your linework layer and select Mask.
- Reselect your linework layer and select Copy.
- Tap your Mask layer and select Paste.
- Reselect your Mask layer and select Invert.
If you still have a halo of white pixels around your linework, this additional tip will help you achieve a cleaner selection. With your layer mask selected, go to your Adjustments settings and select Curves.
This will allow you to target the light and dark values in your linework. Make sure you're in the Gamma section, and slide the leftmost node to the middle of the graph. This darkens the remaining white pixels, making your linework crisp and clean. Crisis averted!
This tip comes from Procreate & Affinity designer Katie of Perch Handmade and their YouTube video.
33. Make drawing in perspective easier
Drawing in perspective is a technique for portraying 3D objects on a 2D plane. Mastering perspective will give your drawings depth and realism.

I remember learning to draw in perspective in my foundational college drawing classes. It's one of the earlier lessons you learn as an artist because it trains your eyes on how to draw the world around us. From there, you can create interiors, landscapes, or concept art. Perspective drawing in Procreate is made easy with the Drawing Guide feature.
To enable Drawing Guide in Procreate:
- Go to the Action menu and select Canvas.
- Toggle on Drawing Guide.
- Select Edit Drawing Guide.
- Select Perspective and tap on your canvas.
- Make sure Assisted Drawing is toggled on.
The type of perspective drawing you create will depend on the number of vanishing points you place on your canvas. Placing a single point at the center of your canvas creates one-point perspective. Think of your view facing a wall. Two points on opposite sides of your canvas will give you a two-point perspective. This mimics a view facing the corner of a room.
Having Assisted Drawing enabled will snap your lines to the guides that are created by your vanishing points. This makes it easier to keep your lines straight and consistent. Learn the basics, then make the drawing your own.
This tip comes from Procreate artist and brush maker Lisa Bardot of Bardot Brush and their YouTube video. Her video tutorial also includes a free worksheet download to get you started.

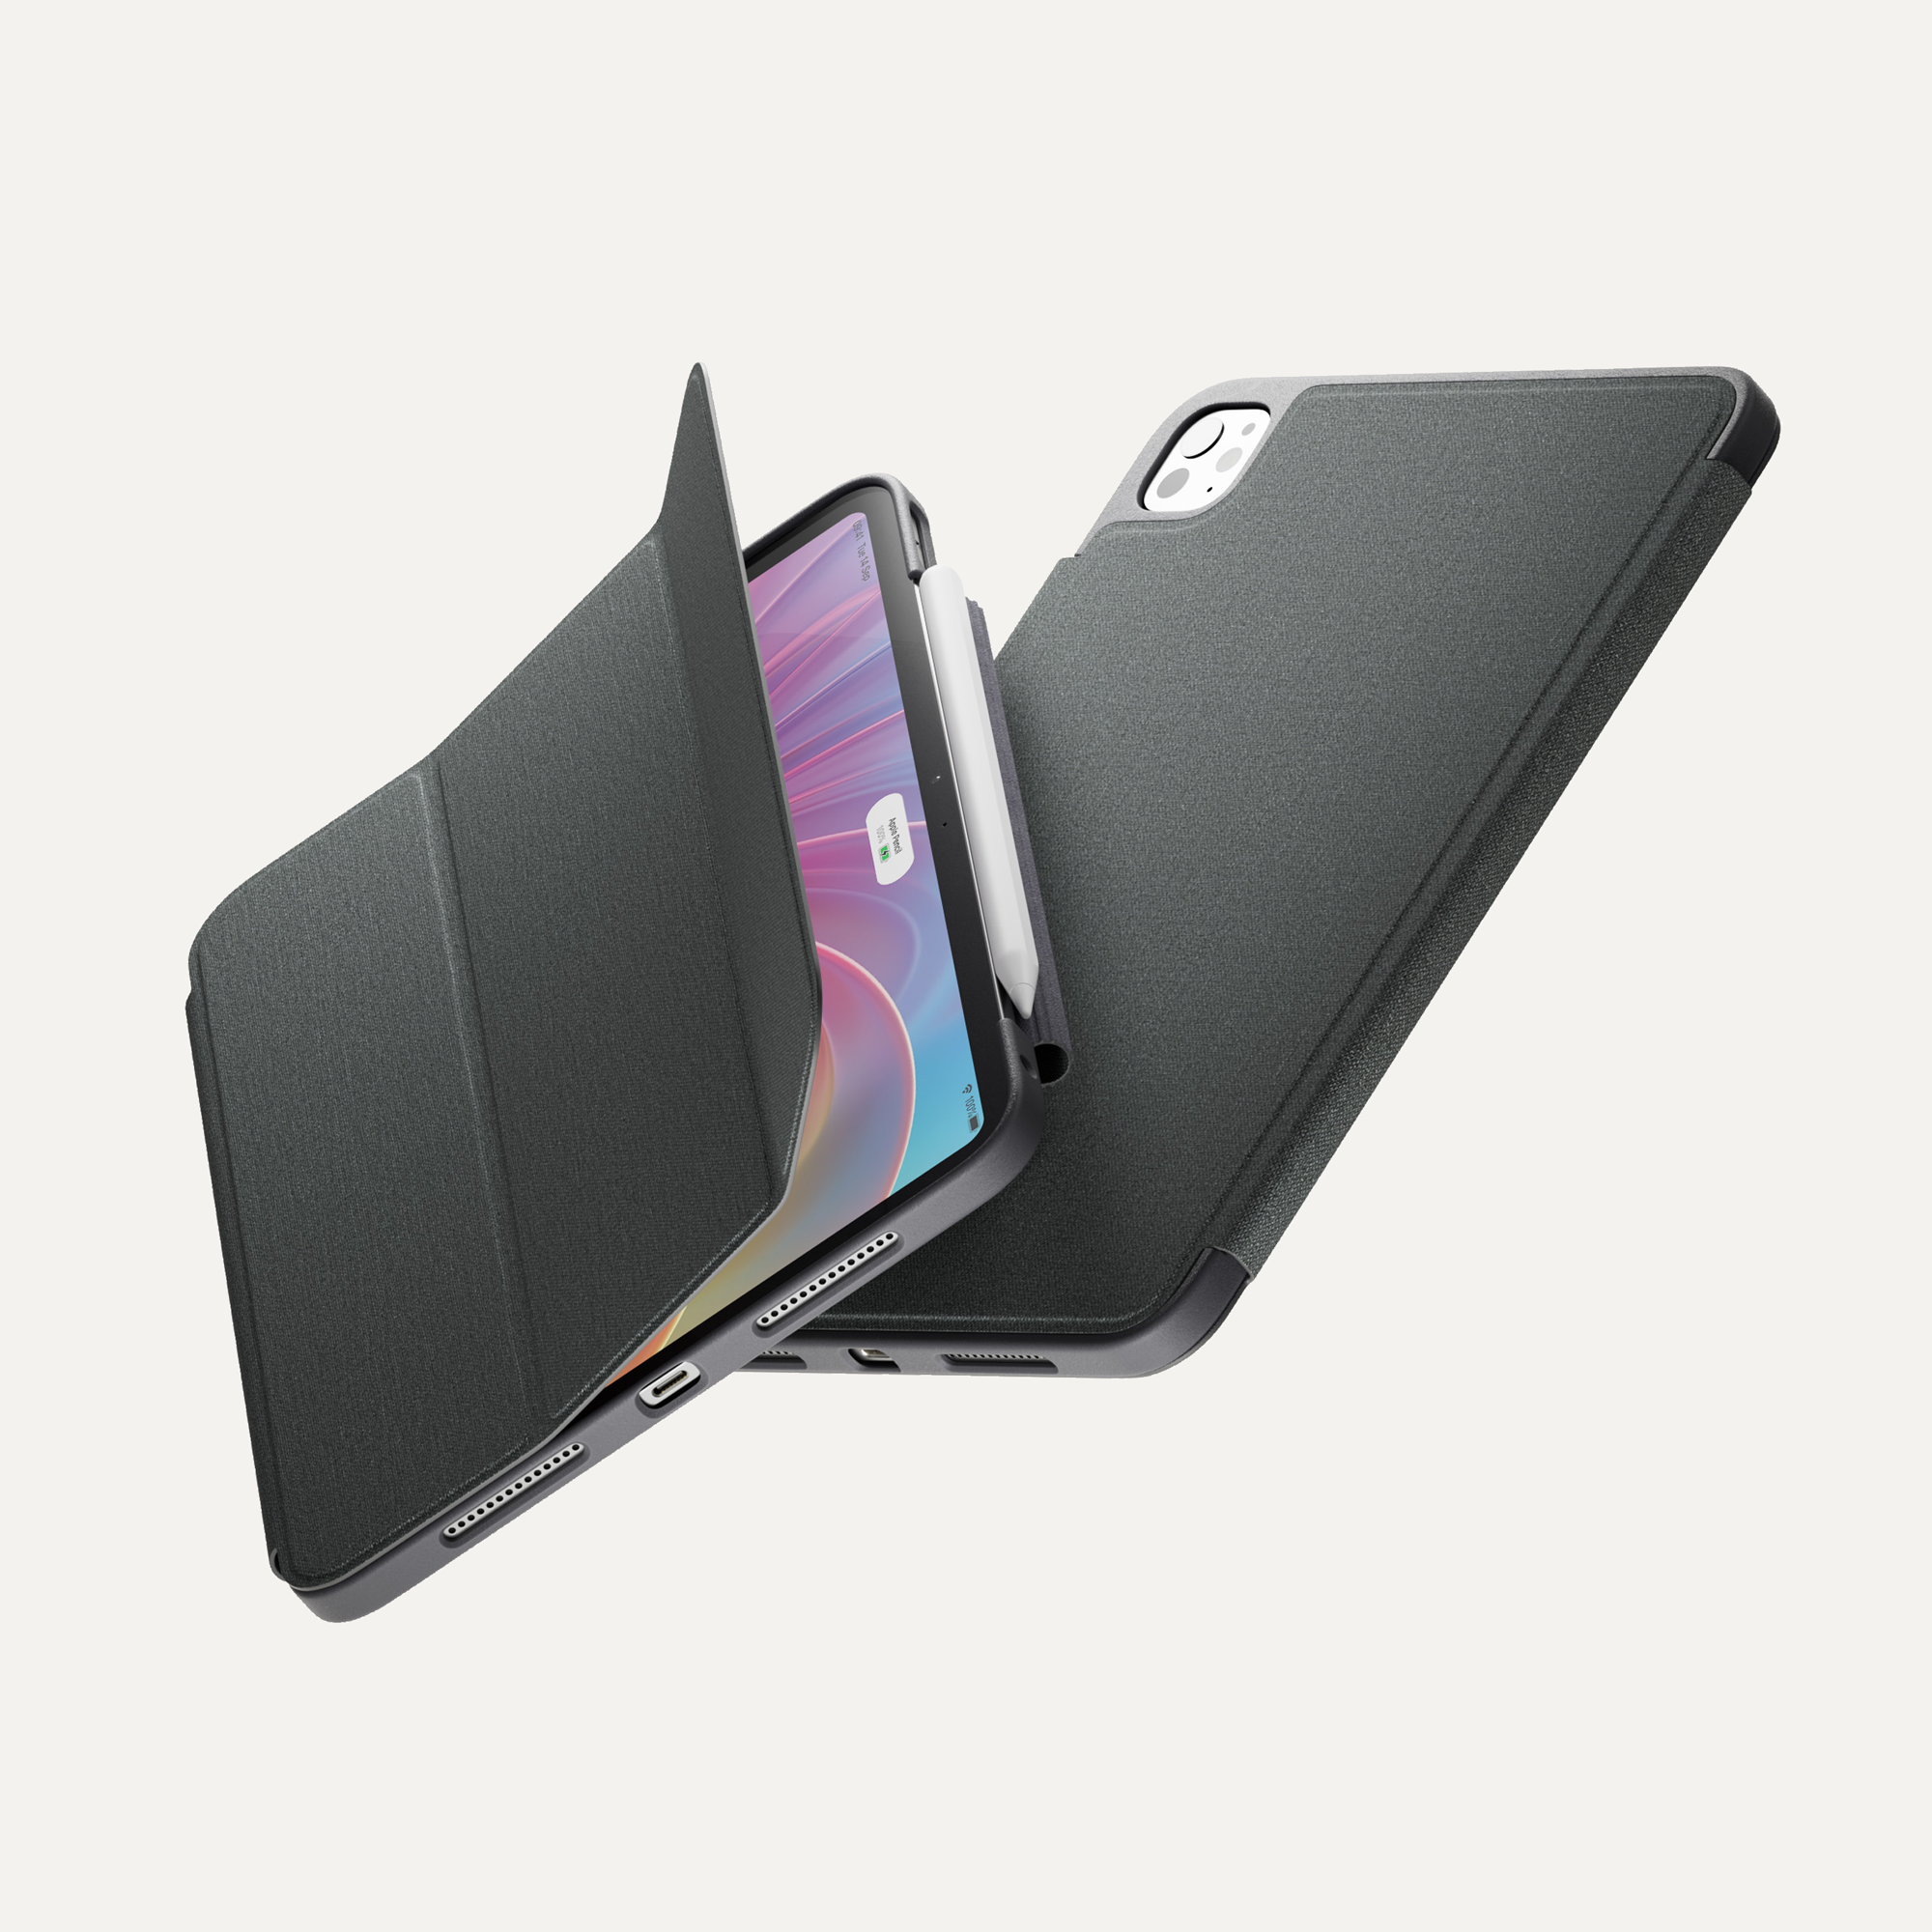
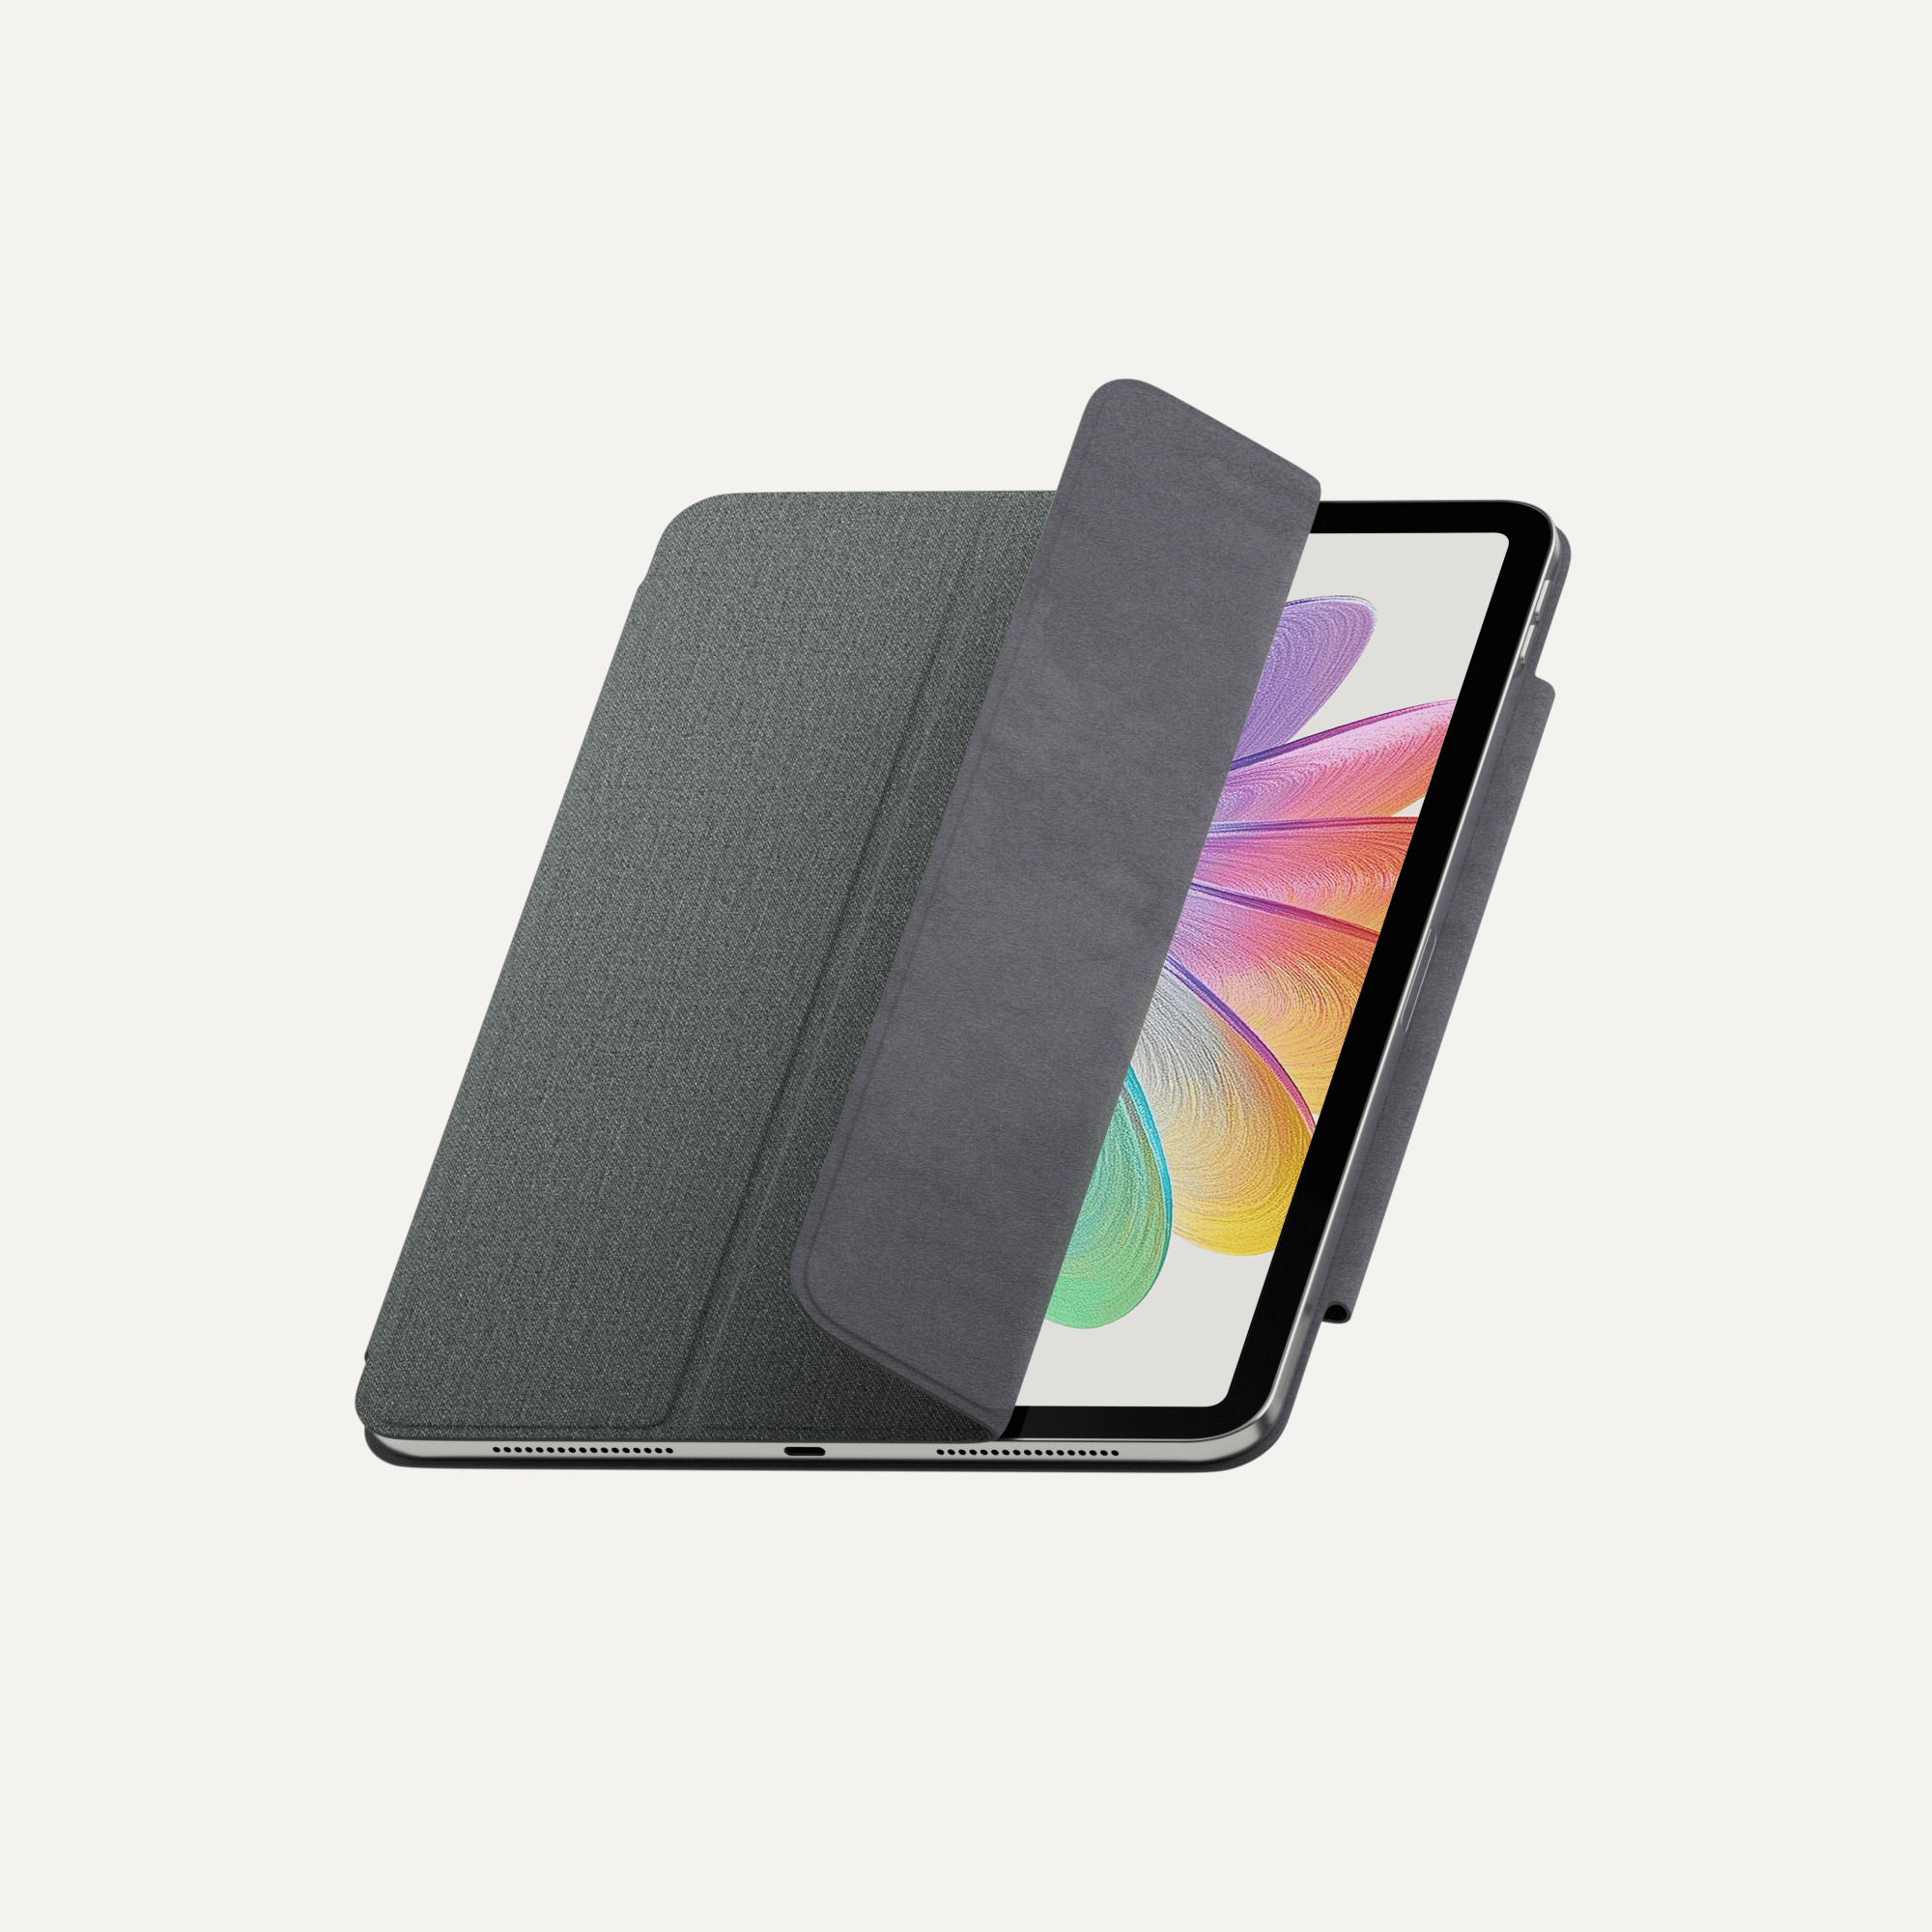
Bonus tip: Use Paperlike to make digital drawing easier
If you haven’t downloaded Procreate yet, it’s available in the App Store for just $13.
At Paperlike, we believe that digital drawing should be easy and feel as natural as possible. Like Procreate, the Paperlike for iPad was designed to improve your digital drawing experience by making drawing on your iPad feel just like drawing in your favorite sketchbook.
Get your Paperlike today and feel the difference it makes in your work.
Frequently Asked Questions
Is Procreate a good program for beginners in digital art?
A: Yes! Procreate is beginner-friendly because of its simple interface and your ability to start creating right away. The tips on this list will help you cut your learning curve significantly.
Can I import my own fonts into Procreate?
A: Yes. Procreate comes with access to all of the fonts available on the iPad. You can see our recommendations for fonts in Procreate and learn how to install your own.
Can I use third-party styluses with Procreate?
A: Yes, but the Apple Pencil is the best stylus to use with Procreate and the iPad. It was specifically designed for both, and you’ll get the most up-to-date features. Learn more about what gives a stylus like the Apple Pencil Pro its edge.
Is Procreate better than Adobe Fresco?
A: Both programs are great for digital painting and illustration. If you’re already using programs like Adobe Photoshop or Illustrator, integrating a program like Adobe Fresco into your workflow would be complementary. Procreate is a low-cost app that offers high-quality tools and features without a subscription.
Can I make brushes in Procreate?
A: Yes! In addition to being able to import brush files, you can also create your own brushes. You can create from files you bring into the app and edit, or you can edit existing brushes in the app. Master the Procreate Brush Library, and you’ll be making your own brushes in no time.