


I switched from a paper planner to a digital one a few years ago, and I’ve never regretted that decision.
You don’t need to be tech-savvy, and you don’t need a bunch of new tools. It’s really not all that different from using a paper planner. You’ll still write your to-do list and fill out your calendars the same way. A digital planner just makes it even easier to stay organized and keep your plans with you wherever you go.
If you don’t want another screen in your life, I get it. But if you’re more worried about how to set it up, this guide will walk you through building a system that’s easy and feels good to use. Since I’m talking about digital planning on iPad, I’ll focus specifically on the apps, tools, and accessories that work best for that.
Key Takeaways
- You don’t need the latest iPad or a complicated system to start digital planning.
- Note-taking apps let you combine digital planning with notes and other parts of your workflow.
- The right digital planner gives you flexibility to customize your planning system.
- Syncing your planner across devices keeps your tasks and schedule accessible wherever you are.
- A simple planning routine is easier to maintain than an overly complicated one.
What is a digital planner?
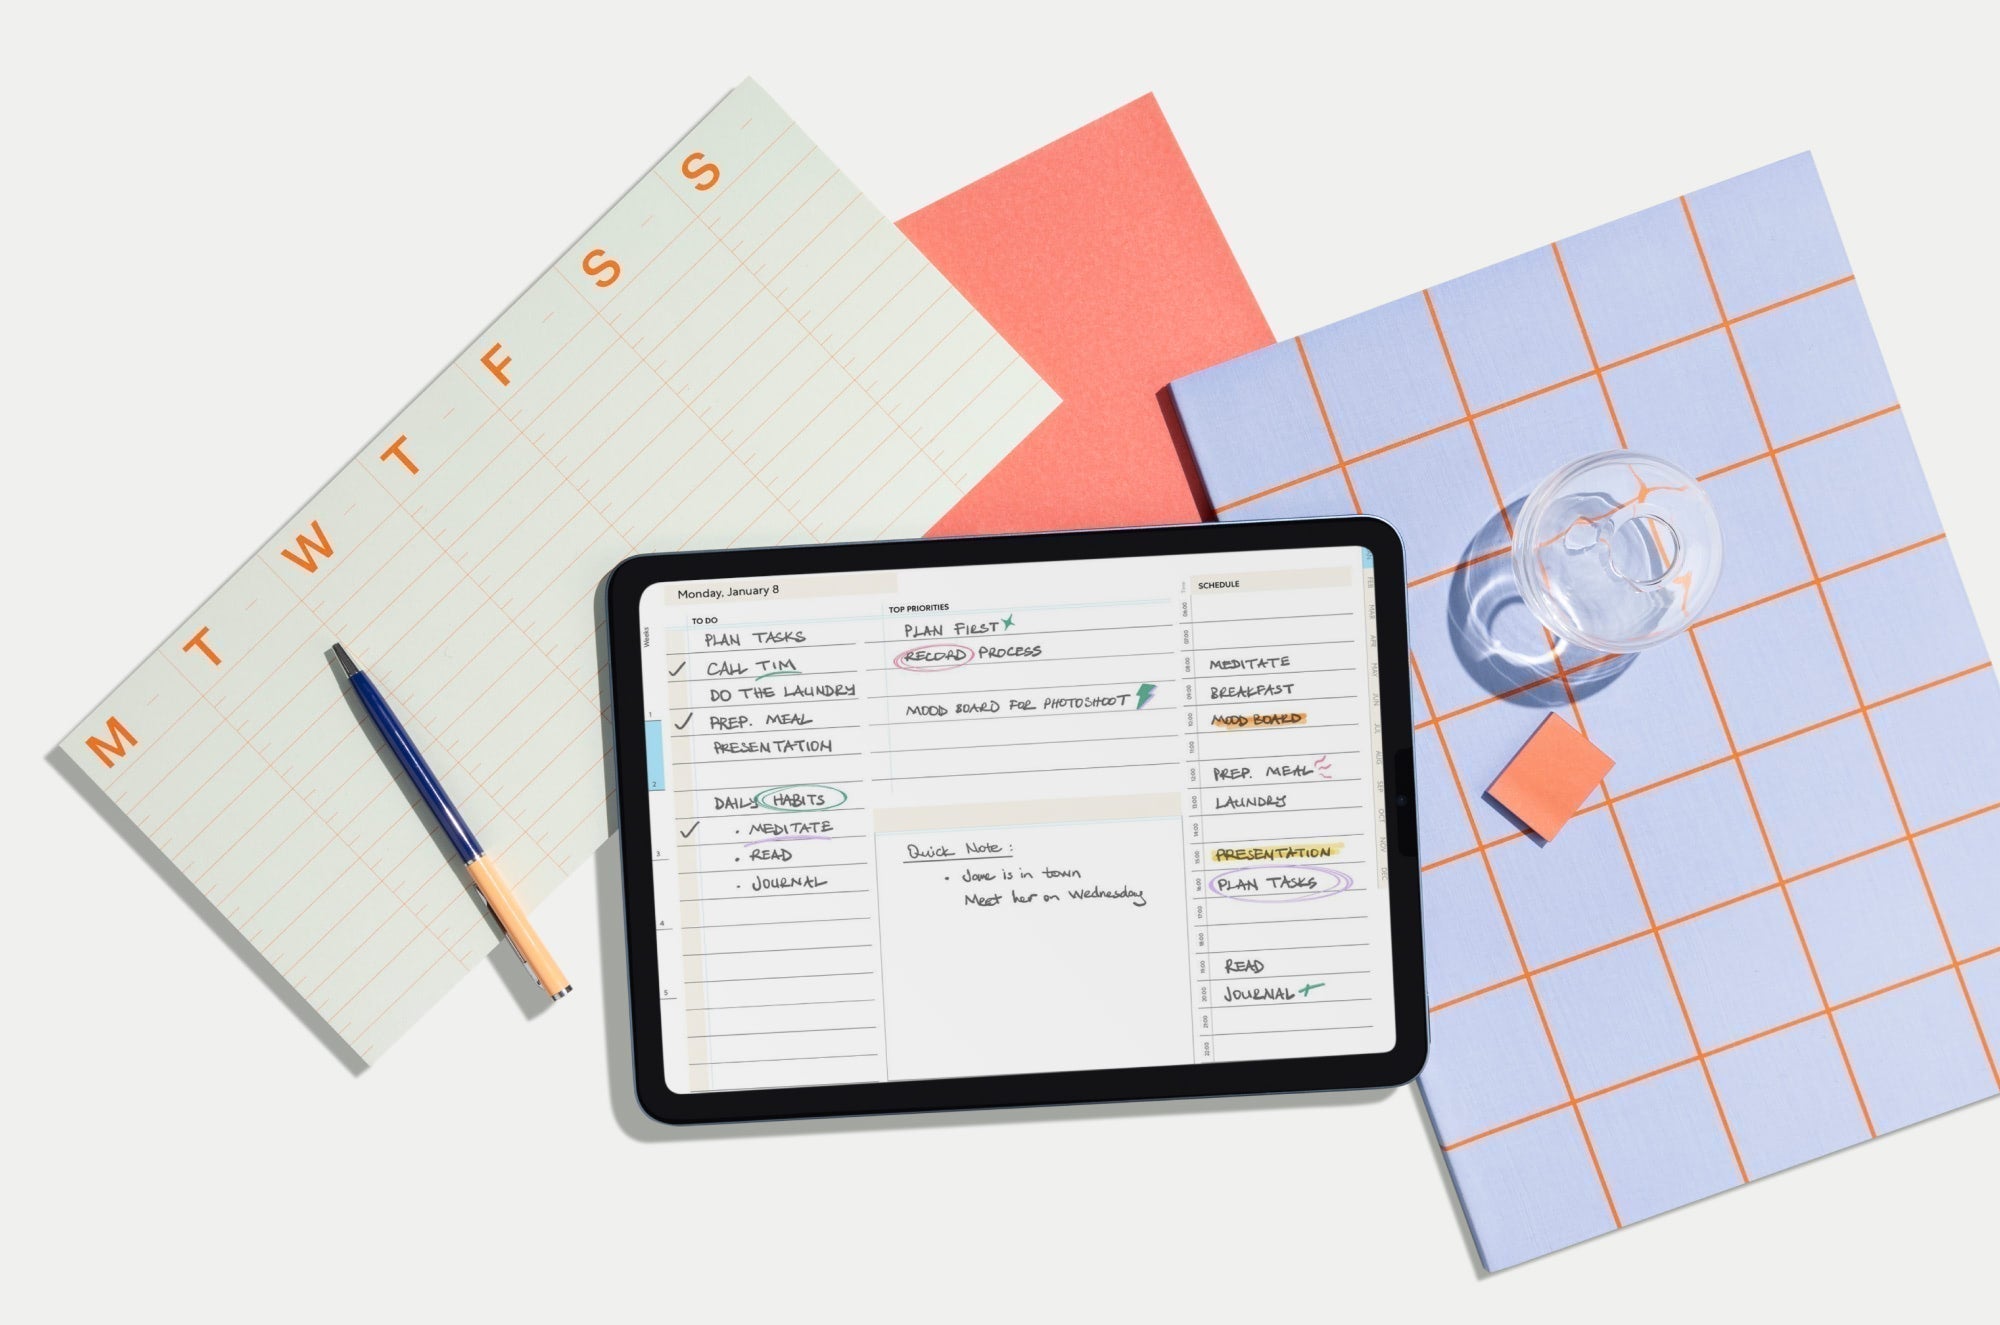
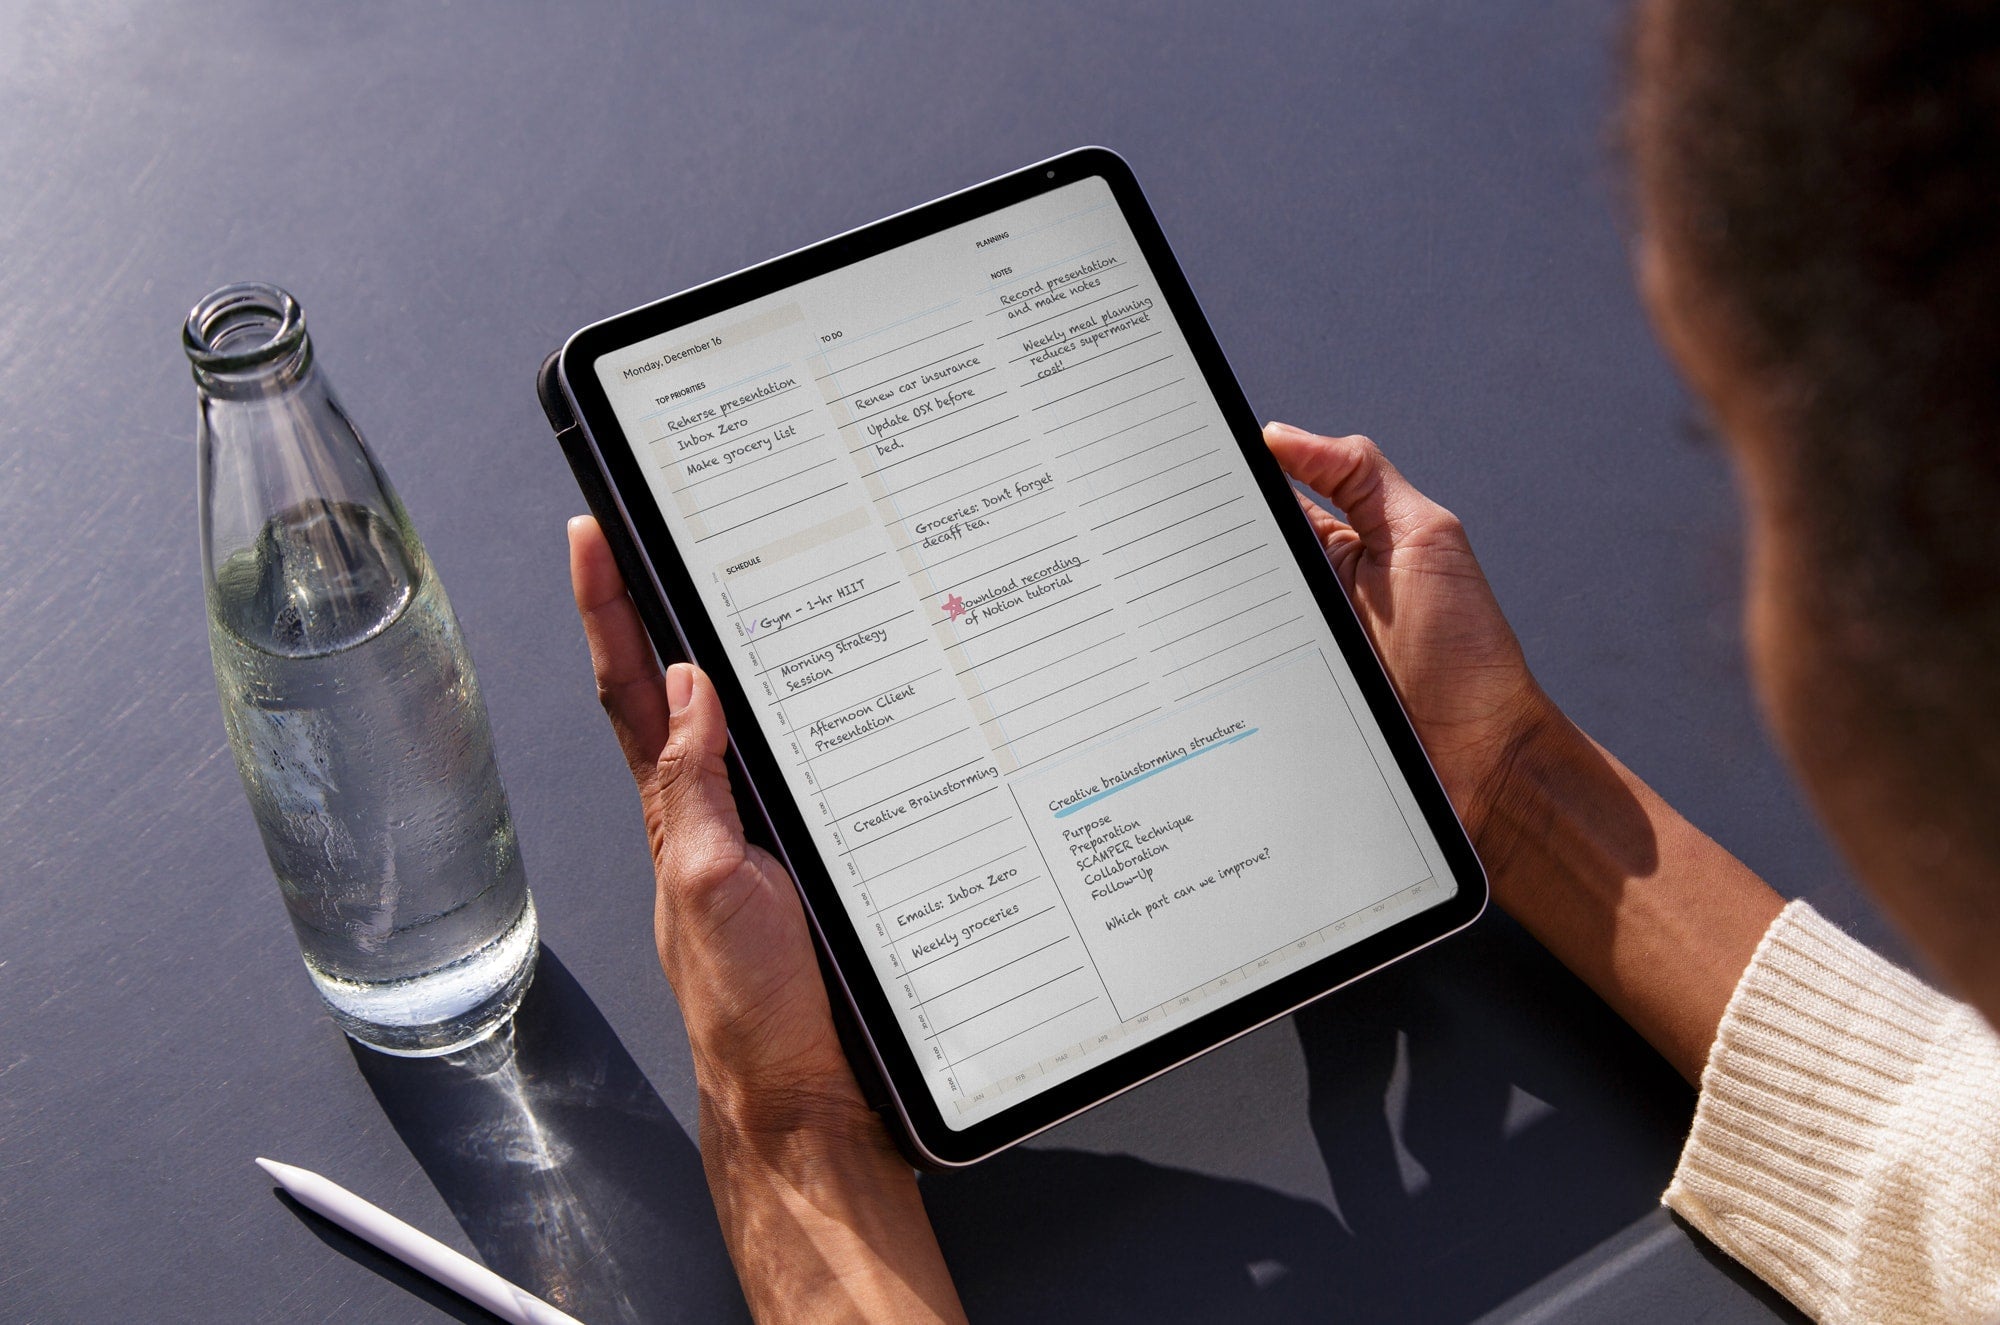
A digital planner is a PDF that you use on your iPad in the same way you’d use a paper planner. You just import it into a note-taking app (I’ll show you how in step 3) and fill it out using your Apple Pencil, checking off tasks as you complete them. Most even come with tabs or hyperlinks so you can jump to different sections.
There are apps specifically built for digital planning, but I prefer using a PDF digital planner and a note-taking app. I already use that app for notes and other things, so it just makes sense to add my planner and keep everything in one place.
Digital planning vs. paper planning
I still love paper planners. They’re simple. You open them up and go, without even thinking about it. But I switched because a digital planner does a few things that a paper one can’t.
I prefer using colored pens in my paper planner, so if I made a mistake, the best I could do was just cross it out and rewrite the correct info. With a digital planner, you just erase it. You can also duplicate pages, which is something that I use a lot. Yes, paper planners have a page for everything, but what if it only has monthly reflections and you prefer doing them weekly or even daily? Being able to duplicate a page means you can completely customize your planner the way it works best for you.
And don’t even get me started about the fact that I can search my notes (even handwritten notes) to find something I wrote a month ago, instead of having to flip through page after page to find it. Plus, I always have my iPhone with me, and my iPad is often in my bag. That means I have my planner with me all the time, without having to carry a big, bulky paper planner around everywhere.
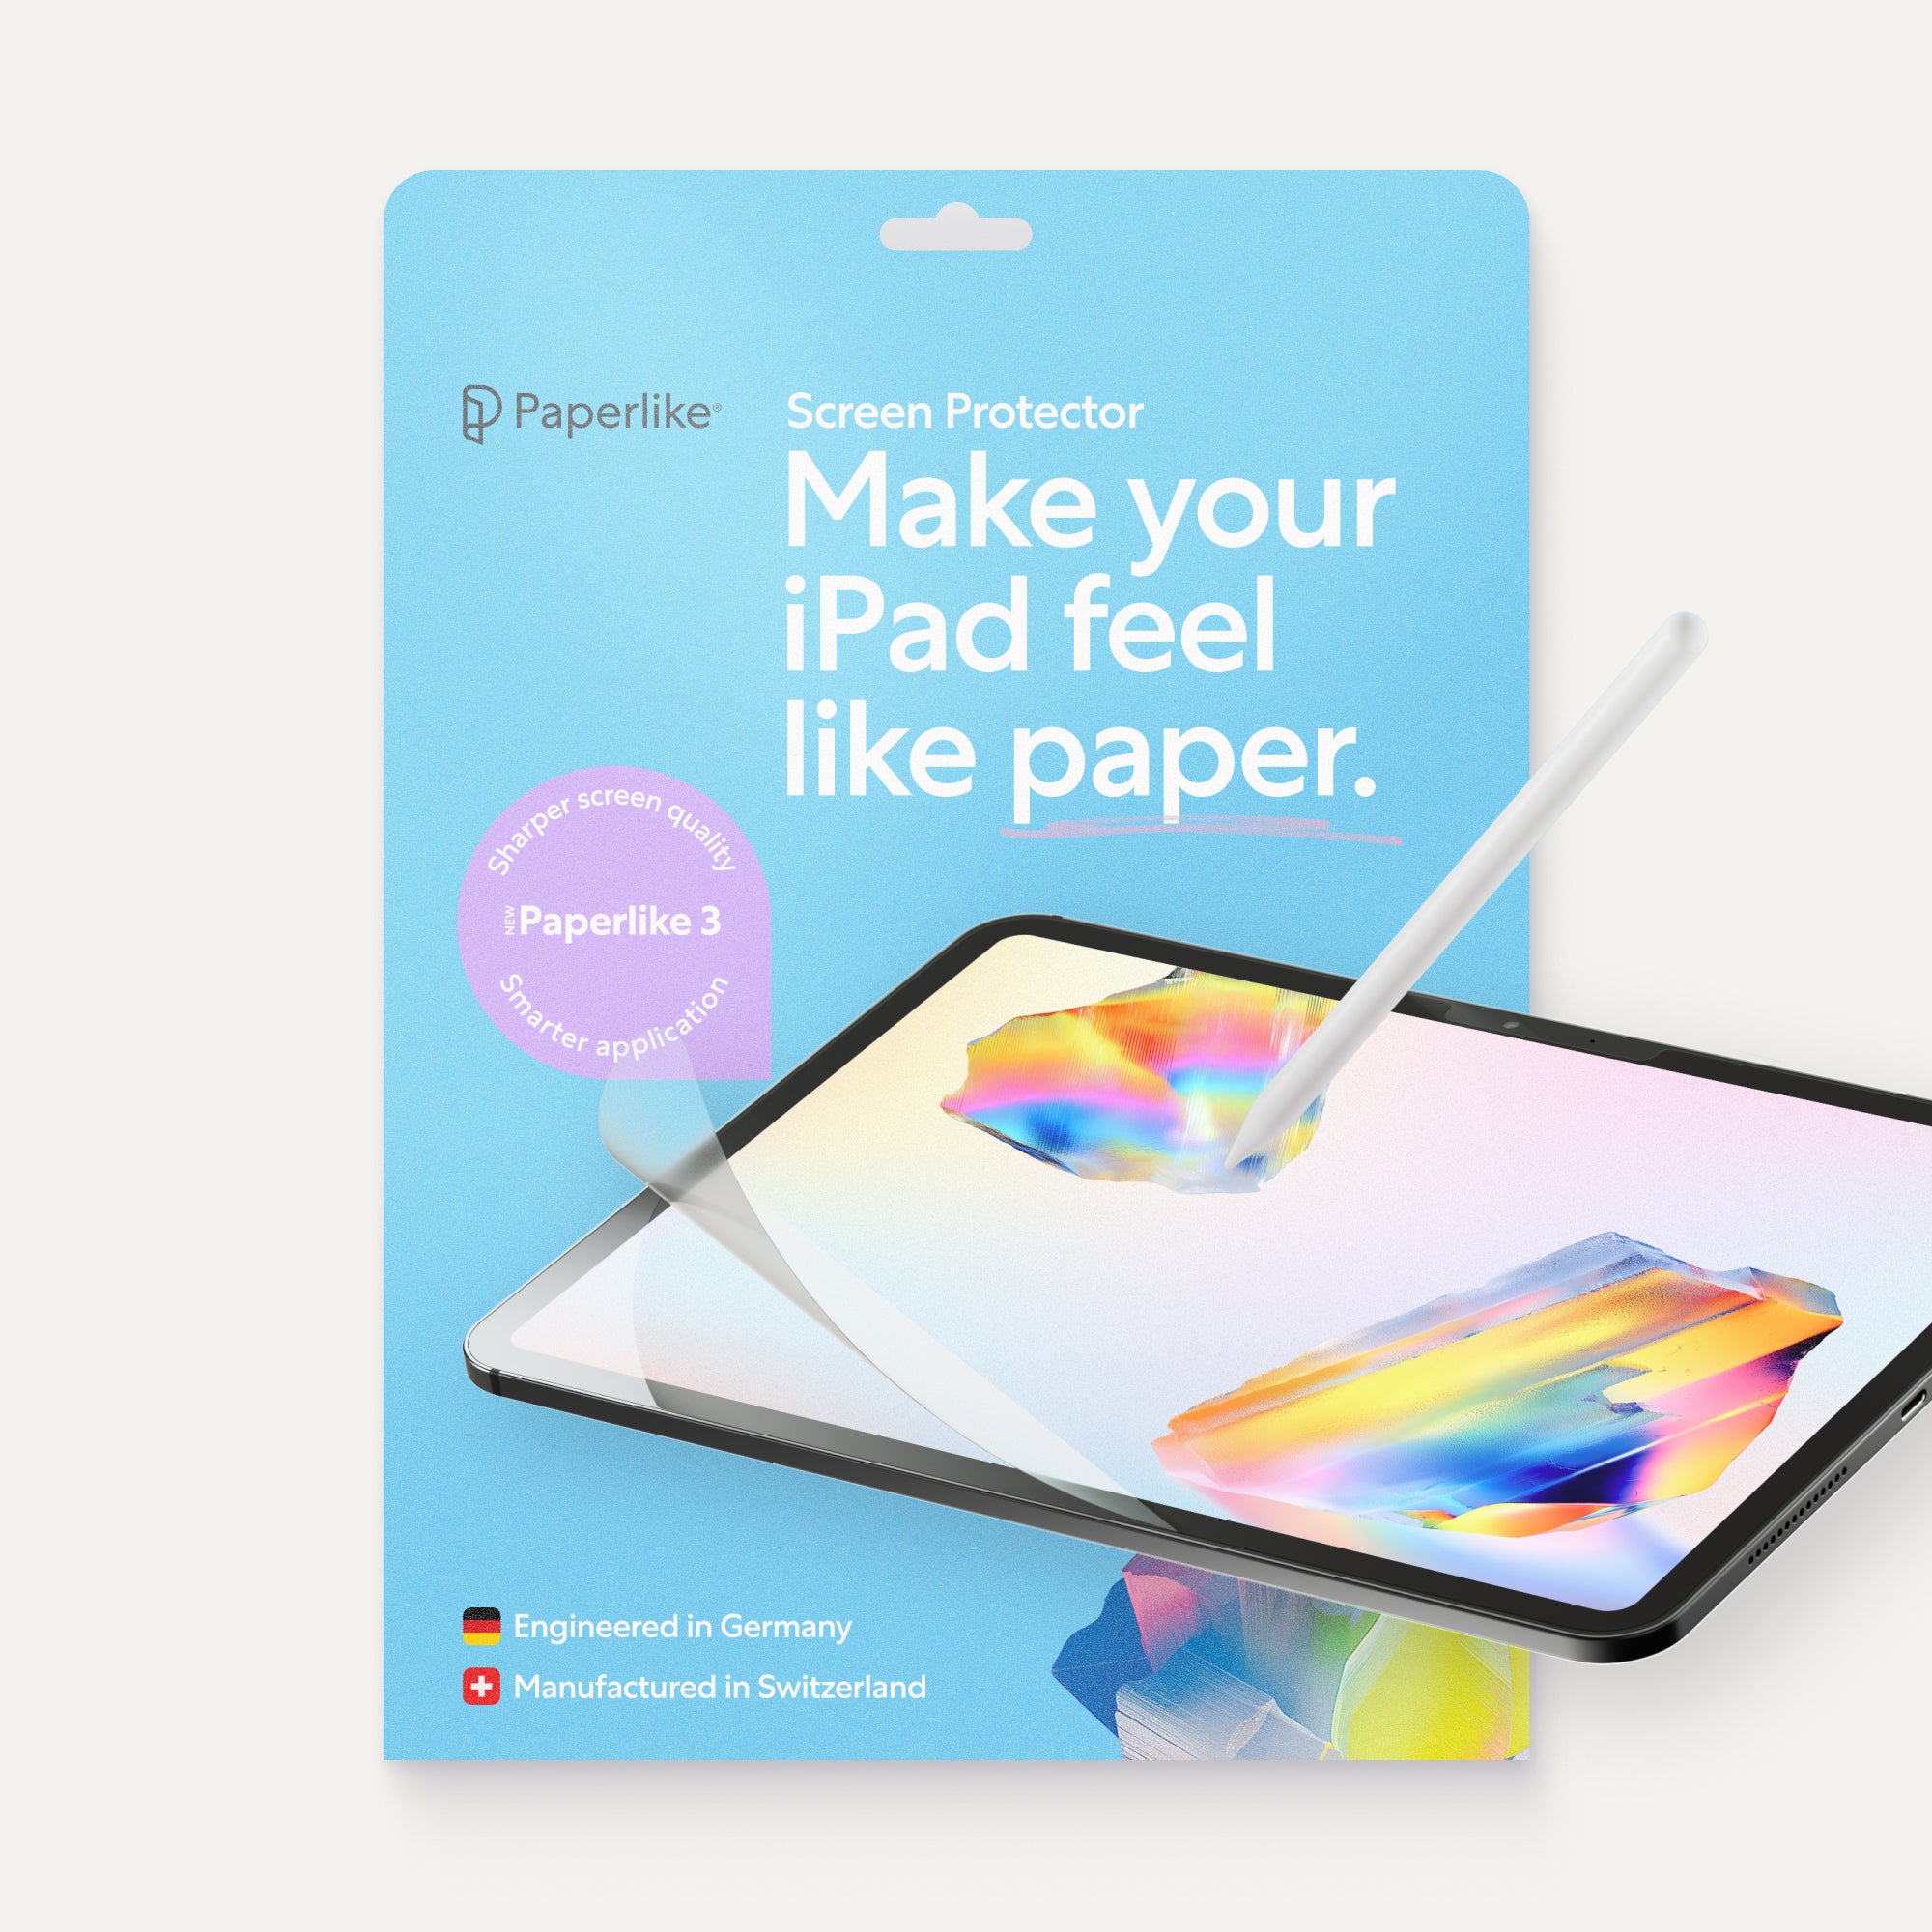
There’s really only one thing I miss about the paper planner, and that’s how it feels to write on paper. Writing on glass just isn’t the same. Of course, you can always use a Paperlike Screen Protector (wink wink) to add a little resistance to your iPad, so it feels like writing on paper.
| Digital Planning | Paper Planning |
| Easily erase, move, and rearrange your plans. | Simple and always ready to use. |
| Duplicate pages and templates. | No setup or app required. |
| Search and organize your plans. | No battery or charging required. |
| Customize with images, digital stickers, and a variety of digital tools (colored pens, markers, highlighters, etc.). | Customize with colored pens, stickers, highlighters, etc. |
| Access your planner on multiple devices, wherever you are. | Tactile, distraction-free planning experience. |
Step 1: Find your perfect iPad & Apple Pencil combo
Chances are, if you’re coming to this blog, you already own an iPad. The good news is you don’t need a new one to start digital planning. But you do need to make sure your iPad works with the Apple Pencil, note-taking app, and digital planner that you want to use.
Apple has a bunch of different iPad models and a few different Apple Pencil versions. Unfortunately, they’re not all compatible with each other. That means that the first thing you have to do is find out which Apple Pencil works with your particular iPad model. You’ll also need to make sure that your iPad is running a version of iPadOS supported by your chosen note-taking app.
I use an iPad mini with a 2nd generation Apple Pencil, and though I’d love a bigger screen (in general), it works just fine for digital planning. The bonus is that it easily fits in my bag, making it easier to carry around.

How to check your iPad & accessories for compatibility
To find your iPad model and iPadOS version:
- Open Settings > General > About to see the Model Name and iPadOS version.
You can check Apple’s compatibility information to find out which ones work with your iPad. Then take a look at the chart in our Apple Pencil blog to find out which one you like the best.
After that, you’re ready to choose your note-taking app. Most of the popular ones, including Goodnotes and Notability, support handwriting with the Apple Pencil and work with most iPad versions (unless yours is super old). It’s worth checking compatibility and system requirements before you download (or at least pay for) an app.
The takeaway: You don’t need the newest iPad or the one with the most features for digital planning. Same goes for the Apple Pencil. Start with what you have, check what it supports, and go from there.

Step 2: Choose an app for your digital planner
Now that you’ve figured out which physical tools you’re going to use, it’s time to pick your note-taking app.
As I said earlier, there are digital planner apps, but I think it’s better to use a note-taking app. You’ll get a lot more options and flexibility in your planner, and you can use the app for other things, like brainstorming or notes.
There are a ton of options out there, but the best note-taking app depends on your style and how you use your iPad day to day. For digital planning specifically, Goodnotes and Notability are my top favorites.

Goodnotes vs. Notability
Both apps can do all the basics that you’d expect for digital planning.
You import your digital planner (more on this later), write on it with your Apple Pencil, duplicate whatever pages you want, move and erase content, drop in text or images, and more. You’ve also got a variety of tools available (pens, highlighters, etc.) with plenty of colors to get creative.
There are some differences, and these will be your deciding factors.
| Features | Goodnotes | Notability |
| Writing tools | Pens: Ballpoint, fountain, brush | Pens: Ballpoint, fountain, calligraphy |
| Stickers | Elements tool for saving & reusing stickers | Sticker tool for adding stickers & images |
| Moving content | Lasso can move content between pages | Lasso moves content within a page |
| Working across pages | Tabs & iPad multitasking | Multi-Note support for two notes side by side |
My favorite thing about Goodnotes (for digital planning, anyway) is the Elements tool. It lets you save digital stickers, icons, and even handwritten text that you can reuse anywhere in your notes in seconds. Notability does have a sticker tool, but it’s not as quick and easy to use as the Elements tool.
Goodnotes’ Lasso tool is also really cool because it can actually move whatever you’ve selected to different pages in your planner, while Notability’s is limited to only moving content around on the same page.
But Notability pulls ahead when it comes to faster and easier planning. Multi-Note lets you open two pages side by side within the app, so you can look at your monthly page while filling out your weekly or daily pages. Even though the Lasso doesn’t let you move stuff across, you can still use copy/paste to do the same thing. In Goodnotes, you have to tab back and forth between pages or rely on Apple’s multitasking features.
Each app gives you slightly different ways to fine-tune your writing experience, with different color options and widths for your tools. Goodnotes has a brush pen, and Notability has a calligraphy pen. Both are unique and allow you to add a little flair, but they’re slightly different, so you’ll have to choose which you like better.
If you’re already using one of these apps for school or work, I wouldn’t switch just for digital planning. But if you’re starting fresh, I’d suggest giving the free version of each a try to decide which suits your workflow better.

Step 3: Get your digital planner
Okay, now it’s time to get your digital planner.
Finding a digital planner is easy. They’re all over Etsy, you can easily find some with a quick search on the internet, and most note-taking apps even have a few planner templates available in the app.
The hard part is deciding which one to use. They come in all kinds of formats and styles, from simple, minimalist monthly or weekly calendars to elaborate planners with different trackers and layouts for every part of your life. (Expect the price tag to reflect that.)
If you’re not sure what you want, check out our guide to the best digital planners. It covers a range of options, as well as instructions on how to get set up, so you can find one that fits how you plan, not how some influencer on Instagram plans.
I wouldn’t spend a ton of money right off the bat, though. Try a free planner first so you can figure out what you’ll actually use. Trust me, I’ve bought planners filled with layouts that I never touched. (Like workout trackers, because who wants to keep up with that, am I right?)
Our Free Digital Planner Lite is a great place to start. We care most about simplicity and ease of use around her, so we designed something that has all the essentials without feeling overwhelming. If you eventually want more specialized pages, there are plenty of paid planners you can explore once you know what you need.
How to import your digital planner
After you’ve downloaded your planner, you need to get it into your note-taking app. The steps vary slightly between apps, but both Goodnotes and Notability make it pretty painless.

Import a digital planner into Goodnotes
- Open Goodnotes on your iPad.
- Tap + New and choose Import.
- Select your downloaded planner from the Files app.
- Goodnotes will import the PDF as a new document.
From there, you can change the name, add it to a folder, and you’re ready to go.

Import a digital planner into Notability
- Open Notability on your iPad.
- Tap + New, and it will create a new note.
- At the bottom of the note, choose Import.
- Select your downloaded planner from the Files app.
- Notability will ask where you’d like to save the planner before opening it as a new note.
Tip: If you downloaded the planner in Safari, you can open it from your Downloads folder and choose Goodnotes or Notability from the Share menu.

Step 4: Set up sync across your devices
Part of the appeal of digital planning is that you can check your planner, even when you don’t have your iPad in front of you. If you have an iPhone or a Mac, you can sync your planner across all your devices and access it from anywhere.

Syncing your planner in Goodnotes
Goodnotes uses iCloud to sync your notes across all your Apple devices.
- Sign in to the same Apple account on each device.
- Open Goodnotes and tap on your account icon.
- Go to Cloud & Backup.
- Turn on iCloud Sync.
This should automatically sync all your Goodnotes content between your devices. You’ll still need to give it a little time before switching, especially after making a lot of changes, though.
If you have Goodnotes for Android, Windows, or Web, you can only sync to those if you have Goodnotes Cloud, which is only available on the Goodnotes Pro Plan. However, you can share notebooks between iOS and other platforms.
Syncing your planner in Notability
Notability is different. It doesn’t use iCloud (although you can enable that if you want). Instead, it uses its own Notability Cloud to sync between your devices.
- Sign in to your Notability account.
That’s it. Notability Cloud is automatically active, and you can’t turn it on or off. It just is.
The advantage of Notability Cloud is that it not only frees up your iCloud storage, but it also automatically syncs to all your devices, including Android and Web versions, and it does it instantly.

Don’t forget to back up your planner
Syncing isn’t the same thing as a backup. While syncing keeps your planner up to date on all your devices, a backup keeps another copy of your files in case something goes wrong.
Both Goodnotes and Notability offer Auto-Backup to third-party services, such as Dropbox, Google Drive, and OneDrive. For Goodnotes, toggle on Automatic Backup in the same Cloud & Backup menu you used to turn on syncing.
In Notability, tap Settings > Connected Services. Then toggle on Third-Party Backup and connect the service account you want to use.
Tip: Set up Auto-Backup from the start. That way, you don’t accidentally lose any of your notes. (Ask me how I know.)

Step 5: Build a system that sticks
If you’re like me, you have a bunch of abandoned planners lying around. The first month, maybe two, are completely filled out in detail. The next few months might have the monthly calendar done and a few days here and there. After that, it’s completely empty.
I’m sorry to tell you, but having a planner doesn’t automatically make you organized. The trick is to start simple and work your way up to a level that feels comfortable to you.
Start with the basics
Depending on the planner you choose, you might have a ton of pages that you don’t know what to do with. I’m here to reassure you that you don’t have to fill out every single page. Just start with the pages that are useful to you.
For me, that’s a monthly calendar, a weekly spread, and a daily task list. From there, give each one a job. For example, here’s what I do:
- Monthly: Track appointments, birthdays and other events, deadlines, and whatever other big-picture plans you might have.
- Weekly: Map out your priorities based on what needs your attention first.
- Daily: Use those priorities to make a task list for each day that will help you accomplish those goals.
Once you’ve got that down and it’s working for you, you can think about what other templates or layouts might work for you. I don’t use a ton, but I do like having a weekly reflection page and a habit tracker.

Create a routine
If you have a set time for planning every day, it’s more likely that you’ll do it.
That could look something like creating or checking your daily task list while you drink your coffee in the morning, or spending 10 minutes on Sunday filling out your weekly plan. Mine is the second I sit down at my desk for work, before I let myself check email and get caught up in whatever I need to write.
Unless you really love planning (hey, some people thrive on it), don’t make it a long session. Keep it short, so it’s easy to maintain.
Don’t over-plan
I feel like this is where planners go to die. As I’ve said before, when you feel like you need to fill out every page, tracker, goal sheet, and calendar, you’re setting yourself up for failure.
Don’t create a massive to-do list every day. I know from experience how discouraging it can be to only check off two or three tasks and see six more sitting there undone. Pick your top three priorities to start. You can always add more if you have time, but this way you won’t start the day feeling overwhelmed.
Over time, you’ll figure out your sweet spot, and you can decide what works for you. You could realize you need a dedicated project page for school or work, and add that in. Maybe you quit using the habit tracker after a few weeks (no judgment, I’ve been there).
The point is that you can adjust your system as you go. That’s the beauty of a digital planner. It’s easy to add or duplicate the pages that you need and delete the ones you don’t, so you’re planning in the way that’s most useful to you.

Bonus: Accessories that improve the experience
Beyond the iPad, Apple Pencil, note-taking app, and digital planner, you really don’t need anything else to get started. But a few accessories can make digital planning more comfortable.
Writing on a glass screen isn’t fun. Your stylus slips and slides, causing sloppy handwriting and faster hand and wrist fatigue. A Paperlike Screen Protector adds just the right amount of resistance to make handwriting feel more natural, and, at this point, it’s something I can’t do without.
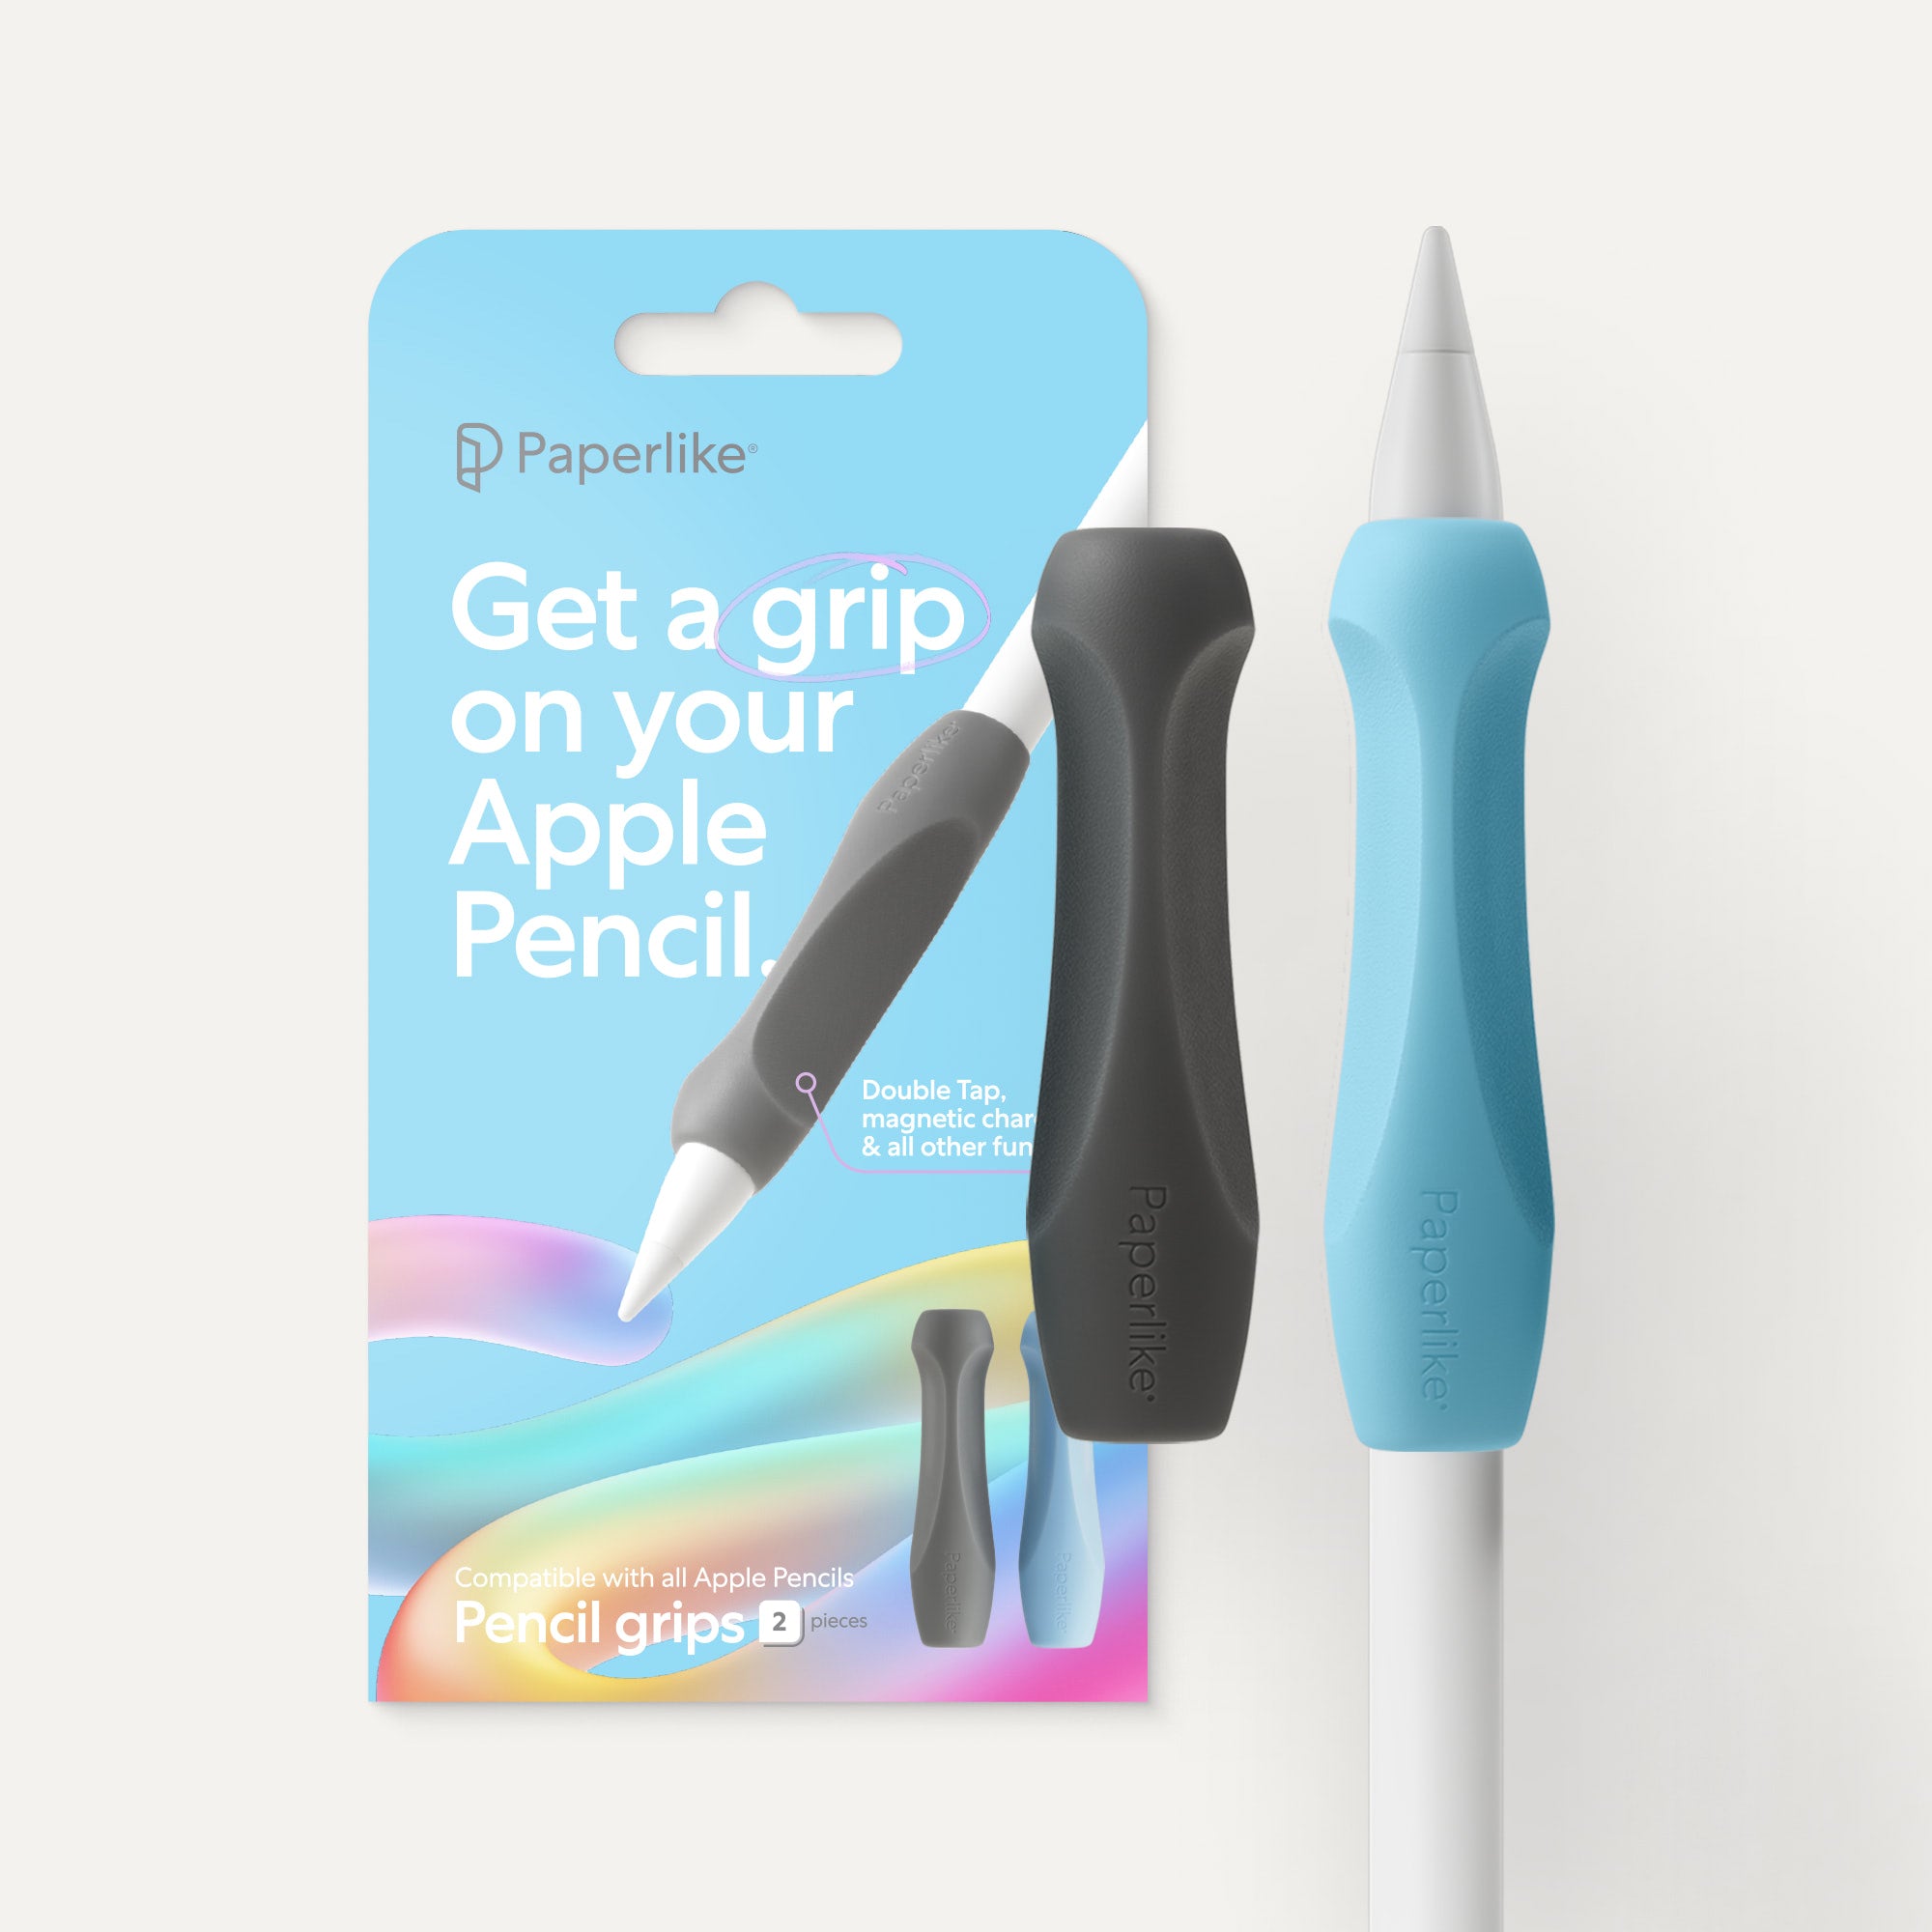
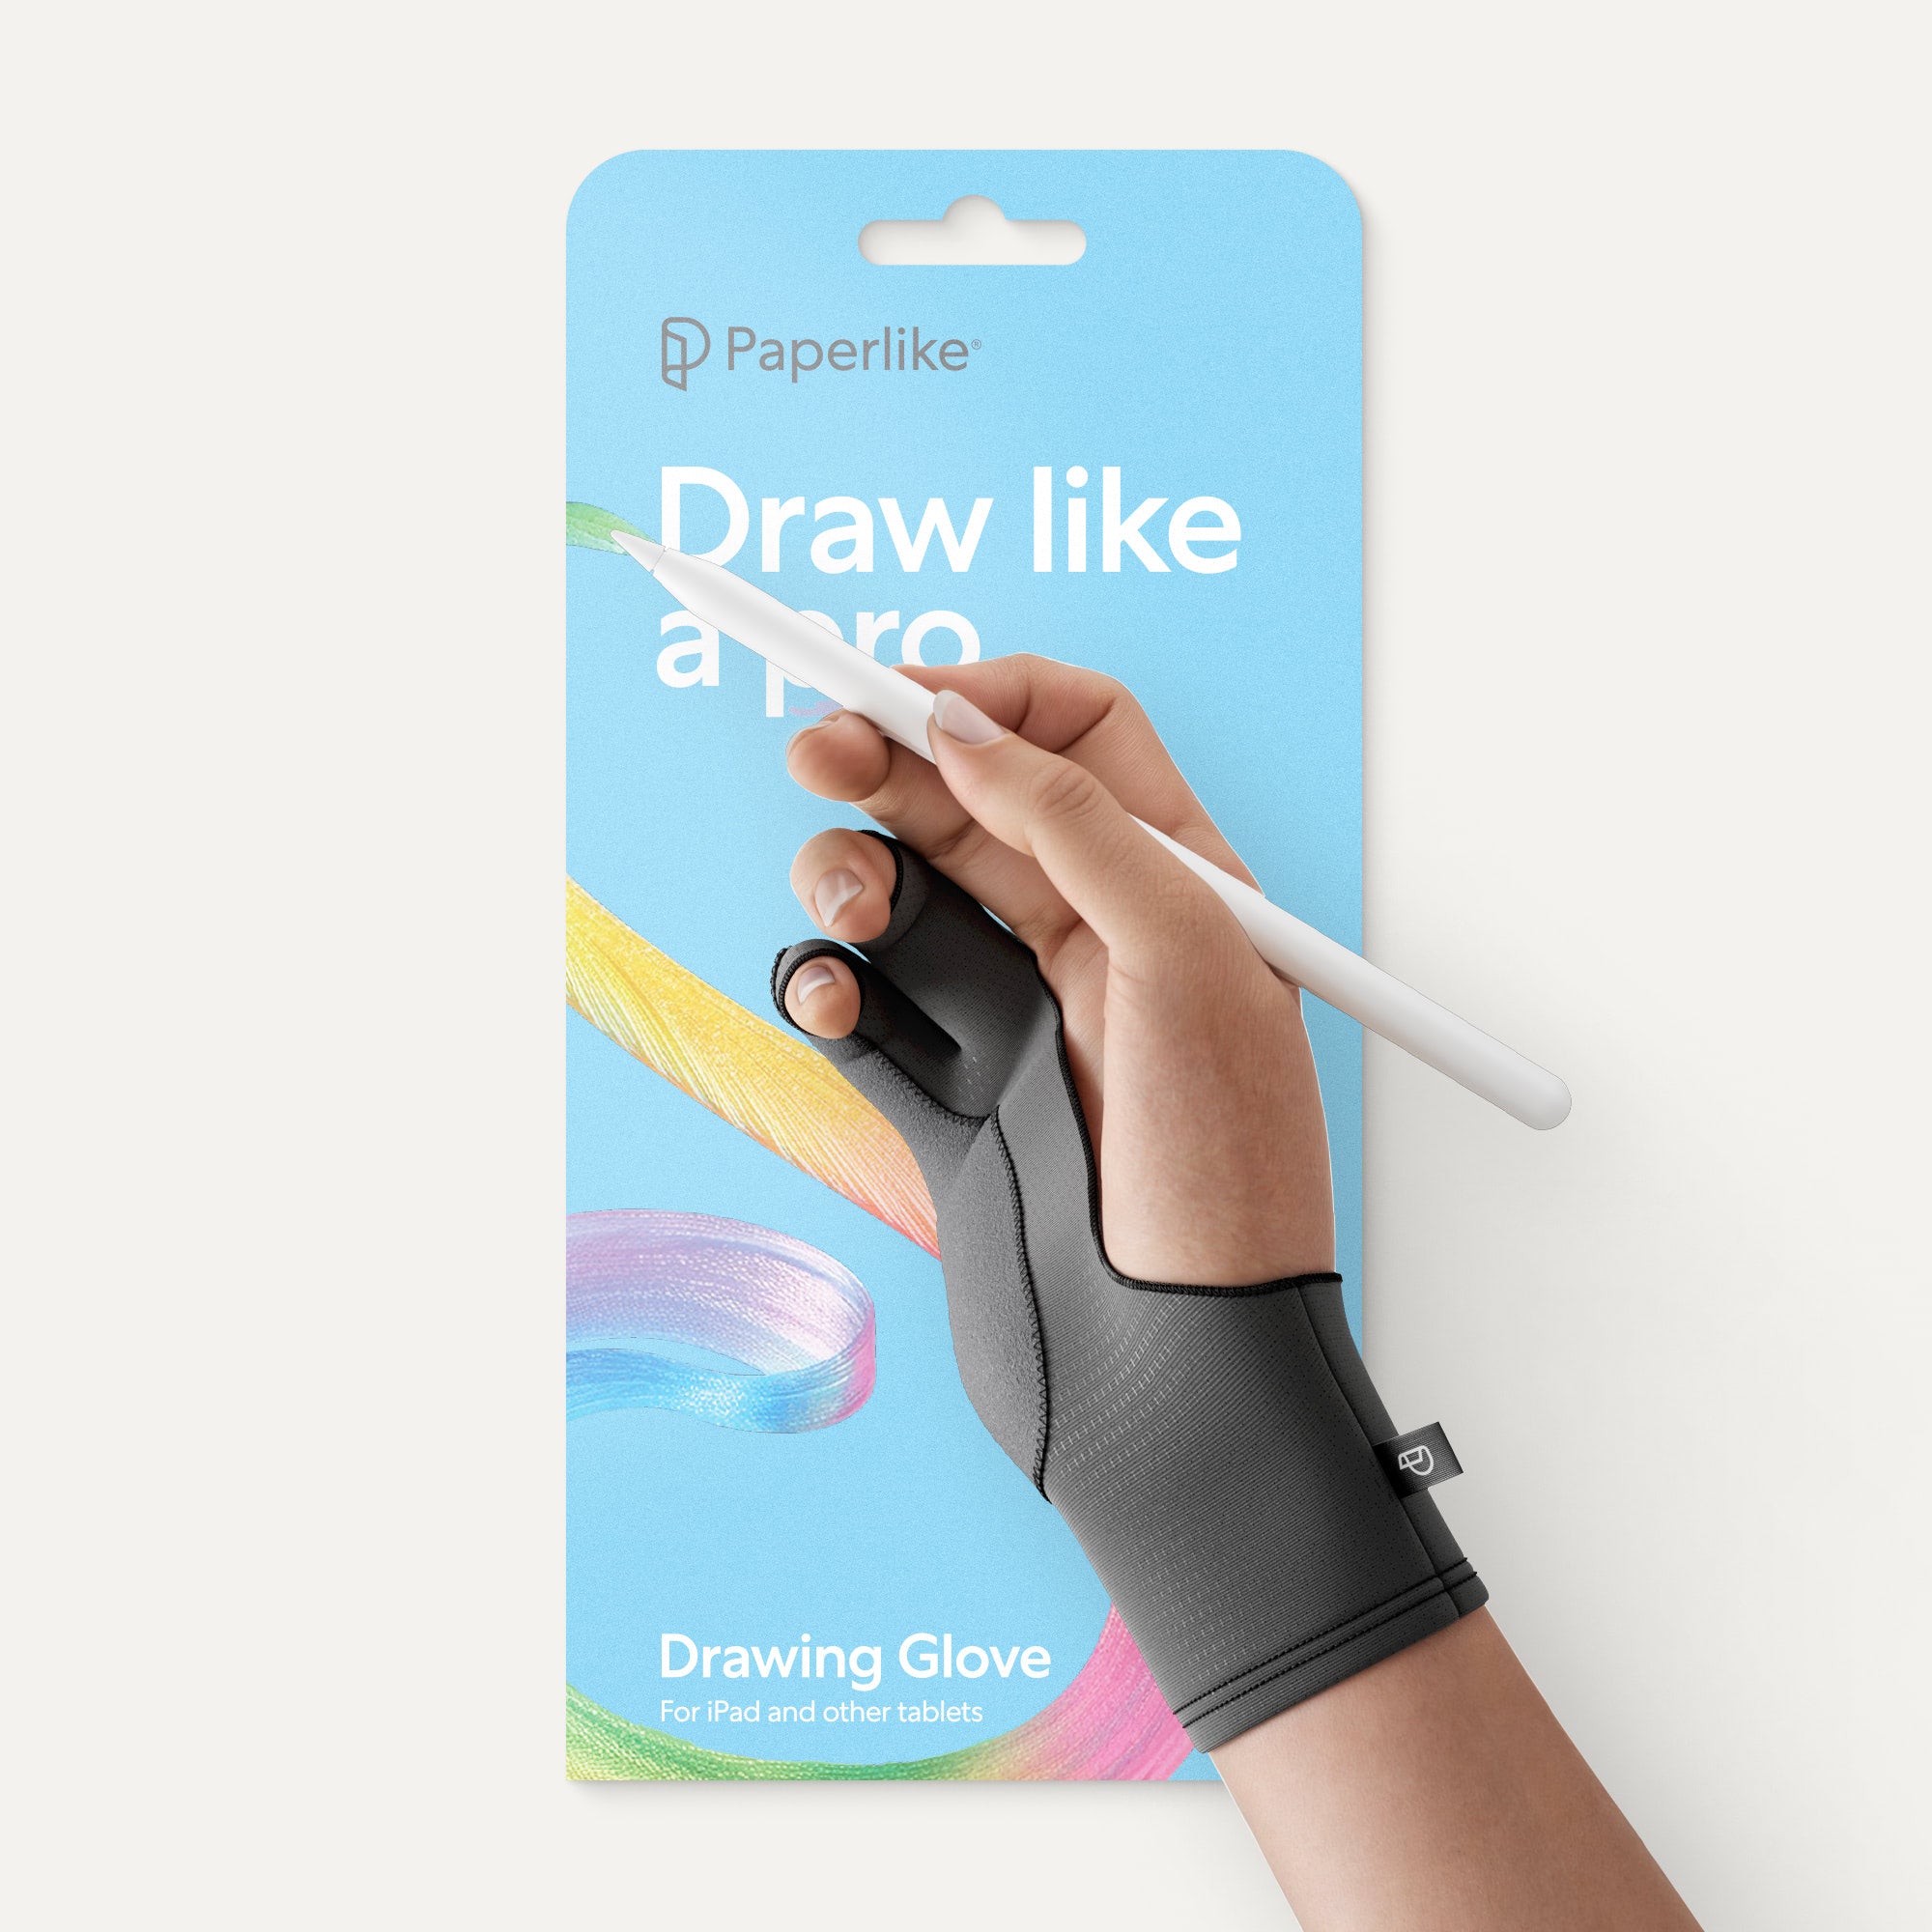
If you’re prone to longer planning sessions, Paperlike Pencil Grips give you better precision and control over your Apple Pencil. Plus, the cushioned surface just feels better to hold.
I also like my Paperlike Folio Case because it not only looks great, but it lets me prop my iPad up at a couple of different angles, making it easier to find a more comfortable position whether I’m writing or typing.
Speaking of typing, you might want to consider a Bluetooth keyboard and a mouse. These two aren’t quite as essential for digital planning, but they do make things easier, especially when you’re transferring content from one calendar to the next. And, with Universal Control, you can use the same keyboard and mouse across both your iPad and Mac, which is incredibly convenient.
I didn’t buy all this stuff on day one, and you don’t have to either. But the Paperlike was the one purchase that changed how much I enjoyed writing on the iPad, whether I’m digital planning or taking notes, or whatever else I may be doing.
Final thoughts
Remember, you don’t have to spend a lot of money or learn a whole new complicated system to start digital planning. And don’t worry about being perfect on day one, or even day one hundred. It’s about making the planner something that’s both helpful and enjoyable to use.
Ready to try it out? Start with our free digital planner. It’s minimalist and flexible, so it’s easy to use right out of the gate.
Frequently Asked Questions
What do I need to start digital planning on an iPad?
A: All you need is your iPad, a compatible Apple Pencil, a good note-taking app like Goodnotes or Notability, and a digital planner. You don’t need the latest and greatest models, and you don’t need to spend a lot of money.
Is Goodnotes or Notability better for digital planning?
A: Both are great for digital planning. They each include the tools you’ll need to write and customize your planner. If you really love visuals, then Goodnotes is a better fit. Its Elements tool makes it easy to add stickers and reusable content. Notability’s Mult-Note feature is more useful if you like viewing different planner pages side by side. If you already use one, there’s no need to switch. If you don’t have either, they both offer a free version that you can try.
Do I need an Apple Pencil for digital planning?
A: No, but a stylus certainly makes digital planning more natural, especially if you prefer handwriting over typing. You can use your finger or a different third-party stylus, but an Apple Pencil gives you the precision and pressure sensitivity that makes handwriting feel closer to writing on paper.
How do I sync my digital planner across devices?
A: That depends on the app you choose to use. Goodnotes uses iCloud sync to keep your planner updated across your Apple devices, while Notability uses its own Notability Cloud to sync across both Apple and Android/Web devices. For Goodnotes, you’ll need to make sure you have Cloud syncing turned on. For Notability, it’s automatic.
Weiterlesen
 Lindsay Armstrong
 Lindsay Armstrong
