This article was originally published in 2019 and most recently updated in March 2024.
LiquidText and MarginNote 3 are two of the most comprehensive notetaking and study aids for the iPad.
Both tools provide a dedicated workspace to help you take stronger notes and better understand your study content. Whether you’re reading and annotating PDFs, creating mind maps, or jotting down lecture notes, these apps allow you to do it all in one place.
So, how do these apps work, and what are the differences between them?
In this article, we’ll see how these apps compare to one another and which one might be the best fit for your study needs in the 2024 school year.
Let’s dive in!
Key takeaways
- Free versions: MarginNote 3 is basically just an e-reader while LiquidText has annotation functionality.
- MarginNote 3 has dedicated workspaces for different uses.
- LiquidText allows multiple documents and multiple workspaces in one project.
- Both apps require a purchase or subscription for backup and syncing.

The basics
Whether you’re a student or someone who does a lot of research, you need an app that can flawlessly combine notetaking, PDF annotation, and study aids into one digital app.
The top two apps in this category are LiquidText and MarginNote 3. These apps have a lot in common, but they both offer different features that are better for different use cases.
So which one is right for you?
Let’s break them down to find out.

LiquidText
-
Price. Free plan available; $29.99 for Pro (one-time purchase per platform); $9.99/month for LIVE; $174.99/year for LIVE Unlimited.
- Note: LIVE & LIVE Unlimited are both cloud-based subscriptions, and the subscription covers LiquidText on all devices
- Platform. Available for iPad, Mac, and Windows.
- Reviews. LiquidText is currently rated at 4.6 out of 5 stars based on 5,300 reviews.
Created by LiquidText, Inc. in 2012, LiquidText was designed to provide everything a student or knowledge worker would need to read, annotate, research, and take notes all in one place. Over the years, it has only gotten better, and it was named the “Most Innovative iPad App of the Year” by Apple in 2020.
With an infinite workspace, the ability to add multiple documents and multiple workspaces into one project, and a whole host of annotation tools, LiquidText makes research and studying easier than ever.

MarginNote 3
-
Price. Free (reader-only) version available; $12.99 for full version.
- Upgrades: OCR Pro for $1/month or $9.50/year.
- Platform. Available for iPad, iPhone, and Mac.
- Reviews. MarginNote 3 is currently rated at 4.7 of 5 stars with 4,300 reviews.
MarginNote was developed by Sun Min and has been through a few iterations over the years. The current version, MarginNote 3, brought a whole host of new features and was released in 2018.
The app was designed as an app for students, and it integrates notetaking, reading, annotating, and studying into one tool to boost the efficiency of learning.

Display & user interface
Ease of use is one of the most important factors when choosing the perfect app.
A complex or cluttered user interface can be overwhelming, but a UI that only offers the basics may not have everything you need.
LiquidText and MarginNote 3 have very different setups, and both have their strong points.
Let’s take a look at each.

LiquidText takes simplicity to a whole new level with a dashboard that is about as straightforward as they come.
The left sidebar provides importing options, including the ability to open a file, a webpage, or a picture. You can also connect directly to Zotero and Mendeley if you use either tool for research and reference work.
The rest of the workspace holds all your documents. At the top of the screen, you’ll find a navigation toolbar with the tools you need for speedy navigation. You can also use the display icon to switch between a list view and a grid layout.
Tapping on a folder will allow you to see its contents, and a simple press and hold on any project or folder will allow you to delete or rename it, but the main interface is simple and easy to use.
Switching to the project workspace triggers the only major change in the user interface. Even then, it’s exactly what you’d expect in a PDF editor and notetaking app.
Your primary document covers one half of the screen, while your notes cover the other. An adjustable slider allows you to tailor the precise layout to your preference.
Even here, the tools and buttons are clear and precise, which makes everything user-friendly and easy to understand.

Compared to LiquidText, the MarginNote 3 interface is a little more complex and takes some time to learn.
While the app dashboard offers a sleek design and similar features to what you’d see in LiquidText, the buttons and the options are more varied.
In MarginNote 3, the left sidebar holds most of your navigation tools, but your documents are separated into three sections:
- Document mode shows the original folders and documents that you’ve imported to the app.
- Study mode contains MindMap Notebooks, your primary project workspace inside the app.
- Review mode holds all your flashcard decks, which are created from your project files.
While we’ll cover each workspace in greater detail below, these three sections illustrate the app’s intended workflow for your documents.
With this app, you can import documents, create a study workspace from them (called MindMap Notebooks), and then consolidate the notes created in your study workspace into a review.
Simple enough, right?
Yes and no.
For starters, there isn’t an easy way to view all of your files in one place. The files are categorized, which means that you’ll be forced to switch back and forth between categories if you need to search visually.
The menus are also considerably more complex due to the document management features, so the system takes more time to learn. Once you understand the layout and the full document workflow, the logic behind the options makes sense, but the UI still feels cumbersome.
To further complicate things, MarginNote’s interface changes dramatically depending on what you’re doing:
- Opening a document will allow you to pull excerpts and annotate PDFs and other documents.
- Opening a MindMap Notebook takes you to a split screen, with your document on the right and an area to create your mind map and take notes on the left.
- Opening a card deck also takes you to a split screen. The left side holds your flashcards, and the right side gives you the option of three different views: Card, MindMap, or Document.
Learning how to use and navigate through each of the different sections can become a time sink.
While you’ll find some tutorials in the app’s help section to guide you through the basics, getting started can still feel pretty overwhelming, especially compared to the simplistic setup offered by LiquidText.
Verdict
LiquidText takes the win.
If you’re looking to quickly parse through PDFs, take notes, and make connections, LiquidText makes it easy to get started right away. This app includes:
- Simple and intuitive navigation and display.
- Quick access to import documents of different types.
- Easy access to folders, documents, and workspace.
On the other hand, MarginNote 3’s design may be more complex, but it changes the interface to match your needs. This app features:
- Separate sections for different types of materials.
- Different tools and toolbars based on your needs.
- Guided tutorials to teach you how to get the most out of the app.
LiquidText’s streamlined navigation and display make it easy to understand, which is what makes it a great app.
On the other hand, MarginNote 3 helps you focus on a specific task, whether that’s annotating, notetaking, or studying. If you can handle the complexity and the learning curve, it might be a better fit.

Document management & creation
Organization and document management are key when you’ve got multiple documents and projects.
Both LiquidText and MarginNote 3 allow you to sort your work into folders, but that’s where the similarity ends.
Here’s what you’ll find in each app.

Organization
In LiquidText, you have two organizational layers: folders and documents.
You can infinitely nest folders, which offers plenty of flexibility in how you arrange things, but there’s no good way to access documents nested deeply into folders from the dashboard.
You’ll have to click open the folder and each subsequent subfolder until you reach the document you need. Getting back to the dashboard also requires backing out of each folder individually.
Fortunately, you can open a document and hit the Home button to navigate back to the dashboard immediately.
As an alternative, you can use the Bookmark Editor to tag specific documents or use the optical character recognition (OCR) built into the search functionality to find your documents faster.
Unfortunately, OCR comes with a few drawbacks. While it can search through PDFs, images, typed text, and excerpts, it won’t include any handwritten notes you may have in your workspaces.
Note: OCR is only available in LiquidText LIVE.

MarginNote 3 automatically separates your documents, MindMap Notebooks, and flashcards into their own sections.
Like LiquidText, MarginNote 3’s Document section has folders and documents with infinite nesting capabilities.
The difference is that MarginNote 3 makes it easier to navigate through them using the dropdown menu at the top of the page. Here, you can see all your folders and subfolders or sort by any categories that you’ve assigned to your work.
MarginNote 3 goes even further, allowing you to bookmark pages of your documents for easy reference later. Tags and designated colors can also be added to your workspace notes or document text.
The search function is much more efficient in MarginNote 3 when compared to LiquidText. OCR functions the same way and still doesn’t recognize handwriting, but you can search tags, colors, document names, or note content, giving you more ways to search your files.
Note: OCR in MarginNote is only available with an OCR Pro subscription.
In Study mode, you can create a mind map hierarchy with child mind maps or use categories to sort your MindMap Notebooks.
In Review mode, your flashcard decks can only be sorted by categories.

Note creation
Importing documents into LiquidText is a quick process when using the left sidebar. You can import PDFs, Word Documents, PowerPoint files, webpages, and images or connect to Zotero and Mendeley by tapping on the appropriate icon and following the steps.
You can even import multiple documents into your workspace and view them side by side (or vertically, if you prefer), which is a nice feature that is easy to miss if you aren’t paying attention.
The drawback here is that LiquidText automatically imports documents into whatever folder you have open at the time. To avoid constantly having to move things around, make sure you open the correct folder before you start the import process.
At the beginning of 2024, LiquidText also added the ability to import entire folders into the app. To do this, you simply drag and drop the desired folder directly into LiquidText.
If the folder includes nested folders and documents, you’ll get a prompt to choose whether you want everything in one project or in separate projects.
Once you import a document, you’ll have access to your document and workspace on a split screen.

The workspace features an infinite canvas for excerpts and notetaking, and it offers some customization options.
Adjusting the borders and background colors that surround fixed paper sizes will help you recognize page breaks and can be useful for exporting purposes.
You can adjust these elements to suit your preferences. You can even remove the borders entirely and set the colors for uniform consistency if you don’t plan on printing or exporting your work.
You’ve also got a few other customization options to configure your workspace in a way that makes the most sense to you.
LiquidText doesn’t save these settings, though, so you’ll have to redo them for every new workspace, which becomes tedious if you’re importing and setting up multiple documents at once.

Importing documents in MarginNote 3 is just as easy as in LiquidText, and the process features a few additional options.
Besides PDFs, Word documents, and images, you can also import videos and EPUB format books, giving you more versatility.
MarginNote 3 can also connect to your PC or Mac via Wi-Fi, making it easy to transfer documents directly from your desktop device.
While you can’t connect to Zotero or Mendeley, the app does integrate with Evernote, allowing you to connect and import or export to this app.
Once you import a document, MarginNote 3 opens it in Document mode, but you can only read or make annotations on the document. You won’t have a workspace for notetaking or mind mapping in Document mode. To access a workspace, you’ll need to create a MindMap Notebook in Study mode and attach your imported document (more on this in the next sections).

Once this is done, you’ll see something similar to what you’d have in LiquidText, with a split-screen view of the document on the right and your workspace on the left with an adjustable slider.
There is a key difference, though: With MarginNote 3, you can’t view multiple documents at one time, but you can add multiple documents to a project. Each separate document will have its own tab, so you can easily switch back and forth as needed.
In Review mode, you can create new flashcard decks. Like other flashcard apps, these decks allow you to study, review, and memorize information.
Unfortunately, creating new cards is a bit of a pain because you’ll have to create each card one by one, but it’s no different from writing out actual flashcards on paper index cards.
The great thing about MarginNote 3 is that it can automatically create cards based on your mind map nodes.
To do this, you’ll use the export function in Study mode after you’ve completely finished taking notes and building your mind map. The app will take that information, move it to Review mode, and create flashcards based on your notes. This is a much faster and easier process than trying to create flashcards yourself.
Verdict
Depends on personal preference.
LiquidText offers a fair amount of organizational opportunities, but navigating through the folders isn’t as easy as it should be.
The app does have a few bright spots, including each of the following:
- Ability to quickly and easily import documents or folders to create new projects.
- Multi-document viewing capability in your workspace.
- Customizable workspace, so you can have everything the way you like it.
MarginNote 3’s design separates your documents, mind map notes, and flashcards into separate sections, which has some benefits and some drawbacks. It features:
- Categories (in addition to folders) to help you organize documents in a logical way.
- Versatile importing options and file types, including both PDFs and EPUBs.
- Separate work areas depending on what you’re trying to do.
Both of these apps have plenty of organization to keep your work in order. LiquidText is more streamlined, with the ability to create and/or navigate to any project from the homepage, while MarginNote 3 breaks different types of work into separate sections, allowing you to focus on one thing at a time.

PDF annotation
While LiquidText and MarginNote 3 are both comprehensive notetaking and study tools, they were both originally designed to help users read and annotate PDF files.
Before we get into all the extra notetaking and other abilities these apps have, it’s important to understand how each one handles PDF annotation.

LiquidText is designed to make annotating PDFs a quick and painless process.
When you open a document, the app automatically splits your screen into two components, with your document on the left and your workspace on the right. However, you can expand the document to full screen for active reading if you prefer.
You’ll see three toolbars, one at the top and two floating on either side of the screen, that you can move around as needed.
The right toolbar is where you’ll configure your workspace settings, and the left toolbar holds your document settings and configures how you interact with them. You can also expand both of these to a sidebar for full access to all the tools available.
In the left sidebar, the Text Box and Configure Doc tools are pretty self-explanatory, but HighlightView and Type to Navigate are unique to LiquidText.
- HighlightView allows you to pinch the document together so that you only see the areas that you’ve highlighted. This is great if you want to quickly read over all your highlighted sections without having to scroll through the document to find each one.
- Type to Navigate pulls up a search bar where you can type in the page number, a search term, section name, or document name to quickly jump to that spot, making it even easier to navigate through your documents.
You can also choose between viewing a list of the documents included in your current project or an outline of the open document.

The annotation toolbar is at the top of your screen. It contains all the tools you’ll need to markup your documents, including an Excerpt Box, Pen Tool, Highlighter Tool, and Eraser.
When you create excerpts, you can add colors, tags, and comments to them to help you organize and connect information.
Note: All inking tools are only available with LiquidText Pro. (You can still highlight by selecting text and adding a highlight color.)

MarginNote 3 is designed to help you focus on one task at a time, so when you’re ready to read and annotate PDFs, you’ll have a dedicated area to concentrate on that task.
When you open a document in Document mode, it’s set up as a PDF reader with a toolbar at the top of the screen.
Tapping the pencil icon changes the toolbar to hold all your excerpt and annotation tools. But only when your iPad is horizontal.
When your iPad is vertical, you’ll instead see the words Excerpt and Annotate, and the rest of the toolbar changes depending on which of these two options you select.
The Excerpt toolbar includes a Hand tool, Text tool, Rectangular tool, Lasso tool, and your Excerpt Settings.
Once you’ve selected text, you’ll see a ribbon of options.
Most of these are geared towards highlighting or excerpting the text, but you’ll also see the option to emphasize these selections.
Since MarginNote 3 creates flashcards based on anything you’ve emphasized, this is a great feature to use while you’re reading the material.

The Annotation toolbar includes a Writing tool, a Text Insertion tool, an Image Insertion tool, and an Annotation Selection tool.
Most of these are pretty self-explanatory, but the Writing tool works a little differently than in LiquidText. In MarginNote 3, it opens another mini-toolbar, which holds all your writing tools, including a pen, highlighter, pencil, eraser, lasso, and ruler.
Note: This is MarginNote’s writing engine, but you can also click on the ellipsis at the bottom and switch to Apple PencilKit instead.
Figuring out where you need to be and which tool to use can be a little frustrating in the beginning, but once you’ve got the hang of it, having dedicated space for different types of reading, editing, and studying can be really helpful.
Verdict
With everything in one place and toolbars that never change, LiquidText is the leader in PDF annotation.
LiquidText’s streamlined user interface makes all your tools easily accessible and is ideal for research projects. Plus, it features:
- A toolbar that allows you to easily navigate through your documents.
- The ability to pinch documents to bring together all your highlighted sections or compare different parts of the document.
- Excerpts that you can add color, tags, or comments to immediately.
However, MarginNote 3 offers a wider selection of tools and abilities, which may work better for students who are more focused on studying and reviewing the material. It has:
- Toolbars that change to reflect your needs, with only the tools necessary for what you’re doing.
- The ability to add excerpts or text straight to your mind map or card deck for later review.
- Options to insert text, handwriting, images, and more into your document.
LiquidText offers a smooth PDF annotation experience from start to finish, while MarginNote 3 forces you to constantly switch between toolbars, which is frustrating until you get the hang of it.

Taking notes & creating study materials
Taking notes is where the magic really happens, so it’s important to find an app that has a good workspace and all the tools you’ll need to get your thoughts on the page.
Keep in mind that both LiquidText and MarginNote are designed to be more of a study and research tool, rather than a traditional notetaking app like Goodnotes and Notability. However, they still offer space to gather and write down your ideas.
While there are some similarities between LiquidText and MarginNote 3, each app has some unique features that set it apart.
Let’s check out what you can expect from each.

LiquidText provides an infinite workspace with the tools you’ll need to gather information and make connections.
It allows you to add multiple documents to a single workspace, and you can have three documents open at a time for easy comparison and review.
The app also employs a cool feature that allows you to pinch and expand documents to compare different sections of the text quickly.
Note: This is the same feature used in HighlightView, but you have more control over how much or how little of the text to condense.
You can pull sentences or whatever important bits of text from your documents over to your workspace, and these excerpts can be moved around anywhere on the page, allowing you the freedom to organize your work the way you like.

Each excerpt can be color-coded or tagged, and they are all linked to their source, so you can go back and reference the text. This is especially important for research projects, as it makes citation super easy.
With LiquidText Pro, you can group these excerpts together, draw lines to connect concepts, and even create your own mind maps to organize the information.
You can also use the new AI features (requires a subscription), like Auto-Cite, to get a suggested citation based on the section of the document you’re reading by doing a keyboard shortcut. You can also use Ask AI (a ChatGPT integration) to ask any questions you may have about your documents.
In the fall of 2022, LiquidText added the ability to have multiple workspaces in one project. In the past, you’d have to import the relevant PDF documents to each and every workspace separately, and you couldn’t easily bounce back and forth between projects, so this is an amazing addition.
You can even view up to three workspaces simultaneously. Add that to the three documents you can have open at a time, and you’ve got a pretty crowded screen!
With multiple workspaces, the ability to link information, make connections, and go deeper in your research is easier than ever. Plus, you’ll have access to all these workspaces from a list on the right sidebar of your project.
You can even customize the style and background color of each individual workspace. If you need a workspace just for handwritten notes, you can set it up with lined paper, but if you need to draw graphs or you’re just adding excerpts into a mindmap, you can use dots or grid paper.

The Pen Tool is what you’ll use to take notes, and it comes with a few different options, including freehand or straight-line settings.
If you love taking handwritten notes and getting creative, the freehand pen tool will allow you to do that.
It comes with a variety of different color options and has a color wheel that allows you to add new favorites. It also has eight options for thickness.
And that’s not all.
If you hit the ellipsis for more options, you can turn on Predictive Ink, which works exceptionally well on the iPad Pro. You can also choose between a ballpoint pen or a calligraphy pen to further customize your style.
The Zoom function is located on your right toolbar, or you can pinch to zoom. With this tool, you can zoom in on your workspace to make handwriting and mind mapping easier. The zoom ratio stays the same when you use the slider to adjust the sizing of your document and workspace columns, so your handwriting size stays consistent.
Even though LiquidText gives you the ability to write anywhere on the document or workspace, including on excerpts, keep in mind that the app is more focused on PDF editing and excerpting and less on taking extensive handwritten notes.

Compared to LiquidText, MarginNote 3’s workspace is more structured and rigid in its setup.
You’ll need to be in Study mode to access your MindMap Notebooks, which is the name of your workspace.
Like LiquidText, you can attach multiple documents to your project, but MarginNote 3 doesn’t allow you to view more than one at a time. Instead, each document will have a tab that you can click to quickly switch back and forth between them.
Also like LiquidText, you can pull text from your documents to create excerpts, and you can add colors or tags to help organize the information.
But MarginNote 3 offers extra features, like its built-in web browser that supports Google, Wikipedia, and more to search any of the terms or content of your documents.
Another cool feature is the auto-excerpt tool that allows you to create excerpts just by selecting the text, rather than having to drag and drop the information.
You can also use the auto-mind map feature to automatically organize all your excerpts based on the document’s table of contents, saving you time from sorting the information and creating your own mind map.
However, the mind map structure is much more rigid than what you see in LiquidText, so you lose some of that flexibility to get really creative in your notes.
If you prefer handwriting your notes, you can do that, too.
MarginNote 3 added handwriting support in 2021. You’ll use the same toolbars as in Annotation mode, and you can choose between MarginNote’s writing engine or the Apple PencilKit.

The Pen Tool has multiple color options and the ability to create your own colors. You can also choose from six different thicknesses. Like LiquidText, you can turn on the Straight Line option for connecting ideas or use freeform.
The drawback is that trying to get these handwritten notes into your working mind map or using them to create flashcards for review isn’t very intuitive.
You can’t just draw a box around them or draw lines to connect them. Instead, you’ll have to long press on an empty space, drag the rectangle over your handwritten notes, and create a node.
This node can then be added to your mind map, and once connected, you have the option to create flashcards.

The flashcards feature is one of the biggest differences between MarginNote 3 and LiquidText.
MarginNote 3 allows users to create flashcards from their excerpts and annotations. You can auto-create your cards from the study section, which will make cards for every excerpt/mind map node, or you can create your own.
Once you have a deck built, you can hit the play button to study, memorize, and review the information you’ve pulled from your documents.
Verdict
Depends on your goals.
LiquidText’s infinite canvas makes the app extremely flexible, allowing you to work in whatever direction you like without any limits. It also features:
- The ability to view multiple documents at the same time for comparison, and multiple workspaces for linking ideas.
- The consistent zoom ratio keeps your handwriting size consistent, no matter how big or small your workspace is.
- Different pen types and plenty of color and sizing options to customize to your preference.
MarginNote 3 offers more structure, keeping things neat and orderly. The features you can expect from this app are:
- Auto-excerpts and auto-mindmaps, making it faster and easier to collect and organize your content.
- The ability to handwrite notes and turn them into mind map nodes or leave them as separate notes.
- Flashcard decks that you can build and review.
If you’re working on a research project or just collecting and connecting information from multiple documents, LiquidText is your best bet.
However, if you need a comprehensive notetaking, study, and review tool, MarginNote 3 has a lot more to offer.

Storage, backup, & sharing
It’s important to understand how your work is saved and stored for future use when you’re taking digital notes and making PDF annotations.
LiquidText and MarginNote 3 handle these functions a little differently.
Let’s see how they compare.
Storage & backup
Like most iOS and macOS apps, LiquidText backs up your work to iCloud for storage.
Unfortunately, it seems to take up quite a bit of storage space, especially when compared with MarginNote 3.
For whatever reason, LiquidText just makes bigger files. In the past, if you were using the same document in multiple projects, the app would make a copy of that document for each project, which wasted storage space on duplicates. But, with the addition of multiple workspaces in 2022, this is no longer an issue.
One of the perks of using iCloud storage is the ability to sync across devices, but this app doesn’t sync on LiquidText Pro or free versions. You’ll need a LIVE subscription for that.
With the LIVE subscription, you’ll get real-time syncing, allowing you to implement a multi-device display to work on two screens at once.
If you prefer taking handwritten notes on your iPad, but it’s easier to build your mind map on the desktop, syncing across multiple platforms will allow you to do that.
However, the app lacks any way to restore deleted projects, so make sure you’re really done with something before you delete it.
MarginNote 3 offers more options for backing up your work, but it doesn’t have an automatic backup system like LiquidText offers.
This app forces you to do a manual backup, but it will allow you to use pretty much any cloud service or app that you want, which is nice if you already have a storage plan with something like Dropbox.
Backing up to iCloud still seems to be the most convenient choice, as it allows you to share through the service to collaborate with fellow students or coworkers. Unfortunately, the iCloud sync doesn’t always work in real time, so you may have to manually sync across devices.
MarginNote 3 files take up significantly less storage space than LiquidText, which can be useful if you’re using a storage plan with limited space.

Sharing
LiquidText does allow you to share your projects, but whoever you’re sending them to will need the app to view them since you can only share them as a LiquidText document.
Exporting options aren’t a whole lot better.
You’ve got two options: You can export a PDF with or without your workspace notes, or you can export just your notes as a Word document.
While this might seem great, because of the infinite canvas, exporting is tedious and doesn’t turn out that well. Plus, you’ll need to export each project one at a time for the best results.
Note: LiquidText does allow you to export multiple projects at one time, but it puts them all into one large PDF, which is inconvenient.
Overall, the work you do in LiquidText is best viewed in LiquidText, which is totally fine if you don’t need a lot of collaborative abilities.
However, this also means that once you start using LiquidText, you should plan to keep using the app since leaving it won’t be easy.

Like LiquidText, MarginNote 3 allows you to export your work as a PDF or as a Word document, and you can even export your workspace to Evernote.
MarginNote 3 only allows you to export one project at a time, and like LiquidText, it’s not really all that helpful. Microsoft Word struggles to handle mind maps and handwritten notes and exporting large mind maps just doesn’t work well for printable PDFs, either.
The exception is that you can export your MindMap Notebooks to mind map apps, such as OmniOutliner, MindManager, or iThoughts. And, you can export your flashcard decks to apps such as Anki.
Verdict
LiquidText ekes out the win.
Neither one of these apps is really great at exporting, but LiquidText automatically backs up your work and has real-time iCloud syncing as an option.
LiquidText has:
- Automatic iCloud backup.
- Real-time syncing with LiquidText LIVE.
- Sharing as a LiquidText document.
- Export as PDF or Word document.
MarginNote 3 isn’t far behind, though. While it doesn’t automatically back up or sync, these things can be done manually.
Plus, MarginNote 3 has a few extras, including:
- Manual backup to any cloud service.
- iCloud sharing for collaboration.
- Export as PDF, Word document, or to Evernote.
- Export to mind mapping and flashcard apps.
Ultimately, the work you do in both of these apps is best kept in these apps, and there are only marginal differences in the ability to backup and store your work.
LiquidText takes up a lot of storage, but MarginNote 3 makes you have to manually back up and sync, so you’ll have to choose the lesser of two evils and choose the one that best suits your storage situation and preference.

Pricing & updates
Pricing and updates are also important factors to consider when choosing a study app.
While both apps have a free version and in-app purchases, you’ll find a significant variation in how LiquidText and MarginNote 3 price out their products and handle their updates.
LiquidText
LiquidText is currently on Version 5.10, and the team is constantly making improvements and upgrades to the system. However, many of its features are only available on paid plans.
Plus, you have to have a LIVE or LIVE Unlimited subscription to take advantage of any future updates.
Here’s a breakdown of LiquidText’s pricing options:
- Free plan with limited features.
- Pro plan costs $29.99 (one-time purchase per platform).
- LIVE subscription costs $9.99/month.
- LIVE Enhanced costs $174.99/year.
Both the LIVE and LIVE Unlimited subscriptions cover all your devices, and will receive all future updates.
Right now, LiquidText is available on the Apple App Store for iPadOS and macOS, and the Microsoft Store for Windows devices.
MarginNote
MarginNote has gone through many iterations, including MarginNote 2 and MarginNote Pro, but MarginNote 3 is full of new features, including better annotating tools, OCR, the ability to create video excerpts, and more.
There haven’t been any significant updates or new features in the last couple of years, but everything functions properly, and there aren’t any issues with the app right now.
Unlike LiquidText, MarginNote 3’s free plan is basically just an e-reader with no real ability to markup or annotate, which means you pretty much have to buy the full version.
Fortunately, it’s not terribly pricey compared to LiquidText.
Here’s MarginNote 3’s current pricing:
- Free (reader-only) version.
- Full version costs $12.99 (one-time purchase per platform).
- OCR Pro costs $1/month or $9.50/year.
To really get the most out of this app, you’ll need to purchase the full version, and if you want to be able to use OCR to search your scanned documents, you’ll have to pay extra for that feature.
MarginNote 3 runs on macOS and iOS devices.
Verdict
MarginNote 3 is the clear winner.
Even though MarginNote 3 charges you extra for OCR capabilities, the one-time low price for the full version makes it more affordable than LiquidText.
Plus, it seems to do more, with a study section for mind mapping and a review section for flashcards. It’s basically an all-in-one study tool.
However, if you don’t plan to do a lot of notetaking, the LiquidText free version lets you do a little more PDF editing and annotating than MarginNote 3, and it’s set up a little better for intense research projects.
Here’s a quick breakdown of what you’ll get in each app’s different plans:
|
Free plan:
|
Free plan:
|
|
Pro Plan:
|
Full version:
|
|
LIVE subscriptions:
|
OCR Pro:
|

LiquidText vs. MarginNote 3: Final verdict
Both LiquidText and MarginNote 3 offer the tools necessary to research and parse through documents, take notes, and build mind maps.
They each offer a host of different features that make them great study tools.
After taking a deep dive into these two apps, we feel that LiquidText is the better tool for PDF annotation, markup, and notetaking.
However, we aren’t trying to leave MarginNote 3 out in the cold.
While LiquidText gets high marks for ease of use, MarginNote 3 is the best all-in-one research, notetaking, and study app for digital learners.
If collecting information, making connections, building mind maps, and reading notes are enough for you, LiquidText offers a streamlined process and the perfect tools to get the job done.
On the other hand, if you prefer more structured notes and need to be able to create flashcards to memorize and retain important information, MarginNote 3 far surpasses what you can do in LiquidText. And, it’s quite a bit cheaper, too.
The major drawback of MarginNote 3 is its steep learning curve. The app has so much going on that it takes a good amount of time to figure it all out, which is another reason that we love the simplistic design and navigation of LiquidText.
We also love the flexibility that comes with LiquidText’s workspace and find that it’s easier to use overall.

FAQ
Can I work exclusively using the free plans or will I eventually have to buy the apps?
Regardless of whether you prefer LiquidText or MarginNote, you’re going to want to buy the full version of the app you choose.
MarginNote 3’s free version is basically just an e-reader, which isn’t going to do much for you if you need to markup, make connections, and create study materials.
LiquidText does offer annotation in the free version, but it’s limited to highlighting, which isn’t very helpful. Plus, you can’t even back up your work without the full version.
Are LiquidText or MarginNote worth the price?
If you’re planning to markup PDFs and want to be able to create extensive study materials, you’ll need to purchase MarginNote 3. Fortunately, the app has a small, one-time fee, which more than covers the usability you’ll get out of it.
LiquidText is a little more pricey, and the free version has a lot more functionality compared to MarginNote 3’s free app.
However, the extra features included in LiquidText’s Pro version, such as being able to handwrite notes, add multiple documents and workspaces to a project, and backup and syncing, are pretty essential to get the most out of this app.
What hardware do I need in order to use these apps?
MarginNote 3 requires either an iPad or a Mac. LiquidText can run on either of those same two options or Windows.
At Paperlike, we prefer the iPad Pro for the most space to view and annotate our study materials. And, of course, we love the Apple Pencil for notetaking.
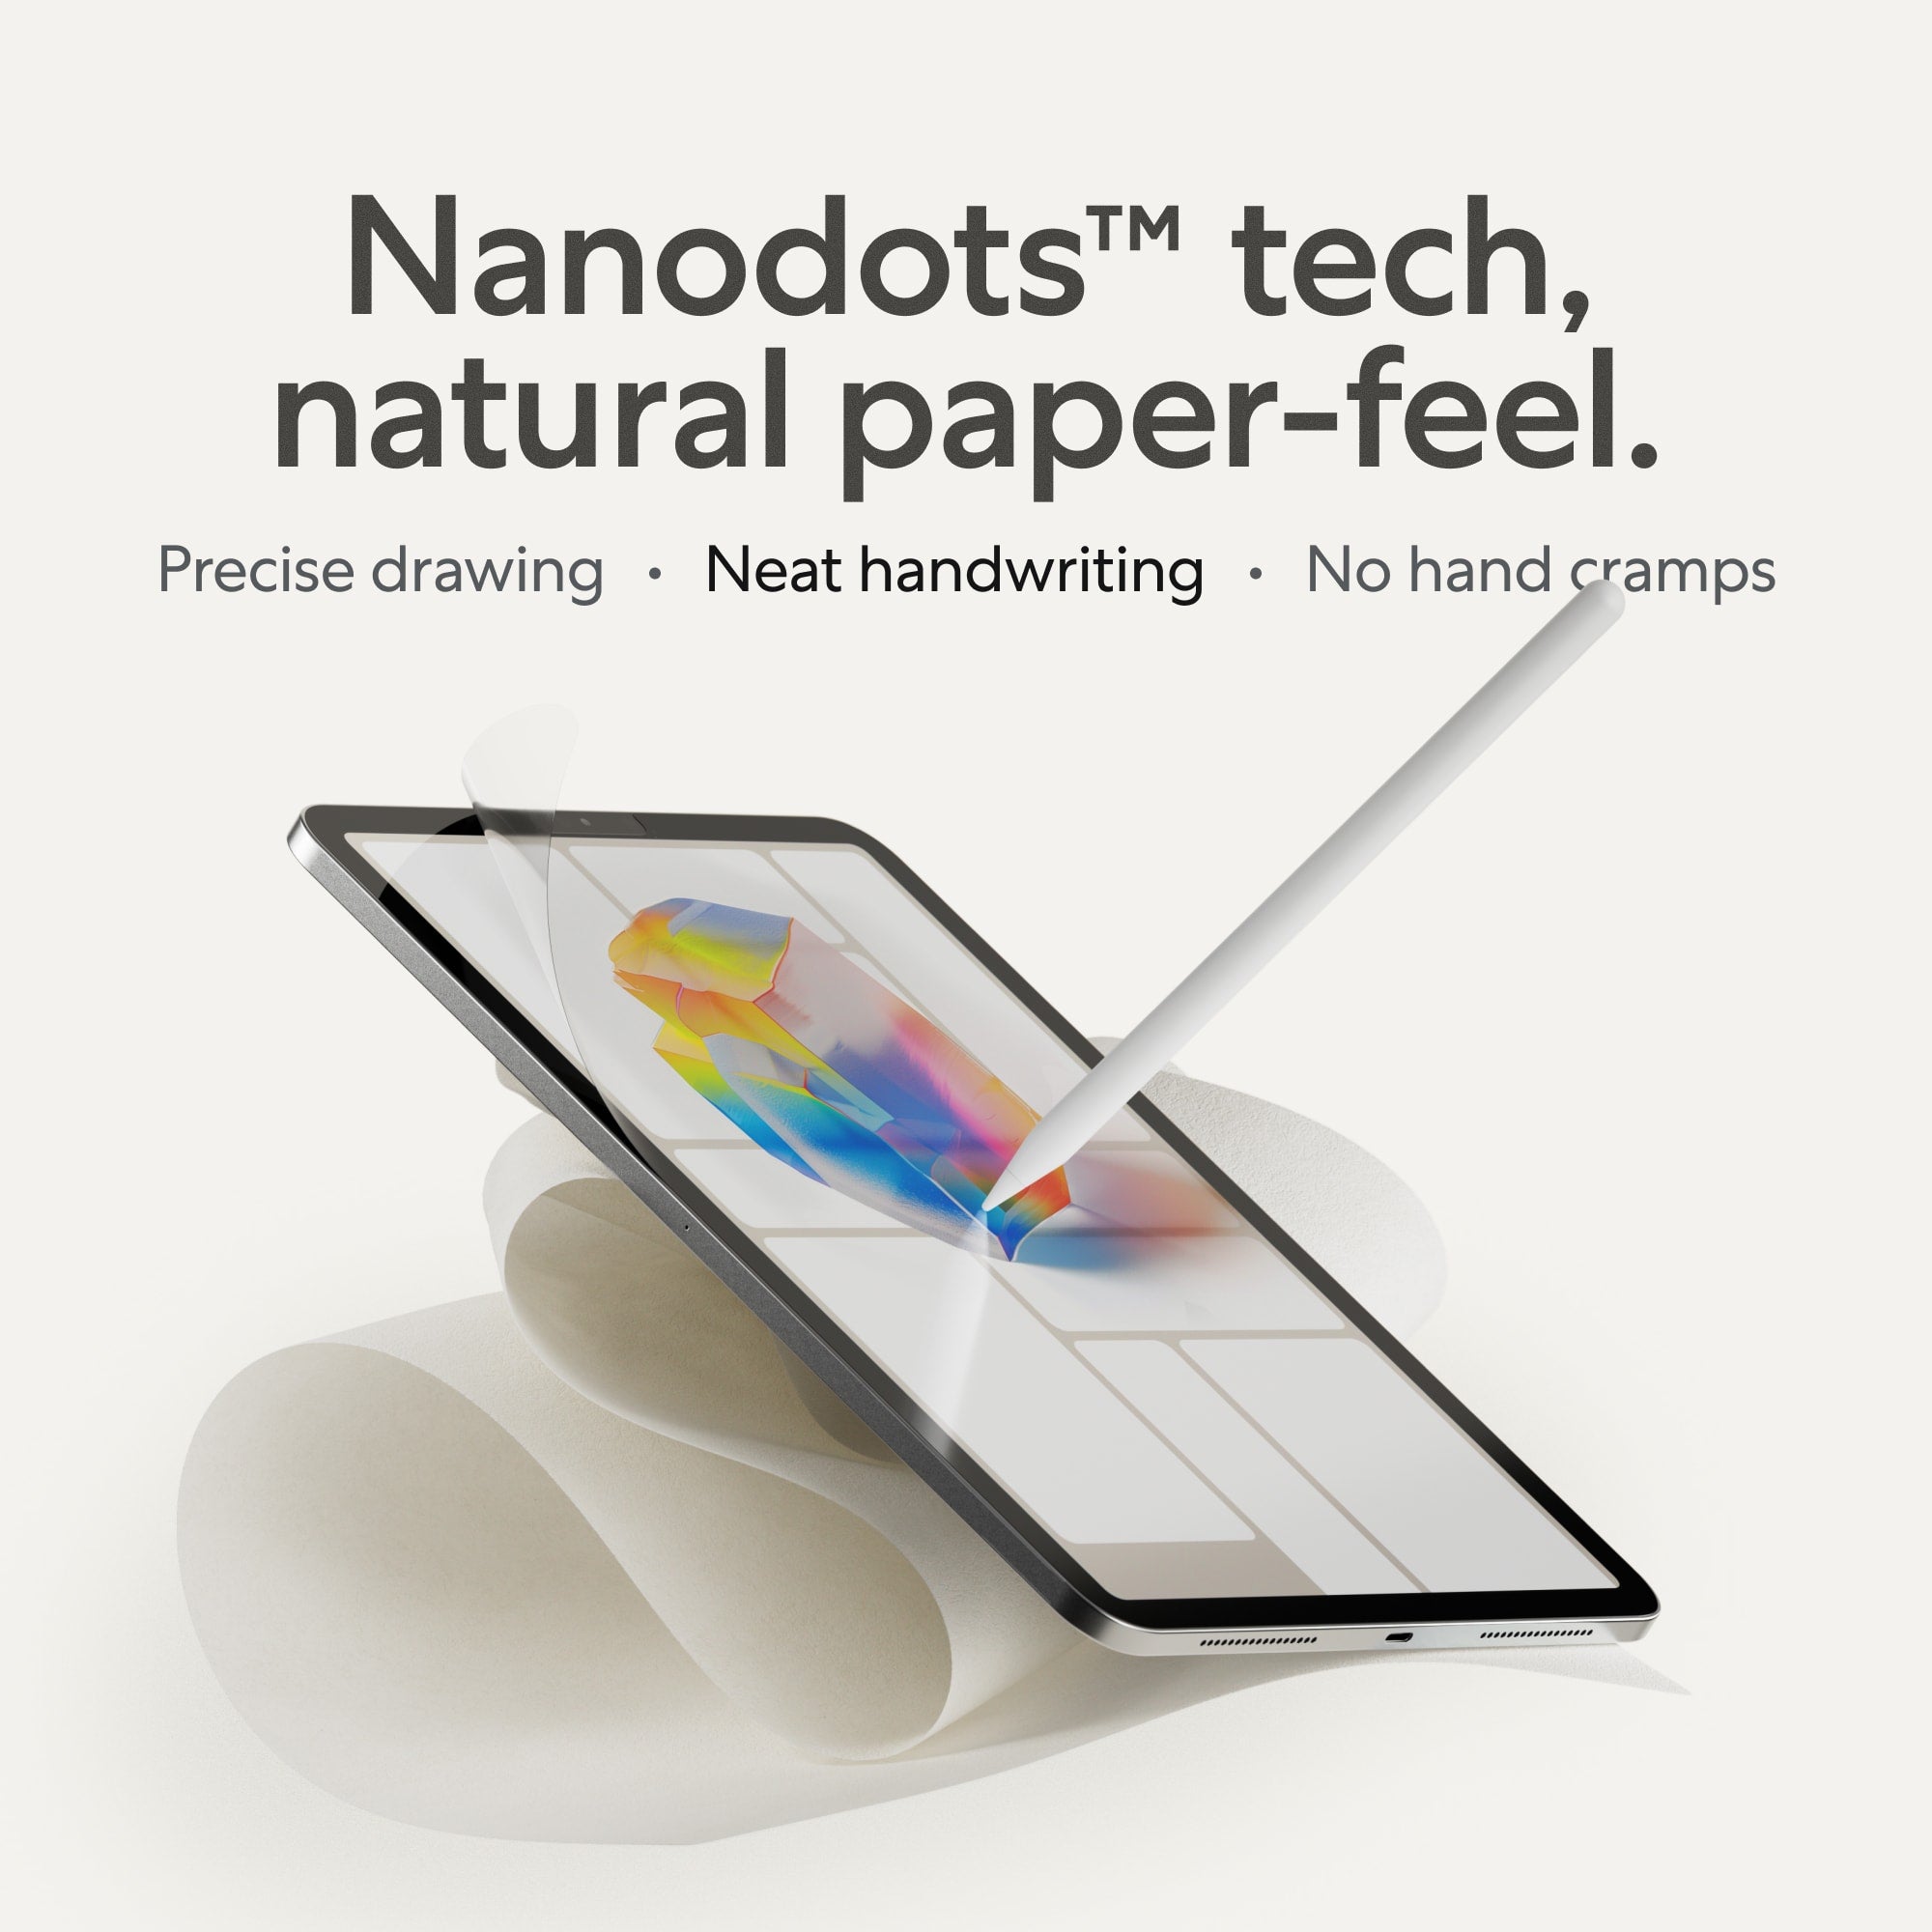
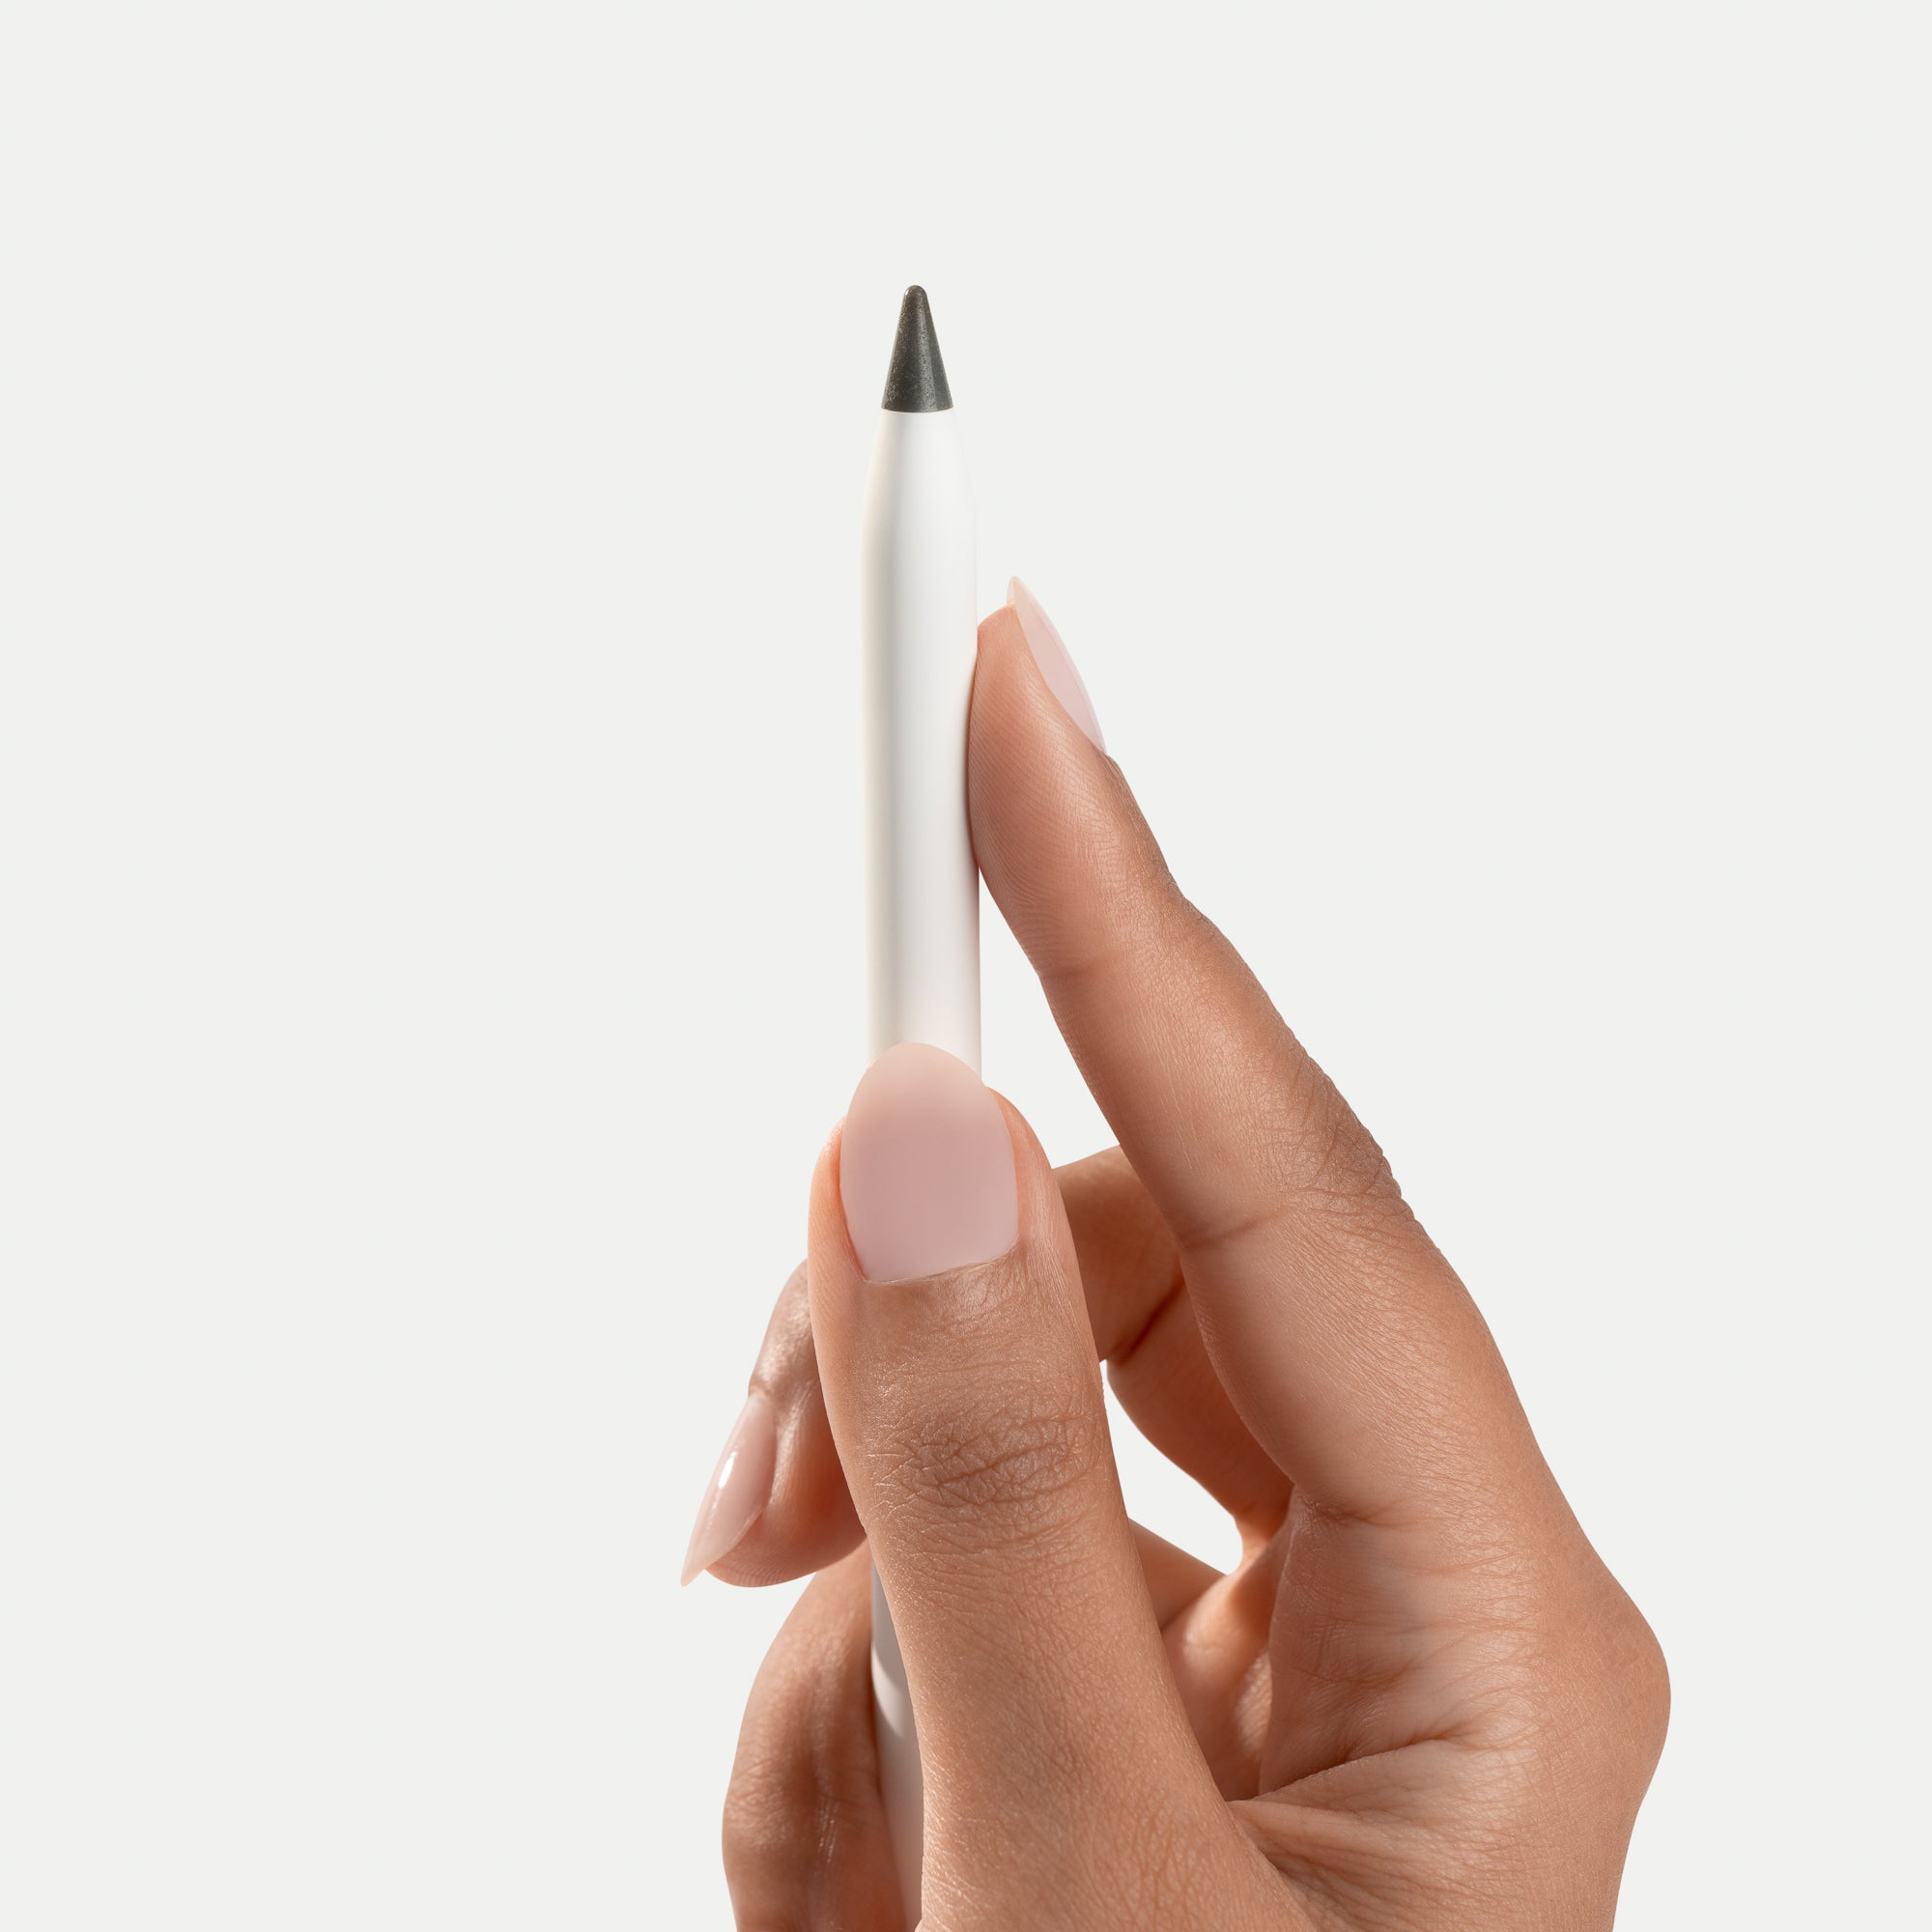
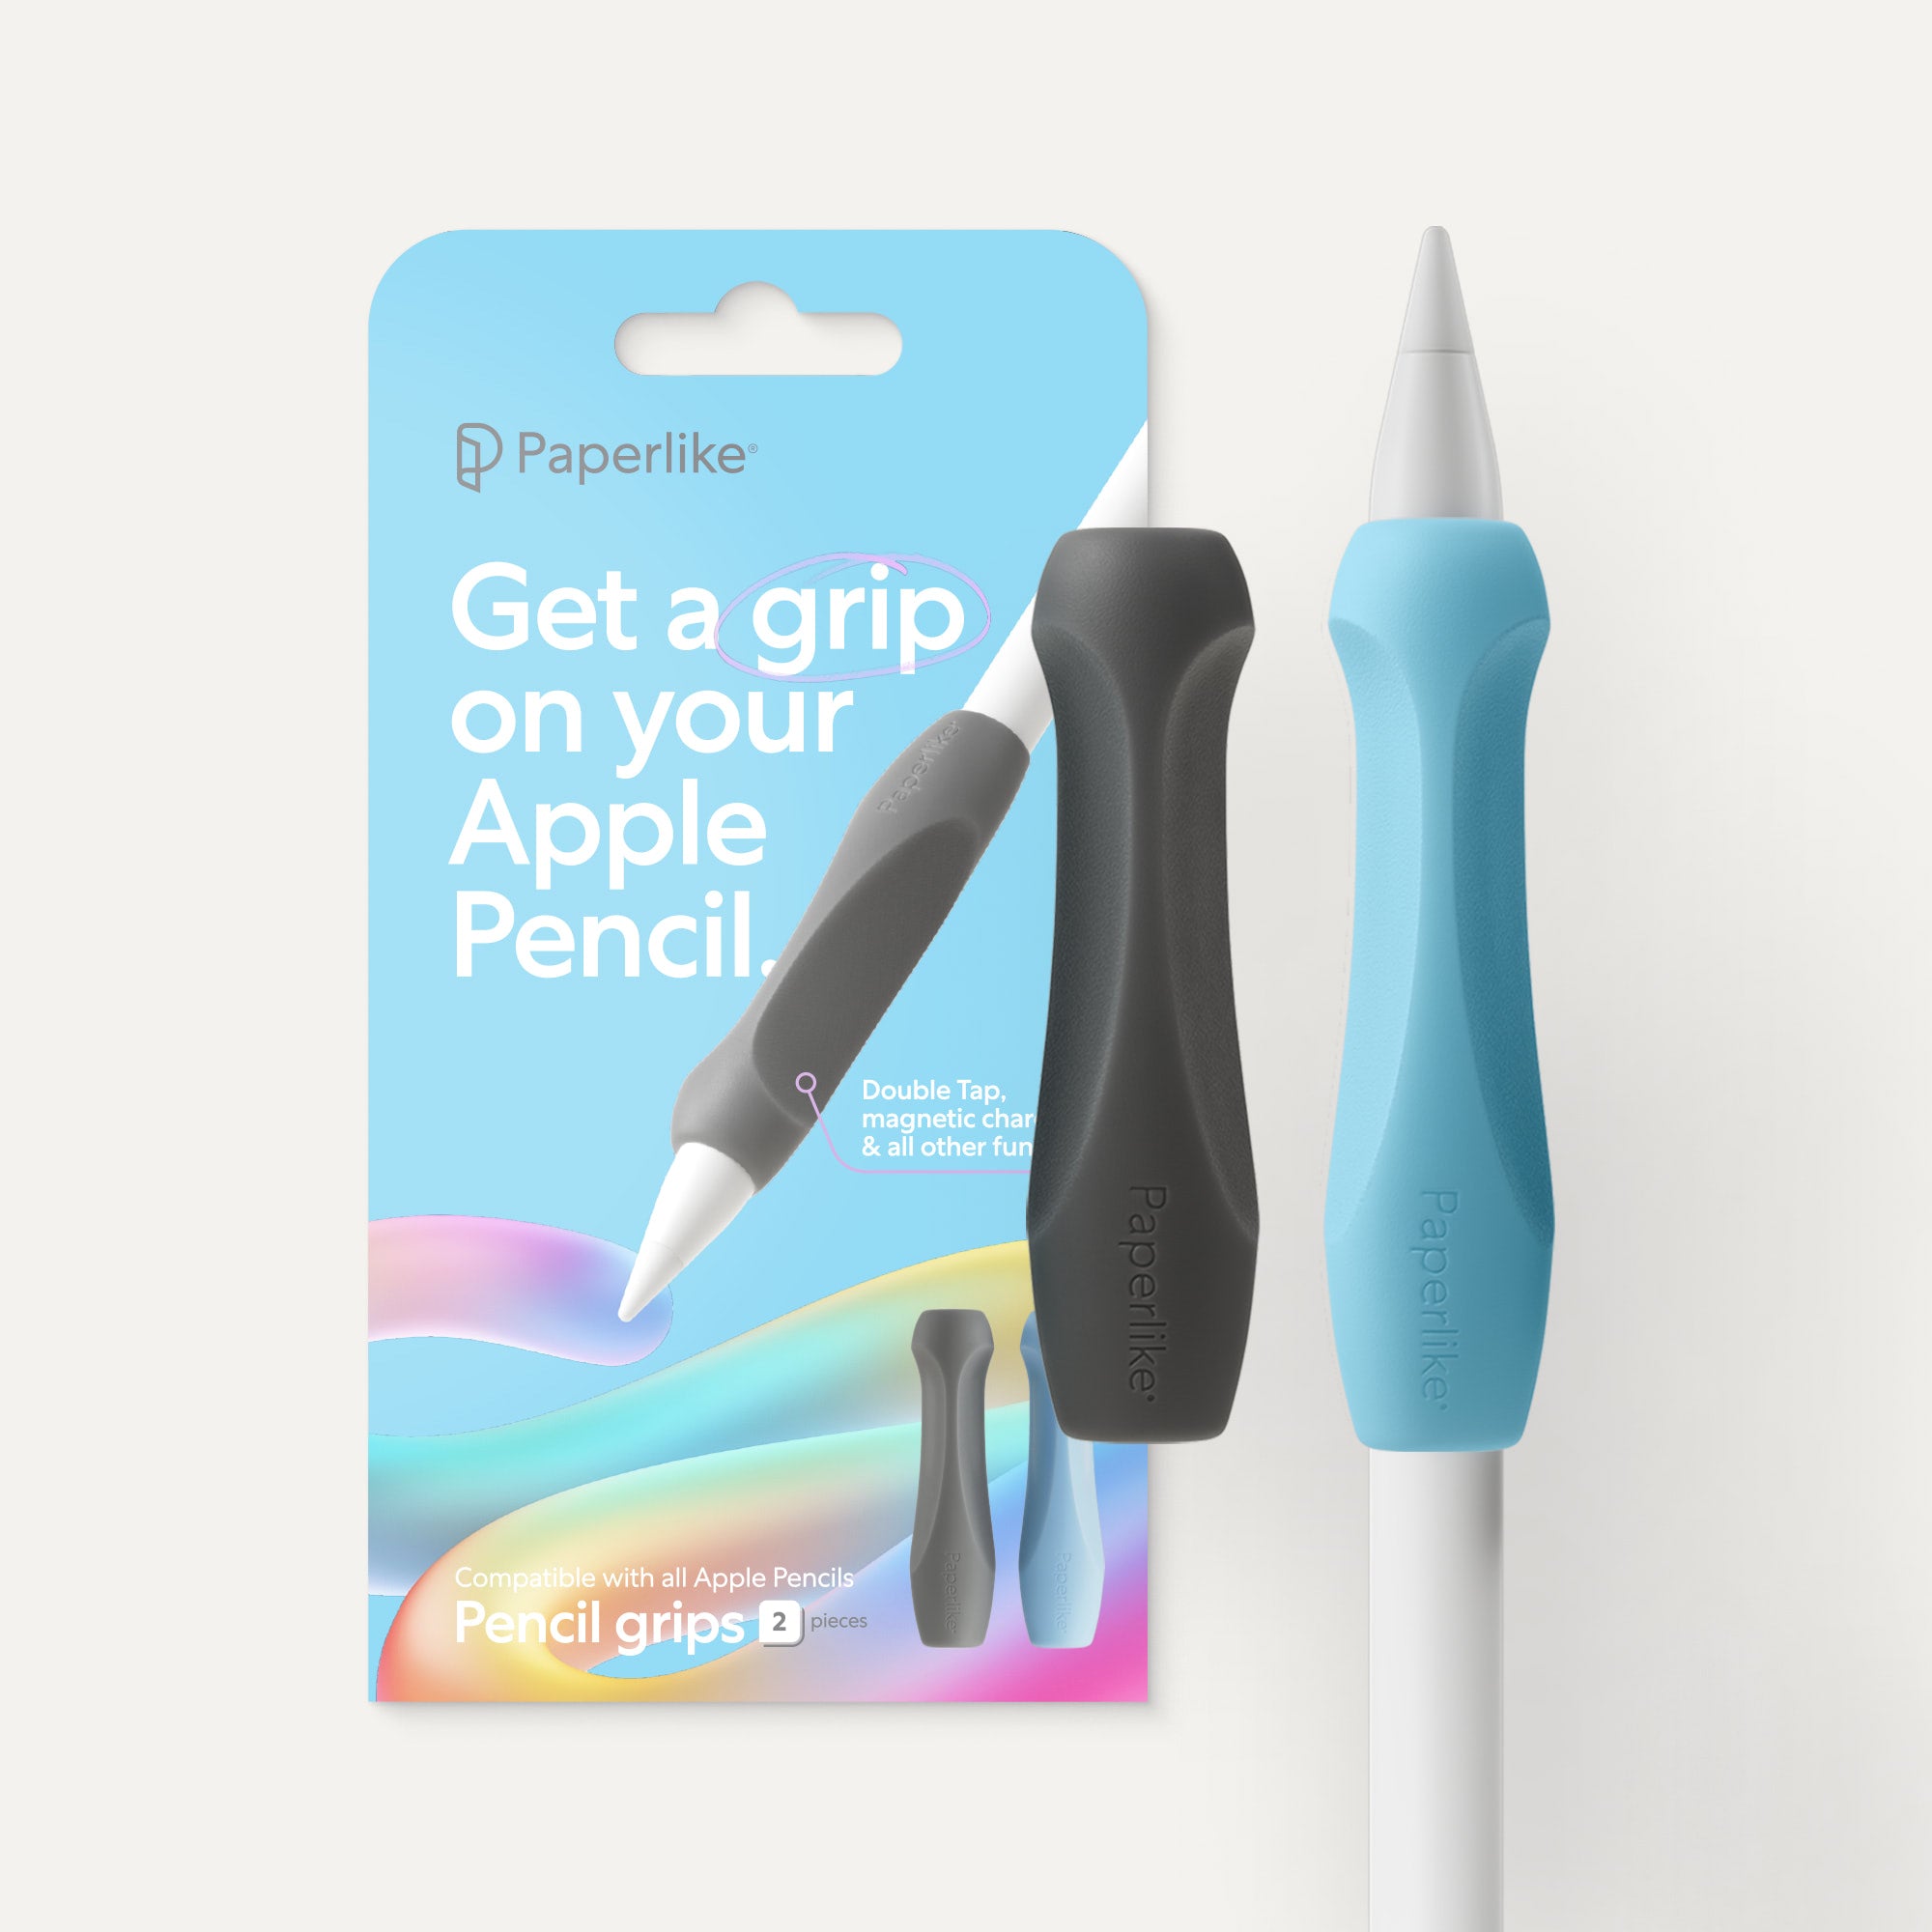
We also recommend using our Screen Protector for a natural writing experience and our Folio Case. To reduce hand fatigue during long study sessions, pick up our Pencil Grips, too!
Are there any alternatives to LiquidText or MarginNote 3?
These two apps are pretty specialized, and you won’t find many other apps that provide such a well-rounded study environment. If you spend a lot of time parsing through documents and researching, these are the best tools around.
All that being said, there are plenty of other notetaking apps that are great for most students.
Goodnotes and Notability both offer PDF annotation, as well as some great features to help you study. GoodNotes has flashcards, while Notability offers math conversion.
Check out the Best Notetaking Apps for iPad for more options.
MarginNote 3 hasn’t been upgraded in a long time. Should I be worried?
MarginNote 3 has been regularly updated with maintenance, but, historically, they’ve upgraded by releasing new software rather than by adding new features to their current release. In fact, there has already been some speculation of a MarginNote 4.
If you’re looking for a lot of developer support and communication about where the product is going, you won’t find much from MarginNote. That can be worrisome, but it does look like the company plans to continue upgrading and offering a workable study tool.
Do LiquidText or MarginNote 3 offer discounts?
Both LiquidText and MarginNote 3 offer student discounts with verification.
Select Student under Special Offers at the bottom of LiquidText’s pricing page to see the discount.
You can check out MarginNote 3’s student discount pricing on this page. MarginNote 3 also offers volume licensing discounts to businesses and education clients.
Simply email service@marginnote.com to inquire.

Upgrade your notetaking experience with Paperlike!
Regardless of whether you prefer LiquidText or MarginNote 3, taking notes on the iPad with your Apple Pencil is even better with a Paperlike.
Our Screen Protector adds friction to the surface of your iPad, giving it that real paper feeling as you write.
Plus, our Pencil Grips help reduce fatigue and hand cramps during those long writing sessions, making it more comfortable to work.
Improve your notetaking experience with Paperlike products!


