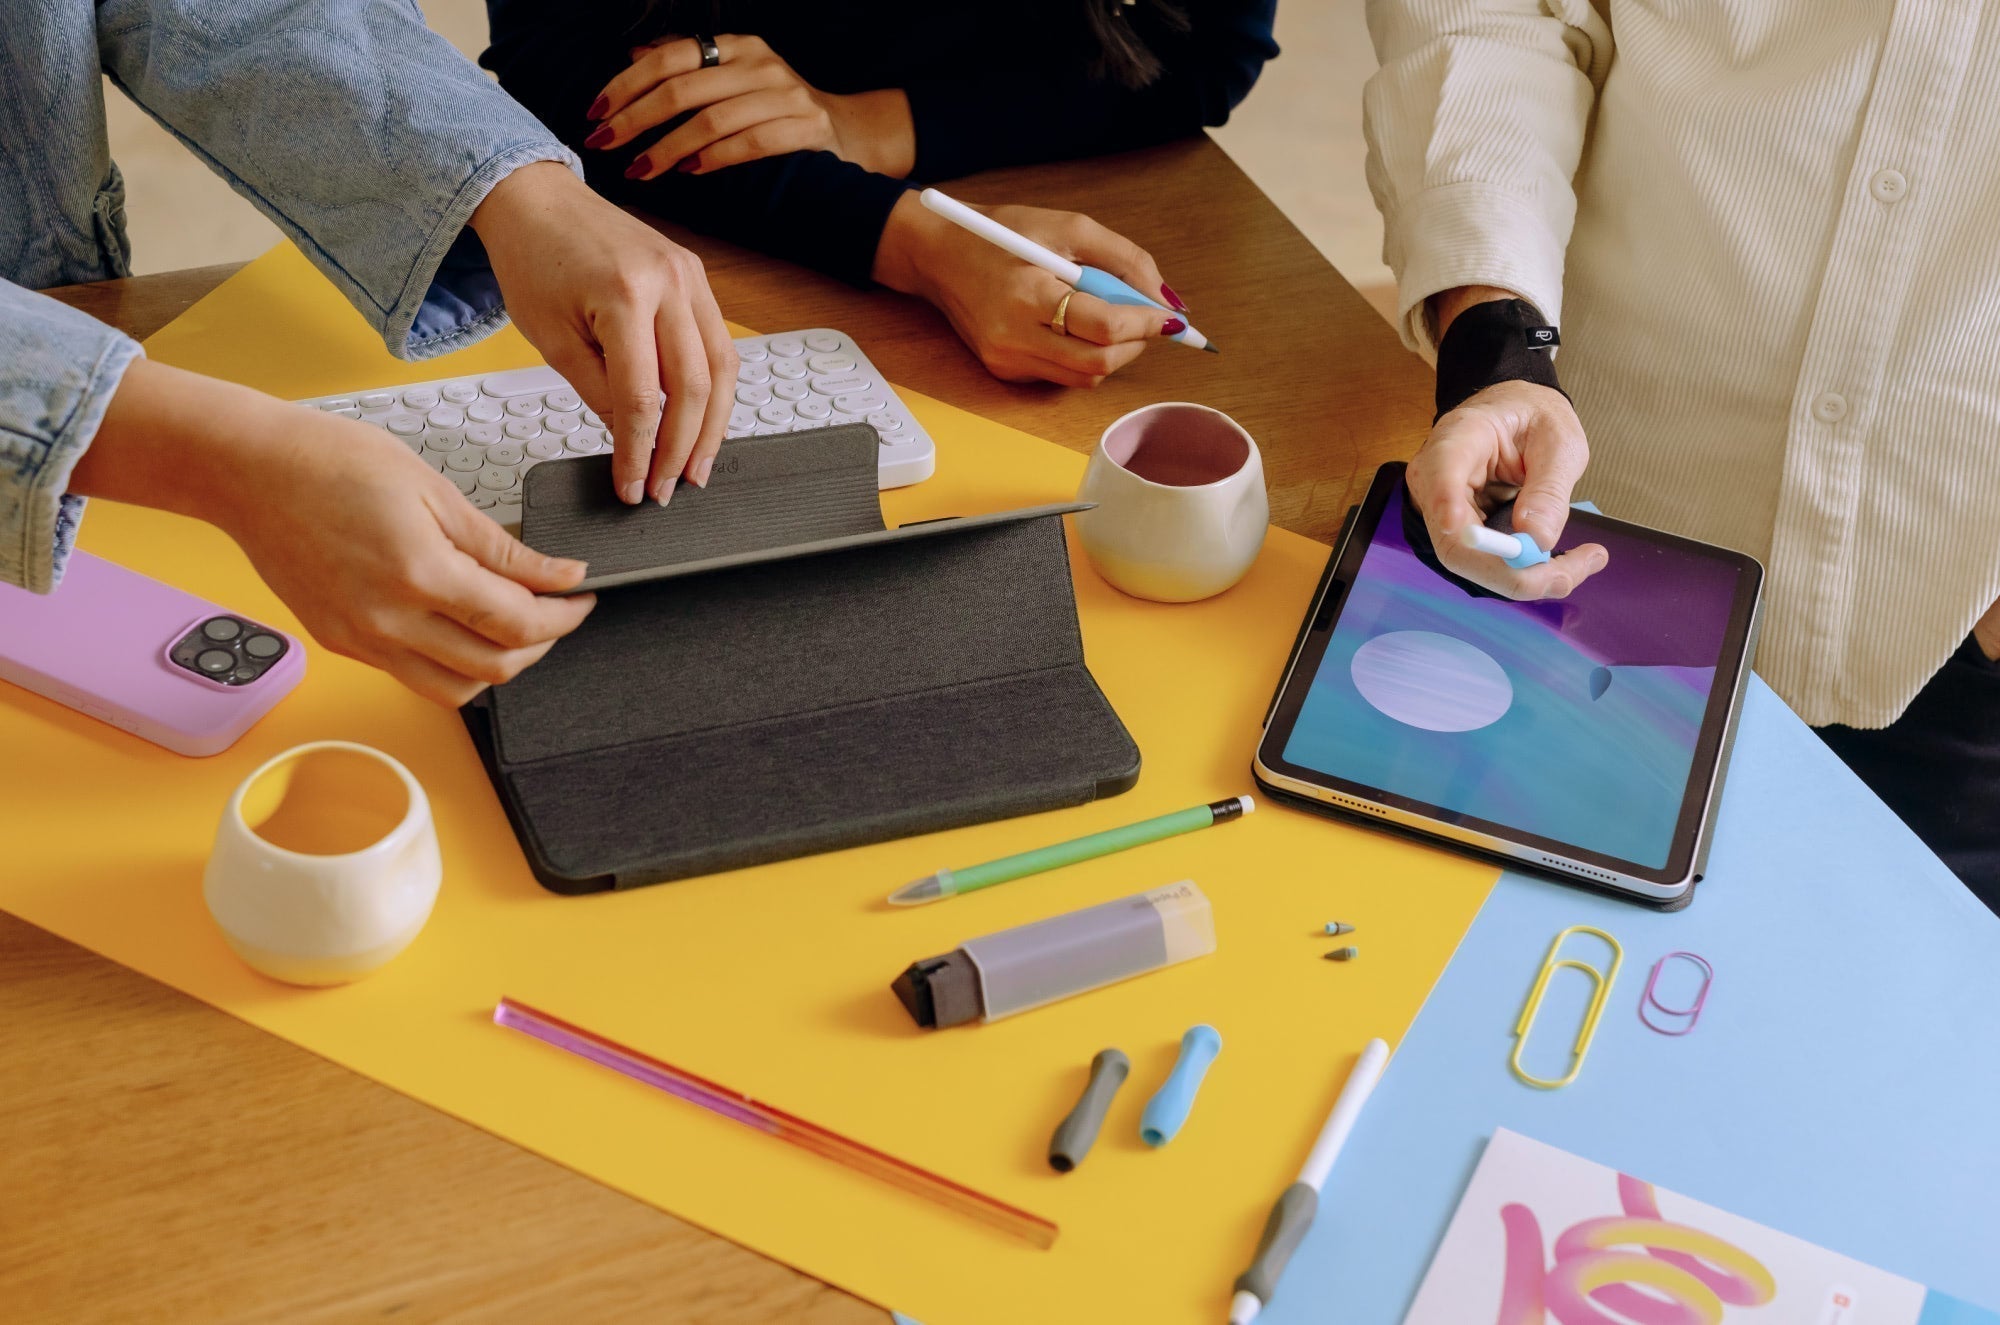


In 2024, Apple released the latest game-changer for the iPad: the Apple Pencil Pro. It had been six years since the Apple Pencil had last seen an update, and the leap hasn’t received the recognition it deserves.
It’s true, the 2nd generation and the Pro look similar at first glance, but their capabilities are not on the same level. If you’re an artist, there’s a lot that you stand to gain from the Apple Pencil Pro that you might not have realized.
That’s why we’re going to explore the features that make the Apple Pencil Pro a standout, especially for digital artists.

iPad compatibility
Before we begin, don't get caught buying the wrong Apple Pencil for your iPad.
You need at least an M2-series iPad model from 2024 or newer; otherwise, you won't be able to use the Apple Pencil Pro (except for the iPad Mini A17 Pro).
You can always check your iPad's compatibility on Apple's website.
Or maybe you've been using third-party styluses for a while and are wondering whether the Apple Pencil is even for you. Thankfully, my fellow Paperlike writer, Lindsay, has a great roundup and review for you.
Now, let's jump into what makes the Apple Pencil Pro so pro.

Barrel Roll
Imagine your pen has a chiseled point like a highlighter—not all angles are the same. Rotating the barrel changes how you draw, and Barrel Roll lets you do that digitally. By utilizing the gyroscope inside the Apple Pencil Pro, Barrel Roll allows you to add even more nuance to your strokes.
When it’s enabled, you’ll be able to twist your pencil like you're twirling a paintbrush in paint. With the 2nd-generation Apple Pencil, this feature is only pressure-sensitive and less finely tuned than the Apple Pencil Pro.
Barrel Roll is about using rotation. Rotating your pencil can help you determine the angle of your brush for adding petals to a floral illustration, for example. This is also important when creating digital calligraphy, where pen rotations and brush angles matter.
Barrel Roll in Procreate
To discover more of the magic of Barrel Roll, you'll have to navigate through the settings of the Procreate Brush Studio. This is where you can play around with your brush settings, particularly Shape and Color Dynamics.
In the Brush Studio, you can set the Input Style of the Shape of your brush to Azimuth and Barrel Roll. This lets you rotate the orientation of your brush stroke before you place it down.
Make sense? No? Okay, okay, if you're reading this and wondering what Azimuth means, you're not alone.
Think of it as the direction you're dragging your brush stroke. Why does this matter? Because, like any real tool used by humans, you won't get a consistent result every single time. Azimuth introduces variability in your stroke depending on the direction your brush is turning.
The Color Dynamics settings are also fun. Adjusting these settings triggers color changes in your stroke as you rotate your brush. This feature really shines with highly textured brushes like Moriarty or Dove Lake.
One last Procreate feature that benefits from Barrel Roll is Rotate Liquify.
Turn this on when you want to finely control the mix of your paint in Procreate. Liquify is a warping feature under the Adjustments menu that lets you distort and manipulate the paint on your canvas. To enable Rotate Liquify, you can toggle it on in your Preferences menu. This specific feature is great for abstracting focused areas in backgrounds, twirling colors to mix them together, or just to use for fun to see what happens.
Barrel Roll in Adobe Fresco
If you’re more of an Adobe person, don’t worry, you can also leverage Barrel Roll in Fresco. Open your Brush Settings and set your Angle Control to Barrel Roll to enable the feature for pixel and live brushes. You'll be able to rotate your brush angles by twisting your pencil once that feature is active.
In all of the brush categories in Adobe Fresco, you'll find versions of brushes with Roll at the end of their name, indicating that Barrel Roll is enabled. In Pixel brushes, you'll find these for Hard and Soft Pastel, Small Chisel, and Rake brushes.
Live brushes like Wash Flat have a Barrel Roll version that's already enabled. When you're painting, you can twist your pencil like you're mixing traditional media. The behavior and color of your strokes are dictated by the twist of the pencil, which takes the already realistic feel of the live brushes a step further.
For Vector Brushes, Barrel Roll is activated through the Tilt setting. In your library, brushes like Chisel Roll, Terminal Roll, and Flat Roll already have Barrel Roll enabled. No matter which brush category you find yourself in, it's fun to experiment with and compare the original brush versions with the Barrel Roll versions to see how the Apple Pencil Pro can expand your toolset.

Squeeze Gestures
This exclusive Apple Pencil Pro feature is the time saver we didn’t know we needed. With a little more pressure on the barrel, you can open new menus, switch between tools, or select specific elements.
Squeeze’s actions vary depending on the app, but most of the time, you can customize it in-app to fit your needs. For digital artists using Procreate or Adobe Fresco, here’s what you need to know.
Squeeze Gesture in Procreate
One of my favorite ways to use Squeeze is for selecting layers in Procreate. Layer Select, on its own, is a pretty great feature that helps you highlight the layers on your canvas and select the one you want. With the Apple Pencil Pro, you can hover over your canvas and squeeze the pencil barrel to confirm your selection. This saves you from having to open the Layers panel, switch layers, or even find which layer certain elements are on.
I’ve also found it handy to customize the gesture to open the QuickMenu, which streamlines access to popular tools and functions that make working even faster.
You can also set it for Eyedropper and QuickShape. With older iPads, you use your finger to tap and press on your canvas to find the color you want to sample. With Squeeze, you can maintain a continuous flow of drawing and color sampling without adjusting your grip. The same is true for QuickShape. Just add a bit of pressure to your pencil to create shapes or straight lines. (For older Pencil models, you have to hold the end of your stroke.)
If all of that wasn't cool enough, you'll feel the haptic feedback that responds to the squeezing of the Apple Pencil. I really enjoy that feature because it turns what can sometimes feel like a disconnected experience into a more natural, tactile one.
Squeeze Gesture in Adobe Fresco
In Adobe Fresco, Squeeze functions a little differently. It activates a shortcut toolbar that gives you instant access to recent brushes, colors, brush size adjustments, as well as undo and redo options.
This is similar to setting it to QuickMenu in Procreate. It's designed to speed up your workflow without requiring additional multi-touch selections. If you don't prefer this feature, you can also set it to show the color picker, your last brush, eraser, or zoom to fit.
These can all streamline your workflow by saving you a few extra taps. But let's say you don’t really like squeeze at all. You can override the setting entirely by setting it to system settings (determined by your iPad preferences) or simply set it to No action.
Now, let's get into even more brush features with the Apple Pencil Pro.

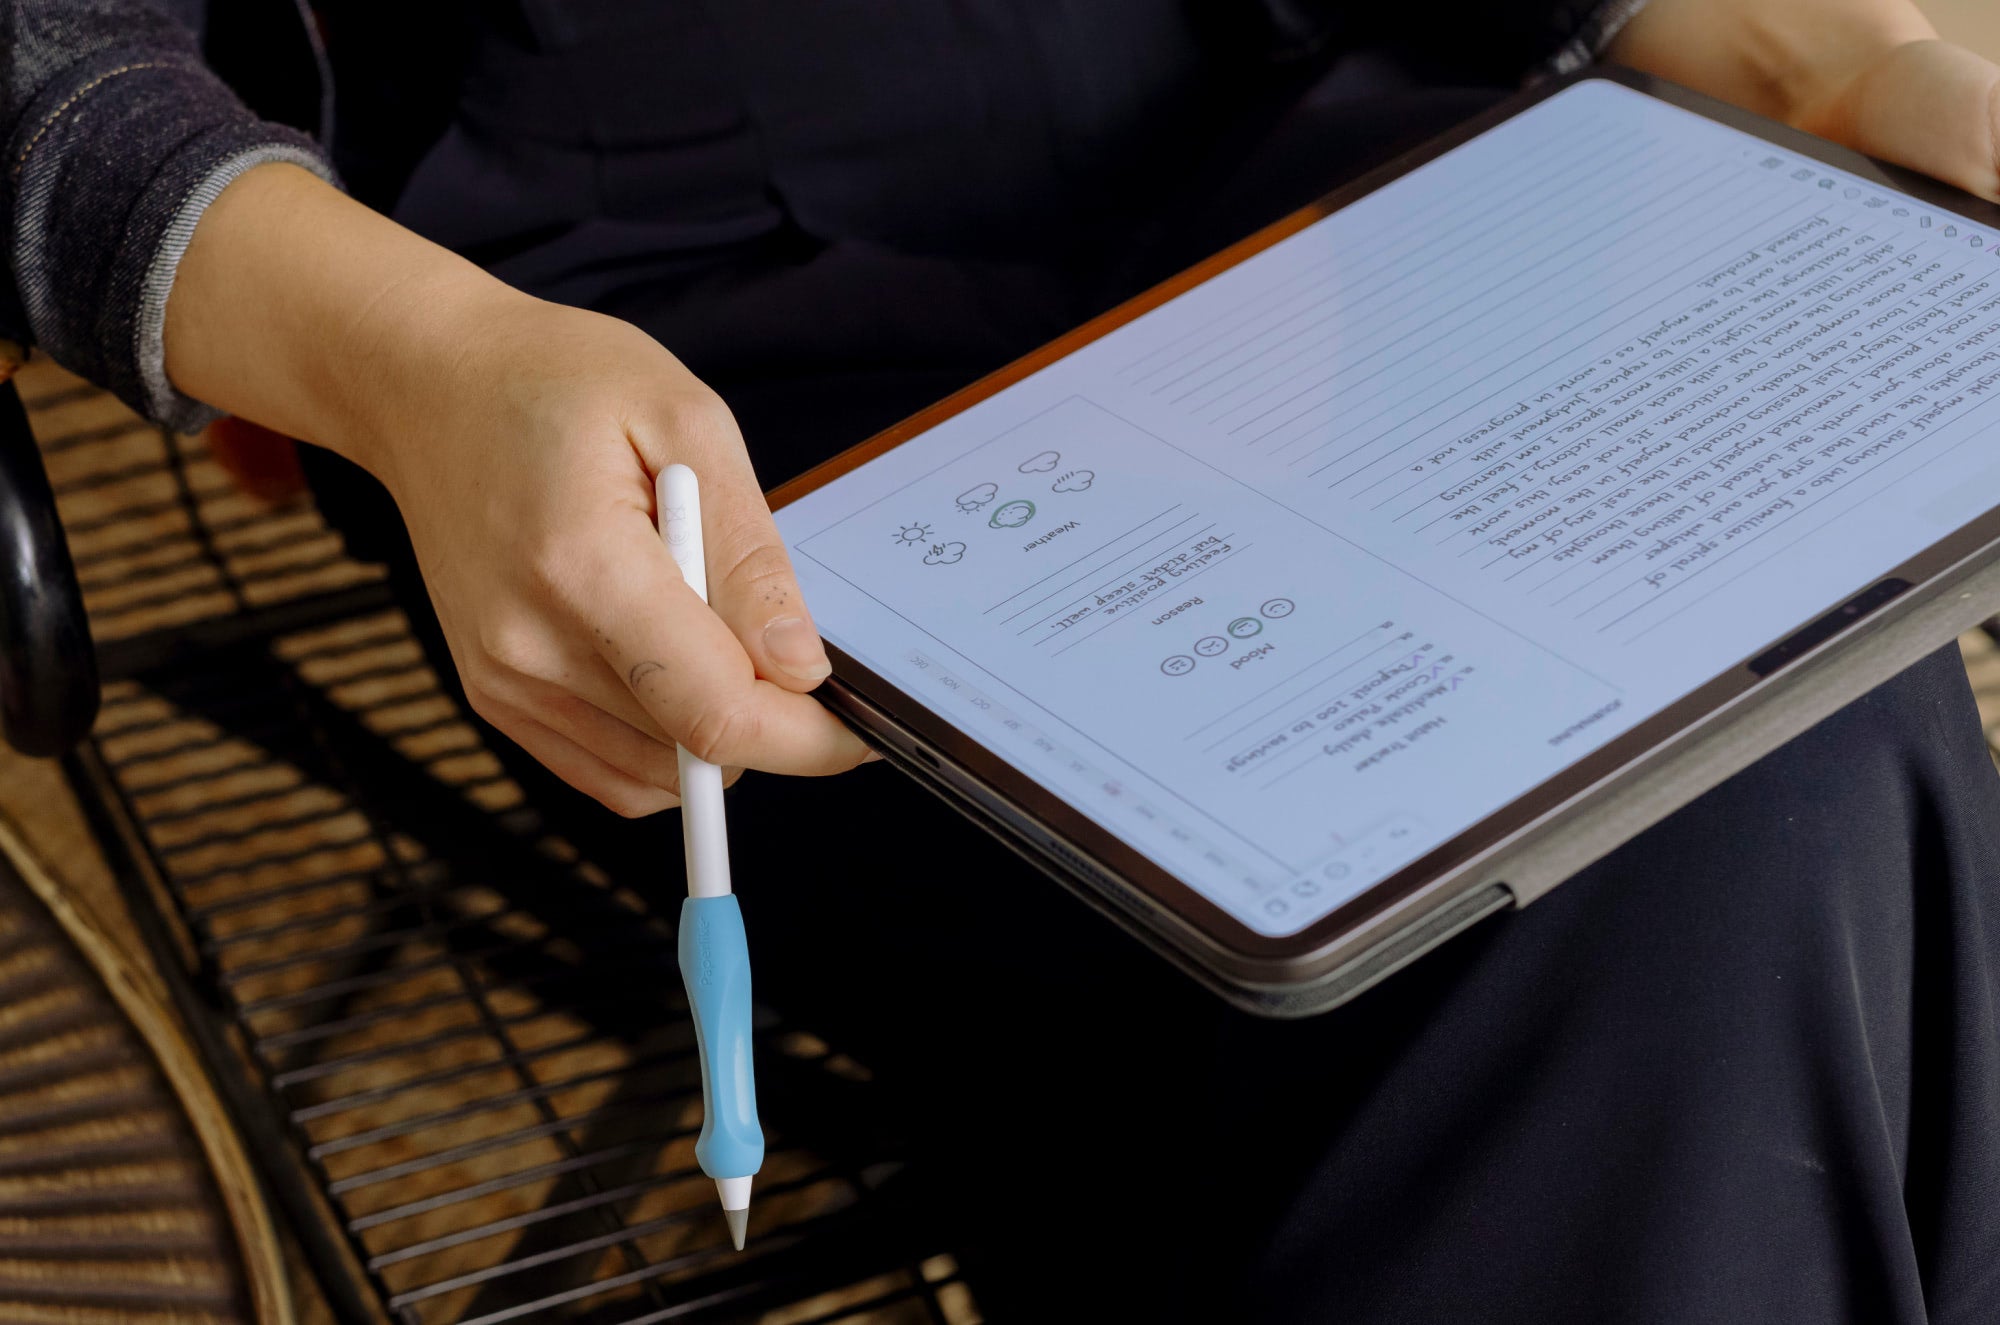
Hover and Brush Preview
When you're creating, you're making a lot of rapid decisions. What if you had more information to help you make those decisions? Both Hover and Brush previews are great for that.
Let's start with Hover. When you hold your Apple Pencil slightly over your screen, several features are enabled. You can use it to highlight brush and settings selections, preview colors before placing them in ColorDrop, and also to preview your brushes.
As soon as your Apple Pencil Pro is a certain distance from your screen (about 0.5 inches), you'll see the brush preview appear.
Hover & Brush Preview in Procreate & Adobe Fresco
This is especially useful for digital lettering and calligraphy if you want to see the angle of your brush before you put your stroke down. This is great to use with brushes like the Shale and Mercury Brush in Procreate, or Letter Rake and Fixed Variable in Adobe Fresco, which have unique profiles. Not only does it provide context for the kind of brush you've selected, but it also lets you preview the adjustments you make as you rotate your Apple Pencil in real time.
We also mentioned that Barrel Roll was great for Liquify, but Hover is too. Imagine being able to see the exact size of the area you'll be manipulating before you do it.
Hover works for previewing areas you want to erase from your drawings, too. In Procreate, this appears more like a live preview of the erased area, but not in Adobe Fresco.
Another Procreate-only Hover feature is the ability to use it with the Selection tool. When making a selection, Hover will show you a preview of your lines and even snap back to your starting point for more accurate selections.
Now, you might be thinking, I've had access to Hover and Brush Preview with my 2nd-generation Apple Pencil for years. And you'd be right. As long as you have the iPad Pro (6th generation) with an M2 chip, you have access to these features.
But those would be the only overlaps in capabilities, with you missing out on all the other benefits of the Apple Pencil Pro.

Haptic Feedback
Before I started working at Paperlike, the only haptics I had ever heard of were those in my video game controllers. It’s the vibrations every time you get hit with a shell in Mario Kart or when you enter enemy territory in Zelda.
The Apple Pencil Pro uses the same technology, but in a much subtler way. It simulates a sense of touch (your Apple Pencil Pro isn’t actually compressing when you squeeze, it’s just a slight vibration to make it feel like it is), which confirms to your brain that something is shifting. Not only can you see the selections and actions in your drawing apps, but you can also feel them.
(Kinda like this one paper-feel iPad screen protector. It uses haptic feedback to make it feel like you’re writing on paper. *wink wink*)
Haptics are also present when using double-tap functions on the front of the pencil. This is another aspect that sets it apart from the 2nd-generation Apple Pencil.
Double-tap is a feature of the 2nd-generation Apple Pencil, but it has no associated haptic feedback. It's another part of being able to work continuously without having to think about whether your desired input was registered.
While that might not be a make-or-break for an artist, once you try it, it scratches an itch in your brain you didn’t realize was there.
In both Procreate and Adobe Fresco, you'll also be more immersed in the drawing experience when you feel the haptics while aligning objects with the Transform tool, Snapping, Swiping between animation frames, and using Touch Shortcut states.
So now that you know the ins and outs of creating with the Apple Pencil Pro as an artist, is it worth upgrading your setup?

Is upgrading worth it?
These newer features integrate into your workflow so quickly that you'll forget they weren’t always there. They work really well for drawing on the iPad. But upgrading isn't the right choice for everyone.
Here are a few questions to determine whether the Apple Pencil Pro is worth it for you.
How would you grade your device performance?
Once you find yourself running out of storage space, creating new art or trying new apps becomes a compromise. It's not an ideal way to work, especially if you're a daily iPad user.
Lag in your apps could be a sign that your current chip can't keep up with the tasks you're throwing at it. Newer chips mean faster performance and greater multitasking capacity. If you're okay in all of these areas, waiting to upgrade could be a good choice for now.
Are you rethinking your workflow?
Maybe you're at a point where you're experiencing friction in your current workflow. Certain features like Hover and Brush Preview, besides being cool, are also very efficient. What will work best for your workflow will depend partly on the kind of art you create.
Digital calligraphy definitely gets an upgrade in Procreate with Barrel Roll. Specifically, if you're a longtime Procreate user who prioritizes speed, you'll see the greatest benefits from upgrading. If you're primarily a Fresco user, you won't see as many features as Procreate currently has.
How much do you want to invest in your creativity?
Do you use your iPad enough to justify investing a good amount of money in it? This may be the case if you're at a transition point from hobbyist to freelancer, or maybe you simply feel held back by your current specs.
The Apple Pencil Pro has been out for a couple of years now, and several iPad generations have been released since then. I'm a huge advocate for buying refurbished iPads to get started and save money, or as a stopgap while saving for a bigger upgrade down the road.
The real value lies in how well your devices work for you, which usually means striking a balance between performance and compatibility. There's also the benefit of added longevity whenever you get a newer device.
Final thoughts
The Apple Pencil Pro is properly named. It makes drawing feel like a pro-level experience. Going from the 2nd-generation Apple Pencil to the Pro brings many workflow improvements for artists and makes your favorite brushes even more fun to use.
When apps like Procreate and Fresco support new Pencil capabilities, artists get immediate access to features that matter. The Pro's customization is a huge advantage. You can adjust sensitivity and other settings to match your exact preferences, tailoring the experience to how you actually work.
The best tools disappear into your process. When the Apple Pencil Pro can match your habits, you spend less time searching menus and more time drawing. If you've been thinking about making a change, this might be your sign.
Frequently Asked Questions
Which iPads work with the Apple Pencil Pro?
A: The Apple Pencil Pro is compatible with iPads like the Pro and Air models from 2024. Don't make the mistake of buying an iPad that isn't compatible with the Apple Pencil Pro. You can find out if your iPad model is supported here.
Is the Apple Pencil 2nd generation the same as the Apple Pencil Pro?
A: They're two very different styluses. They aren't compatible with the same devices, and while they look the same, the Apple Pencil Pro has many advanced features, such as Barrel Roll, Squeeze, and Haptic Feedback. There's also the added benefit of Find My compatibility with the Apple Pencil Pro, which isn't available on the 2nd-generation Apple Pencil.
Are Apple Pencils better than third-party styluses?
A: A third-party stylus will never be as great to use on the iPad because of its limited features. The Apple Pencil is designed specifically for the iPad and delivers the best drawing experience. You can compare the Apple Pencil to other styluses to help you make the best decision for how you enjoy using your iPad.
Is the Apple Pencil Pro pressure sensitive?
A: Yes. Unlike the Apple Pencil USB-C model, the Apple Pencil Pro supports pressure sensitivity, giving you varied line weights in drawing apps like Procreate and more realistic feedback when applying more or less pressure.
Can I replace the tip of the Apple Pencil Pro?
A: Yes. As you use the Apple Pencil Pro, it's normal for usual wear and tear to occur. You can purchase pencil tips that are easy to replace whenever you notice they are wearing down. If you want slightly more resistance and durability to your pencil tip, you can try Paperlike's pencil tips.