
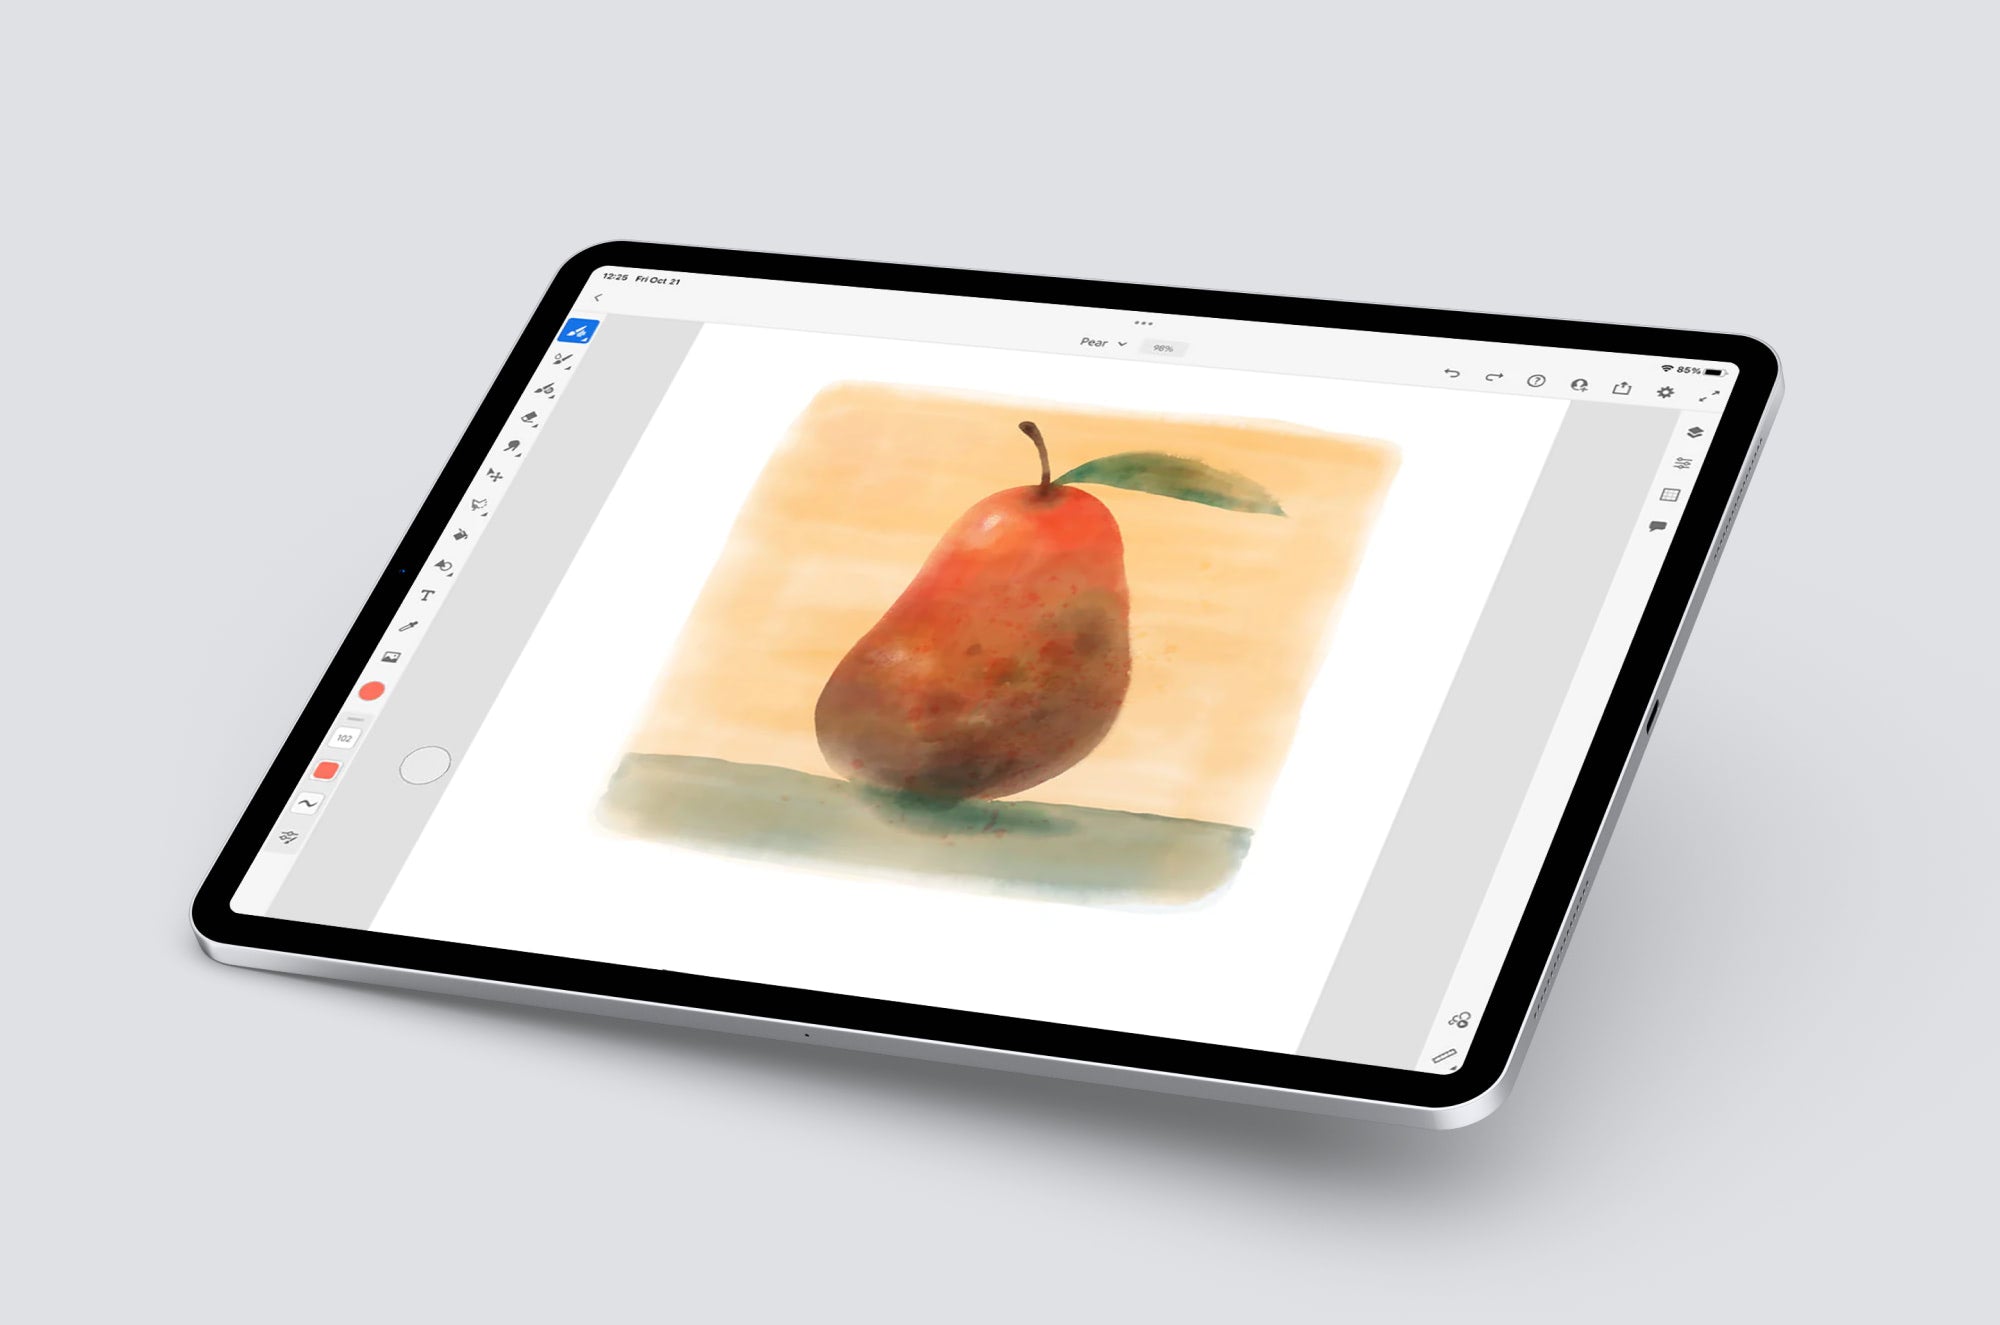
For digital artists who want to paint, draw, and animate on the iPad, Adobe Fresco is a great option.
Not only because it excels in all those areas, but also because it's free and connected to Adobe programs you might already use.
But how well do you know this digital art powerhouse? That's what this article is here to explore: over 30 tips to help you learn something new about Adobe Fresco.
Ready? Let's get into it.
01. Setting up your canvas
When you open the Adobe Fresco app, you'll see tiles along the top of the screen. These are quick ways to get started with creating in the app.

The first way is to select New drawing. This will automatically open a screen-sized document. The exact dimensions of your document will depend on your iPad model. You might also notice that it’ll default to 72 DPI. Keep that in mind if you need higher resolution.
Then there’s a Custom Size option. This will allow you to configure the document however you want. Select Save this size to save your file setup so you can go back to it later.
The last way to set up your document is to use your own content. This opens access to your photos on your device or Photoshop files in your Files App.
02. Use cloud documents
Did you know Adobe Fresco files can be opened in Adobe Photoshop on your iPad or desktop? You can even import your Photoshop files into Adobe Fresco.

To access your Fresco files in Photoshop:
- Make sure you have an internet connection.
- Close and save your Adobe Fresco file.
- Open Photoshop for iPad or your desktop.
- Open your Adobe Fresco file.
If you create a local version of your file on your desktop, it won’t be natively accessible in Adobe Fresco. You'll have to import it separately from your Files app.
I like to use the cloud document connection between Adobe Fresco and Photoshop to use CMYK color profiles. Since Adobe Fresco only lets you work in RGB, if I need to print my artwork, it's easy to open my document in Photoshop and convert it to CMYK before sending it to a printer.
03. Customize your workspace
Making your workspace work for you is important. Thankfully, Adobe Fresco offers options to rearrange certain menus and adjust your tools.

When you see menus with a thin gray bar along the top, that means they can be moved around. Your preferred placement will stay until you move the menu again. Once you're ready to hide the windows, you can just hit the X.
Prefer your settings on the right instead of the left? Go to the General section under the App settings menu and switch your tool controls to left or right.
04. Best of both worlds: pixel and vector
Adobe Fresco is one of the few digital art apps that lets you use both pixel and vector brushes. Because of this capability, your Fresco documents can be opened in Adobe Illustrator.

Adobe Fresco has three brush categories: Pixel brushes, Live brushes, and Vector brushes.
Under the Live brushes category are pixel-based watercolor and oil paint brushes. They're great for digital painting and simulating the traditional materials they're based on.
Pixel brushes span several brush categories, such as charcoal, dry media, ink, marker, and more. Together, there are over 200 brushes in Adobe Fresco.
When you're working with both pixel and vector brushes in the same document, you'll see a small dot indicating the layer type. Pixel layers have a small pixelated icon, and vector layers have a blue dot icon.
You can also convert your vector layers into pixel layers by tapping them and selecting the option from the pop-up menu. Take advantage of the range you get with being able to draw with both pixel and vector brushes.
05. Add backgrounds and textures
Adding textures is one of my favorite ways to add depth and interest to my illustrations. The Elements panel in Adobe Fresco is a great resource for finding your next asset.

Under Elements, you have access to over 400 assets from Adobe Stock across categories such as Glitch, Shadows, and Water. Once you select any of them, it'll instantly download into your program for you to use.
Here are ways to use resources from the Elements tab:
- Use Blend Modes to integrate it into your image.
- Place it as the last layer as a background.
- Use a clipping mask to edit the look of a layer.
If you're not using Elements already, give them a try. Beyond having textures and backgrounds, you can also use them as templates for comics.
The Comics category has over 10 comic panel templates to choose from. Customize their configuration and knock out the background with the selection tools to create your next story.
06. Strike a pose
Who is the pose tool for? It's great for character designers, illustrators, and lettering artists who want more control over their strokes.

When using the pose tool, you only need your stylus to begin manipulating your strokes.
The real key is using the pin in the upper right-hand corner. With the pin selected, you're anchoring your work in place, making your pose movements more precise.
Without the pin, there are no limits to where you can move your work. Even if it's layered on top of something else. This makes it very different from manipulating with the selection and transform tools. Pose gives you the flexibility to explore movement and stroke manipulation freely.
07. Hands-on learning in Fresco
New to Fresco? You can take in-app tutorials to give you guidance through the app and its core features.

When you go to the Learn tab, you can select the category tabs along the top to focus on different types of hands-on tutorials.
You have Quick Tips, Live Brushes, Motion, Layers, Workspace, and Masking to choose from.
Once you make your selection, you'll have a demo artwork piece ready, along with guided pop-up windows. Take a quick overview tour of the app or zero in on specific tools and features.
08. Animate your work
Want to animate your work but not sure where to start? You can animate your work in Adobe Fresco even if you're a complete beginner.

There are two ways to animate in Adobe Fresco: Motion path animation and frame-by-frame.
You can use frame-by-frame to transform any layer into a timeline where you can animate. This is very similar to timeline animation in Photoshop.
With unlimited frames in your animation, there are numerous ways to add dynamic movement to your work. Play with your settings and preview your previous and future frames with Onion skin toggled on.
Motion paths are great for beginners who want to make elements in their image move along lines they draw. If you open your Layer properties, you'll also see the Motion Presets. These are one-click options for instantly making your work move. They're similar to the popular animation presets you'll find in Adobe Express.
09. Work from your phone
The iPad is the ultimate creative companion. But that doesn't mean there aren't other mobile options for using the Adobe Fresco app.

Adobe Fresco is also available for the iPhone. It's an even more compact way to draw in Fresco while keeping all of your files synced through the cloud.
It will feel a bit different since you'll be working without your stylus, but all of your files and drawings are still fully accessible on your iPhone. Use your iPhone when you really can't spare the extra weight of carrying your iPad around.
10. Smooth out your linework
Ever feel like your lines in Adobe Fresco are shaky? The Smooth setting is ready to help you steady your lines as you draw.

With your desired brush selected, you can find your Smooth setting directly under your brush flow.
The higher the Smooth value, the smoother your linework will be. As a lettering artist, I find this especially helpful when I need more precision.
You might also notice that the higher your Smooth setting, the stiffer your lines feel. This can be less advantageous if you’re trying to achieve a less considered look to your overall work. I like to use a lower Smooth setting when I'm sketching and trying to get my ideas down quickly, for example.
11. Secure your artwork
In the age of A.I., owning your work is more important than ever. In Adobe Fresco’s updated Export settings, you can secure your artwork.

The feature is called Content Credentials, and it helps you add ownership information to all your Fresco artwork. It also comes with specific guidelines your artwork must meet to verify that it was created without the use of generative AI.
Your document can't contain the following to remain generative AI-free:
- Imported images.
- Hidden, merged, or duplicate layers.
- Layers using multicolor brushes with unknown sources.
- Capture ribbon brushes with unknown sources.
- Shapes from non-curated libraries.
- Pasted layers from other documents.
- Layers from Fresco's in-app tutorials.
- Altered layers or imported documents from Photoshop.
If you're having trouble marking your work as Generative AI-free, you can undo any of these conditions in your document to eliminate the restrictions. You can also request that your work not be used to train A.I. models.
The other part of Content Credentials is using your social media accounts to authenticate your artwork. These can be applied regardless of the Generative AI-free guidelines.
This ensures that your work will always link back to you as the artist. These are metadata levels of information designed to protect you and your work.
12. Make it colorful
Ever wish you could literally draw with the rainbow? Making a multicolor brush in Adobe Fresco is pretty close to capturing that idea.

In Adobe Fresco, you can create your own multicolor brushes. Use any combination of colors on your canvas to do it.
Here’s how to build a multicolor brush:
- Select a pixel brush from your library.
- Paint a variety of colored bands on your canvas.
- Open the eyedropper tool and select Multiple.
- Adjust your canvas until your eyedropper captures all the colors you want.
The result will be a multicolor brush. It’s important to note that this technique will only work with select pixel brushes in the app. If you don’t see Multiple as an option, try selecting a different brush.
You can also use this to create stamp brushes. Instead of capturing multiple color bands with your eyedropper, you’d capture an image. Then you can stamp that image anywhere on your canvas to speed up the creation process.
13. Drawing aids to the rescue
Can you draw a perfect circle? Me either. Thankfully, with Drawing aids, you don’t have to.

Use Drawing aids to help you trace or fill exact shapes and lines. They can be found under the Precision menu and toggled on. There are different options, such as Circle, Square, Polygon, and Ruler.
The ruler is unique because it’s the only drawing aid that can't be filled. But you can trace along either edge to get perfectly straight lines at any angle.
The shape options can be filled either as pixels or vectors. The number of sides for the polygon can be edited with the plus and minus buttons.
14. Balance your canvas
Symmetry tools are a handy shortcut for creating balanced compositions, marks, and patterns. In Adobe Fresco, you have over 10 options for Reflective and Rotational symmetry.

In the Precision menu, you can toggle Symmetry on. By default, your guide will appear in the center of your canvas.
To move the position of your guideline, toggle on Move guide. Once enabled, you can move and rotate your symmetry guideline. The arrow next to the Move guide toggle lets you reset the position to its original state. Use symmetry to create mandalas, flowers, and more.
15. Snap into place
Work smarter, not harder. Besides Drawing aids, there’s another way to create straight lines and shapes.

For this, you’ll need to enable Snap to shape. Go to Input under your App Settings to toggle it on. Then you can hold the end of your stroke to turn it into a straight line.
This also works with arcs, polygons, and circles. You have to finish drawing your shape and then hold the stroke to prompt the program to complete it. Almost like magic!
16. Create in perspective
Learning to draw in perspective gives you a technique for replicating the world around you. Adobe Fresco offers several ways to help you create with Perspective grids.

Under the Guides panel, toggle on the Grids. This is where you can choose Perspective grids. Then you can choose between 1-point, 2-point, and 3-point perspectives. This will snap your lines to the automatically generated vanishing points.
Want to move your vanishing points? Select Edit vanishing points to move them into any position. You also have the option to change the color of your grid lines to make them easier to follow.
Don't feel like setting up your own vanishing points? Create automatic vanishing points and grid lines from photos, layers, and your document with Perspective grid capture.
17. Add image adjustments
While Adobe Fresco isn’t a photo-editing app, some Photoshop features have made their way in. Adjustment layers are one way you can make global adjustments to your document non-destructively.

Want to switch up the colors? Apply a Color Balance layer. Use the sliders to balance or intensify your colors, or isolate certain hues.
Hue/Saturation is similar, except it controls all the colors in your image. You can also use the Saturation slider to check the contrast and overall value of your illustration. Brightness/Contrast will brighten or darken your colors.
Any of these adjustments can be used as clipped adjustments so that they will only affect whatever layer is directly beneath them.
18. Stay organized
Few things are worse for digital artists than poorly organized files. In Adobe Fresco, there are several ways to keep your files where you can find them.

You’ll find all your organization options in the Your Files section. Create folders, drag and drop work into folders, and put your files in alphabetical or date order. Your view of your files can also be a list view or a grid view.
One of my biggest downfalls is not naming my files from the start. Even a less-than-perfect temporary name is better than the default Untitled-Date format.
19. Restore deleted files
Nothing is more fear-inducing for artists than the thought of losing their files. Trust me, I speak from experience. In Adobe Fresco, this fear is a thing of the past if you know about this feature.

There is a Deleted section where you can see all of your recently deleted files. Your files will stay there for 30 days, after which they’ll be deleted permanently.
If you’ve deleted a file by accident, navigate to the three-dot icon and select Restore. Alternatively, you can permanently delete your files here. This can be helpful if you're struggling with running out of storage space in your Creative Cloud.
20. Version history
Making art is a process. And once you’ve put a certain amount of time and effort into that process, you don’t want to lose your progress.

While automatic saving is great, your file is only as good as its last save. Version history lets you go back through your save states in your document.
Here’s how to access and use Version History:
- Select the three-dot icon.
- Select View Version History.
- View the saved timeline of your file.
- Mark the save states you want to save from deletion.
This is a great option if you’re in between progress on your work. This is also an area where you can leave comments for collaborators.
I really love that you can also view the state of each saved version on the left side of your timeline. Marked versions will remain safe from automatic deletion, giving you the option to revert back to these versions of your file if anything happens.
Any save that you don't designate as a Marked version will be deleted after 30 days.
21. Discover Fresco artists
Community as an artist is what it’s all about. That's why Adobe Fresco's highlight for artists is special.

You can find Adobe Fresco artists from around the world in the Discover section. It exists for you to explore past Adobe Livestreams showcasing artists who use Adobe Fresco for their projects.
There are also tutorials for using Adobe Fresco from the Adobe team. Want to see your work featured in the Adobe Fresco app? Upload your work on Behance and tag Adobe Fresco as your tool for a chance to be highlighted by their curatorial team.
22. Fix your fills
Ever get a thin halo of white pixels on the edge of your fills? When using the Fill tool, you can fix that with the Color Margin.

The higher the value in your Color Margin setting, the less gaps you'll have. Having too high a color margin can also result in flooding beyond the bounds of your shape. So make sure you're gradually increasing.
This is a dynamic fill setting, so as you adjust it, it’ll change in real time until you've achieved your desired level.
23. Reference your layer
References aren't just for knowing what something looks like. In Adobe Fresco, they can make coloring easier.

When you set a layer as a reference, you can use its pixels to color other layers. This works best with the fill tool.
Here's how to use a reference layer:
- Tap your layer.
- Select Set as reference.
- Select the + to add a new layer.
- Use the fill tool to add color.
Once you set a layer as a reference, your color will be constrained by that layer's boundaries. It's a great way to color around line work and speed up your workflow.
When you're ready to disable your reference, you can tap your layer again and select Release reference.
24. Add text to your illustrations
As a lettering artist, I have a deep love for fonts. The text tool in Adobe Fresco offers many options for creating and editing text.

When you press and hold your Text tool, you can set your text to horizontal or vertical. From there, you have access to thousands of fonts from Adobe Fonts.
Here's how to import fonts into Adobe Fresco:
- Select the text tool.
- Select the font name.
- Hit the + and select Add more.
- Import .otf or .ttf files from your Files app.
This will make whatever font you've imported into the program available across all of your Adobe programs. Text layers can also be converted into either pixel or vector layers.
Want even more font options? You can add your own fonts to Adobe Fresco by selecting Add more under the Fonts selection.
25. Snap your rotations
Want precise rotations? Eliminate guessing and rotate your objects with confidence every time.

Under the Snapping menu, you can set your rotation angle. This will snap your objects to 30, 45, or 90 degrees when you rotate them.
You’ll be able to tell that your rotation snapping is on because when you rotate to your chosen degree, your angle number will highlight blue. Even without the blue highlight, your exact degree of rotation is always visible near the object you're rotating.
26. Warp your pixels
Ready to get weird? The Liquify tools in Adobe Fresco are for you.

Liquify is under the Transform tool. It's the last option, and it'll open access to the seven unique Liquify tools.
Warp is the most free-form of those tools. You can push the pixels wherever you want.
Reconstruct is the only non-destructive tool in the group. You can use it to slowly reverse the effects of the changes you’ve already applied.
Smooth gently controls the effects of the other tools. Twirl twists your pixels clockwise. Pucker draws your pixels towards the center point, and bloat expands your pixels around the center. Push left moves your pixels to the side.
Open up Liquify and get weird with your work.
27. Mask for non-destructive edits
Similar to masks in photo editing programs like Photoshop, you can use masks in Fresco as well. Masks can help you edit your work without altering your pixels.

To create a layer mask, tap your layer and select Create an empty mask. Your layer mask will be visible as a white layer that’s attached to your current layer. Then you can paint on the mask layer to hide or reveal parts of your layer.
A Clipping Mask will take the contents of one layer and directly apply them to whatever layer or layer group it’s above. A Clipping Mask can be a color fill, an image, brush strokes, etc.
I like to use them primarily to apply color non-destructively, giving me the flexibility to change my mind later.
28. Use selection options
Selections aren’t definitive once they’re made. When you make selections in Adobe Fresco, you can access additional options.

Your selection options can be found under More in the context menu. From there, you can choose transform, invert, and more.
Transform selection can move and distort your selection without impacting the pixels on your canvas. Invert selection will reverse your selection to enable edits to the outer pixels.
Want your selections to look different? Switch between Marching Ants and Selection Overlay to get your preferred look.
29. Save your favorite brushes
A digital artist’s brushes are special. Once you start using a digital art program a lot, you’ll start falling in love with different brushes. Fresco has a way to make sure your favorites don’t go missing.

In your Brush library, you’ll see a small star next to the brush names. Tap the star to favorite your brush.
You can still find it in its designated category, but it’ll also be in a Favorites brush section right at the top. This makes finding and selecting it easier.
You'll find new digital brushes featured in the Paperlike art newsletter every month.
30. Manage your brush library
There are over 200 default brushes in Adobe Fresco, and if you’re like me, having the whole brush library active at once can be a bit overwhelming. There are a few ways to manage your brush library in Fresco.

When you open your Brush library, select the three-dot icon and tap Manage brushes. Here you’ll be able to toggle on or off any brush or brush category that you want to hide. This change will be applied to the entire app until you change it.
Adobe Fresco's three brush types: pixel, live, and vector, are all visible by default. You can change your brush view to only show a single brush category to simplify your brush list. Want to see the whole selection again? Select All brushes.
31. Touch shortcut
The Touch shortcut is your secret weapon in Adobe Fresco. It’s a small button that you can press and hold to modify your active tools and enable other features.

Here’s how to enable the Touch shortcut in Adobe Fresco:
- Tap the settings gear.
- Scroll down and toggle on Touch shortcut.
The settings menu is also where you can find the Help menu. When you go there, select Touch shortcut to get the map to see an overview of its functions.
Some of the ways I like to use it is to turn my brush into an eraser. As soon as you release it, it goes back to a brush.
Another function I use a lot is multilayer selection. By pressing and holding it, I can tap multiple layers and then group them. This is a way I group my layers to keep them organized.
32. Add free brush packs
Who doesn’t like free? You have access to free brush packs that you can download right from Adobe Fresco.

Go to the brush panel, select Add brushes, then select Discover new brushes. This gives you access to over 30 brush packs that you can instantly import into the program.
Once they’re downloaded, you can find them under the Library brushes section. Your Library brushes can still be managed like any of your other brush categories.
33. Customize your timelapse
Timelapses are a great way to look back at your process. By default, you have a Timelapse recording of your work as you create in Adobe Fresco.

What’s less typical to see in digital art apps is the option to edit your Timelapse. Under the Export menu, select Export timelapse.
Adjust the slider to the duration you want, then play back the preview in the window. Once you're satisfied, you can export it as an MP4 file.
34. Access your files offline
Know you won’t have access to the internet later? You don’t have to worry about losing access to your files with some strategic planning.

Set a document to be available offline so you can work on it when you’re not connected to Creative Cloud.
Just go to the three-dot icon and select Make available offline. You’ll be able to tell whether your file is available online or offline by the green check mark next to the file name.
When you reconnect, your latest changes will be synced to Creative Cloud again. Anytime you aren’t connected to the internet, a grey circle icon with arrows will be next to the file name. This represents changes made to a file offline that haven't been synced to the Creative Cloud yet.
35. Create instant color palettes
Color inspiration can come from anywhere. Adobe Fresco helps you create inspired color palettes from photos.

When you import a photo, create a color palette based on the colors in your image. You can choose an existing photo or take a photo with your device. I like to use this feature with pictures I take outside, like florals and landscapes.
Then your color palette will automatically appear in your color menu with the name of your image file. Not satisfied with the color palette? You can go to the three-dot icon and select Delete palette.
Want to create better color palettes? Using color theory will help you build strong color palettes with or without photos.
Bonus tip: Use Paperlike to make digital drawing easier
If you haven’t downloaded Adobe Fresco yet, it’s available for free in the App Store.
At Paperlike, we believe that digital drawing should be easy and feel as natural as possible. Like Adobe Fresco, the Paperlike for iPad was designed to improve your digital drawing experience by making drawing on your iPad feel just like drawing in your favorite sketchbook.
Get your Paperlike today and feel the difference it makes in your work.
Frequently Asked Questions
Is Adobe Fresco available for free?
A: Yes. Adobe Fresco is a free-to-use app with options to upgrade to premium plans. The biggest difference between the free and premium options is the amount of storage space in the Creative Cloud you get access to.
Is Adobe Fresco for beginners?
A: Yes. Digital art beginners can use Adobe Fresco thanks to its in-app tutorials. The tools are also similar to the Adobe desktop programs. Even without prior experience, you'll have a lot of fun creating in the app and learning its capabilities.
Can you animate in Adobe Fresco?
A: Yes, there are two ways to animate in Adobe Fresco. Motion path and frame-by-frame. Motion path is very beginner-friendly, and frame-by-frame can be fun for both simple and complex animations.
Is Adobe Photoshop the same as Adobe Fresco?
A: No, but Adobe Fresco and Adobe Photoshop are companion apps. Through cloud documents, your Fresco files can be opened in Photoshop. Fresco is best for digital drawing and painting, while Photoshop is best for photo editing and compositing.
Is Adobe Fresco better than Procreate?
A: Both programs are great for digital painting and illustration. (Check out our comparison here.) If you’re already using programs like Adobe Photoshop or Illustrator, integrating Adobe Fresco into your workflow would be a complementary addition. Procreate is a low-cost app that offers high-quality tools and features without a subscription.
Read next
 Alanna Flowers