
I get an intense feeling of dread every time I have to apply a screen protector. I know I’ll spend ten minutes cleaning my iPad and lining everything up, just to end up with at least one bubble in the end. It never fails.
Fortunately, most bubbles are fixable, if you know what you’re dealing with. Here’s how to get bubbles out of your iPad screen protector and how to avoid them completely next time.
Why do bubbles form under screen protectors?
Not all bubbles are created equal. There are a few different reasons for them, and it isn’t always obvious.
These are the ones that I’ve run into:
Trapped air
Air bubbles are common because it’s almost impossible to get your screen protector to make contact with the entire display during installation. These bubbles look like smooth, rounded pockets underneath the protector, and they’re the easiest to fix.
Dust & debris
If you leave even a tiny speck of dust on your screen, it will create a bubble. My biggest issue is dog hair because I feel like it’s everywhere, even after I vacuum and clean the whole house. These bubbles are easy to spot because you’ll see the debris (whether it’s a hair or just a visible dot) with a pocket of air surrounding it. Unfortunately, these take a little work to clear.
Misalignment or uneven application
If you’re like me, you have trouble getting everything lined up properly, which makes it so the screen protector doesn’t make contact with the display evenly. This can cause bubbles or edges that won’t stay down. You can also get bubbles from applying your screen protector too fast.
Adhesive or fit issues
Sometimes, you’ve done everything right, and it’s just a faulty screen protector. It could be a damaged adhesive layer or the wrong size for your iPad. If it doesn’t fit correctly, it’s going to cause problems. Fingerprints can also mess up the adhesive and prevent it from adhering properly. If bubbles keep appearing in the same spot no matter what you do, the adhesive is likely the issue.
How to get bubbles out of an iPad screen protector
Alright, now you know what causes bubbles, but how do you get them out? Part of the reason I explained what causes them is because each type needs a different fix.
Use this guide to find the best solution:
| What you’re seeing | What’s causing it | Best solution |
| Smooth, rounded bubbles. | Trapped air. | Gently push the air toward the nearest edge. |
| Larger air pockets. | Uneven application or trapped air. | Use a microfiber-wrapped card or a specialized tool/squeegee to push it out. |
| Tiny bubbles with a visible speck in the middle. | Dust, lint, or debris. | Carefully lift the edge and remove the particle with tape. |
| Small, faint bubbles immediately after installation. | Adhesive still settling. | Give it time or check the manufacturer’s instructions. |
| Bubbles that keep coming back. | Adhesive or fit issues. | You’ll likely need to replace your iPad screen protector. |
1. Gently push the air bubbles toward the edges
If you’re dealing with a bubble without any visible dust underneath, you’re in luck. These are usually pretty easy to remove.
Grab a credit card or something similar and wrap it in a microfiber cloth to protect your screen protector from scratches. (You can also just use your finger, but I’ve had more luck using something hard and flat.)
Use the card to push the bubble toward the nearest edge of the screen. Don’t press too hard. More pressure won’t make it faster, and you don’t want to accidentally damage your screen. Work slowly and gently push the bubble repeatedly until it’s gone.
Quick tip: If you have more than one bubble, push them towards each other to combine them. Oddly enough, the bigger the bubble, the easier it is to maneuver to the edge of your screen.

2. Use a microfiber cloth or screen protector squeegee/tool
When you’re dealing with a larger air bubble that’s trapped from uneven application, the process is pretty much the same as the previous step. Use a microfiber cloth wrapped around a card, or, if you’re lucky, the screen protector you bought came with a squeegee or other application tool.
These tools are designed specifically to distribute pressure evenly across the screen to make it easier to push out trapped air. With larger bubbles (and technically, even with smaller ones), it’s best to start at the center of the screen and push outward. If it won’t budge, you might have some sort of debris under there that’s causing your bubble instead.
3. Remove dust trapped under the screen protector
If you’re dealing with dust or debris under your protector, no amount of pushing with a card or tool is going to get it out. Unfortunately, you’re going to need to remove it.
Here’s how:
- Carefully lift the edge nearest to the bubble using a clean fingernail. (You can potentially use a tool here, but I find using my nail gives me the most control and prevents any accidental damage from a tool.)
- Avoid touching the exposed adhesive, since fingerprints and oil can make it harder for the protector to stick, introducing a whole new problem.
- Use a small piece of clean tape to gently dab the dust particle off the screen or underside of the protector. (Most screen protectors come with a sticker for this purpose, but if you don’t have one, clean tape works just as well.)
- Slowly lower the protector back into place and use your squeegee or microfiber-wrapped card to smooth it out.
A word of caution: Don’t use a needle or anything sharp to try to pop the bubble. You could scratch your iPad’s display or damage the protector. Also, be careful lifting a tempered glass protector because it can crack if you bend it too far. Some people recommend using heat to loosen the adhesive, but heat can damage electronics. Personally, I wouldn’t risk it because I’d much rather replace my screen protector than my iPad.
Keep in mind that some screen protectors aren’t designed to be removed and reapplied, so check the manufacturer’s instructions. And, whatever you do, try not to touch the adhesive or introduce a new speck of dust while you work. The first time I did this, I traded a dog hair for a fingerprint, and the adhesive wouldn’t stick after that.
4. Give bubbles time to disappear
Some screen protectors use an adhesive that takes a little bit to settle. This is most common with certain film-based screen protectors, which can take 24-48 hours to fully stick. In this case, you’ll see small bubbles right after installation, but if you just wait, they’ll likely disappear on their own.
Of course, waiting may not fix every bubble. If you’ve got any of the other bubbles that we’ve described, waiting won’t work. Check the manufacturer’s instructions to see if this could be the cause, and if you’ve still got bubbles after the recommended amount of settling time, try one of the other methods.
5. Remove and reapply the screen protector
If you’ve tried everything else and nothing has worked, you might have to start over. Whether it’s due to a faulty screen protector or poor application (don’t worry, it happens to everyone), you’ll have to give it another shot.
Here’s how:
- Carefully lift the screen protector from one corner.
- Inspect the underside of the protector for dust or fingerprints and gently remove anything you see.
- Inspect your screen for the same things and clean your iPad screen with a screen-safe cleaning solution and a microfiber cloth.
- Wait for the screen to dry completely (or dry it yourself).
- Carefully realign the protector and slowly lower it back into place.
- Use a squeegee or your card wrapped in microfiber to smooth it out.
Keep in mind: Every time you remove a screen protector, you’re weakening the adhesive, and some protectors are not made to be reused once removed. If the adhesive is damaged or no longer sticking properly, you’re better off replacing it.
When should you replace your screen protector instead?
You don’t need to go straight to the nuclear option, but if none of the above fixes worked, it’s time to replace your screen protector with a new one.
Here are a few signs that you should start fresh:
- Damaged adhesive. The adhesive is peeling or contaminated, or it will no longer stick evenly to your screen.
- Cracks or creases. Your protector is cracked, bent, or warped, so it won’t sit flat on your display.
- Persistent edge lifting. The edges keep peeling away, even after you’ve cleaned and reapplied the protector.
- Too much trapped dust. You might have started out with one speck of dust, but when you tried to fix the problem, the protector picked up even more debris along the way.
- Poor fit. Your screen protector is either too big or too small for your iPad model, so it won’t adhere properly.
Sometimes, starting with a new screen protector is easier (and a lot less frustrating) than spending an afternoon fighting to clean and reapply the old one.

How to prevent bubbles when installing your next screen protector
If you’re exhausted after all of that, I don’t blame you. The good news is that there are a few things you can do next time to prevent bubbles and save yourself the hassle.
1. Clean your screen thoroughly
It should be obvious, but you wouldn’t believe how many people just assume their iPad is clean enough that it won’t be a problem. I promise you, it’s not. Even a teeny tiny speck of dust will cause problems.
Before installing:
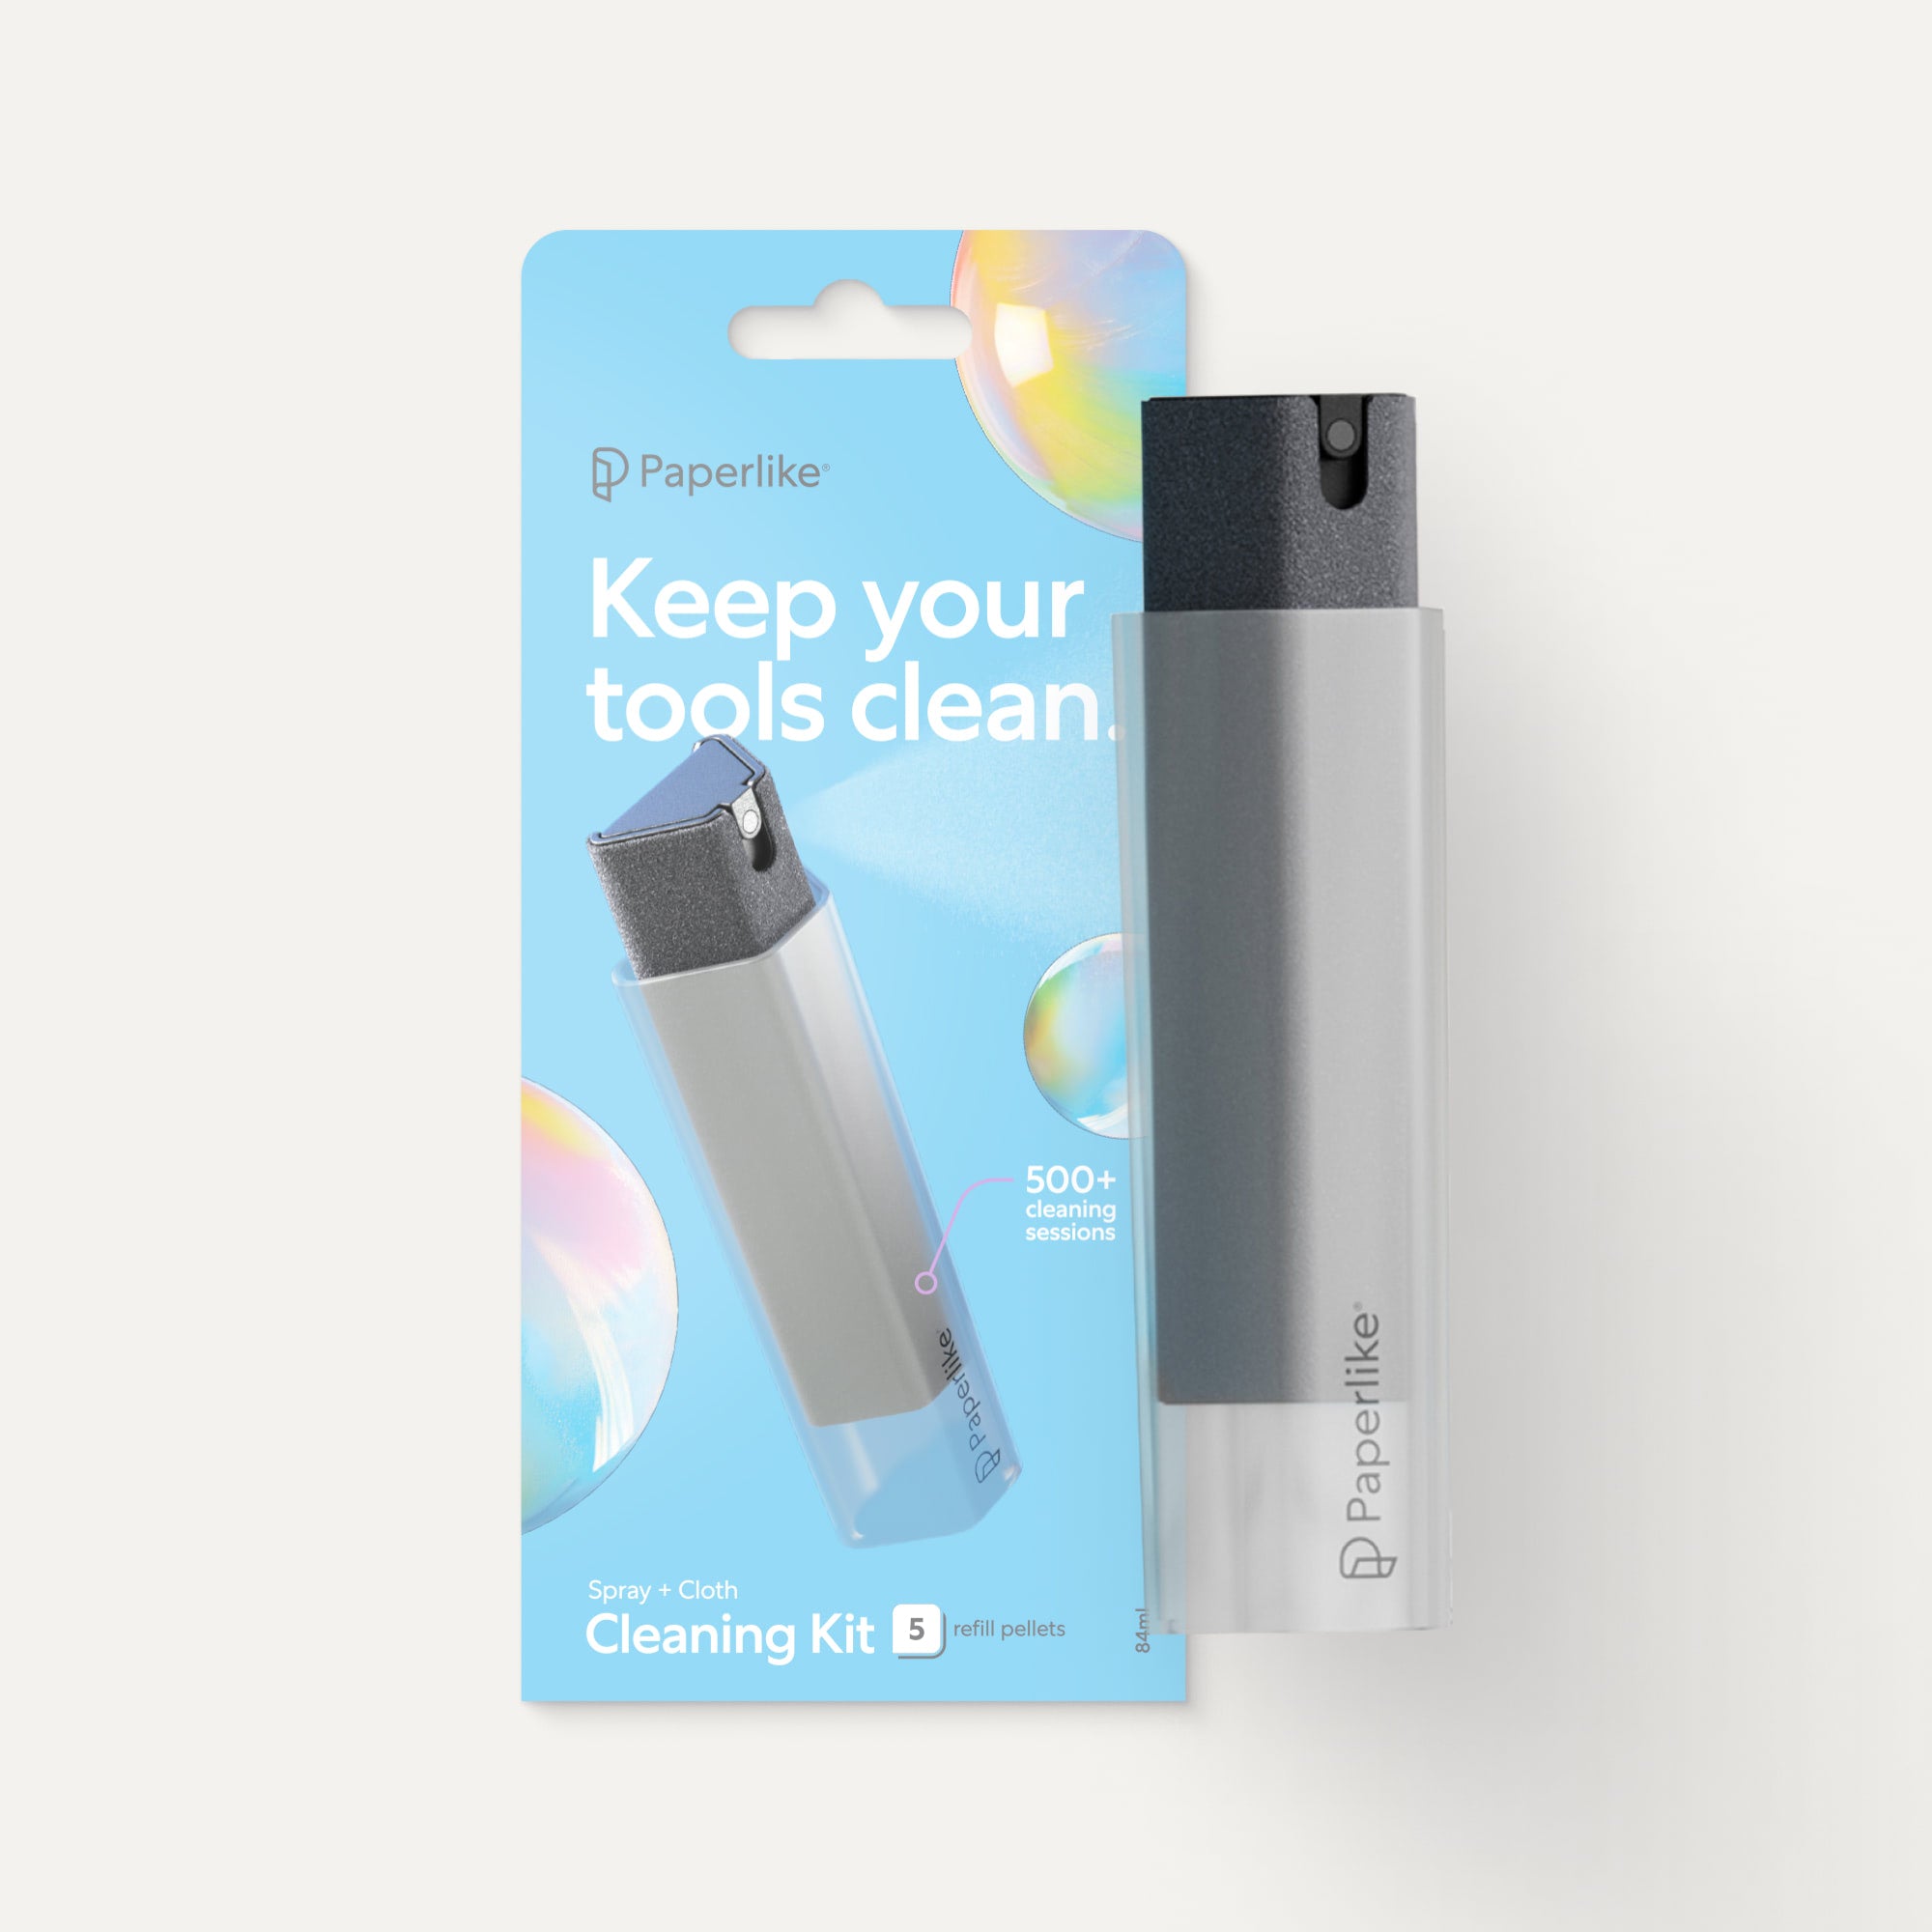
- Use a screen-safe cleaning solution (like the Paperlike Cleaning Kit) to remove fingerprints, oils, smudges, and dirt.
- Use a dust-removal sticker (usually included) or a piece of tape to pick up any remaining particles.
- Check your screen under good lighting to make sure it’s completely clean.
2. Choose a clean, low-dust workspace
You don’t need a spotless lab or to clean your entire house, but making sure you’re in a clean environment increases the chances of a bubble-free install.
A few things that can help:
- Wipe down your table or desk before getting started.
- Avoid areas with fans or open windows.
- Keep pets away while you’re working.
- Wash and dry your hands before handling the protector.
3. Take your time with alignment
I know you just want to get your screen protector on so you can get back to using your iPad, but every time I rush this step, I end up with a bunch of bubbles.
Before you start:
- Read through ALL of the installation instructions.
- Make sure you’ve lined up everything properly before applying it.
- If it’s included, use an alignment frame or installation tool.
- Apply the protector slowly starting at one edge, rather than dropping it onto the screen all at once.
4. Get a screen protector with a guided application system
I’m terrible at applying screen protectors, which is why I only buy ones with a well-designed application system. I need all the help I can get.
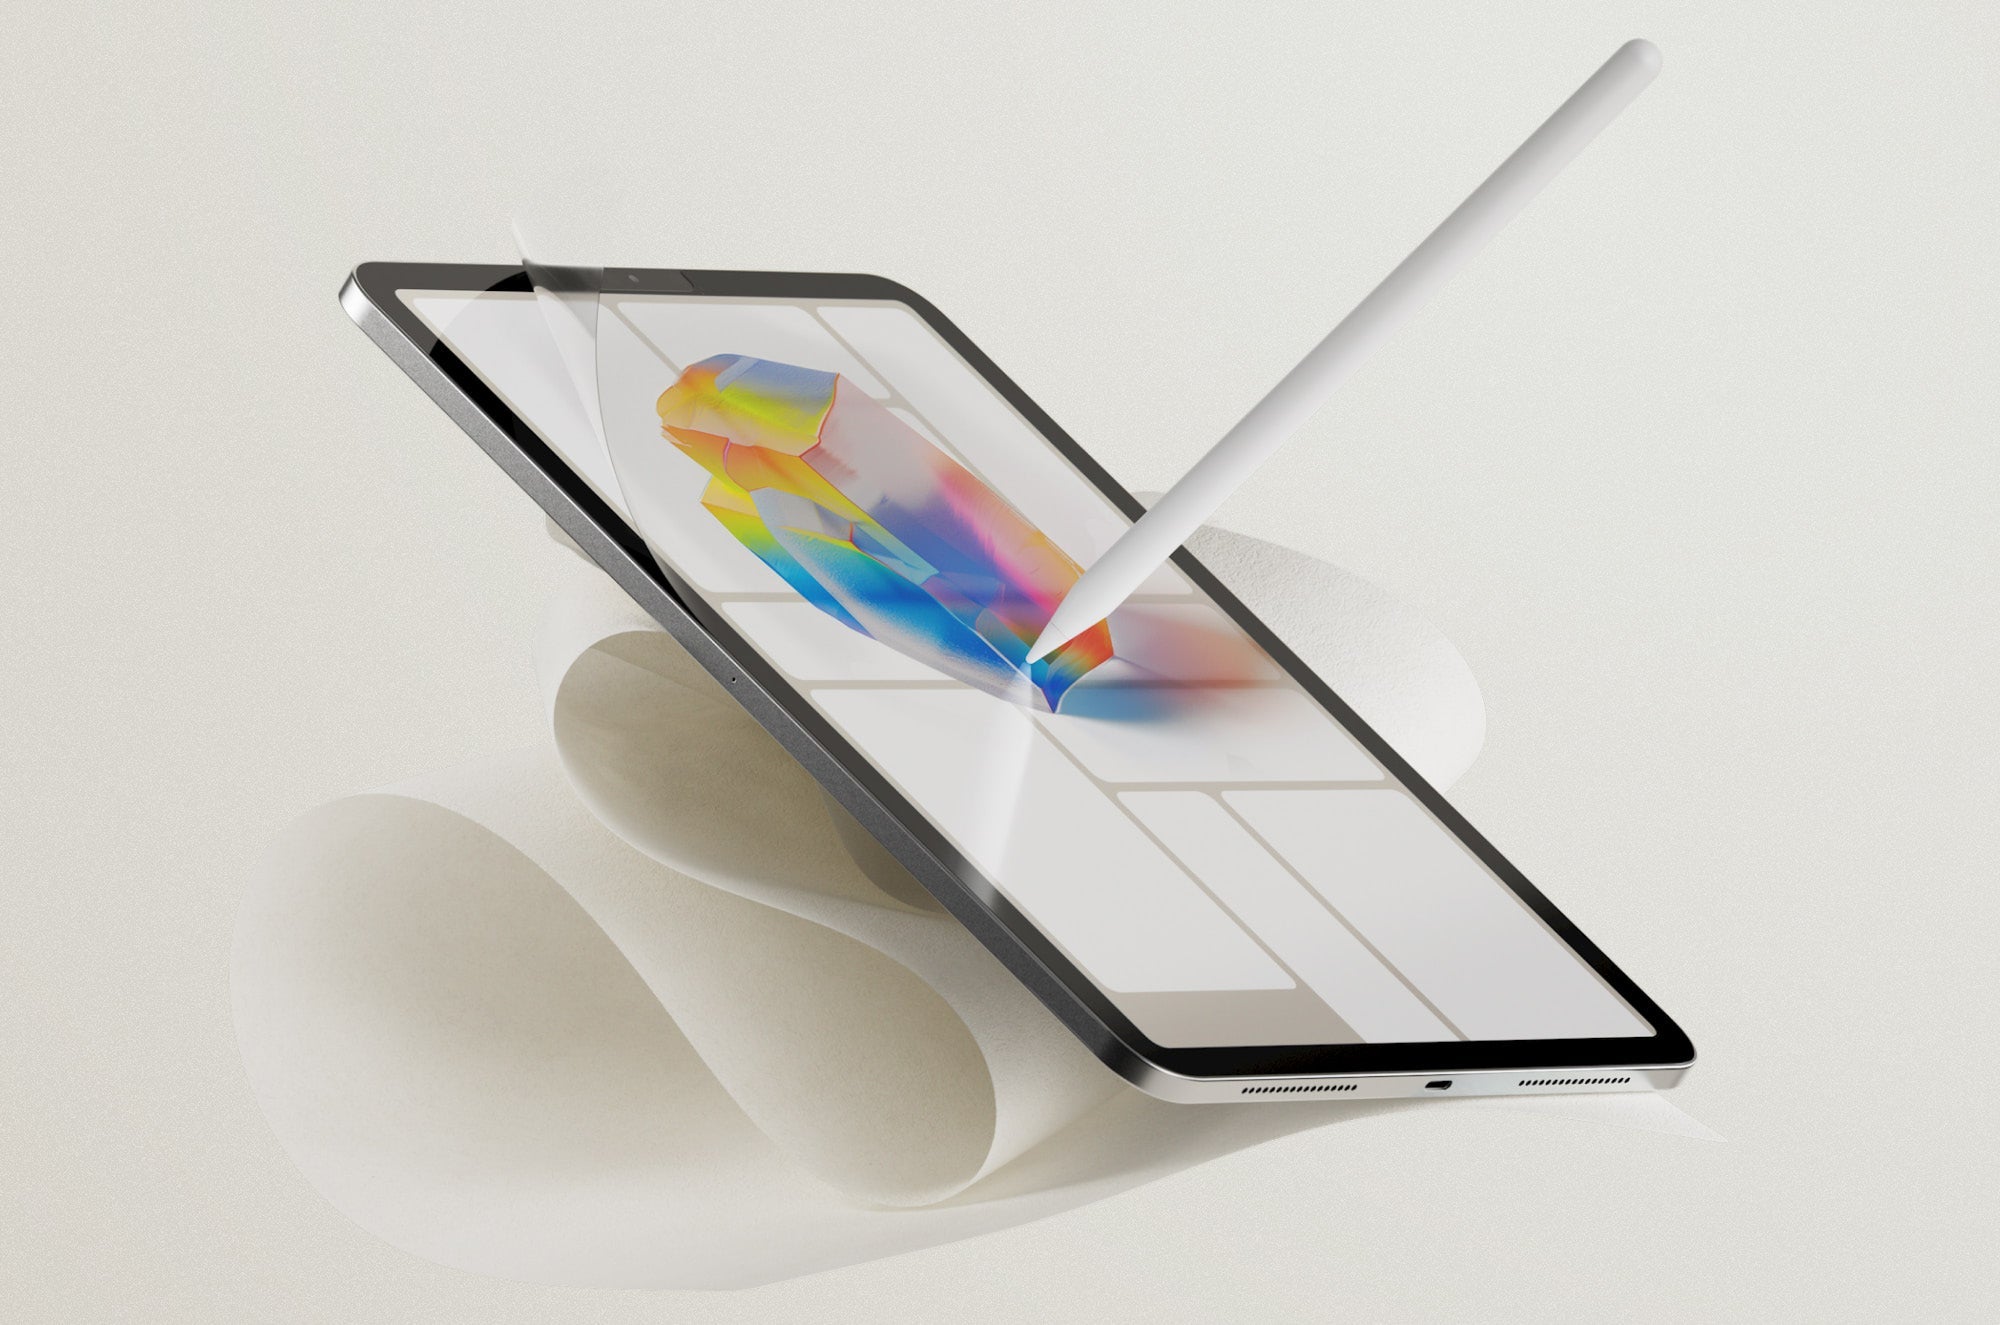
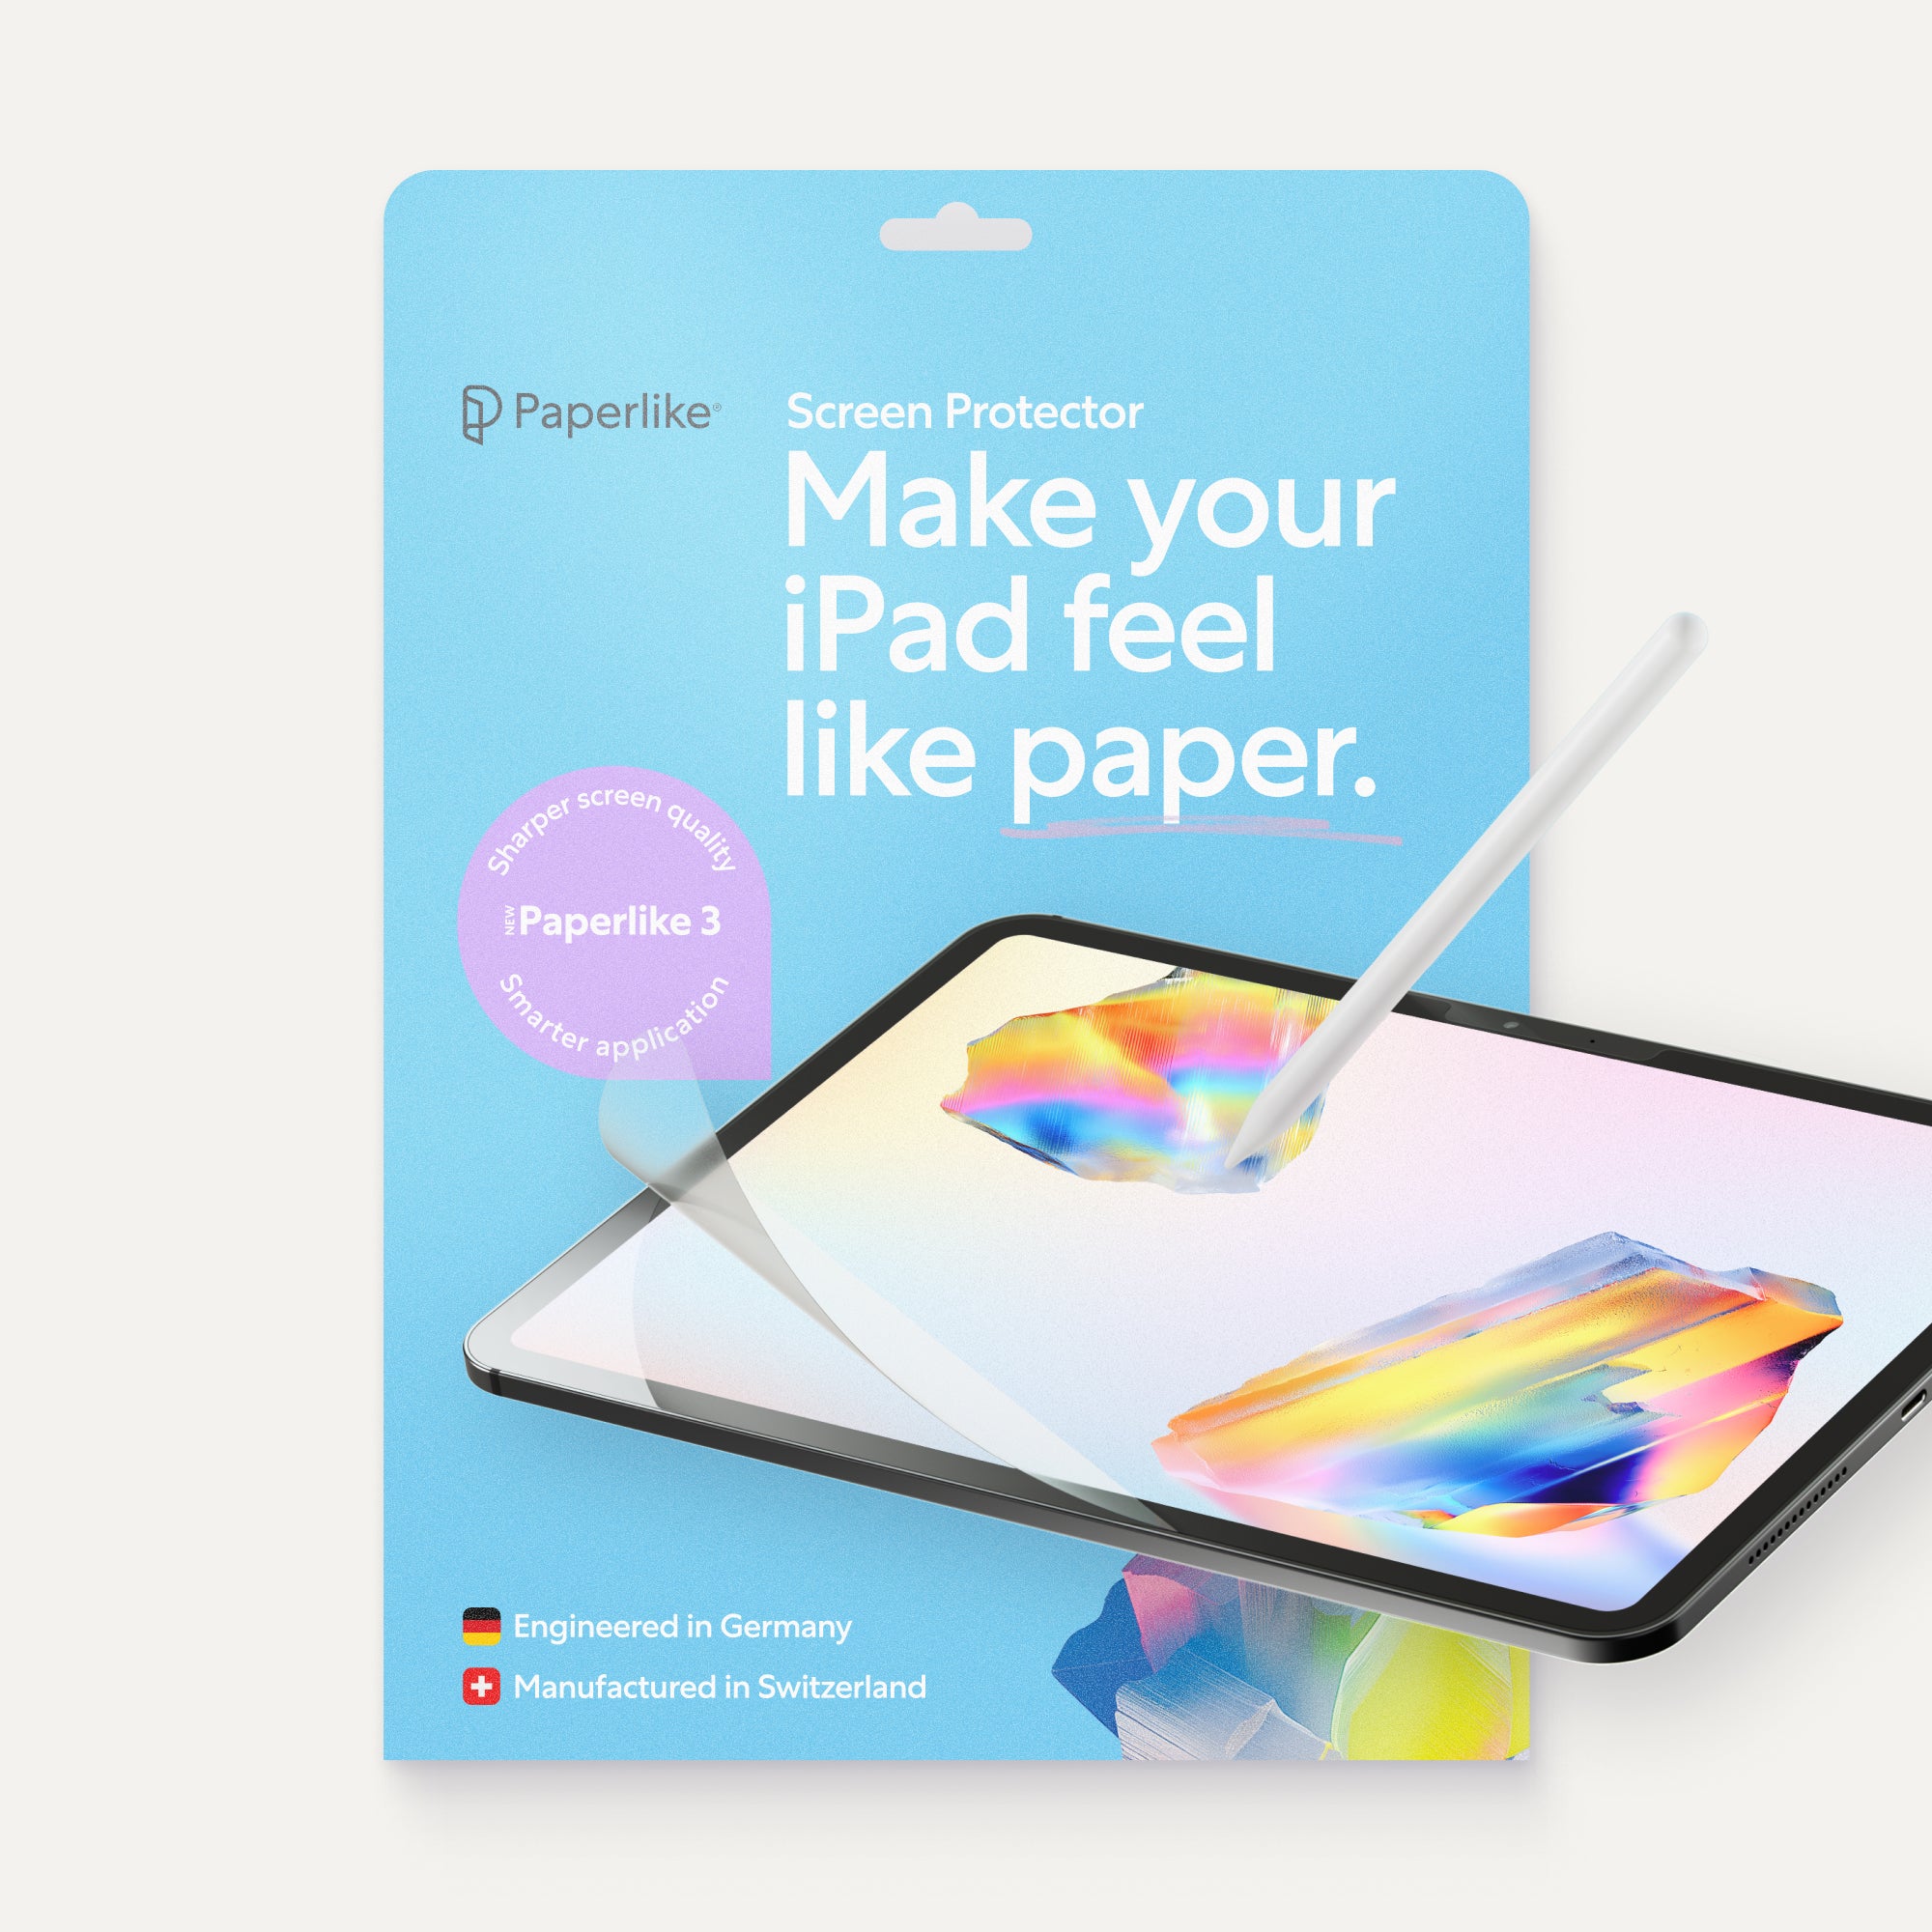
Take Paperlike 3, for example. Its Butterfly™ Application System uses four layers so that your iPad screen is covered until the final application step. As you work through the numbered layers, the dust-catching layer removes particles before the Paperlike layer ever makes contact with your display. The included Helper™ Tool makes alignment easier and doubles as a squeegee for any bubbles that sneak through.
You don’t even need a pristine environment to apply it. Our founder and CEO, Jan, has put the Butterfly Application System to the test in some pretty unconventional places around the world. From sitting on a wall in Mallorca to braving the wind and snow of the Swiss Alps, he’s shown you don’t need a sterile room to get a great application.
Installing Paperlike 3? Follow the step-by-step guide.
Paperlike 3’s Butterfly Application System is one of a kind. Between the included Helper Tool and the Interactive On-Screen Guide, you’ll be completely prepared to get it just right.
We’ve even got a step-by-step guide and videos in case you need any extra help.

Final thoughts
You can fix most bubbles with a credit card and a slow hand. And if that doesn’t work, Paperlike comes in a set of two, so you’ll have a backup just in case.
Want to make the most of your iPad? Sign up for practical tips, app recommendations, productivity advice, creative inspiration, and more.