


Most of us use our iPads to read notes, watch lectures, or scroll through yet another study tips video on TikTok.
But here’s the thing: your iPad isn’t just a passive study buddy. Used right, it can become a powerful tool for memory training.
Today, we’re walking through three science-backed memorization techniques, plus the iPad tools that make them ridiculously easy to pull off.
Let’s dive in!

1. Active Recall: Test yourself, don’t just read
If you’ve ever closed your notes, thinking, 'Yep, got it,' only to blank out during a quiz, you’ve reached the limits of passive review.
Active recall flips that. Instead of re-reading or highlighting, you deliberately pull the information from memory without looking at your notes.
That mental effort strengthens the neural pathways that store the memory, making it stick longer and surface faster the next time you need it. It’s not about getting everything perfect. It’s about practicing retrieval until it becomes automatic.
How to do it on the iPad:
- Open a blank page in Goodnotes or Nebo and do a “brain dump” after studying. Write down everything you can remember, then go back to your notes to check for gaps.
- Build digital flashcards in Quizlet or Anki to get structured practice with spaced repetition.
- Use Voice Memos to explain a concept out loud, as if you’re teaching it. Then listen back to spot weak points.
Study hack: Before you start, set your iPad to Do Not Disturb. Those “quick” notifications? They’re memory kryptonite. Protect your focus window so your recall is uninterrupted.
Active recall is like hitting the gym for your brain. It’s challenging at first, but each round makes your memory stronger and more reliable.

2. Dual Coding: Pair words with visuals
Your brain loves pictures, and it doesn’t just like them; it processes visuals and words through different channels.
Dual coding taps into both at once. By pairing text with images, diagrams, or symbols, you give your brain two distinct pathways to store and retrieve the same idea. The visual side creates mental snapshots you can “see” later, while the verbal side builds deeper context and understanding.
Together, they work like a tag-team for memory, making information easier to recall and harder to forget.
How to do it on the iPad:
- Use Concepts or Noteshelf to draw diagrams, flowcharts, or mind maps while you take notes.
- Lay out ideas visually in Apple Freeform, where you can mix text boxes, sketches, and images in one space.
- Assign colors to different concepts or themes so you can quickly recognize them later.
Study hack: Create a “visual cheat sheet” for each topic. Keep it simple: one page with all the essential ideas represented by images, symbols, and short phrases.
When you engage both your verbal and visual memory, you turn abstract ideas into vivid mental snapshots — the kind your brain is built to remember.

3. The Mind Palace: Store facts in familiar places
The mind palace technique isn’t just a party trick for memory champions; it’s a powerful way to structure and retain complex information.
The concept is simple: take a familiar location (your home, a favorite café, a route you walk daily) and mentally place pieces of information along it.
Because your brain is wired to remember spaces and locations, you can “walk” through that mental map to retrieve each fact in order. By adding vivid, exaggerated, or even bizarre imagery to each spot, you make the recall even more reliable and a lot more fun.
How to do it on the iPad:
- Sketch the layout of your palace in Procreate or Notability.
- Add icons, doodles, or imported images to represent each concept in its designated “room.”
- Record yourself narrating a walkthrough of the palace and play it back during review sessions.
Study hack: Push the imagery as far as you can. The stranger, more colorful, and more unexpected the mental picture, the more likely it will lodge in your long-term memory.
By linking facts to places, you’re creating a mental filing system that’s always with you — no Wi-Fi or battery required.

Putting it all together
While each of these techniques can stand on its own, their true power lies in combining them. Layering them doesn’t just give your brain one way to store a memory; it gives it multiple entry points for retrieval, which makes recall faster and more reliable.
Here’s how that might look in practice:
Start by building a Mind Palace to organize the information spatially. Choose a familiar location and map out the “rooms” or key areas where you’ll store your facts. This alone gives your brain a location-based anchor for each piece of information.
Next, enhance that palace with Dual Coding. Instead of leaving each location as a plain label, fill it with vivid, memorable visuals. Sketch symbols, diagrams, or even little scenes in each “room” that represent the concept you’re trying to remember. Use color coding to group related ideas, and exaggerate details to make them stand out.
Finally, lock it all in with Active Recall. Once your palace is complete, put your iPad down and try to mentally walk through it, retrieving each detail without looking. You can write out what you remember, sketch it from memory, or narrate the palace tour out loud—the act of recalling forces your brain to strengthen the connections you’ve just created.
The result? You’re combining spatial memory, visual cues, and retrieval practice in one system. Not only are you remembering what you studied, but you’re also recalling where you stored it, how it looked, and why it connects to the bigger picture.
When these techniques work together, they create a multi-layered memory network that’s far more resilient than relying on one method alone.

Tools & apps roundup
One of the best parts about using your iPad for memory training is that you can customize your setup to match how you learn.
Every technique we’ve talked about here works best with the right kind of tool, and once you know what you’re looking for, it’s easy to build a toolkit that fits your style.
For writing and sketching: Choose a notetaking app that lets you handwrite, type, and draw in the same workspace. Goodnotes, Notability, and Nebo are great all-rounders for capturing ideas quickly and keeping them organized.
For visuals and diagrams: If you think best in pictures, look for a flexible drawing environment. Concepts and Noteshelf are ideal for quick sketches, while Apple Freeform gives you room to experiment with layouts and connections.
For practice and review: Retrieval apps like Quizlet and Anki take the guesswork out of repetition, delivering flashcards on a schedule that strengthens your recall over time.
For detailed illustration: When your memory cues need to be more than a quick doodle, you’ll want a digital drawing app. Procreate offers the precision and creative tools to make your imagery truly memorable.
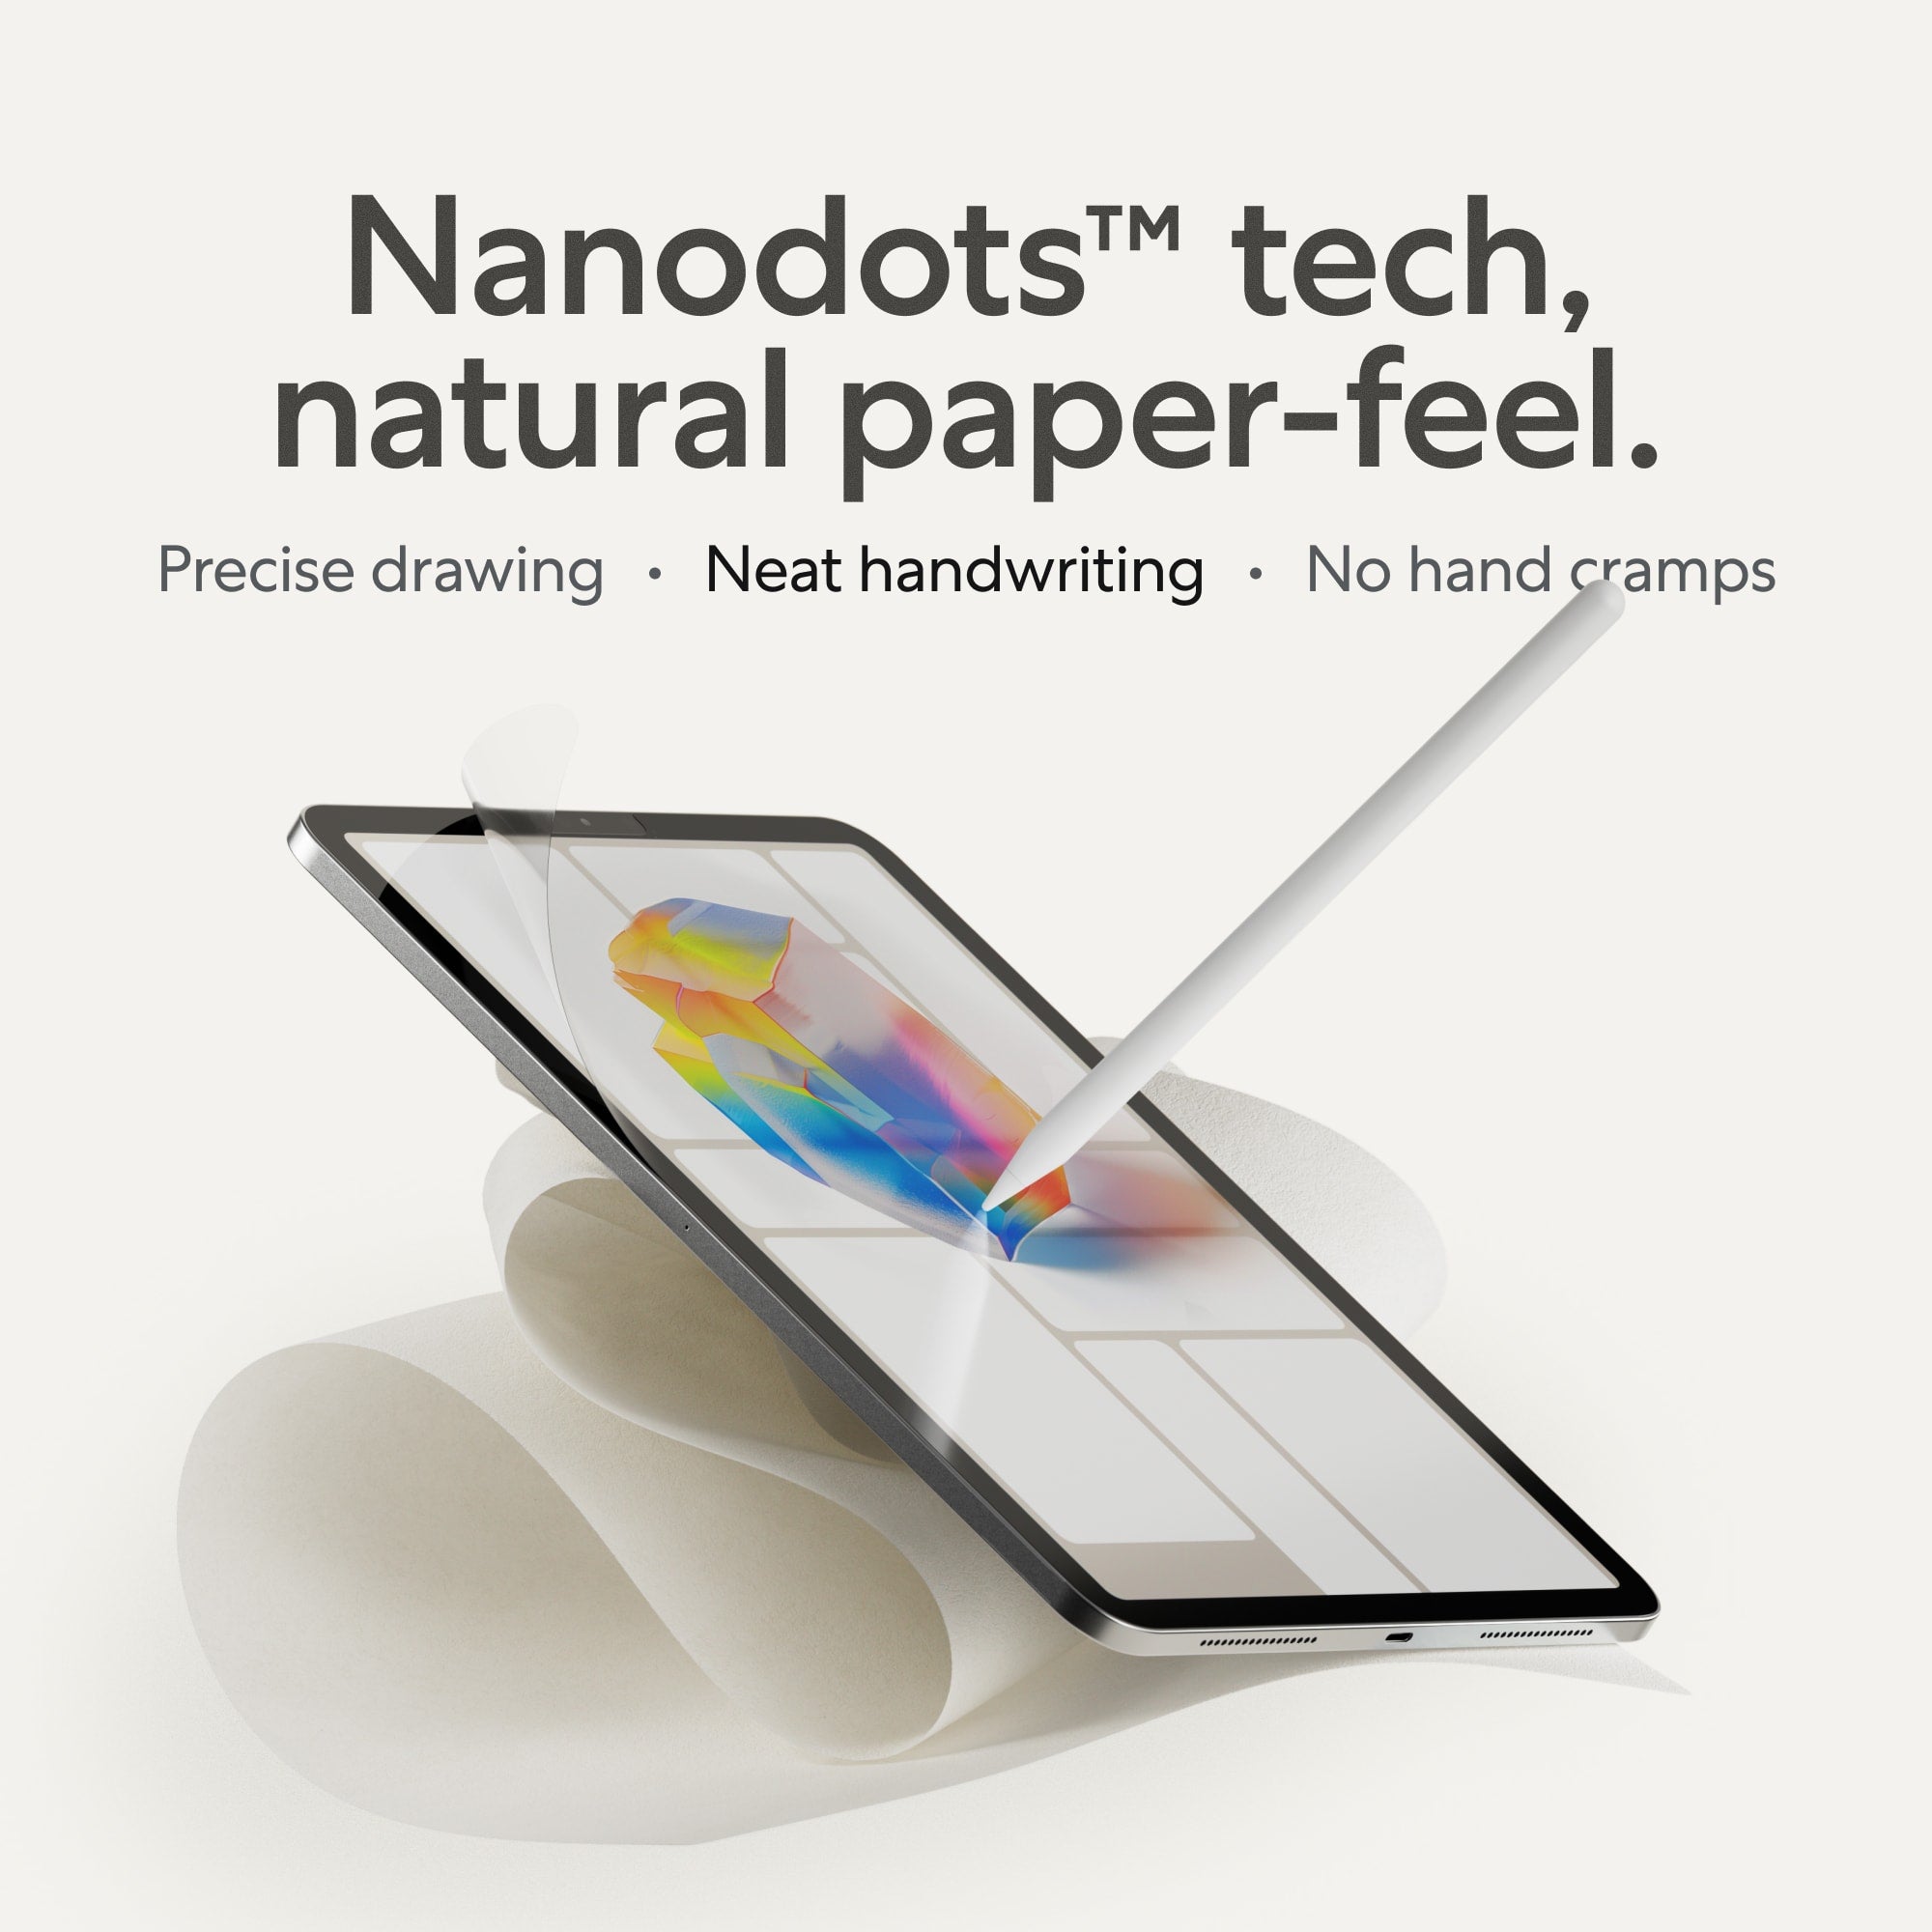
And whatever you choose, Paperlike’s Screen Protector can make the whole process feel more natural. That extra bit of friction makes writing, sketching, and drawing feel like pen on paper, giving you the control you need to create cleaner, more effective memory cues.
The takeaway? Don’t settle for just one app and call it a day. Mix and match until your iPad setup feels like an extension of your own brain. One that’s always ready to store, recall, and reinforce what matters most.

Unlock your best study method
You’ve got the tools. You’ve got the techniques. Now it’s time to find the approach that clicks for you.
Start small: Try one of these memory-training strategies in your next study session and see how it feels. Then, layer in more as you go to build a system that’s uniquely yours.
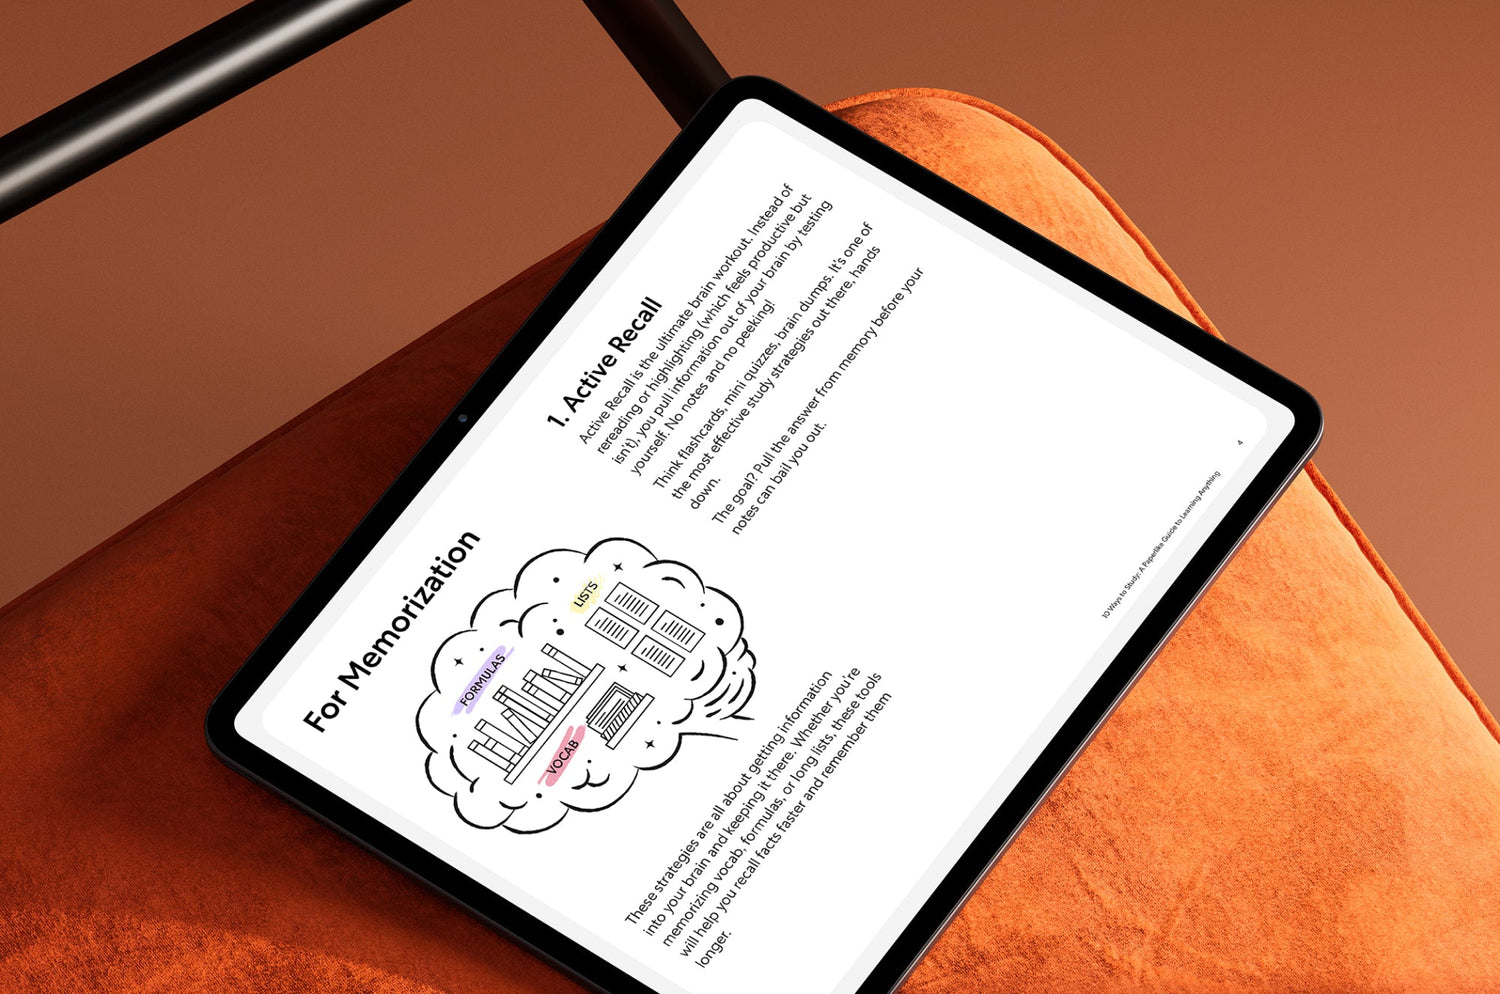
These three are a great starting point, but they’re only part of the picture. Take our two-minute quiz below to discover the study method that best fits your learning style, and then download your free copy of 10 Ways to Study: A Paperlike Guide to Learning Anything. Inside, you’ll find all ten techniques (including seven we didn’t cover here) plus iPad tips and tools to make them stick.
Because the fastest way to train your memory isn’t just to study harder, it’s to study smarter, with a method built for your goals and learning subject.


