
If you’re here, you're looking for a design program that can create precise vector graphics and is available for iPad, Mac, and iPhone.
While you have legacy options like Adobe Illustrator, there's another app making waves: Linearity Curve (formerly Vectornator).
Designed to be more intuitive, you'll get pro results faster, and for a fraction of the cost of Adobe software. At least that’s the idea. But what does it really have to offer, and is it worth switching?
Let's get to it.
What is Linearity Curve?
Vector illustration can be intimidating if you don't know how to navigate the tools. Linearity Curve is a vector program designed to be intuitive and easy to use. You can illustrate, design, vectorize, and more in one program.
Founded by Vladimir Danila in 2017, it has evolved significantly since it first hit the scene. What started as a vision to make professional design accessible has evolved into a robust program for iPad, Mac, and iPhone.
The features have expanded to keep it on par with comparable apps like Adobe Illustrator and Adobe Fresco without losing sight of its original vision. Compared to them, it has many of the key features they offer, along with features that help it stand out to users who might be looking to switch.
| Feature | Linearity Curve | Adobe Illustrator | Adobe Fresco |
| Platform compatibility | iPad, Mac, iPhone | iPad, Windows, Mac | iPad, iPhone, Select Windows Surface tablets |
| Free | Yes (with option to upgrade) | No | Yes (with option to upgrade) |
| Vector drawing | Yes | Yes | Yes |
| Pixel drawing | No | No | Yes |
| In-app tutorials | Yes | Yes | Yes |
| Pen tool | Yes | Yes | No |
| Color-coded nodes | Yes | No | No |
| Brush customization | Yes | Yes | Yes |
| Photo import | Yes | Yes | Yes |
| Vectorization | Yes | Yes | No |
| Layer Naming | Yes | Yes | No |
| Artboard layers | Yes | No | No |
| Custom font import | Yes (with third-party app) | Yes (through Adobe Fonts) | Yes (through Adobe Fonts) |
| Design Template Library | Yes | No | No |
| Image Library | Yes | No | No |
| Generative AI | Yes (Image & Vector) | Yes (desktop only) | No |
| Unsplash Image Library integration | Yes | No | No |
Linearity Curve is in a period of rapid growth, with updates happening throughout the year. To sustain this, they've transitioned to a freemium pricing model to give users options for the level of work they want to create. This helps support them in rolling out more advanced features.

Pricing
Linearity Curve uses a freemium pricing model similar to Adobe Fresco. If you're a free Linearity Curve user, you'll need to be strategic with how you use your files and artboards, as there are limits on the free plan. The free plan is recommended for beginners and those just starting out.
Below you'll see the breakdown of their Starter and Pro tiers:
| Plan | Price | Features |
| Starter | Free | Limit of 8 files Limited artboards Limited export formats & resolutions |
| Pro | From $14.99/month | Unlimited files Unlimited AI tools Commercial license |
Linearity Pro is for professional-level designers who are ready to explore all that Linearity has to offer. Your Linearity Pro subscription will also give you premium access in Linearity Move. Linearity Move is the motion-design companion app for Curve. To use either program, even for free, you'll need to create a Linearity account. This will manage your subscription, files, and programs on any device you use.
It's no secret that having full access to the app offers the best experience for users. If you haven't activated a Pro account, you can get a 1-week free trial before your upgrade takes effect. Even with a tight time window, it might just be enough to convince you to upgrade. But let's get into what you have to look forward to if you do.

Vector illustration
Linearity Curve presents itself in a simple way that benefits both illustrators and graphic designers of all skill levels. Let's start with its key illustration capabilities.
You have creation tools in the Toolbar on the left and the Inspector for controlling object properties on the right. To the left of the toolbar are your Layers panel and Library. Along the top is the Action Bar with typical features like undo & redo, zoom, file naming, exporting, and more.
When you're ready to create, you'll discover that Artboards behave differently in Curve. Artboards in Curve have their own layers. As you select different artboards in your document, you'll find their associated layers nested below them. I find this simple feature very helpful for keeping otherwise complex documents better organized.
Another thing that Linearity Curve does differently is offer explanations of each tool along with video tutorials. Any tool that you highlight will have a floating explanation with its function and a video link. This makes using the program more approachable for beginners to the app and vector drawing in general.
Speaking of being a beginner, the pen tool might seem intimidating. It was for me when I was first learning to use it in college.
The Pen Tool in Curve is designed to give you a better overall experience compared to other apps. When you place your node, your first point will always be green, and your last point will always be red. This will help you know where your vector shapes start and stop.
Why does that matter? Two words: easier editing. From there, you can use the Node Tool to manipulate each point individually until they're right where you want them.
Don't need the precision of the Pen Tool? You have the option to draw in vector using the Pencil Tool and Brush Tool as well.
The Pencil Tool is great for drawing free-form monoweight paths that you can edit later with the Node Tool. You can do the same with the Brush Tool, but instead you'll get beautiful, expressive strokes with varied widths.
Using the Inspector, you can adjust settings like your stroke width, apply effects, and more. This is where you can have a lot of fun and push the app to its limits. As a lettering artist, I like to adjust the Smoothing setting and have my drawing glove on to better control my strokes.

Graphic design
In addition to being great for illustration, there are plenty of design use cases for Linearity Curve. This is partly thanks to its expansive template library.
When opening a new document, you'll see a section for browsing templates. In it, you'll find over 2000 templates organized across categories like Events, Education, and Business to help you design social posts, posters, and more.
Templates save time by getting your design started with options across a number of industries and formats. Once you've selected the template you want to edit, you can make your changes, add artboards in any format you need, and export them in bulk with Multi-Export. It streamlines the process and gets your work out into the world faster.
Not working alone? You can work with your team or clients in Linearity Curve by creating Projects. You can add members to your Project to review and edit files you're creating in Curve. Any changes that are made to the file are automatically updated for everyone in the Project once the file is saved.
When you select the Text Tool, you can edit your font with the content toolbar. This floats beneath the elements on your canvas as a quick way to access editing features like font size, alignment, and weight.
In the Style menu, you'll have even more options for editing the appearance, color, and more of your text. For example, I like that you can apply a blur, which is currently not an available feature in Adobe Illustrator for iPad. To activate Text on Path, create a shape and select your text and shape together. This will make the option icon appear.
Linearity Curve is committed to being a resource for designers, offering tips, tricks, and insights into the world of professional design. It'll also keep you up to date with the latest and greatest features from Curve.

Editing images
Photos are a powerful way to enhance your designs and artwork. While Linearity Curve isn't a photo-editing app, it does have some notable features if you like working with photographs.
Import images from Unsplash directly into the app using the Library. Unsplash has a library of millions of high-resolution photos and illustrations that you can use for free. This is a great resource to have conveniently available within the app.
Alternatively, you can also generate images using QuiverAI's Arrow 1.1 model. This is the direction that a lot of apps are going in, and it has become the norm in similar apps to Curve.
When you’re a Linearity Pro user, you have access to other AI tools and features like Background Removal. I was impressed by the level of detail it could detect when separating the foreground from the background in the images I imported, even when the background was complex. It uses masking to eliminate the background, giving you the option to adjust the mask if you're not 100% satisfied with the removal.
Another popular image feature is Auto Trace. Also known as vectorizing, using this feature turns your raster images into vector images. Raster is just a fancier word for images made up of small pixels. This feature can be used to turn a sketch or photo into an editable vector illustration.
When turning your images into vectors, there are four different modes to choose from: Sketch, Illustration, Photo, and Basic Shapes.
Sketch is best for black-and-white drawings. Illustration is ideal if your drawing includes color and shading. Photo is best used for images with a lot of complex details like gradients, lighting, and shadows. Basic Shapes will preserve the integrity of drawings with many simple geometric forms.
It's important to note that, depending on the mode you choose and your image, you could end up with many layers. The overall success of your vector result will also depend on how you adjust your settings. So play around with it, and have fun!

Canvas & tool gestures
Working on your iPad as a digital artist offers many ways to improve workflow efficiency. Touch gestures are key among those features.
In Linearity Curve, you'll find classic canvas gestures like 2-finger tap to undo and 3-finger tap to redo. You can also zoom in and zoom out by pinching your fingers together or spreading them apart.
You can even scale objects proportionally by holding your screen with one finger. But there's definitely more to be excited about. Curve also makes use of many two-handed gestures. These are called tool gestures.
When using the Pen Tool, you can hold your finger on the screen to disconnect the handle and change the direction and arc of your curve. Pressing and holding with two fingers will enable 45º snapping for both node handles, while three fingers snap only one handle.
Try them out, find the ones that fit your style, and begin streamlining your workflow. If you're looking for tools to help you create on your iPad, the Paperlike Drawing Collection is a great place to start.

Export & platform compatibility
When it comes to exporting and sharing your work, flexibility is the name of the game. You can export to a variety of file formats from Curve.
Linearity Curve can export to the following formats:
- SVG.
- JPG.
- PNG.
- PDF.
- TIFF.
- AI.
Note that if you want to export your work from Curve without limitations, you’ll need a Linearity Pro account.
From the gallery, you can rename, duplicate, and share your documents. You can also quickly export your file via a pop-up menu by holding down the file. This saves you from having to reopen your document.
If you have multiple artboards, select which you want to export, choose your quality and resolution, add an optional watermark, and preview your document. Not only can you export your file, but you can also export individual objects on your artboard. For the iPad, I’ve only ever seen this level of advanced exporting in Affinity Designer, so I was pleasantly surprised to see that option.
In terms of compatibility, Curve has users covered. Being able to not only export to Illustrator but also to directly send your files to the program signals to me that the team at Curve knows their audience.
Because it’s likely that you’re using Adobe and can potentially transition away from it because of that level of compatibility. This is also true for designers using Figma and Sketch. It’s a smart move by Curve and helps users, which I can appreciate.

Organization, file management, & cloud storage
Keeping your files organized is key as a digital artist and designer. In Linearity Curve, you can keep your files organized in folders.
Files are easy to drag and drop into different folders or move by using the pop-up menu in the gallery. As an iPad user, you can also save your work to the Files App. This will save your work to iCloud, depending on your storage plan.
We also saw that Projects can help you keep all associated files organized and easy to share with stakeholders.
Similar to Adobe's Creative Cloud, Linearity has its own cloud storage called Linearity Cloud. This is a feature they introduced in 2023 to give Pro users a place to securely store their files while syncing them across their devices. With Curve being available for iPad, Mac, and iPhone, this makes a lot of sense.
Another way to save your files, exclusive to Pro users, is Local file saving. This gives users an additional option to save their work directly to their device and work offline. Even if you’ve saved your file in a certain location, you can switch your file save location at any time.

Bonus tips & tricks
Want to lower your learning curve without speed-reading the user guide? Welcome to Linearity Academy! This is where you can take online courses with lessons and units that you can watch at your own pace. You'll also find expanded video tutorials on the Linearity YouTube channel.
You can also enable the Help Mode to highlight the tools and get a description of what each does. It's a great way to learn about the app hands-on.
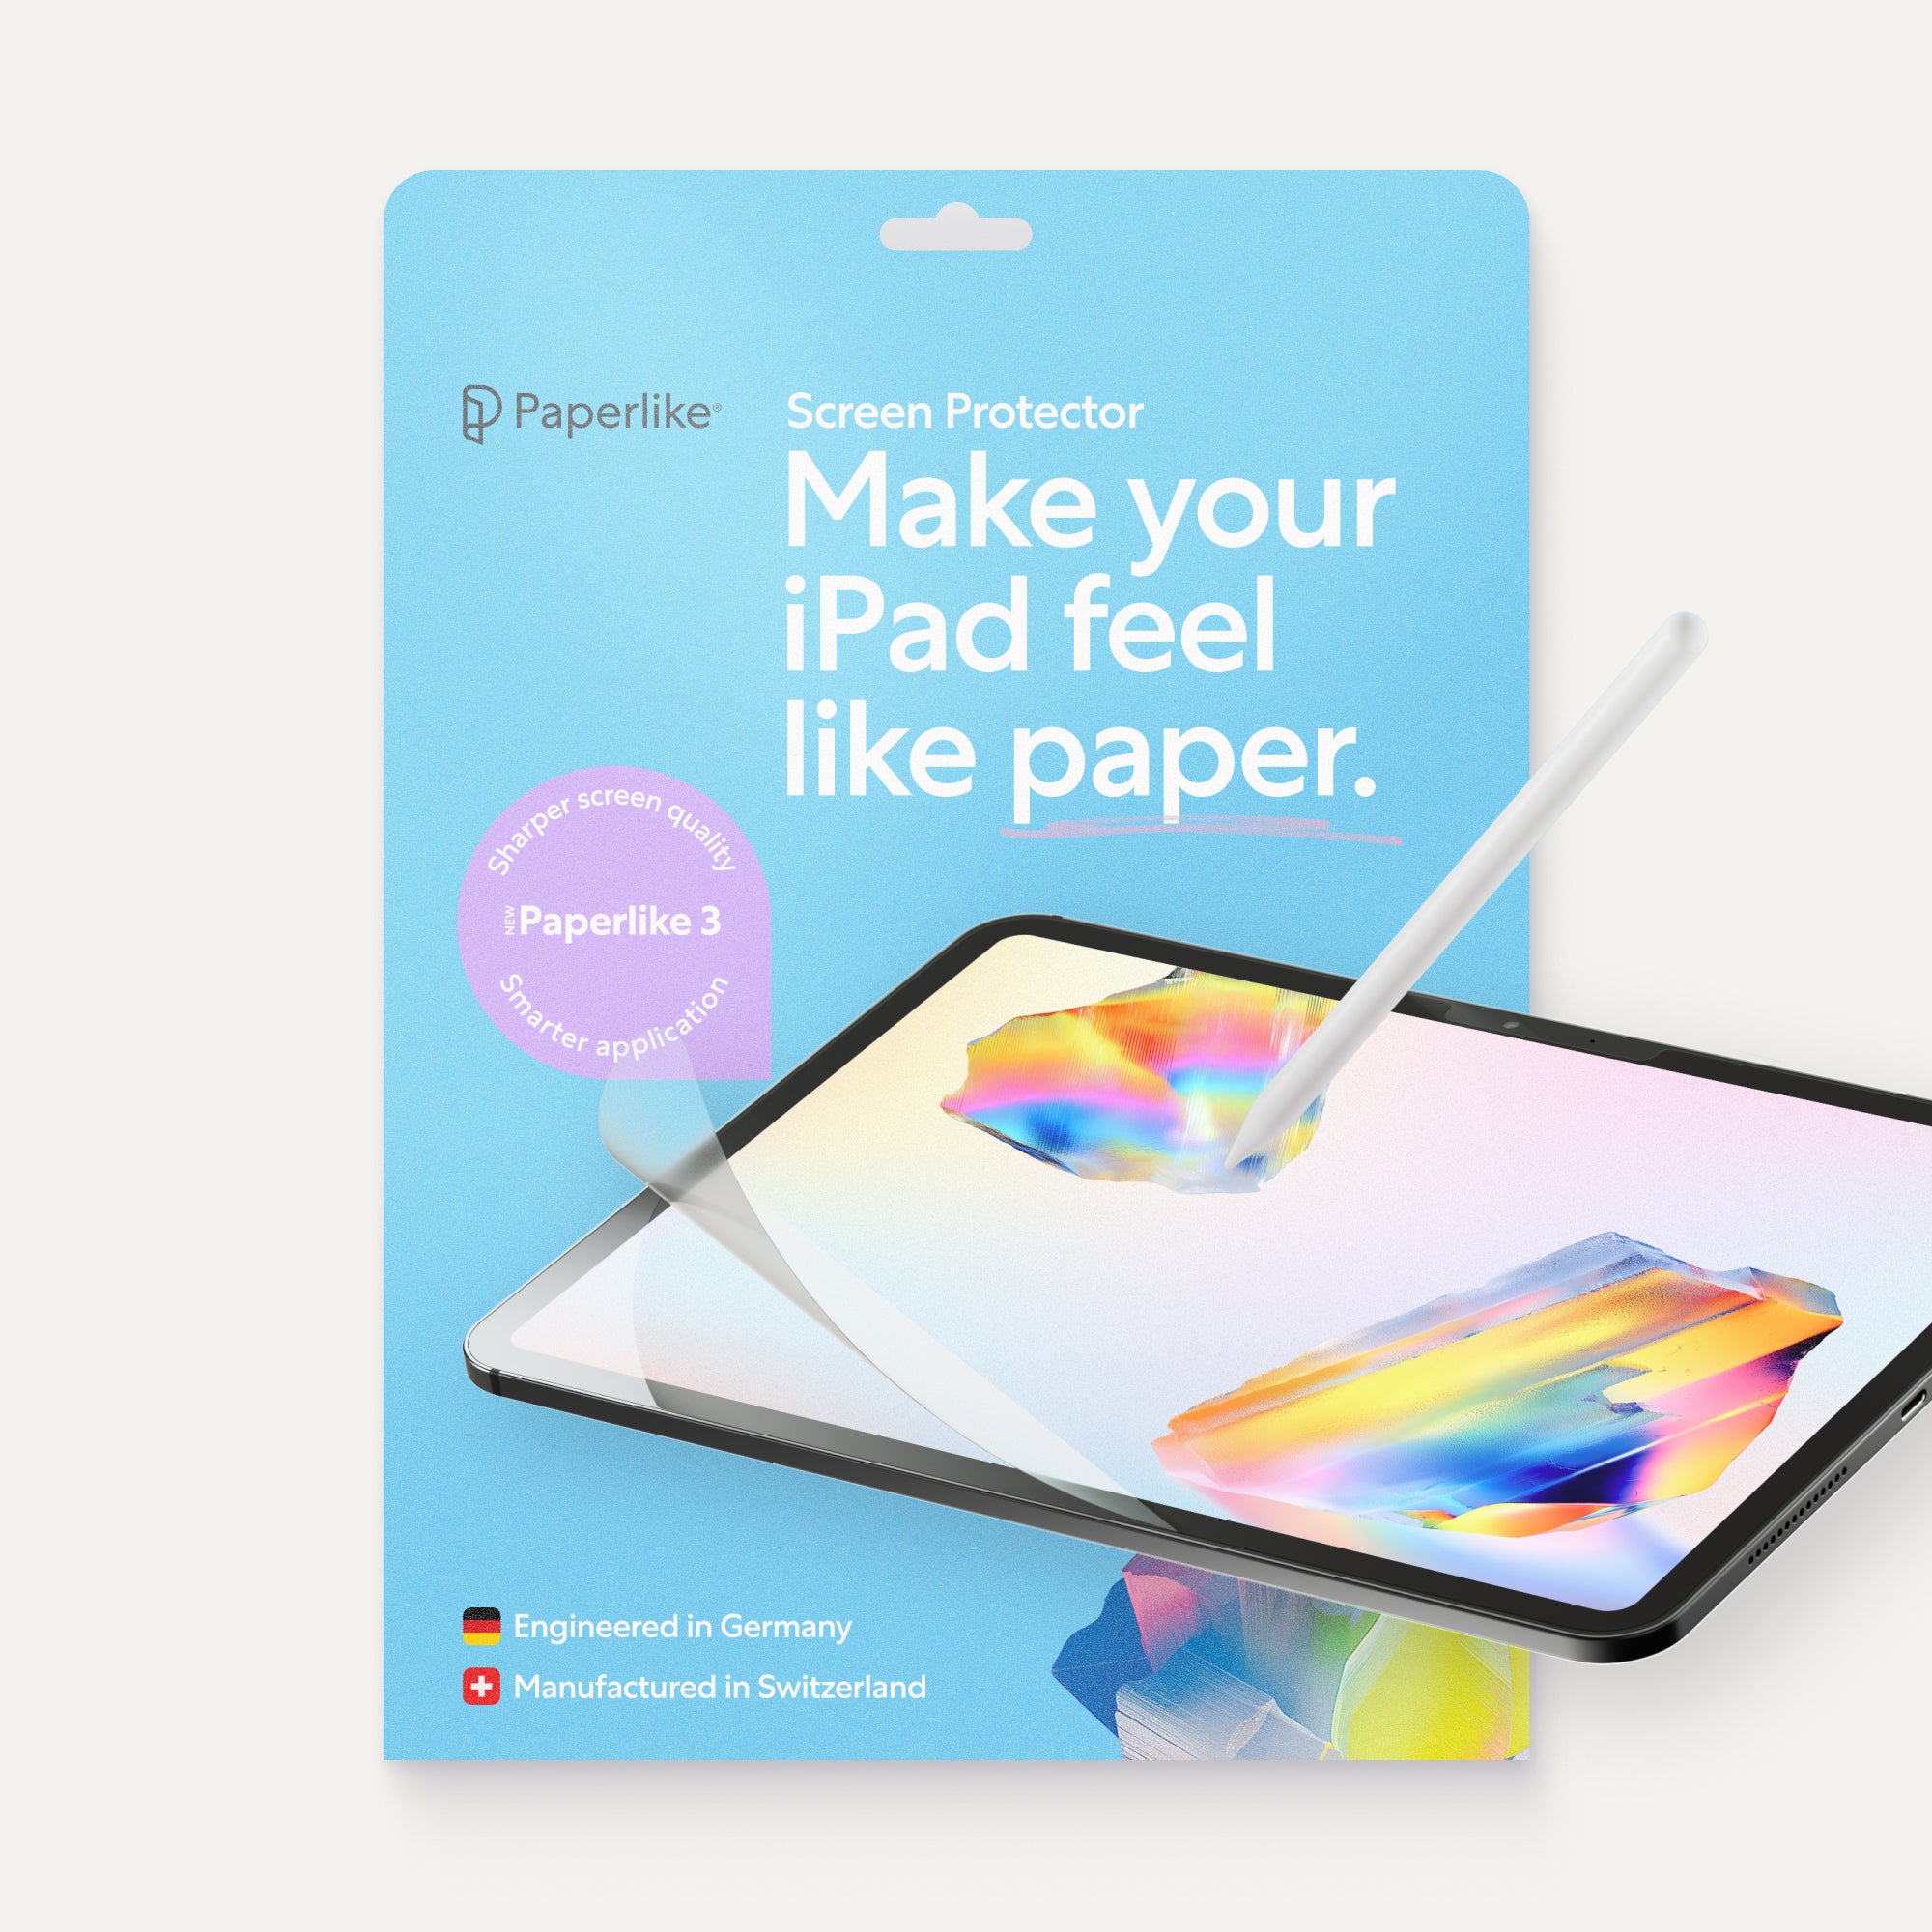
To customize your experience in Linearity Curve, go to the More button in the top right of your document. This is where you’ll find settings for your Canvas, Document, and the app in general. Looking to further customize your experience with your iPad? Try the Paperlike Screen Protector to improve control, especially if you struggle with the slickness of the iPad screen.
Need to select more than one object on your canvas? Try the Multi Select feature for an easier way to select your objects. From there, you can move them into a new layer group.
You can set your app to use an Expanded Layout by default, or opt for a layout that places the Layer, Library, and Style Panel together on the right-hand side. As you use the app, you'll find what aligns with your personal preferences and how you like to work.
Wrap up
Switching programs can be a big step for digital artists.
Especially if you're a longtime Adobe user. But with compatibility with Figma, Adobe Illustrator, and Sketch, there's a clear path for bridging the gap. Especially because Curve has integrated so many in-app tutorials and support for users.
Along with versions for iPhone and Mac, Curve offers users a more complete mobile and desktop experience than Adobe Illustrator. There are feature gaps between the desktop and iPad versions of Illustrator that are hard to ignore. Currently, Linearity Curve offers more robust capabilities and is updated more frequently than Adobe Illustrator for iPad.
If you're looking for a powerful alternative for vector drawing alone, it’s worth it to give Linearity Curve a try.
Frequently Asked Questions
What is Linearity Curve?
A: Linearity Curve is a vector design program for iPad, Mac, and iPhone. It was created to be an intuitive solution for illustrators and designers who want to work with vectors and images.
Can I export SVG or Adobe Illustrator files from Curve?
A: Yes, you can. But you’ll need a Linearity Pro account to access exporting to SVG, Adobe Illustrator, and more advanced export options.
Is Linearity Curve a free app?
A: Similar to Adobe Fresco, Linearity Curve is available under a freemium model. This gives you the option to stay on the free version of the program, but with significant limitations to file quantity, exporting, artboards, and more. You can try the Pro version of the app via the App Store for free for 7 days before deciding to upgrade.
Is Linearity Curve the same as Vectornator?
A: Yes. Linearity Curve is the new name of the program that was called Vectornator. The introduction of the new name also included a full rebrand for Linearity.
Does Linearity Curve work with Apple Pencil?
A: Yes. Linearity Curve is optimized for Apple Pencil. This will give you the best experience in the app. You can also use the LAMY Safari Note + stylus with Curve.