


Procreate and Adobe Illustrator are two apps that allow artists to express their creativity in different ways.
They’re sometimes compared — but the comparison isn’t really a fair one since both apps use very different building blocks to create art.
In this article, we’ll show you the ins and outs of both programs, break down their differences, and explain their distinct advantages and limitations.
By the end, you'll know if you want to push pixels or use vectors to create fabulous art.
Ready? Let's go!
Key takeaways
- Procreate is a pixel-based app with a long-standing history on the iPad.
- Adobe Illustrator is a vector-based app that can leverage the program support of its desktop companion and other Adobe apps like Fresco.
- Both apps have a learning curve but offer solid features and simple, user-friendly interfaces for drawing on iPad.

Procreate
- Pricing: $13 (iPad); $6 (iPhone).
- Platform: iOS.
- Download: App Store.
Procreate is a powerful raster-based drawing and painting app with 100+ incredible brushes built in by default. Its history on the iPad spans over a decade, making it one of the premiere drawing apps for digital artists.
Known for its Valkyrie brush engine, you can produce realistic textures and results not only for digital drawing but also for painting on 3D models. Procreate has been at the forefront of the conversation for its ease of use and has remained a trailblazer in the raster drawing category.
It's also worth noting that Procreate now has a dedicated animation app called Procreate Dreams, even though you'll find animation features in the original app as well.
Procreate is a solid choice for artists who are looking for a low-cost option for drawing and even light photo editing.

Adobe Illustrator for iPad
- Pricing: iPad only ($9.99/month); Desktop + iPad ($22.99/month); Adobe Design Mobile Bundle ($14.99/month). Annual subscriptions available.
- Platform: iOS.
- Download: App Store.
If you're a designer or digital artist, it's likely that you've used Adobe Illustrator. And while Illustrator has a long and storied history in the creative world, Illustrator for iPad is only a few years old.
Adobe took its powerful vector program and reimagined it for the iPad. With vector art, you can enjoy scalability and sleek graphics that can be hard to achieve with raster-based programs.
Using your stylus or Apple Pencil (recommended), you can plot points with increased precision and on the go, thanks to the ever-evolving iPad. If you're already familiar with the desktop version of the app, finding your way around the iPad version will be easy.
And while every feature hasn't made its way over yet (more on this below), you'll be able to create beautiful vector images or even a logo design that you can finish off on the computer if you want.
The appeal of Adobe Illustrator for iPad lies not only in its desktop companion app but also in its seamless compatibility with a variety of other Adobe applications. From Adobe Fresco to Adobe Photoshop, you'll be able to carry over your work between apps to make the most of the app suite that Adobe has spent decades creating.
Procreate vs Illustrator
|
Features |
Procreate |
Illustrator |
|
Left/Right Interface |
✓ |
✓ |
|
Grid |
✓ |
✓ |
|
Layer Limits |
✓ |
✕ |
|
Adjustment Layers |
✓ |
✕ |
|
Symmetry Drawing |
✓ |
✓ |
|
Animation |
✓ |
✕ |
|
Digital Painting |
✓ |
✕ |
|
Vector Drawing |
✕ |
✓ |
|
Full Screen Mode |
✓ |
✕ |
|
Brush Customization |
✓ |
✓ |
|
Brush Import |
✓ |
✕ |
|
Canvas Templates |
✓ |
✓ |
|
Photo Importing |
✓ |
✓ |
|
Photoshop Brush Compatibility |
✓ |
✕ |
|
Text Tool |
✓ |
✓ |
|
Custom Font Import |
✓ |
✓ |
|
Ruler Tool |
✕ |
✓ |
|
In-App Tutorials |
✕ |
✓ |
|
Keyboard Shortcuts |
✓ |
✓ |
|
Timelapse |
✓ |
✕ |
|
Compatibility |
Procreate |
Illustrator |
|
iOS only |
✓ |
✓ |
|
iPhone app version |
✓ |
✕ |
|
Desktop version |
✕ |
✓ |
|
Browser version |
✕ |
✓ |
|
Raster only |
✓ |
✕ |
|
Vector only |
✕ |
✓ |
|
Subscription Model |
✕ |
✓ |

Illustration: vectors vs. pixels
Many decisions go into the creative process, but one of the most important early decisions you’ll need to make is what graphics format to use.
- Illustrator for iPad generates vector-based graphics.
- Procreate creates raster-based graphics.
This is a key difference between Procreate and Adobe Illustrator, and it’s something you’ll need to decide while choosing between these two iPad apps.
So, what’s the difference?
Vector graphics are produced using a series of mathematical equations that tell your program the precise location of the points on your document to create curves and shapes.
This means that vector-based artwork is infinitely scalable. Since vectors are mathematical interpretations of your artwork, they can be sized up or down with no loss of quality, regardless of size or shape.
The downside is that vector-based graphics often lack the creative brushes and coloring options that you see in raster-based apps (see below).

Raster graphics rely on collections of dots or pixels to store all of your graphics information. They don’t rely on mathematical equations; the quality is determined by the number of bits per pixel.
This gives rasters some distinct advantage in terms of shading and color variety. Raster images can closely resemble hand-drawn images or traditional art. You’ll have a broader range of color palette options and the ability to mix tones as you work in ways that aren’t possible with vectors.
However, while rasters provide more creative flexibility, this format limits scalability. When you try to scale pixel artwork past a certain point, images become blurry and soft around the edges as your software tries to spread the same number of bits across a larger surface area.
That’s why it’s critical to understand the resolution of your canvas when using any raster or pixel-based software tool (like Procreate).
While vectors are more flexible, raster/bitmap-based graphics solutions offer a greater range of texture and personality, which is often essential to creative expression.
Our suggestion
At the end of the day, deciding between vector and pixel graphics comes down to style and preference. Both mediums have their strengths and weaknesses based on your artistic style and what you’re ultimately trying to accomplish.
For better or worse — this is one of the single most important decisions you need to make before you begin your creative process since you can’t change it later.
With that in mind, here’s what we’d suggest:
- Use Procreate if you want more fine-grained / dynamic brush control, and you don’t need to scale your artwork. (Ideal for digital painters, sketch artists, etc.)
- Use Illustrator if you need to drastically resize your work and / or if you prefer the clean, simplified coloring and shading tools common in vector design software. (Ideal for graphic designers, vector artists, etc.)
- Use Adobe Fresco if you want to blend these mediums. We haven’t talked about it much in this article, but Fresco is an Illustrator alternative that allows users to intermingle pixel and vector graphics in useful (but limited!) ways. It’s an option if you want to work with both types of tools, but results are mixed.

Interface & tools
If you have a background in graphic design or digital art, you've probably been using Adobe programs for a while. (After all, they are industry standard.)
With this past experience in mind, there's a certain familiarity with Illustrator on the iPad. The layout is simple, and all of the tools you'll need are on one screen. As you navigate using the Toolbar on the left and the Taskbar on the right, you'll see classic tools like the Pen tool, Shape tool, and Artboard tool (just to name a few).
Procreate is even simpler in its presentation, featuring just two rows of tools on the top left and right of the screen and sliders for Brush Size and Opacity.
Other features, like editing your brush settings, are hidden behind a series of menus that allow for fine-grained control over your visual experience.
It’s worth pointing out that rooting around in the submenus is not for the faint of heart. The sheer number of options within these menus can be overwhelming if you're navigating the app as a beginner. If you're ever stuck in Procreate, there are a number of tutorials on their YouTube channel to help you find your way. You can also reference the handbook.

Adobe Illustrator for iPad came onto the scene in late 2020, making it one of the newer apps Adobe has released for mobile users.
The company has taken the same approach to this app as it did with Adobe Fresco and Photoshop, where the app features an in-app tour. This is huge for new users as they learn to translate their digital creations into these new mobile experiences.
In terms of customization, both apps allow you to switch your controls between the left and right, and toggle light mode and dark mode settings. It’s nothing groundbreaking, but it's something.
Our suggestion
If you're new to either app, you'll find that both are relatively easy to navigate.
Procreate has plenty of functionality hidden within its menus, so you won't have to worry about those getting in your way.
Adobe Illustrator and other Adobe mobile apps use floating windows that can be rearranged to your liking for a bit more customization. Everything is about how you feel comfortable working and what you're already used to.
With that in mind, here’s what we’d suggest:
- Use Procreate if you prefer a cleaner screen to focus on your digital illustration and not have as many menus visible.
- Use Illustrator if you feel more comfortable in Adobe programs and want to carry your work over to your desktop. You'll also get to enjoy the customization of where to place your windows.

Gestures & features
While Adobe has a long legacy of desktop software, its history in the mobile space is still relatively new.
A unique feature of Adobe mobile apps is the Touch Shortcut. It's a small button that changes the behaviors of different tools or actions when you touch and hold it. Use it to constrain the proportions of your shapes, get precise control of your handles, and more.
Procreate, on the other hand, has been around for over 10 years, allowing them to position themselves in a way that has made them trailblazers for digital art creation on the iPad.
Basically, you can thank them for the two-finger tap to undo and the three-finger tap to redo, which you'll also find in Illustrator for iPad.

Procreate’s capabilities are expansive, so the app contains a full list of the primary and secondary functions.
Procreate also unveiled its Hover features in the 5.3 update exclusively tailored for iPad Pro users equipped with the M2 chip. It provides artists with enhanced access to precision in brushwork, opacity control, and coloring features.
Both programs allow you to add text to your work with a huge selection of fonts to choose from. In Illustrator, you’ll have Adobe Fonts, the online fonts library that gives you access to 20,000+ fonts from hundreds of type foundries.
Procreate gives you access to all of the fonts in the iOS library, as well as three default fonts: Eina, Impact, and Jack Armstrong BB.
You can also install your own fonts into both apps.
On a side note, if you're looking for more about typography and Procreate fonts, here are 20+ of our favorites.
Our suggestion
When it comes to the most standard gestures, both programs are similar. The real difference comes down to the more unique features that each program offers.
The Procreate app has features to speed up your workflow, like double-tap support for the Apple Pencil (2nd generation) and Hover for faster, more precise ColorDrop.
The Touch Shortcut in Adobe Illustrator can also create workflow enhancements by allowing you to switch between functions, making it a potentially powerful tool for artists.
With that in mind, here’s what we’d suggest:
- Use Procreate if you want to use additional hover and double tap features for your M2 iPad Pro model and the Apple Pencil (2nd generation). These will enhance your workflow.
- Use Illustrator if you want to use the Touch Shortcut to get more functionality out of the program. It might take a little bit of time to get used to, but you might find it very useful.

Limitations
One of Procreate's greatest limitations in its decade-long history has been layer limits.
The number of layers you’re allowed to create on a Procreate canvas is directly proportional to the size of the canvas and the amount of onboard memory (RAM) that your iPad contains.
It’s worth noting that the Procreate team has made efforts to optimize the software and increase layer counts over the years, but the amount of power in your hardware will always be a deciding factor.
You can check to see how your iPad model could have increased layer count here. In the comparison table, we saw that Procreate also has an iPhone version of their app called Procreate Pocket.
Adobe has differing drawbacks. With the discontinuation of Adobe Illustrator Draw, the mobile version of Illustrator is limited to the iPad, meaning it no longer supports Android or Windows tablets. This makes sense, given that the iPad is such a popular tool with digital creatives.
In addition to its desktop version, Adobe has created a beta version of the Adobe Illustrator app in browser that is available with your subscription.
Quick note: We checked, but Adobe isn’t clear on which subscriptions get the browser version of Illustrator. However, we do know that the app requires a desktop version of a browser, so you won’t be able to use it on iPad.
And while Adobe Illustrator for desktop is one of the company’s flagship products, you won’t find all the tools in Adobe Illustrator for iPad. The mobile app doesn't offer support for all object types, like gradient meshes, or effects like adding blur or drop shadows.

At present, one of the biggest appeals of Procreate is the ability to import custom brushes. Right now, Adobe Illustrator doesn't offer this option to users. However, you can create your own brushes using objects drawn on your canvas.
While I have an appreciation for both pixels and vectors, neither of these apps could handle each other's brushes.
Our suggestion
No program will be perfect. While the iPhone and iPad are getting the majority of the shine, Adobe Illustrator is the only program here that can bring your work to the desktop as well.
This is a huge advantage for artists who want an even more flexible workflow that leverages other hardware from time to time. You'll also be able to enjoy a compatible suite of programs that expand and complement Illustrator's capabilities.
Procreate is a great choice for artists who are already using Apple products. They've chosen to stick to what they know and continue to innovate within the space.
With that in mind, here’s what we’d suggest:
- Use Procreate if you have an iPad with decent specs that allow for higher layer limits. This really will depend on the kind of artwork you create because the higher the resolution you use, the more limited your layers.
- Use Illustrator if you want most of your tools from the desktop version of the program but in a mobile workflow that isn't your phone. The similarity is strong enough between the desktop and iPad Pro version that you should be able to work in the program without any issues.

Exporting
Compatibility is important, and that also includes exporting and sharing your work with the world.
Adobe Illustrator can export to the following formats: JPG, PNG, SVG, PDF, and PSD. Basically, you're pretty much set when it comes to the most popular export formats.
Because of its use of Artboards, you have the option to set ranges for which parts of your document you want to include in your final export. This is one of the best features that's been carried over from the desktop program because you can include multiple ideas and versions of a concept in a single document.
The other thing to consider is that Illustrator isn’t just a standalone software. It belongs to the Adobe product family, and that provides enhanced functionality that you won’t experience in Procreate.
Adobe Fresco users can export their documents straight to Illustrator for iPad or desktop. This is due to the vector capabilities in Fresco, which allow you to create using a number of vector brushes. Once you're done, you can edit each point precisely using the Path tool in Illustrator.

Procreate can export to the following formats: Procreate, PSD, PDF, JPEG, PNG, TIFF, and PDF. To this, you can also add a number of common motion file formats because Procreate has animation capabilities as well.
Page Assist was designed to be used for comics, books, and storyboards. Using this feature, Procreate exports these documents differently from standard files.
Simply put, Page Assist identifies each layer as a page and adds enhanced navigation for artists that use layers like multiple pages of a single document. As a bonus, when you export your content as a PDF, all individual pages will be exported in sequence for easy, fast collation and review.
Our suggestion
Finding the right format for your document won't be a problem in either program.
Because Adobe Illustrator uses Artboards, you might find that working with them all in view and exporting whichever you want can be a nice workflow.
Procreate's Page Assist is similar, but you won't be able to have a full view of all of your pages at once. However, if you're going to be animating, you’ll want to stick with Procreate.
With that in mind, here’s what we’d suggest:
- Use Procreate if you want to create comics, animations, or don't mind having to toggle between your pages one at a time.
- Use Illustrator if you want to ideate across multiple artboards at once.

Organization, file management, and cloud storage
Adobe Illustrator organizes your work into a few sections.
These include:
- Home.
- Learn.
- Discover.
- Your files.
- Shared with you.
- Deleted.
You'll find all of your most recent files under the Home section. You also have convenient access to creating a new canvas quickly and can even check out the New and Upcoming features for the app.
The Your files section is where you get to organize your files and create folders that help you keep your documents together. In this section, you can also organize your files by date or by name.
If you ever delete a file, it will go to the Deleted section, where you can choose to restore it.
Shared with you is where the documents you've exchanged with collaborators can be found. This is a newer Illustrator feature where comments can be added to work in progress, and sharing project files with others can be done through a shareable link.

On the other hand, Procreate keeps things simple with its Gallery view. This is where you'll find all of your documents. From here you can create Stacks or groups of documents by selecting individual documents or quickly dragging and dropping.
One thing that all premium Adobe apps have in common is that they include cloud storage. Illustrator subscriptions provide you with 100GB of storage in the Adobe Creative Cloud.
This means your documents are syncing and saving in the background, and you’ll be able to pick up where you left off on desktop or mobile. This kind of flexibility and security with your files is huge for digital artists.
Procreate relies mainly on the iCloud backup of your device and your initiative to manually save your work to your Files app. Unlike with Illustrator, anything that you delete can't be recovered, so you should be very careful when managing your files.
Our suggestion
Organization is key for maintaining your sanity as a digital artist.
Procreate takes a much simpler approach to this idea with a drag-and-drop feature, but maybe that's all you need. Saving, on the other hand, could be an issue if you're not the most vigilant about backing up your artwork manually.
Adobe Illustrator takes a traditional approach with folders and automatically saves your work to the Creative Cloud. This peace of mind is nice and could be invaluable to your workflow.
With that in mind, here’s what we’d suggest:
- Use Procreate if you don't need named folders or mind backing up your work manually. A simpler approach might be better for artists in some cases.
- Use Illustrator if you want a more traditional approach to the organization of your files, along with the ability to have your work saved to the Creative Cloud automatically.

Writer’s choice
Personally, I enjoy using both apps, even though I find myself using apps like Procreate more often for my art and client work.
Adobe Illustrator for iPad is a great program when I need added flexibility in the scale of the work I’m creating.
A majority of the work that I do is created on my iPad, so having access to Illustrator enhances my mobile workflow. With all that being said, Adobe Illustrator for iPad hasn't seen a serious feature update since October 2022.
If you're waiting in earnest for updates and new features, it could be a while before those changes happen. In the meantime, you can definitely still leverage the desktop version for any shortfalls in the app.

Wrapping up
And there you have it: a closer look at two of the biggest digital creation apps for your iPad.
Without a doubt, both Procreate and Illustrator for iPad are exceptional apps with a lot to offer, depending on your needs and artistic style.
Both apps definitely have a place for a versatile artist — and so does Paperlike!
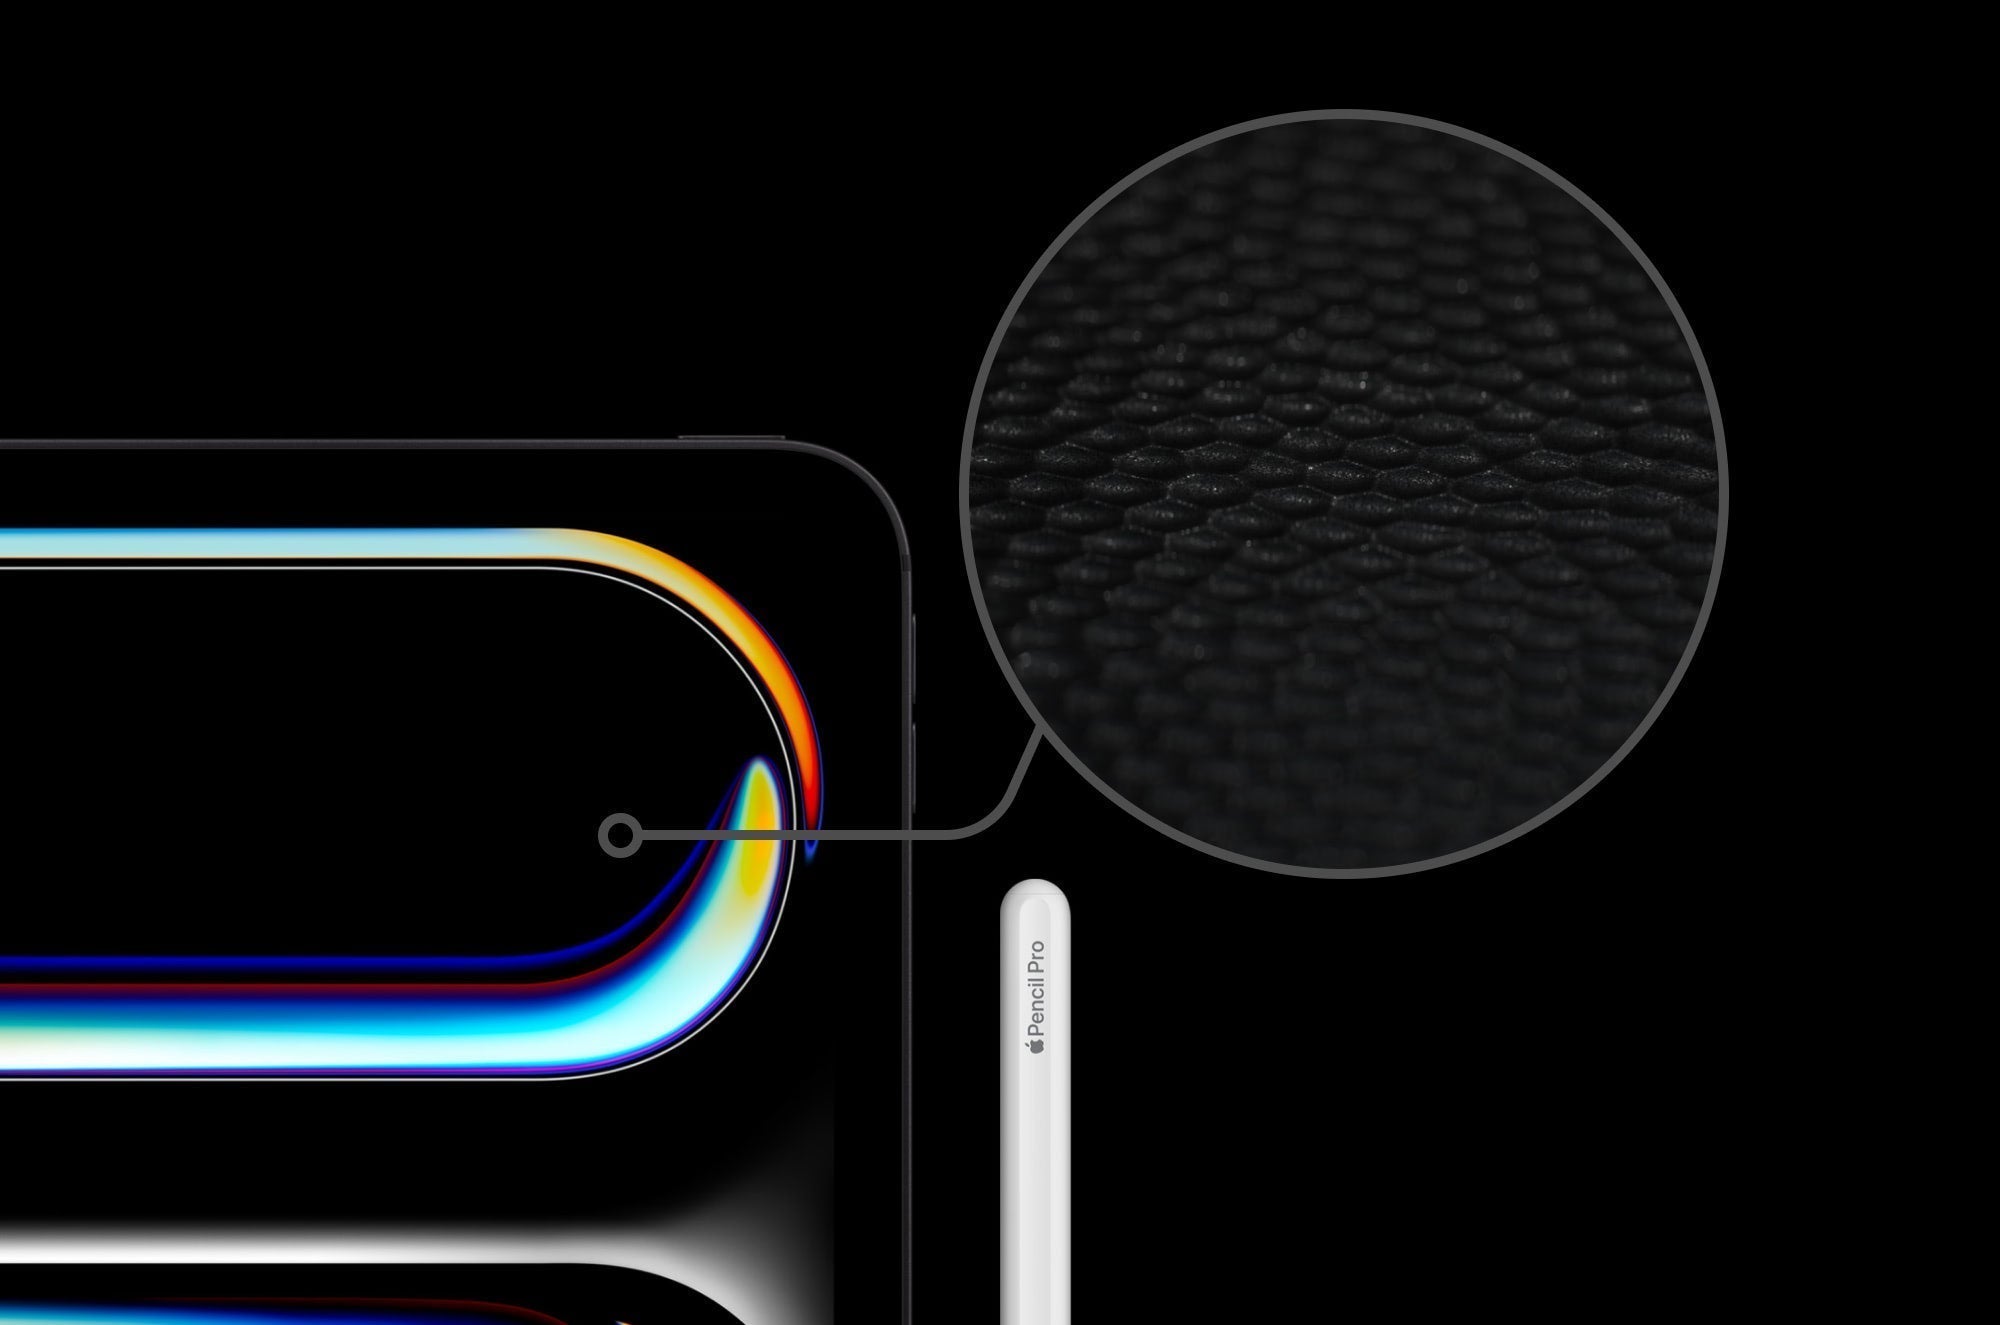
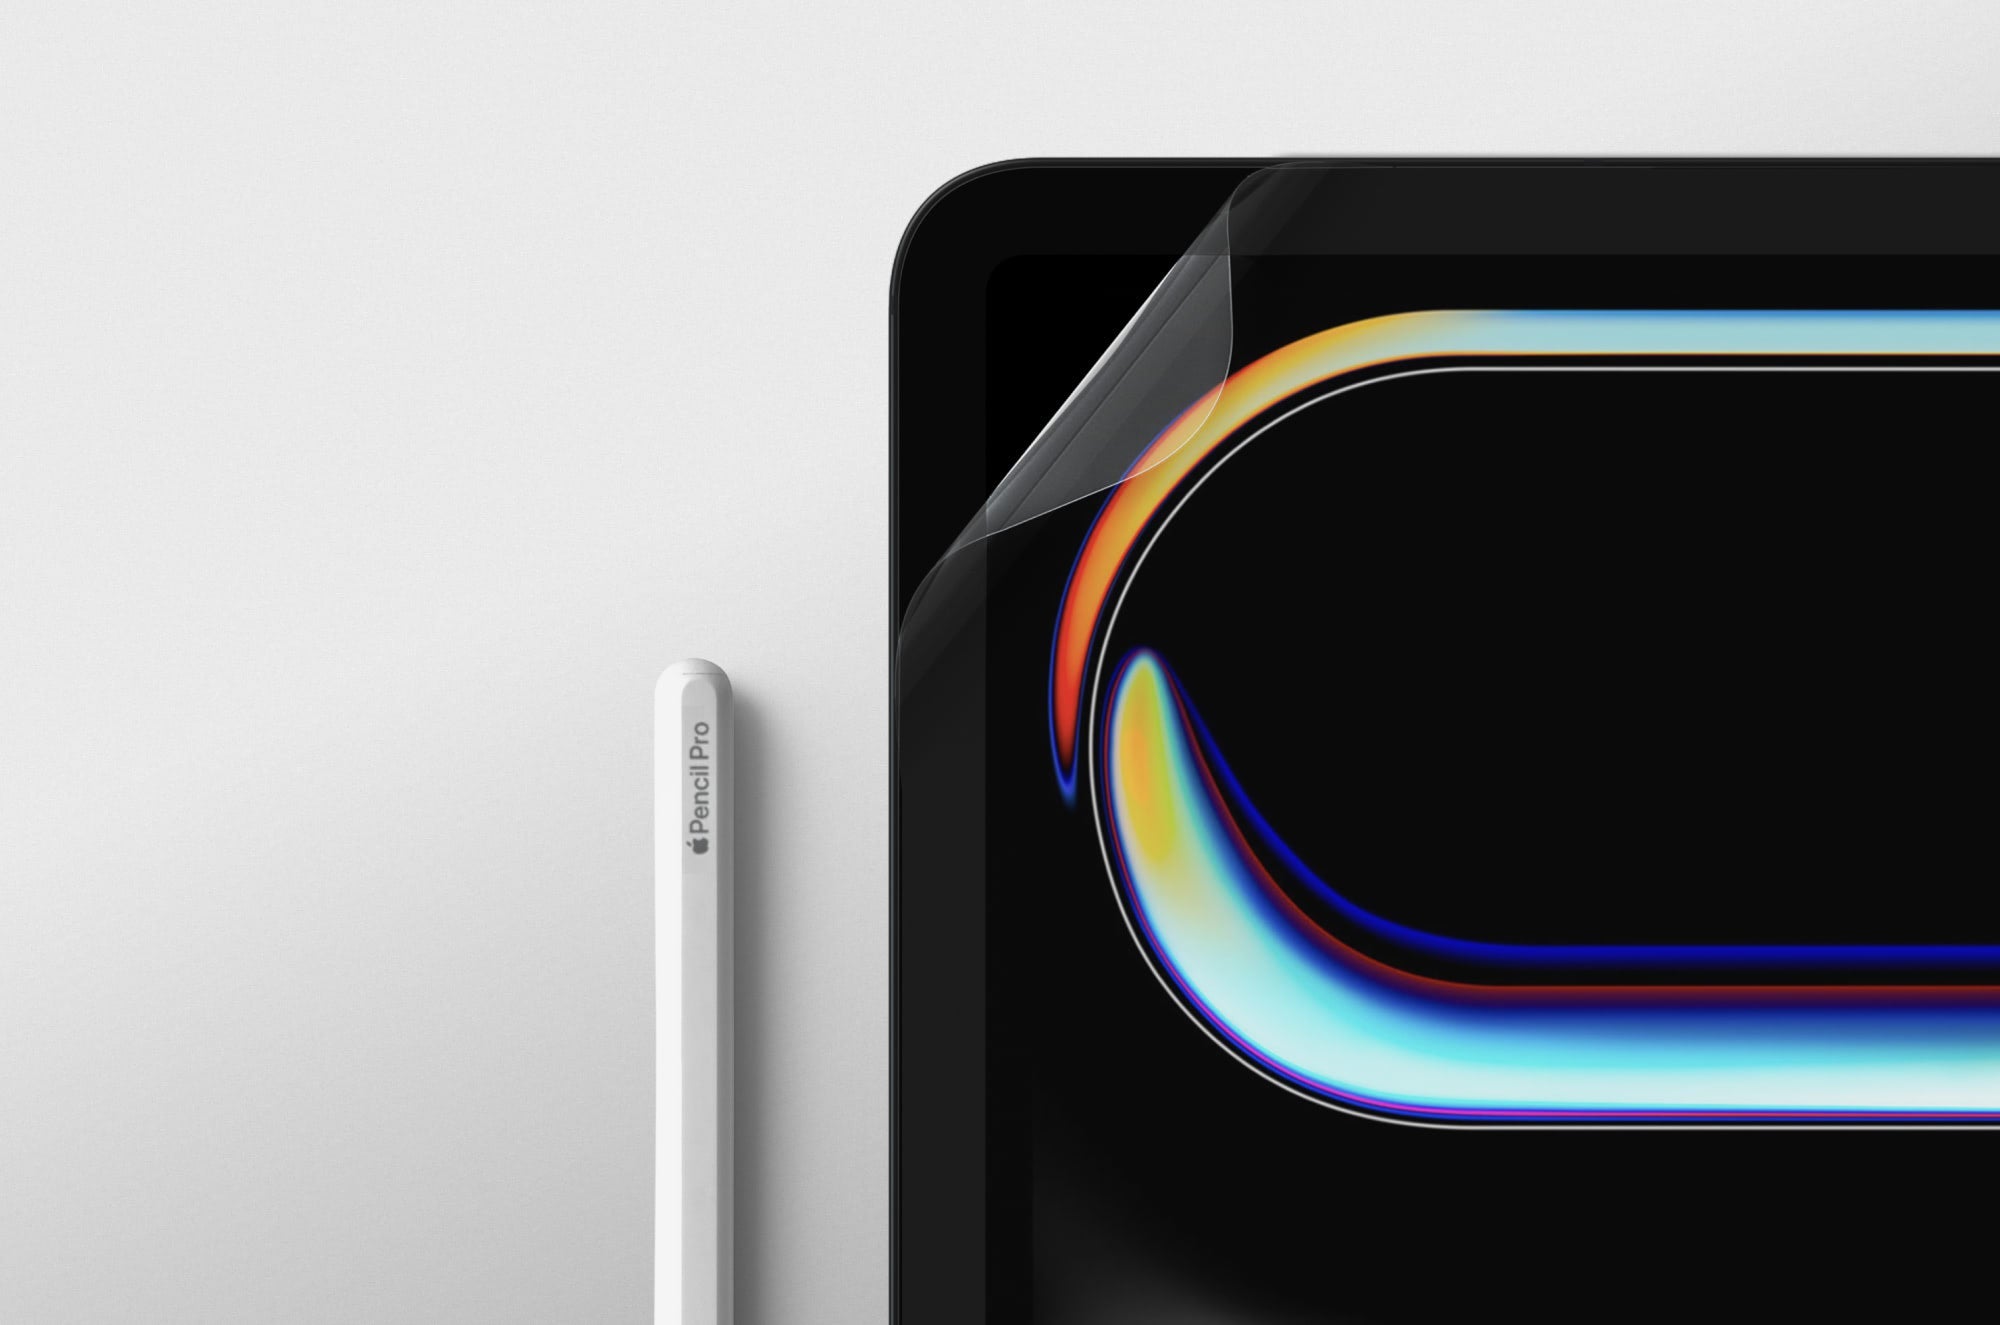
If you don’t already know, Paperlike is a screen protector for the iPad designed to make the surface of your iPad more closely resemble a page right out of your favorite sketchbook!
Paperlike adds friction and stroke resistance to your screen so that you can create smooth, precise lines when drawing with your iPad and Apple Pencil.
No matter which app you use, your Paperlike will help you get a better feel for creating on your iPad with the increased resistance that offers a more natural drawing experience.
Grab yours today!