


Creating a masterpiece isn’t about starting from perfection. It’s a process that takes you down a series of paths that you can choose to follow. Sort of like choose your own adventure, but with art!
While there are general guidelines, it’s always interesting to see how other artists work. That’s what I get to share with you as a digital artist using Procreate.
If you want to get started but are still holding onto perfectionism, shake it off, open a blank canvas, and follow along.

Gathering inspiration & references
How you start your process will set the tone for your illustration. That said, everyone's process will be different. I've developed and played around with mine over the course of my 10-year career as a graphic designer and illustrator, as well as throughout undergrad.
To begin, I like to build a moodboard on Pinterest or in Adobe Express to keep things organized. If you've never used a moodboard, it’s basically just a collage of images or words that depict the style or vibe that you want for your project. This might just change things for you. Imagine you're creating an illustration, but you forget an important element that you wanted to incorporate. That's much less likely to happen when you have a moodboard.
This is the way I work with clients as a freelancer as well. The moodboard establishes the tone, vision, and direction of my piece. It signals to the client that we're on the same page, so that I have guidance and they know what to expect.
For this piece, I'll be drawing a whimsical illustration of a group of mushrooms. I want it to be like something you’d see in Alice in Wonderland. Mushrooms are always trendy for some reason, and they’re not hard to draw.
And while I could just search for whimsical mushrooms, I want to think a bit deeper. I'll start by looking at different types of mushrooms. I’ll compare the forms and see which ones I think look the coolest.
I also sometimes like to check art licensing trends because everything has the potential to engage buyers. Amanita Mushrooms are a common mushroom that you see illustrated, as they're known for their visually striking spots and questionable edibility.
Mushrooms are pretty gross, but we can transform them into something cool with our illustration. In addition to searching for pictures of mushrooms, I want to make sure my illustration evokes a certain mood (hence the moodboard). So I’m also throwing in search terms like garden party, whimsical, and magic.
This will give me images that might not be exactly mushrooms but could help inform how I want my final illustration to look, including color, composition, and supporting elements.

1. Rough sketch
Now that we have our inspiration, let’s start to create.
No matter which format you choose, I encourage you to use 300 DPI for a high-resolution illustration. Also, if this is your first time navigating Procreate, you'll learn a lot by checking out my in-depth review of the app.
For this, I'll be creating a greeting-card format (5x7") because I want my illustration to be large enough for print.
Then, I like to do a series of rough thumbnail sketches to begin. For sketching, I use the HB Pencil or Casual brush, but feel free to use whichever brushes you want. I like those because they feel close to actual pencils. At a small thumbnail size, I don't make my marks too heavy, and these pencils keep my lines nice and light.
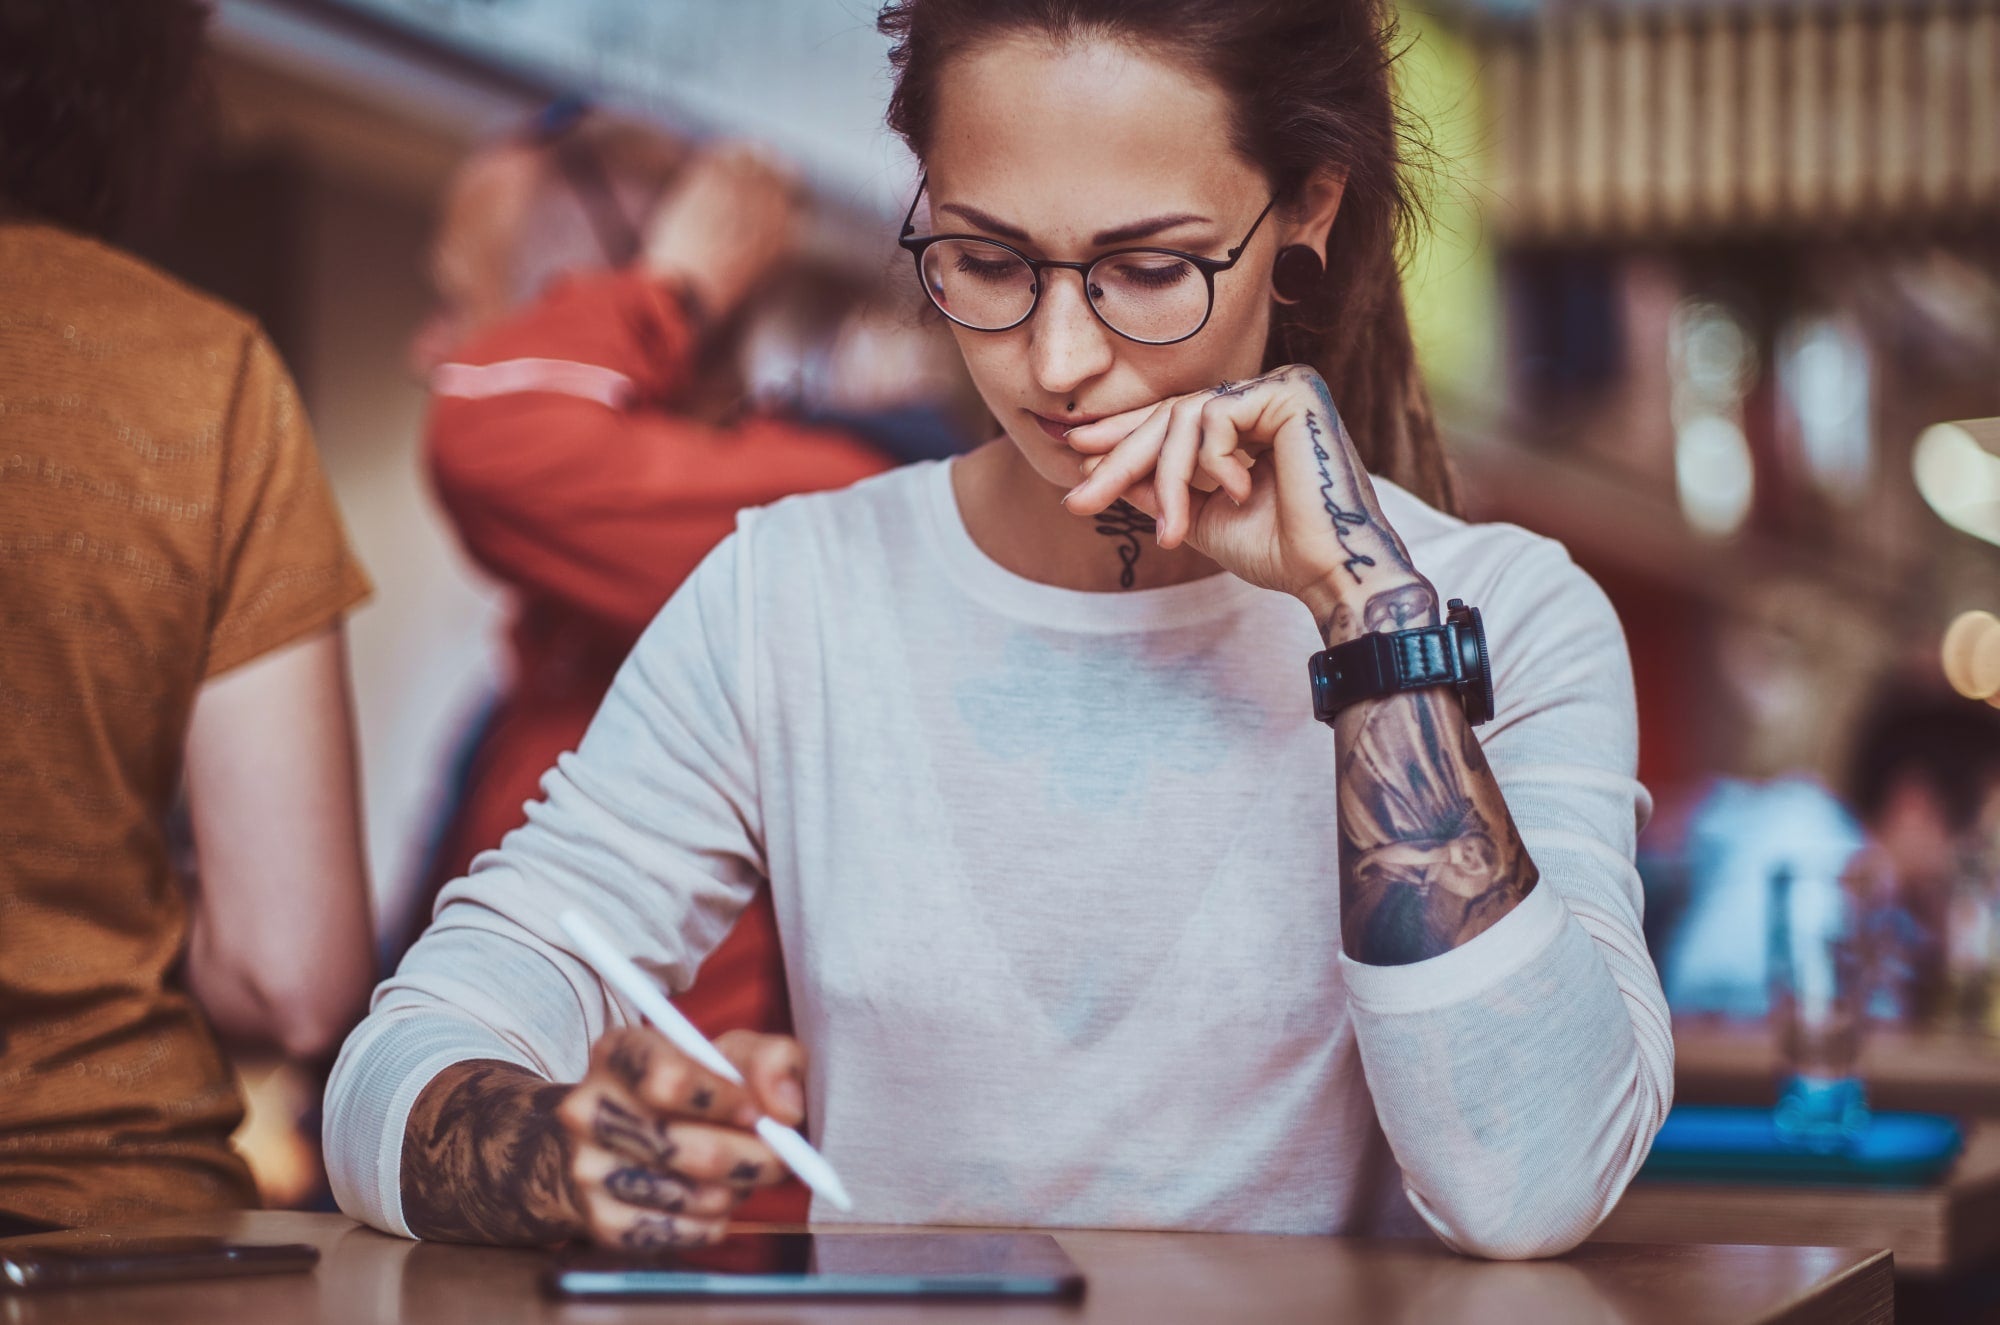
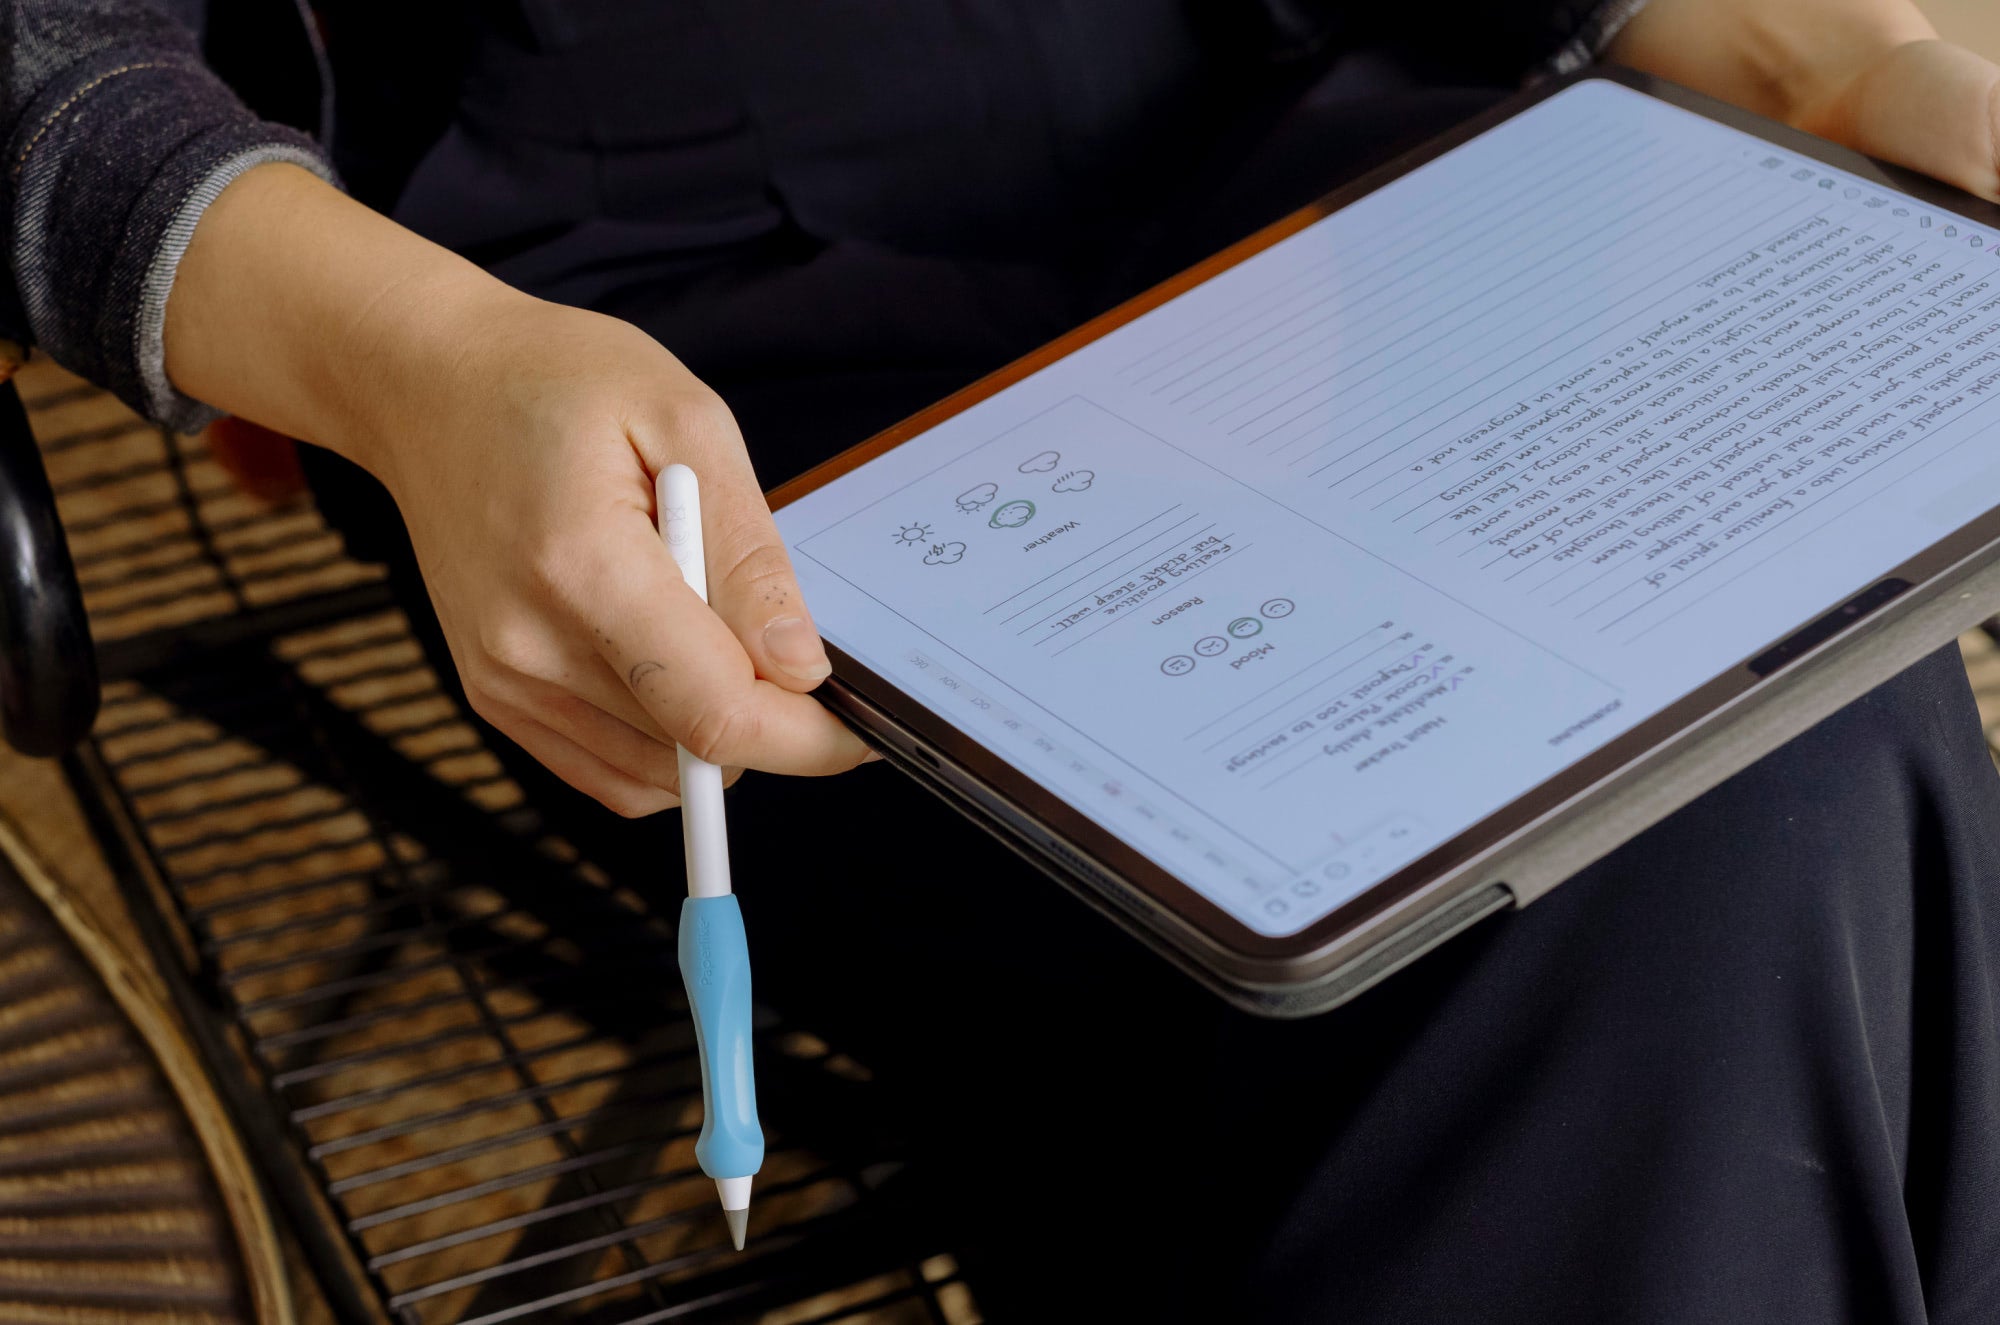
The rough sketch isn’t supposed to be something you’re jazzed about. So what's the point of rough sketching? This is what starts to give you a basic idea of your composition and forms. I’m not worried about style at this particular stage. I just need to put stylus to tablet and go for it. Having accessories like the Paperlike 3 helps me sketch on glass in a way that feels natural, so I still get that paper-feel with every stroke on my iPad.
Practice creating your sketches quickly and move on to the next one. The number of thumbnails isn’t an exact science and depends on your process and preferences. I like to do four because I don't want to give myself decision fatigue from having too many options.
| Quick tip: |
| Feel free to keep your moodboard open in a split-screen view while you sketch to keep your inspiration near you. |
Once you have your thumbnail sketches drawn, evaluate their composition and how well they achieve the goals for your illustration. I chose my thumbnail because it was the most playful compositionally and has a mix of elements I enjoy, like florals and nature.

2. Refined sketch
With our chosen thumbnail illustration, we will enlarge it to our canvas size using the Transform tool.
Make sure your Transform tool is set to Uniform so you don't lose your proportions. After you scale your illustration, it might look fuzzy to start, but don't freak out. The point of this step is to better define your linework.
A nice inking brush is good for this part of the process, like the Studio Pen or Mercury (depending on how much texture you want). Once you’ve chosen your inking brush, lower the opacity of your rough sketch layer. Then add a new layer on top and begin tracing. This will be how you outline the sketch and refine the illustration. I personally find this part of the process relaxing.
If you feel like your lines are too wobbly, double-check your brush’s StreamLine setting in the Brush Studio. It will help to stabilize your lines as you draw.
During this part of the process, be sure not to get too hung up on where your linework is in relation to your sketch. You can deviate and begin making actual decisions about where you want your lines to go.
Unlike our thumbnail sketches, creating these lines should be more considered, and you can take your time until it's just how you want it.

3. Flat colors
Procreate makes it super easy to color things in with features like ColorDrop.
I don’t want my flat colors to be on the same layer as my linework, so I’ll create new layers of flat color for each section of my drawing. This will make selecting, coloring, and shading easier in the next step.
You can define where your colors are going using a variety of features, like Alpha Lock or Reference Layers. You can also just color everything in with your brush. I like to use Reference layers and Color Drop to speed up my workflow. This helps keep your inking lines separate from your fills.
As I go through the illustration, I like to periodically check my contrast. This can be done with an Adjustment layer for Saturation or by adding a layer of black over your illustration and setting the blend mode to Saturation.
If your colors feel like they’re blending together, add a new tone of a color you already have. If you’re looking for color inspiration, these Procreate color palettes can help.
Now you might be thinking, what about the grass?! Grass can be annoying to draw in general, but that's why digital brushes are great! To create the grass, I used a combination of random vertical strokes with the Sanderling and Wild Grass brushes. You’ll see the grass continue to develop as we move to the later stages of this process.
Also, a friendly reminder, you can still change your mind about the colors and other overall elements of your illustration. It happens to me every time without fail, as you can see with the three flowers that definitely weren’t in my rough sketch. But all of this is to give you a foundation to start with.
Now that our values are tight, we'll take things up a notch with shading and lighting.

4. Shading & lighting
This can start to get intimidating, but stick with me. Clipping Masks will be great to use for this step because I want to apply light and shadow non-destructively.
This makes for easier editing later on because you might just change your mind.
A good place to start is to open the Classic mode in your color chip, then slide your color a bit down and to the right to darken it while increasing the saturation. This will help to avoid a muddy color palette.
To add light, you’re going to imagine where you want your light source to come from. This can be indicated simply by using a small arrow on your page. It’s a small thing that helps me not forget which direction my light source is coming from.
Then you can add your white in along the edges that face the direction you've determined for your lighting. For my lighting, I changed my blend mode to Add, which gave the mushrooms an almost magical yellow glow.
I like to shade with a brush like the Soft Brush because it doesn't create a harsh line or require much pressure. I shade very softly around the edges of my mushrooms and a bit underneath.
If you ever get stuck at any point during this, remember your moodboard and reference images. You can pull that up using Canvas > Reference, so you have it in a floating window as you draw.

5. Detail & texture
This is the part of the process that really turns your work from good to *chef's kiss*. It’s where specialty and custom brushes can really come in handy.
Free brushes are also available for download from Paperlike’s Ambassadors. And you can even tweak your own in the Brush Studio if you’re interested in something a bit more unique to you.
Using a Clipping Mask, I used Mintbush and Grain Variable brushes to add texture non-destructively.
For the branches, I used Minke to add a bark-like texture, where the strokes blend into one another. Afterward, I played with the blend modes to see what color effects they would create.
I landed on Color Dodge because I liked the way it changed the color to make it look more realistic. That part was simply the result of trying something to see what would happen. Yes, sometimes winging it is the answer!
This kind of detail work is where using accessories like a drawing glove can be especially helpful. The one I use from Paperlike keeps my hand comfortable and moving smoothly across my screen.
As I was imagining adding fuller leaves to the branches above the mushrooms, I thought back to the garden idea I had at the beginning of this process. That made me pivot to creating a cluster of berry bushes behind my mushrooms so they wouldn't feel like they were floating.
For the bush's leaves, I used the Paper Daisy brush. I also used that to add more detail to the grass. It was an easy way to add in convincing leafy textures without having to draw each one.

6. Final touches
Congratulations! You’ve created a beautiful piece of work.
Now, let’s push it just a bit further. You can use the Soft Light blend mode to overlay a noise layer on your illustration. I find that it gives my illustrations a little more visual interest and overall depth. Noise can be added with a stock image you download or with a grainy texture brush.
Next, we of course have to share our creation (well, if you want to). To prepare your work for export, go to the Share menu and choose your format. JPG is ideal for social media because of its small file size. You can also export directly to social media platforms like Instagram straight from Procreate.
While I definitely created this particular piece with print in mind, one of my favorite ways to share print designs on social media is by putting them on a high-quality digital mockup. That way, I can format it as a square or a portrait without losing the piece's quality or intent. Give it a try to visualize your work in a new way.

FAQ
Is Procreate for beginners to digital illustration?
Yes. Procreate is a great digital art program for all skill levels. You don’t need to be an expert to create your first art piece on the iPad. Learn more about Procreate in this deep dive on the program.
How do I add details to my illustration?
Clipping Masks are a great way to add detail that you can edit later. Brushes that help you add texture and effects are great for experimenting. If you’re low on layer count, Alpha Lock will keep your details confined to the pixels in your layer, making it great for details that don't affect layer count.
What digital brushes are good for drawing in Procreate?
The brushes you use will depend on what you’re drawing. There are a lot of amazing brushes to choose from in Procreate, so I recommend using the categories to help you choose which brushes to use at each stage of your illustration. For example, Pencils for sketching and Watercolors for painting effects. You can also make your own brushes in the Brush Studio.
Where can I learn more about illustration?
Books, blogs, and YouTube are all great resources for general art and Procreate tutorials. Learn about illustration in Procreate for all skill levels with these free tutorials.
Where can I find inspiration for my illustrations?
You can find inspiration anywhere! If you're feeling stuck creatively, stop scrolling and go for a walk. Change your surroundings and sources of inspiration. It's a good way to increase your exposure to other influences and to get your creative juices flowing.
Wrapping up
As I’ve matured in my artistic practice, I’ve been humbled by how much I still have to learn. But the cool thing is that as long as I don’t stop, I’ll get better.
The same is true for you and your artistic practice.
Continue to create and not tie yourself to the outcome so much. You’ll find your flow along the way and your own style. Until then, I hope this helps you at the very least trust yourself enough to start.