

Are your notes a disorganized mess? So much so that you can’t ever find what you need?
You’re not alone.
While notetaking can be used for school, work, to-do lists, and much more, none of your notes will do you any good if you can’t find them when you need them!
Organizing your notes can be a challenge, but it’s not impossible.
Here are 9 tips to help keep your notes accessible and ready for action.
#toc#
Organization: physical vs. digital notes
No matter how you choose to take notes, staying organized is key to long-term success.
At Paperlike, we use our iPads, Apple Pencils, and Screen Protectors to create digital notes and stay organized.
But if you’re still taking notes by hand, don’t worry! From mind maps to bullet points, we still use a lot of the same techniques you’d use with pen and paper!
While the images in this article are mostly focused on how to stay organized using digital notes, we’re talking about techniques that can be used to keep your physical notes in prime condition!
1. Sort notes into folders/notebooks
The easiest and most obvious way to organize your notes is to sort them into different folders or notebooks by type.
If you’re still using pen and paper, use separate notebooks for each class, subject, work project, or task. You can add tabs or dividers throughout the notebook to further separate topics.
Digital notes can be divided and organized using the same system. Most notetaking apps allow you to sort your notes into different folders and subfolders for deeper organization.
Color coding also comes in handy when trying to stay on top of your notes.

#caption#Notability allows you to use different color covers to organize your notebooks into different subjects.
If you’re taking notes by hand, you can buy a regular notebook with a solid color cover for each subject so that your notes for a given subject or project are easy to spot.
You could also store additional handouts (syllabus, slides, etc.) in a folder of the same color, assuming that you can’t keep all of your documents together in a shared binder.
You can do the same thing with digital notebooks by changing the cover in your notetaking app. For any handouts, simply scan the document and add it as a page or attachment in your digital notebook.

2. Create a table of contents
Before you even start taking notes, set yourself up for success by creating a table of contents.
This easy reference point will help you find the sections you’re looking for without having to search through the entire notebook.
The best part? You can do this in regular or digital notebooks!
In a regular notebook, you’ll just label the top of the first two or three pages “Table of Contents.” Then you’ll number the rest of the pages. But don’t worry! You can do that as you go along.
Any time you start a note, write the subject and date at the top of the page. When you finish your notes, you’ll add the subject and coordinating page numbers to your table of contents.
It’s that easy.
Using a naming convention will also help to keep your titles consistent and distinguishable when you’re searching through them later.
Digital notes offer a few more options for fast navigation.

#caption#Evernote allows you to hyperlink to different pages in your notes, so you can easily create a table of contents.
Some notetaking apps, like Evernote and Microsoft OneNote, allow you to create a table of contents with hyperlinks that will take you directly to the pages you need. Others, like GoodNotes, have a custom outline format that you can use by creating headers and subheads for your topics.
When you upload a PDF that includes a table of contents, Noteshelf will use bookmarks to help you quickly navigate through the document.
If you don’t love the idea of creating a table of contents, you could try something like a bullet journal instead. Bullet journaling is a unique and fun way to keep your calendar, to-do lists, notes, and everything else organized and separate.
3. Choose a notetaking method
A good notetaking method will help you keep your notes structured and organized, regardless of whether you’re handwriting your notes or taking them down digitally.

#caption#GoodNotes offers a built-in Cornell template to make taking notes in this method even easier. Select this from the page template, and you’re all set!
There are a ton of great systems out there, but how do you know which one is right for you? Here are a few different approaches to consider:
- Outline - Pretty much everyone has tried this easy-to-use method at some point in their life. It’s the most structured, and its hierarchical nature helps students to get down the content and create relationships. If you choose this method, your notes will be neat and easy to review. The downside is you might be so focused on getting the information in the right locations that you’re not necessarily understanding it as you write it. Best for structured classes or lectures.
- Cornell - The Cornell method utilizes a split-page notetaking system with three sections. You’ll have a large column for your notes and a narrow column for cues or recall. This column should contain the key points, important connections, and relevant questions. You’ll also write a quick summary highlighting the main takeaways at the bottom of the page. Best for quick recall of key points.
- Visual - Visual notes, or sketchnoting, combine drawings, symbols, and handwritten notes to quickly get down the information in a visual way. Instead of transcribing or writing down information word for word, this method allows you to engage different parts of the brain and really pushes you to comprehend the material and make connections. Best for taking down notes fast and for visual learners.
Want to learn more? Jump over to our article on how to take notes fast, for an in-depth look at other notetaking methods that we didn’t cover here.
And, if you’re a digital notetaker, never fear! GoodNotes, Notability, and all the other notetaking apps are compatible with most of these methods.
Some even have notetaking templates prebuilt into their template library, or you can pick out some awesome templates from around the web.
4. Create a consistent notetaking process
The most important organizational hack is to build a consistent notetaking process.
It doesn’t matter which of the tips on this list you choose to use, as long as you use them (or don’t) every time you take notes.
What does this look like?
- Choose one of the above notetaking methods and stick to it. Switching back and forth between different styles can create a lot of confusion.
- Take your notes for each meeting or class in the same notebook every time, or file them in the appropriate folder when you’re done.
- Use the same colors, fonts, and themes. If your first note has all the main topics in red, subtopics in blue, and details in black, use those same colors every time.
- Use a naming convention or title your notes in the same way for each item.
- Make sure to put important features, such as the date and your summaries, in the same location every time, whether that’s in the top corner, at the bottom of the page, or anywhere else.
Studies show that information workers regularly lose up to two hours a week searching for lost digital documents. If you have a consistent notetaking system, you can save yourself a lot of time and headaches.
5. Summarize your notes
Taking effective notes and creating a summary at the end of your notes makes it easier to find the key pieces of information quickly and is the best method for comprehending the material you learn.
Some of the notetaking methods we’ve talked about already utilize a summary. For the ones that don’t, it’s a good idea to add it at the end of your notetaking session.
There are a couple of different ways you can do it:
1. Progressive summarization is a great way to capture the key points, and it doesn’t require a whole lot of rewriting. Instead, you’ll read through your notes and bold or underline the important points. Then, read through the sentences you’ve selected and highlight the best of the best. Now, you should have all the information you need to write a mini-summary.
2. Box off or highlight a section at the bottom of your notes for a quick summary. You’ll see this in any Cornell Notes template, but it’s useful in other formats, too. Your summary should include the main points of each section, so you can get the gist of what you’ve written in a few (brief!) sentences.
Regardless of which method you choose, try to summarize your notes right after your class or meeting while the information is still fresh. If that’s not an option, try to get it done sometime the same day.
Digital notetakers can create a separate notebook for summaries to keep them all in one place. When it’s time to study, you’ll know exactly where to look to find all the key points.
6. Consider using a notetaking app
Going digital introduces a lot of quality-of-life features to speed up and refine the notetaking process.
You’ll have plenty of choices when it comes to notetaking apps, so you’ll need to find one that suits your needs, your writing style, and helps you take your best notes.
These apps are really useful for a number of reasons:
- Templates and duplication tools can help you save time on setup and stay consistent.
- Pens, highlighters, and other tools allow you to customize your notes on the fly.
- Lasso and selection tools make it easy to structure and arrange your notes in a logical way.
- Nesting structures like folders, subfolders, notebooks, and tags all allow you to easily organize your notes.
- Optical character recognition (OCR) scans and recognizes typed text, text in images, in PDFs, and even handwritten notes, increasing searchability.
- Automatic saving and syncing with the cloud make it easy to access your notes on multiple devices.
On top of everything else, it’s much easier to carry a digital tablet to class than a stack of notebooks.
To figure out which notetaking app will work best for you, you’ll need to determine what kinds of notes you’ll be taking the most.
There are a ton of great options out there, and most of them are free to try.

7. Make your notes easier to search
Taking great notes won’t matter if you can’t find what you need.
Even if you’ve highlighted and boxed all the important bits, you can still end up rifling through pages upon pages of notes without some way to quickly identify critical information.
To solve this, try adding something to your notes that will make them easier to spot. For paper notes, that might include:
- Drawings or symbols that represent key takeaways.
- Graphs or tables with relevant information.
If you’re flipping through a paper notebook, looking for a specific drawing will be a lot easier than sifting through all the handwritten text for one sentence.

#caption#With the Gallery View in Apple Notes, you can see pictures from your notes to easily spot the one you need.
The same applies to digital notes, but you’ve got a few more options:
- Photos relating to the topic.
- PDFs that correlate with your notes.
In fact, many notetaking apps, such as Apple Notes, use a grid view with inserted photos as the thumbnail image. You can also use OCR to search through these added images and PDFs, making it even faster to get to the right section of your notes.
Most notetaking apps also offer bookmarking or allow you to flag/highlight important pages or sections of your notes. You can utilize these features to quickly navigate to those sections whenever you need them.
8. Utilize flashcards
Organization doesn’t stop with keeping your notes in order. You can also use flashcards to organize your study notes into a system that will help you learn the content more effectively.
With flashcards, you can:
- Organize your notes into smaller chunks of information that are easier to digest and remember.
- Use them to review, memorize information, or self-test to prepare for exams.
These tools are very easy to make. Just buy some index cards and fill in vocabulary or key concepts on one side and the description details on the reverse.

#caption#Cardflow allows you to create digital flashcards, a major timesaver when you want to study using digital tools.
Digital index card options are available for digital notetakers. These tools function the same way as their paper counterparts, and most offer just as much flexibility, without the bulk of a stack of cards. You can even download these apps on your iOS and Android smartphones so that you can study while on the go.
Utilizing flashcards to quiz yourself is a proven, step-by-step method that will help to improve your recall and your test scores.
9. Clean out or archive your notes
Now that you’ve got nice, neat, organized notes, it’s important that you keep them that way by setting up an archival system.
If you know you don’t need your notes anymore, don’t be afraid to throw them out. If you think you may need your notes at some point in the future, find a place to file or store them out of the way.
This is trickier with physical notes because they take up space, but using the same system over several years will help you stay organized for the long term.
For digital notes, look through your most recent notes to make sure everything is labeled and in the right place. If your notes are digital, look for untitled notes. Give them a title and move them to their proper folder.
You should also go through all your notes every so often to delete or archive anything you don’t need anymore. Check for notebooks with only one or two notes and either combine them or delete them if they’re no longer necessary.
A few of the types of notes that you can delete are:
- Finished checklists/to-do lists.
- Meeting notes that are no longer useful to your job.
- Any note that’s no longer relevant.
Notes that can be archived include:
- Draft versions of your notes. These are the full notes that you took and either rewrote or summarized on a different page, so you don’t need the full text anymore.
- Notes from classes you’ve finished but might need to revisit someday (ex: Algebra 1 notes when you’re now in Algebra 2 class).
The beauty of digital notes is that you can archive anything you’re not currently using without losing the information forever. This clears up some space in your app, allowing you to make new notes and keep only the ones that you need handy.
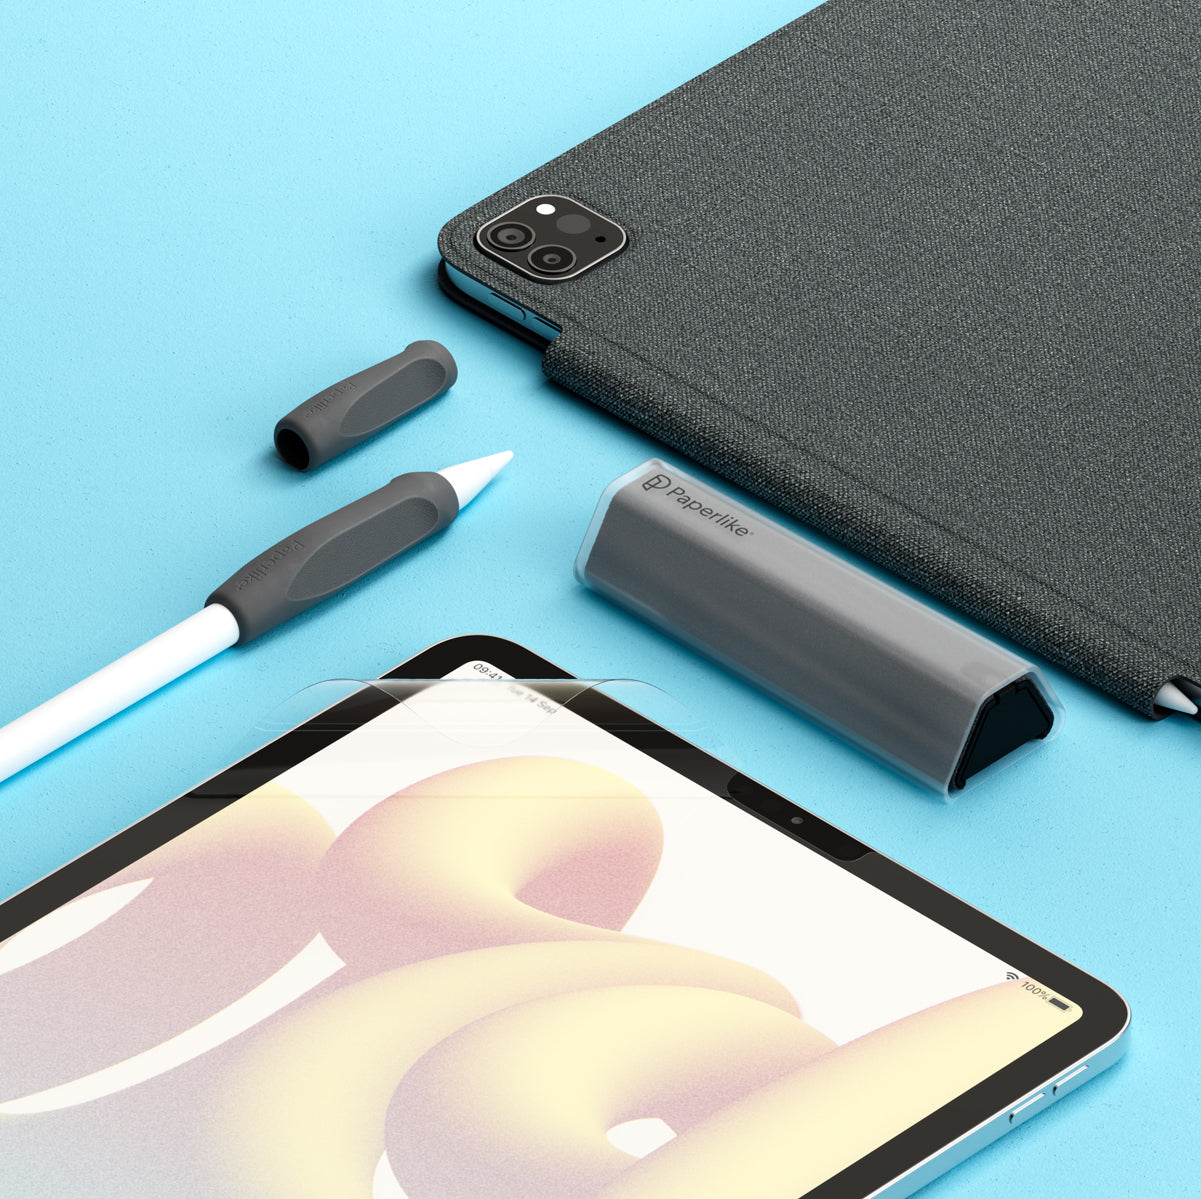
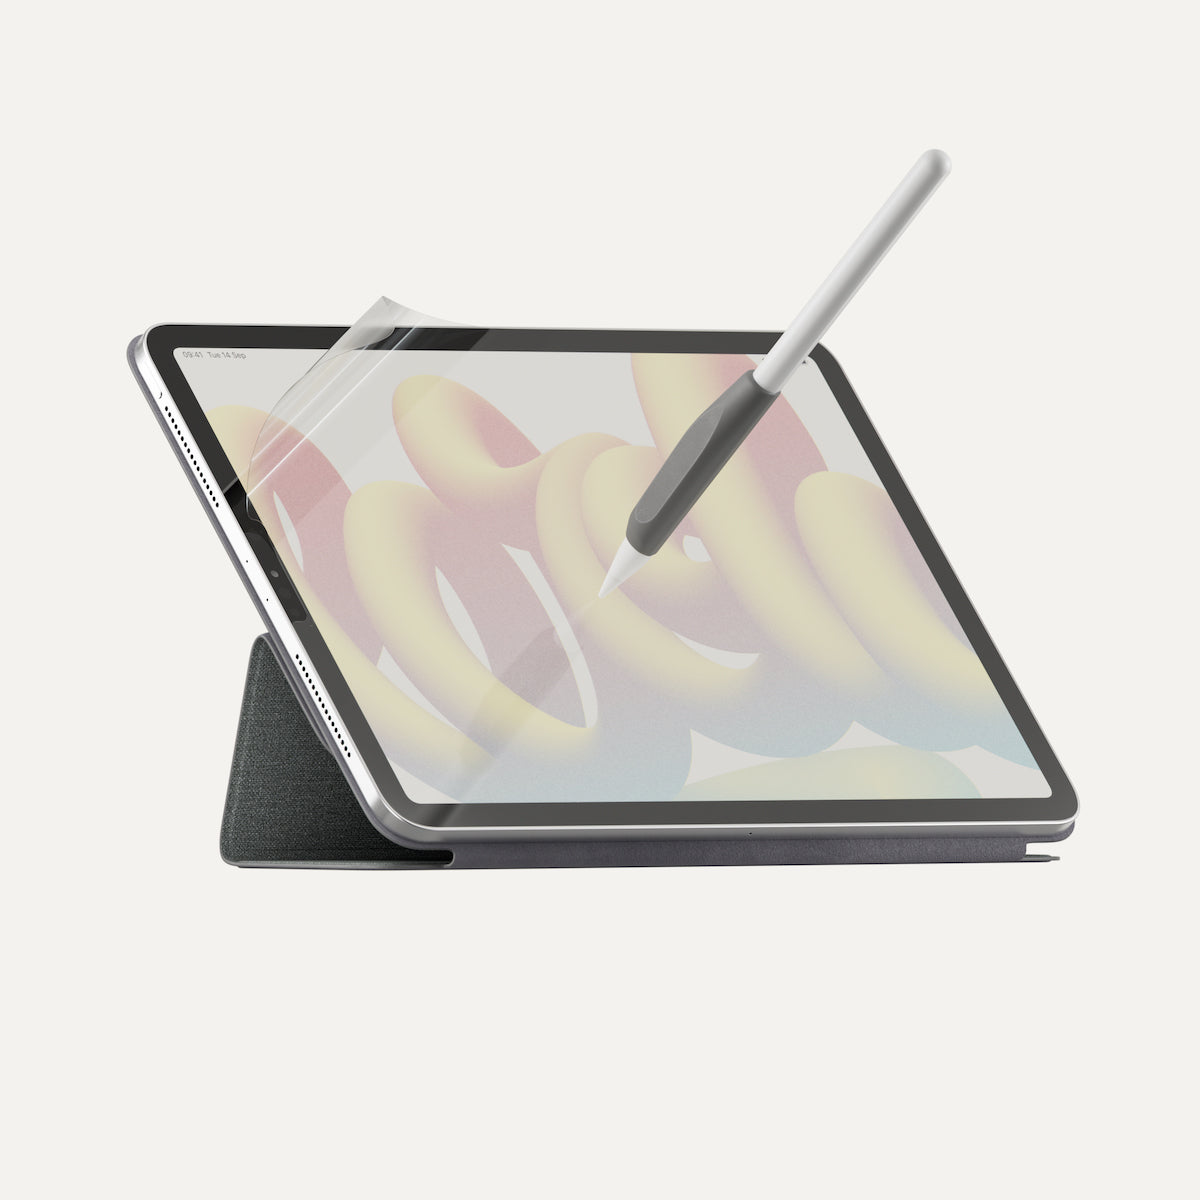
Take better notes with Paperlike
No matter which method, style, or organizational practices you use, you can take better notes with Paperlike.
Research shows that handwritten notes are better than typing on a laptop, but digital notes are more practical. That’s why the iPad and Apple Pencil are the best combination for notetaking.
When you’re writing on a glassy surface, it can get pretty annoying if your stylus is sliding all over the screen.
That’s where Paperlike comes in!
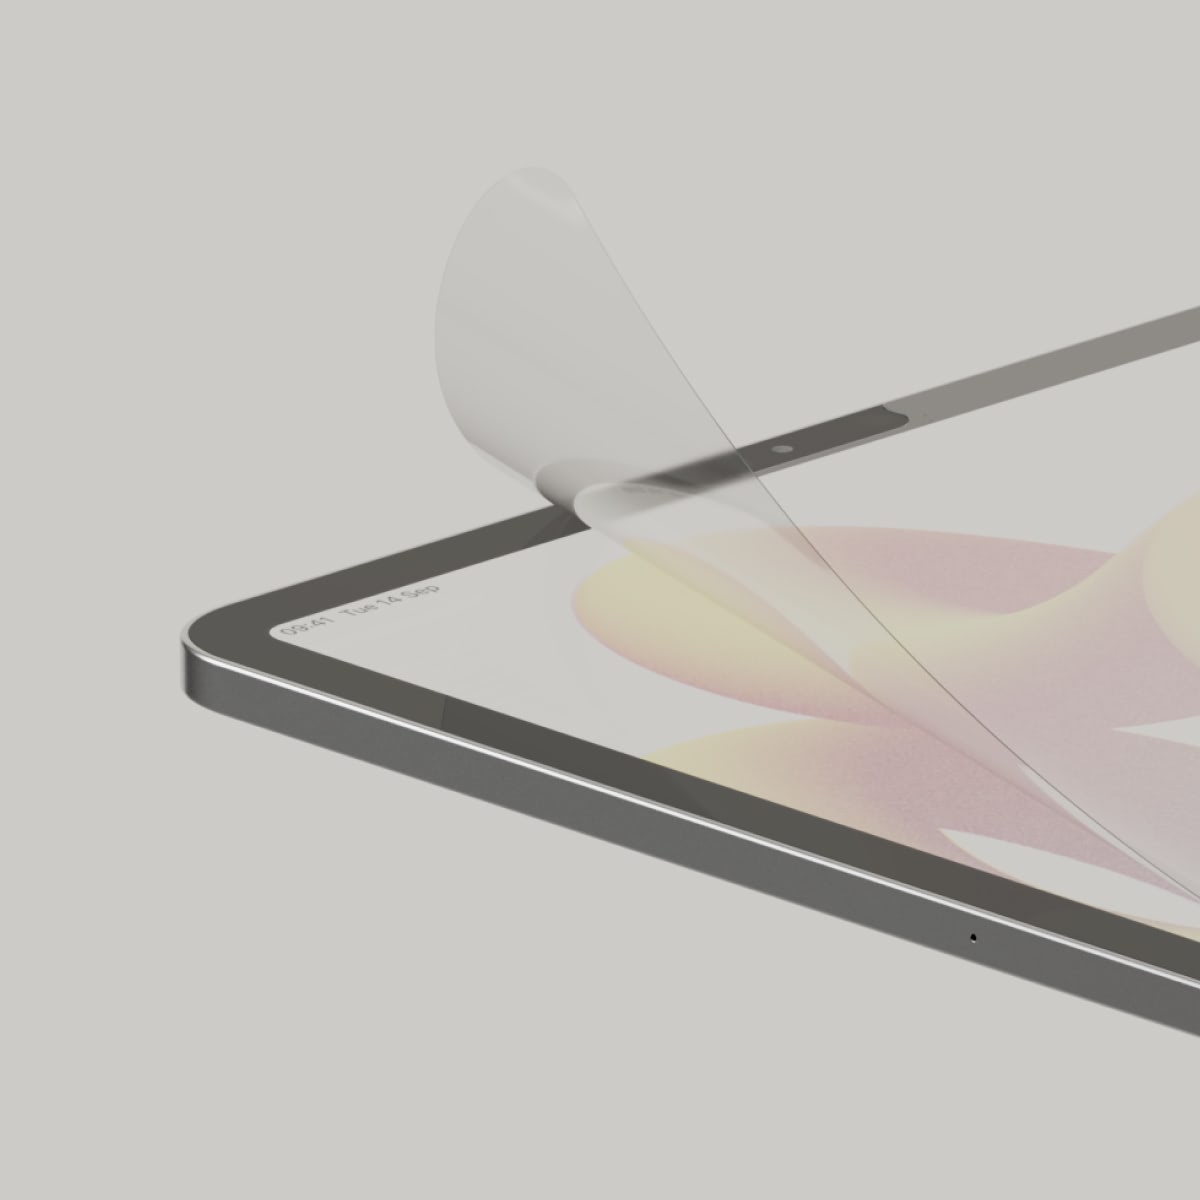
Our screen protector increases the friction and stroke resistance of the display, making it feel just like writing on real paper.
Paperlike is a must for serious notetakers that want a more realistic writing experience on their iPad.
Pick up a Paperlike today and get your notes in order to increase your productivity and notetaking abilities!


