
The plethora of digital notetaking apps have made it easier than ever to get your thoughts on the page.
That’s especially true if you’re trying to replace notebooks and laptops with an iPad or Android tablet.
But with so many options to choose from, which app is best?
We’ve already compared Goodnotes and Notability, two notetaking apps that dominate the market, but they might not be the best fit for everyone.
Today, we’re going to take a closer look at Noteshelf 3 by Fluid Touch, one of the smaller (but still significant!) notetaking apps on the market today.
Let’s get to it!
Key Takeaways
- Advanced customization, including page templates, notebook covers, and tools.
- Customizable Toolbar allows you to choose which tools you want to see on your toolbar and hides the rest away.
- Zoom Box offers magnification with a toolbar so that switching between tools is easy while working in this mode.
- Cross-platform compatibility with all Apple devices, Android, and Windows.
#toc#

#alt#Image of the app icon for Noteshelf 3.
Specs, tech, & costs
Noteshelf was created in 2010 by Fluid Touch, and it’s grown a lot in the last decade. In 2024, it’s become a bigger contender in the notetaking world, largely due to its availability on multiple platforms. The Noteshelf app is now available on iOS, iPadOS, macOS, watchOS, Android, and Windows.
With the launch of Noteshelf 3 in August 2023, the app now offers a free version with a limit of three notebooks (Apple devices only). If you don’t take a lot of notes, this may be enough, but most likely, you’ll need to purchase the app to get the most out of it.
Pricing for each platform is slightly different, so here’s a quick breakdown:
- iOS & iPadOS Apps: $7.99 USD.
- macOS: $7.99 USD.
- Android: $4.99 USD.
- Windows: $4.99 USD.
Unfortunately, you will need to purchase a separate copy for each of the operating systems, and there’s no way to sync between different platforms other than using iCloud to sync between your Apple devices.
For Apple users with a previous version of the Noteshelf app (Noteshelf / Noteshelf 2), Noteshelf 3 is an entirely separate app and will need to be purchased separately if you want to use the new features.
#caption#Image: Noteshelf
#alt#Image of an iPad, iPhone, iMac, and Apple Watch, all with Noteshelf 3 open on the screen.
Note creation & document management
When you’re searching for the best notetaking app, it’s not just about on-page functionality. Keeping your content organized is just as important as taking notes.
This section of our Noteshelf review will cover everything from how you keep your notes organized to search tools and interface friendliness.
When using Noteshelf, you’ll interact with all of these features — and that’s important because it’s a big part of the Noteshelf system.

#caption#Noteshelf users have the option to select a new cover and a new page template for their journals and notebooks. (Image: Noteshelf / Screenshot by Lindsay Armstrong / Paperlike)
#alt#An image demonstrating the Noteshelf 3 notebook creation page.
Note creation
One of the most important things to realize when working in Noteshelf is that every note that you create is actually a notebook in disguise.
As a good rule of thumb, if your note is visible from the main user interface (the thumbnail selection screen), it’s a notebook. This includes scanned documents, imported images, and every other file type.
It’s a different approach from Goodnotes, where imported documents are treated as standalone files, and those restrictions can complicate your organization if you aren’t careful.
Notebooks come equipped with a ton of fun customization options. You can give them a title and choose their cover and default page setup.
Noteshelf features a variety of default cover designs, but it also allows you to customize your cover. You can write or doodle on the covers, and you can use your own photos or search through Unsplash (integrated into the app) to find the perfect cover photo.
There are a variety of default page templates built-in, and you have access to a template gallery with hundreds more, including templates for digital diaries and digital planners. There are four preset background colors for your pages, or you can use the color wheel to create your own perfect shade.
Protip: Tap on Templates on the sidebar to access free designs and paper templates, such as stickers, trackers, study planners, and more.
The only issue with choosing templates from the gallery is that you can’t select a cover for your notebook. Noteshelf will just use the first page of your notes, and you’ll have to go back later to add a cover.
Once you have a notebook, you can add new pages and change the templates for each one without affecting the rest of the notebook. However, you can’t access the template gallery from within a notebook. You’ll need to first save your preferred templates to your library, which you can then access from inside your notebook.
If you want to go further during note creation, you can also enable the auto-backup feature using the various cloud services available through Noteshelf or set a password to protect your document.
Organization
Noteshelf 3 is designed to offer a thorough organizational structure, so it’s always quick and easy to find what you need.
You can create categories from the sidebar and then press and hold on to a notebook in the thumbnail menu to move that notebook to a specific folder.
This is great if you’re using Noteshelf in multiple scenarios. For example, say you were taking notes at both work and school. In those situations, it might make sense to create a “School” and “Work” category folder to make navigation easier.
Similar to Notability, Noteshelf won’t allow you to add subfolders to your categories. What you can do is create “Groups,” which is another way to organize your notes.
When would this be useful?
Let’s say you had a “College” folder, and you had a notebook for every class. At some point, it might make sense to group those notebooks together by subject (ex: Lit 101 & Lit 102), so that you know where to find all notebooks pertaining to a specific area of study.
You can go even further by nesting groups inside groups, with as many subgroups as you want.
Noteshelf 3 also allows you to use tags to go deeper into your organization. You’ll find a Tags menu on the sidebar, allowing you to quickly access notes with any tags.
Another new addition to Noteshelf 3 is the Content View. Located on the sidebar, this dropdown menu allows you to search for specific content, such as photos and recordings.
You can also add bookmarks to specific pages in your notebooks. By long-pressing on the bookmark icon on a page, you can even change the color and give all bookmarks of that color a title. For example, if you were taking math notes, you could bookmark all the pages with practice questions so that you could quickly find all of them later for review.

#caption#You can move notebooks inside of Noteshelf by either dragging and dropping or using the Edit menu. Select the notebook you’d like to move and tap the Move button. (Image: Noteshelf / Screenshot by Lindsay Armstrong / Paperlike)
#alt#Image of the Edit menu in Noteshelf with a gray notebook selected and a red arrow pointing from the notebook to a red box around the Move button.
Moving things in Noteshelf
Merging and migrating notes inside Noteshelf is something of a challenge because every note is a notebook.
To shuffle your notes from one notebook to another, you can either copy/paste or use the edit function, but neither of these methods is intuitive.
Noteshelf doesn’t provide many workarounds, unfortunately. But, while you can’t merge different notebooks and you can’t merge notebook pages, you can move the pages from one notebook to another.
Overall, these limitations can create difficulties during document management.
However, it’s worth pointing out that Noteshelf isn’t the only perpetrator here. Both Goodnotes 6 and Notability have their own confusing processes when trying to merge and manage notes.
It’s just part of the notetaking process and something that you’ll have to learn in order to use the software effectively.

#caption#In Noteshelf, you can tap the + Quick Note button at the top of the screen to open a Quick Note. (Image: Noteshelf / Screenshot by Lindsay Armstrong / Paperlike)
#alt#Image of the home screen in Noteshelf with a red box around the + Quick Note button at the top.
Quick Notes
The Quick Note feature will help you create notebooks at lightning speed. While you can customize your settings, the main idea here is to help you get from the main menu to the notetaking screen as fast as possible.
You can even bypass the standard note-creation workflow entirely if you’re in a hurry. Just tap the + Quick Note button at the top of the screen to skip the selection menu and immediately open a Quick Note.
Quick Notes generate and open a notebook with a default white page so that you can start taking notes immediately.
But remember: This option creates a notebook, not a note — because everything is actually a notebook! Quick Notes don’t give you the option to add a cover, so the first page of your notes will show instead, but you can go back and add a cover later.
Unfortunately, using this feature can eventually lead to issues when it’s time to manage and organize your notes because your options to consolidate your notes will be limited (see the previous section for more detail).
If you’re serious about minimizing clutter, it’s worth taking the time to create and organize everything up front. It might take longer, but you’ll save yourself the frustration of trying to merge and combine notes after the fact.

#caption#Image: Noteshelf / Screenshot by Lindsay Armstrong / Paperlike
#alt#A view of the search bar and a list of recent searches.
Searching
You can access the main search bar by tapping the magnifier icon at the top right of the screen. This is a powerful tool that helps you navigate through your notebooks with speed and precision.
As you create your notes, Noteshelf’s built-in optical character recognition (OCR) scans and indexes them for easy search and recovery. The app does this for scanned documents, handwritten notes, and typed text — and it’s pretty good at it, even if you have terrible handwriting.
It takes a few minutes for your note to become searchable after it has been created, but search results are instant once everything has been scanned and indexed.
Protip: While you can scan every document by using the main search bar, you can also limit the scan to a specific notebook by opening that notebook and accessing the left sidebar. The search function located there will only return results from the selected notebook.
As mentioned previously, you can also use bookmarks and tags to help search through your notes and use the Content View to search for specific images or recordings.

#caption#Image: Noteshelf
#alt#Image of the writing tools in Noteshelf.
Tools
Like most other apps, a great part of Noteshelf’s usability is defined by its tools. Fortunately, this app comes with everything you need to take great notes.
Here’s a closer look at each of the major tools that Noteshelf provides to help you get your thoughts onto the page.

#caption#The four different styles of pen options allow you to customize and stylize your handwritten notes. (Image: Noteshelf / Screenshot by Lindsay Armstrong / Paperlike)
#alt#A screenshot picturing the pen interface and three example lines at varying thicknesses of the ball, fountain, felt, and pencil styles.
Pen
Probably the most important tool in the bunch, the Pen tool is what you’ll use most often when taking notes. This tool responds to touch and/or a stylus like the Apple Pencil and allows you to make notes on the page.
Noteshelf comes equipped with four different types of pens to help you create beautiful, handwritten notes:
- Ball. The standard ball pen is the default writing instrument in Noteshelf. While it draws clear lines that are easy to see, the strokes are slightly soft around the edges and can appear fuzzy, especially when used at larger sizes.
- Felt. The felt pen is similar to the ball pen, but it offers thinner lines and less bleed. This results in crisper, clearer lines compared to the ball pen.
- Fountain. The fountain pen creates the kind of stylized writing that you’d expect from a specialized nib. The pen tip is angled, creating classic, calligraphic linework while you write. This is a great pen when you want writing that is both pretty and legible.
- Pencil. Compared to the other pen options, the pencil stroke looks grainy, but this is by design and will give notes taken with this tool a very unique feel. While all of Noteshelf’s pen tools are pressure sensitive, the result is most obvious when using this variation.
Each pen has three predefined sizing options built in. These options are on a separate floating toolbar on the left side of your notes. You can also long-press on any of the three options and adjust the size to taste by sliding the indicator left or right to suit your preference.
Color selection is different. While there are preset colors on the left sidebar, you can long-press on any color to customize it. You can even add hex codes to get the exact color that you want and save it to the quick-select menu.
Unfortunately, you only get slots for three colors directly on the toolbar. There is a fourth color slot that holds your color wheel, which you can click to choose from the Presets color menu or from the color grid. The color you choose will stay in this slot until you click on any of the other three, and then it resets back to the color wheel.
One last thing to note here: Even when using a specialized app like Noteshelf, notetaking can be difficult if you’re unaccustomed to a glass screen. Noteshelf does its best to account for this issue, but you can drastically improve the experience by using a Paperlike to change the slick surface of your iPad into a texture that feels like real paper.

#caption#The highlighter tool offers both round and slanted markup options, as well as various color options. (Image: Noteshelf / Screenshot by Lindsay Armstrong / Paperlike)
#alt#A screenshot of the highlighter UI and examples of the two styles, round and slanted, in varying thicknesses and colors.
Highlighter
As with other notetaking apps, the Highlighter tool is used to annotate specific sections of your text. This is particularly useful when you need to emphasize details within your notes or import PDF files into Noteshelf, and you want to accentuate specific sections of the text.
Like the Pen tool, the Highlighter comes with various customization options around size and styling. With the Highlighter, you’ll have two styles — round and slanted — along with three preset sizing options. You can also click on any of the sizes to adjust the slider to a different size.
You can select any color you prefer for your Highlighter. Noteshelf will apply that color to your document in a reduced opacity so that the darker colors won’t hide the text, but you can darken the highlighted area by highlighting it more than once.
Protip: Enable the Draw Straight Lines toggle to ensure that your markings neatly cover the text you want to highlight.
You can save up to three customized sizes and colors to the available slots on the toolbar.

#caption#The eraser tool comes with a variety of selection tools, including stroke-based and highlighter-only erasing. (Image: Noteshelf / Screenshot by Lindsay Armstrong / Paperlike)
#alt#A screenshot of the eraser interface showing the different size options and extra features, including Auto-select previous tool, Erase Entire Stroke, Erase Highlighter Only, Erase Pencil only, and Clear Page.
Eraser
Noteshelf’s Eraser tool is something that you’ll end up using quite a bit as you go along. It’s got some great features to enhance the notetaking experience and quickly clear mistakes off the page.
The Eraser comes with three different sizing options as well as an Auto feature. The automatic feature doesn’t erase an entire line or delete an entire stroke. (There’s a separate setting for that.) Instead, it simply resizes the Eraser to the size necessary to erase any detected keystroke in the surface area.
Unfortunately, the setback here is that the Eraser only resizes itself up to the largest size available, which isn’t very big.
Sometimes, when you want to erase an entire section of a page, it can take a while to scrub it clean. The Clear Page option is great if you’re looking to start fresh. The Lasso tool (discussed below) can also help you quickly clear large blocks of text that the Eraser can’t effectively handle.
On the upside, the Eraser offers some advanced options:
- Erase Entire Stroke.
- Erase Highlighter Only.
- Erase Pencil Only.
These three options (especially the middle) can be a godsend when you’re trying to avoid turning a simple erasing exercise into a surgical procedure.
You’ll also see an Auto-select previous tool toggle. The auto-switch feature is great if you’re just erasing one stroke, but it can get annoying if you need to erase more because the tool switches back automatically as soon as the stylus nib leaves the glass.
Protip: Apple Pencil (2nd Generation) users can ignore this feature since the Apple Pencil already has a built-in tap-to-switch feature (enabled in Settings). When you’re done erasing, just tap the body of the Apple Pencil twice to switch back to the pen.

#caption#The text box tool and font customization interface can help you quickly add written text to your note. (Image: Noteshelf / Screenshot by Lindsay Armstrong / Paperlike)
#alt#A screenshot of the text tool UI with the Font/text style menu on the left and a text box with the words, “This is a text box!”
Text Box
Noteshelf’s text display options are excellent.
The functionality and organization in Noteshelf’s layout just make sense. Text boxes are easy to resize, and formatting your text is intuitive and simple, with bold, italic, and underlining options quickly accessible.
But Noteshelf doesn’t stop there.
You can also indent text, add bulleted/numbered lists, and align boxed text based on your preferences. Customizing the text style happens in one place, and the formatting options come with a huge selection of fonts, colors, and more.
While Noteshelf already has preselected headers and body text, everything is customizable and easy to adjust. Rearranging and copy/pasting the text in any way you see fit is also straightforward and uncomplicated.
Protip: After you finish customizing everything, you can save your settings, so they’re ready to go for your next note.
All of these options are extremely useful if you’re using the Convert To Text feature (more on this below) because they give you the ability to condense your text into a format that is easy to read and understand.

#caption#With the selection tool, you can select, move, or resize anything in your document. (Image: Noteshelf / Screenshot by Lindsay Armstrong / Paperlike)
#alt#A screenshot depicting the lasso tool UI and the sentence, “The quick brown fox jumps over the lazy dog,” circled with a blue dotted line.
Lasso tool
Of all the basic tools in the Noteshelf toolkit, the Lasso tool is probably the most important after the Pen. This selection tool allows you to reshape or resize your text and move it around the page.
If you have large handwriting and need to make more room on the page, the selection tool can help. If your manager or professor rambles and you need to restructure your notes so that they make better sense, the Lasso tool is your go-to solution.
All you’ll need to do is draw a lasso around the text that you want to move, and the full options menu will appear. From here, you can modify the text, take screenshots, change the text color or size, and even convert handwritten notes to text.
The Lasso tool has one major drawback:
- Enlarging your text through resizing is iffy. Oftentimes, enlarging your keystrokes makes the text look blurry, something we didn’t expect since Noteshelf uses a vector-based graphic engine.
Protip: It’s not consistent, but sometimes the Convert To Text tool text comes out slightly larger than expected. If you find that to be the case, open the Convert To Text menu, change the Font Size to Default, and it will automatically convert to the saved font size in your text tool.
Overall, the Lasso tool is an essential and unavoidable part of the app. It gets the job done for simple moves and organization.

#caption#Image: Noteshelf
#alt#Image of a PDF document with annotations on it and the Noteshelf 3 toolbar with different tool icons both on it and floating around the page.
Extras
Now that we’ve got the basics out of the way, let’s take a closer look at some of the additional tools that you’ll see when using Noteshelf.
You’ll find important and useful features, like a zoom box, shapes, audio recording, document scanning and PDF annotation, and more.

#caption#The zoom box can help you get up close and personal with your text. (Image: Noteshelf / Screenshot by Lindsay Armstrong / Paperlike)
#alt#A screenshot of the sentence, “The quick brown fox jumps over the lazy dog.” A box appears over the words “quick brown,” and those words are magnified at the bottom half of the screen.
Zoom Box
The Zoom Box is a lifesaver when you need to write smaller text. This is also a great way to get a closeup of existing text if you’re parsing a document for notes.
You can access this feature by clicking on the More icon (the ellipsis icon on the right-hand side of the menu bar) and tapping on Zoom Box.
The Zoom Box will appear as a blue rectangle on the screen that you can move over any area on the page. The bottom half of the screen shows you the contents of that box and zooms in, so it’s extra large.
Protip: The Zoom Box is highly customizable. Use the Zoom Box toolbar settings to adjust the position of the margins, the line spacing, the position of the buttons on the screen, and disable the auto-advance option.
While this feature will help you write smaller notes, the glass display can make your handwriting sloppy regardless of size. A Paperlike adds friction and resistance (just like real paper) to improve accuracy and precision while you write. Grab yours today.

#caption#The shape tool allows you to draw perfect shapes and straight lines in Noteshelf. (Image: Noteshelf / Screenshot by Lindsay Armstrong / Paperlike)
#alt#A screenshot depicting several shapes, including triangles, a circle, an oval, a star, a rectangle, and more, as well as the menu for the shape tool.
Shape tool
As you might expect, the Shape tool helps you draw shapes on the page. This is particularly useful for drawing a box around a specific set of notes or illustrating something with a simple diagram.
This tool works well with most basic shapes, but it gets a little overzealous if you add more than four or five lines to your illustration. Squares and pentagons are no problem, but hexagons and octagons often get automatically transformed into a circle if the drawing isn’t precise. The Shape tool also allows you to draw a curved line, but you have to be careful not to curve it around too far when you’re drawing it or it’ll convert to a circle instead.
The shapes drawn by this tool aren’t automatically proportional, meaning that it’s possible to draw imperfect but necessary shapes, such as an isosceles triangle or a long, short rectangle.
Protip: While you can use this tool to draw straight lines, you don’t have to. Toggle Hold to Convert to Shape in the pen tool settings to draw straight lines and convert shapes without switching to this specialized tool.
You’ll also find a few preset shapes, making it even easier to quickly circle, box, or add an arrow to your notes. You can edit the sizing of both these presets and converted shapes, change the color, and more, to get exactly what you need.

#caption#Audio recording is a powerful Noteshelf tool. When you activate it, the recording icon will automatically appear on your screen. This icon can be moved like a normal object on the page. (Image: Noteshelf / Screenshot by Lindsay Armstrong / Paperlike)
#alt#A screenshot of the audio recording interface with red boxes around the microphone icon and the playback bar. The note page says, “The audio recording indicator!” An arrow points to a red circle with a speaker icon in it.
Audio recording
Noteshelf’s ability to record audio while taking notes can be a huge timesaver, but it comes with a few caveats.
While Noteshelf will allow you to capture audio on a specific page, the audio isn’t linked to the text on playback in the way you’d experience with Notability or Goodnotes 6.
Access and activation are fairly easy. There are two ways to do it:
- From the notebook selection screen, you can tap on the + icon in the top right corner and create an audio note. This creates an entirely new notebook, complete with a lined page template, and turns on the audio.
- If you want to add audio to a page inside an existing notebook, you’ll need to add the microphone icon to your toolbar. (More on the customizable toolbar below.) Then tap the icon to start recording.
In both cases, the audio will activate automatically, and a control bar will appear on the right side of the screen. From there, you can start and stop the audio. You can also tap the double arrows on this bar to extend it across the screen. This will add the option to speed up or slow down playback, as well as navigate to any part of the recording.
As with Notability, it’s possible to record multiple audio notes inside a single notebook. You can even add them to the same page! If you do this, you’ll see multiple audio note icons (the speaker surrounded by a circle) appear on the page that you can move to any place on the screen.
Document scanning & PDF annotation
When you “scan” an image, you’re really just taking a picture with your iPad camera and importing it to Noteshelf.
Some apps have the ability to change the way the scan looks when imported to your device, usually by enhancing the contrast. Noteshelf doesn’t do anything like this. It’s just a picture.
That being said, this is actually a handy tool.
When you use the scanning feature, the AI will try to find the edge of your document compared to the background. You can also use handheld toggles to manually select the document if the system gets it wrong.
Once you import the image, the scan works like the base layer of a document, allowing you to annotate PDFs or write and draw on pictures.
As an added bonus, the built-in OCR will scan your imported document and catalog the text. When you import PDFs, this makes them searchable within Noteshelf, which is a great feature to have when you’re trying to stay organized.
Noteshelf also recognizes PDF outlines, making it easy to navigate through long documents. And, if one of your PDFs doesn’t already have an outline, you can use color-coded bookmarks to create a table of contents by marking each chapter or section and titling the bookmarks.

#caption#Noteshelf’s Presentation Mode allows you to share your screen with an audience. (Image: Noteshelf / Screenshot by Lindsay Armstrong / Paperlike)
#alt#A screenshot of the presentation mode interface with the words “Presentation mode,” “Laser pointer,” and “Writing tools.” An arrow points to the icons or tools for each.
Other useful tools
Noteshelf also offers a few more useful features, such as a presentation mode, read-only mode, a customizable toolbar, interactive checklists, Noteshelf AI, a focus mode, and more.
Presentation Mode
This tool allows you to share your screen via Airplay or an external display, and it turns your app into a whiteboard.
To activate this feature, click on the Projector icon (this is a default on the toolbar). You can also click on the circle with a slash through it on the upper right to hide the UI from your audience for a distraction-free presentation.
While in presentation mode, you can use the Laser pointer to easily draw attention to any point on the screen or the Pen tool to make annotations on the screen.
Read-only mode
Read-only mode allows you to hide your toolbar. When this is enabled, you won’t be able to draw on the page or add additional handwritten notes to your file.
This is a useful feature if you’re reviewing your class or meeting notes and you want to make sure you don’t add unnecessary marks to the page. It’s also essential when you’re using a digital planner or digital calendar and you need to navigate using hyperlinks.
Customizable toolbar
The new customizable toolbar (Noteshelf 3 only) allows you to completely customize your notetaking experience.
To get started, tap the More button and then tap Customize Toolbar. A menu will open that allows you to pick and choose what tools, features, menus, and shortcuts you want to add or delete on your toolbar. This way, you can keep only the items you need at hand, minimizing the clutter.
Focus mode
Focus mode allows you to completely clear your screen of all toolbars and icons (except one) for a distraction-free notetaking experience.
You can either use a four-finger tap gesture to activate focus mode or tap the circle with a slash icon at the top right of your screen. You’ll be left with only an empty circle that you can tap to exit this mode.
Interactive checklists
Most apps allow you to create shopping or to-do lists, but Noteshelf is one of only two apps (Apple Notes has this, too) that has interactive checklists. Instead of using bullet points, you can create checkboxes and mark them off once the item is completed.
Noteshelf AI
Noteshelf 3 comes with its own Noteshelf AI. It’s still in beta at this time, but this assistant can help you summarize, outline, translate, explain topics, and even generate notes in your (approximate) handwriting. Learn more about what this amazing tool can do in Noteshelf's blog.
Built-in web clipper
When you need to add web content to your notes, Noteshelf’s built-in web clipper makes it easy to either drag and drop content from the browser or type in the web address to add clippings to your notebook. You can then annotate and mark up the page as needed.
Integration with Unsplash and Pixabay
Adding images to your notes is super easy now that Noteshelf 3 integrates with Unsplash and Pixabay (photo-sharing sites). You can use these to add context or just personalize and jazz up your notebooks and you can resize and move these images as needed.
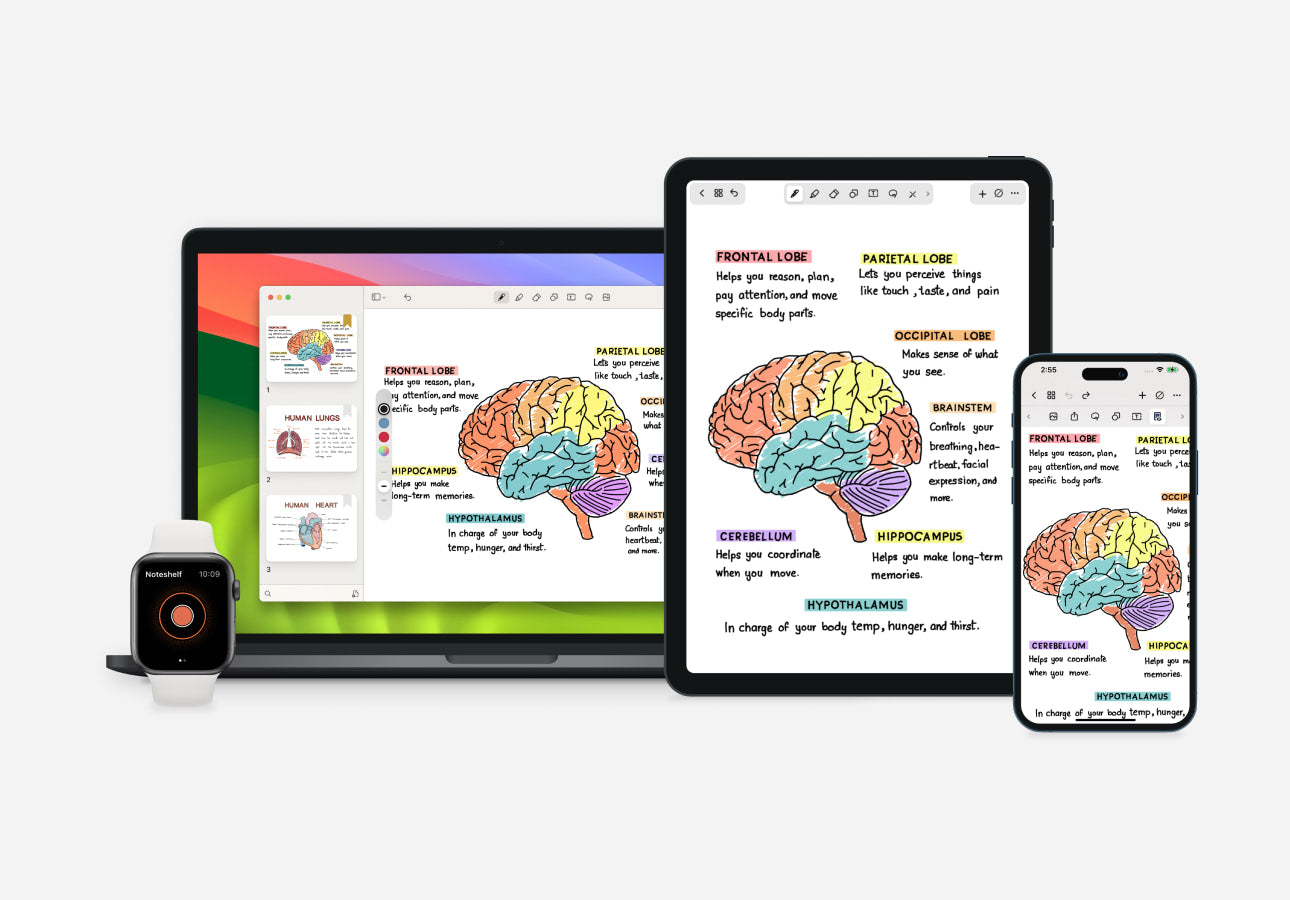
#caption#Image: Noteshelf
#alt#Image of two screens, both with Noteshelf 3 open, showcasing a page of handwritten notes on one and the homepage and sidebar on the other.
Customization
Noteshelf comes equipped with a ton of user-friendly settings to help you customize your experience and create great notes in the process.
From adjusting the appearance of the app to changing the stylus you use, Noteshelf gives you the options you need to make your workspace your own.

#caption#Noteshelf offers plenty of customization on how you want to set up your home screen. (Image: Noteshelf / Screenshot by Lindsay Armstrong / Paperlike)
#alt#Image of the home screen of Noteshelf 3 with the More menu open showing the different ways to sort and view notebooks.
Appearance & UI
Noteshelf comes equipped with a variety of customization options in the user interface, allowing you to set things up the way you like.
Note: When Noteshelf 3 launched on Apple devices, the appearance and UI of the app changed quite a bit.
However, while the Android app did get many of the feature upgrades, the UI retains the same look and feel as before. Since we’re mostly focusing on iPadOS here, there may be a few differences between our review and what the app looks like on Android and Windows.
As default, the app will automatically use your device’s light/dark mode settings. If you prefer a white or black background, you can go into Noteshelf’s settings to change to either Light Theme or Dark Theme. To do this, tap the More button, Settings, and then Appearance to access the options.
You can also use the More button to change how you view your notes. Noteshelf allows you to sort your notes in a variety of ways, including Date Last Opened, Date Modified, Name, and Custom.
Like other notetaking apps (Goodnotes, Notability, Apple Notes), you can choose from a list or grid view, but Noteshelf goes the extra mile and also allows you to choose between large or small notebooks. This is a nice little customization that you won’t find in any other notetaking app right now.
Handwriting
Noteshelf’s handwriting style and customization options are top-notch. Not only can you select one of six different writing styles (based on how you hold your stylus), but you can also change the handwriting recognition engine that Noteshelf uses to parse your text.
As far as selecting a handwriting style, you’ll just tap the image that looks most similar to how you write. Even if you forget to do this, the system is still responsive, but selecting the correct writing style helps with palm rejection and navigation.

#caption#The Apple Pencil is the preferred stylus for Noteshelf 3. (Image: Noteshelf / Screenshot by Lindsay Armstrong / Paperlike)
#alt#A screenshot of the Apple Pencil UI that includes the options, Use Apple Pencil, Pressure Sensitivity, and Double-Tap Action.
Stylus
Noteshelf 2 offered compatibility with three separate stylus brands: Apple, Adonit, and Wacom. In Noteshelf 3 (at least for the iPad app), it looks like the Apple Pencil is your only option.
We tested the app with an Apple Pencil (2nd generation), and the results were what you’d expect from using an Apple-branded product on an Apple-made device. In this setup, Noteshelf is highly responsive and wonderful to work in.
Some newer functionality, like the double-tap action that allows users to switch between tools, felt like it made some of the auto-switching features in Noteshelf redundant, but those options could be customized from the Apple Pencil menu.

#caption#Noteshelf’s settings menu contains your syncing and backup options. (Image: Noteshelf / Screenshot by Lindsay Armstrong / Paperlike)
#alt#A screenshot of the Cloud & Backup settings menu in Noteshelf. Options include Use iCloud, Auto-Backup Notebooks, Publish to Evernote, Export Data, and Backup on WiFi only.
Storage, backup, & sharing
Noteshelf allows you to connect to multiple backup and storage options, including iCloud, Dropbox, Evernote, OneDrive, and Google Drive.
You can also automatically back up your data to any of these third-party services in addition to syncing across iCloud — which is important if you’re planning to use Noteshelf on your iPhone, Apple Watch, or the Mac app.
Unfortunately, you can’t sync between ecosystems at this time (e.g. Apple to Android). You can, however, sync between devices that share the same ecosystem (e.g. Android to Android via Google Drive or Apple to Apple via iCloud).
While Fluid Touch has said they’re working on cross-platform functionality for the future, they’ve reported difficulties with this feature for years (throughout the entire lifetime of Noteshelf 2). If you’re looking for true cross-platform compatibility, the Nebo app may be a better option.

#caption#Noteshelf allows you to export or share your work in a variety of ways. (Image: Noteshelf / Screenshot by Lindsay Armstrong / Paperlike)
#alt#Image of the exporting/sharing menu in Noteshelf.
You can share your notebooks with others, and Noteshelf gives you a lot of options for this feature, including:
- Current Page, Select Pages, or All Pages.
- Image, PDF, or Noteshelf File.
- Page Template, Cover Page, and Title & Page No. toggles.
Once you’ve made those selections, you can choose from a variety of ways to export or share your work. You can send through Messages or Airdrop, send to other apps, and so on.
But this doesn’t actually allow you to collaborate on your notes. Instead, it’s basically just giving someone access to them. While they may be able to edit them in their own app or another app of their choice, you won’t be able to see any of these changes.

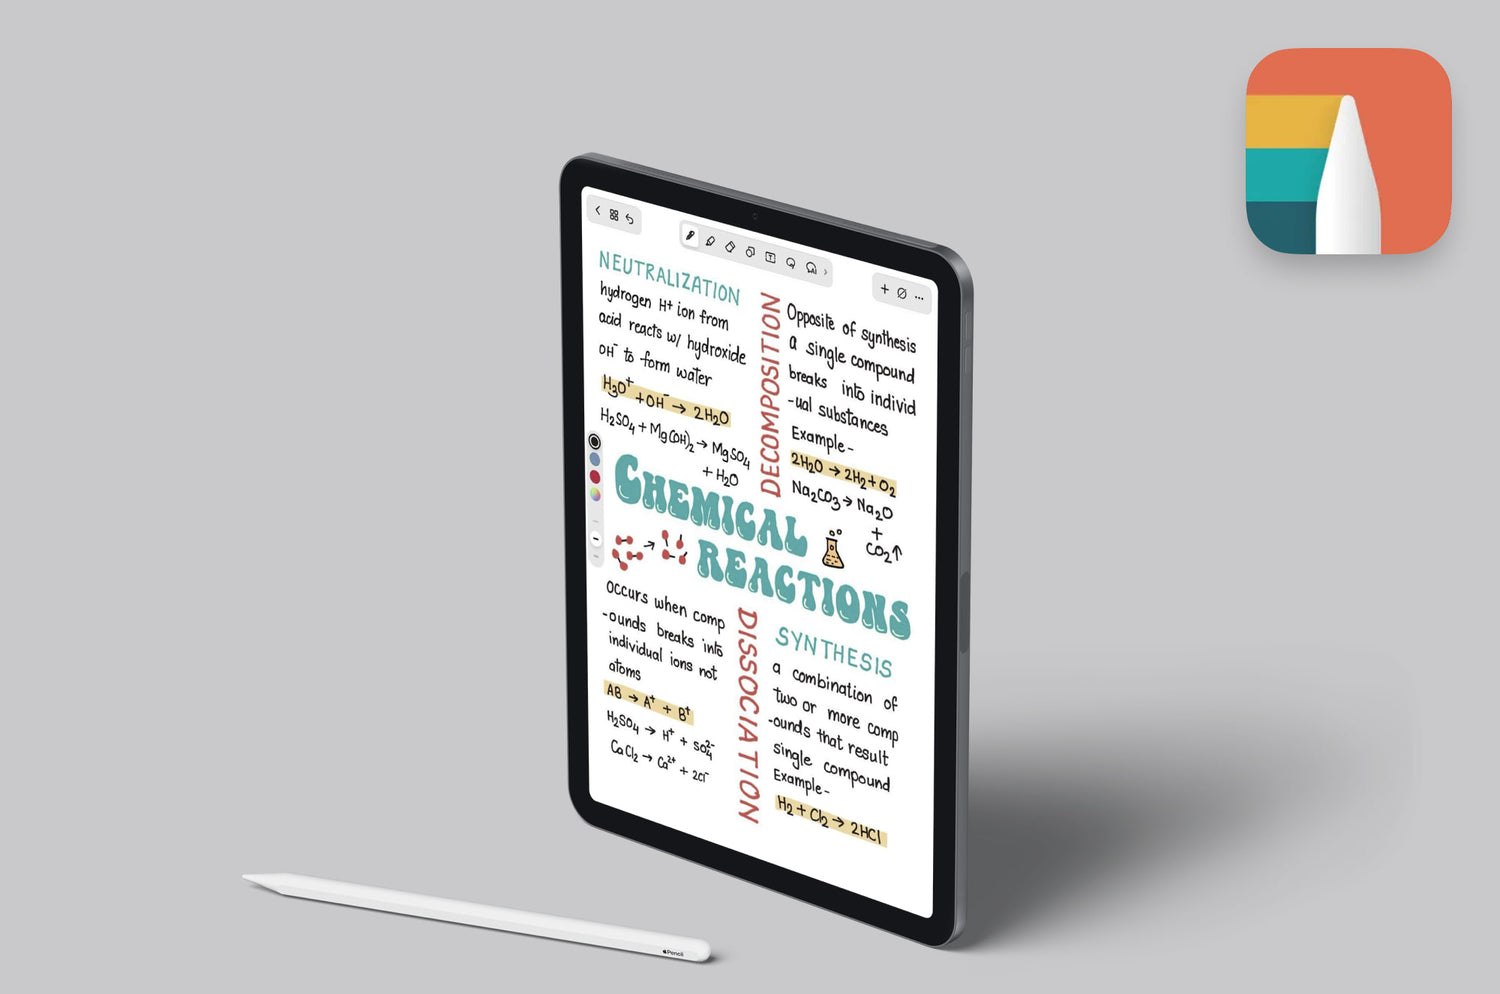
#caption#Image: Noteshelf / Deniz Kurtoglu / Paperlike
#alt#An iPad filled with handwritten notes about chemical reactions with a screen protector on it and an Apple Pencil floating above it.
Final thoughts
Noteshelf has a lot of really great features, making it a contender against bigger apps like Notability and Goodnotes.
With the new UI and feature upgrades added to Noteshelf 3, it has almost everything these big-name apps have, along with a few features that are completely unique.
While its audio recording doesn’t have synced playback (one of our favorite features available in these other apps), Noteshelf 3 has plenty of other features to help make up for it.
Like Goodnotes 6, Noteshelf has added AI assistance, which is a great new feature that we believe all apps will adopt at some point in the future. Beyond that, Noteshelf has just as much, if not more, customization options than other notetaking apps. The ability to pull photos from Unsplash for covers is just one of the ways you can really personalize your notes.
And, while other apps may let you add links to websites, Noteshelf 3 has a built-in web clipper that lets you bring this content directly into your notebook.
One of the biggest advantages that Noteshelf has over other notetaking apps is that it works on all platforms, including Android and Windows. Notability and many of the other popular apps are only compatible with Apple devices, which makes Noteshelf a good option for those who want to take notes and access them everywhere.
Bottom line: Noteshelf is worth a try.
Although Noteshelf is one of the smaller digital notetaking apps, recently added features and upgrades have made it comparable to the major players in this area. Plus, Noteshelf has a YouTube channel and a blog with tons of support and news that’ll help you make the most out of the app.
If you love the UI and need to use something that works on Android, Windows, iOS, watchOS, and macOS, Noteshelf may be a great fit!
You can pick up Noteshelf 3 from the Apple App Store, the Google Play Store, and the Microsoft Store.
You can also check out some of our other notetaking app recommendations to see if other apps are better suited to your taste.

#alt#An image of the word “F.A.Q.” written on a piece of lined notebook paper.
FAQ
Is Noteshelf free?
Yes. Noteshelf offers a free plan with a limited number of notebooks (Apple devices only). However, that may not be enough if you plan to take a lot of notes. Fortunately, the premium version is available for a one-time, low-cost purchase, which varies by platform.
If you want to give it a try, you can download it on the Apple App Store, or purchase it at the Google Play Store or the Microsoft Store.
Can you use Noteshelf on PC?
Yes! As of November 2022, Noteshelf is now available for Windows.
However, you can’t sync or even import your notes from any other platform to your PC, so it’s a standalone product.
Is Noteshelf a good app?
There are a lot of great things to say about Noteshelf. Whether you’re using it on an iPad Air or iPad Pro, the tools are more than enough to meet your needs.
While it’s still lacking some of the key features we love, like syncing recorded audio to text as you write, the ability to resize text without blurring, and being able to easily move notes around, overall, it’s still a great app for those who want to take handwritten notes.
Our review has covered the app in detail, so you should be able to decide if the advanced customization, customizable toolbar, and other great features are enough to make it worth a try.
What other hardware do I need in order to use Noteshelf?
With Noteshelf now available on Windows, you can use it on your PC, Mac, Android device, iPhone, or iPad.
However, keep in mind that you can only sync notes across devices in the same ecosystem (Android to Android or Apple to Apple). Currently, you can’t send notes from your Android devices to your Apple computer.
If you’re using an iPad or Android tablet, a stylus like the Apple Pencil or Adonit Pro is great for handwritten notes.
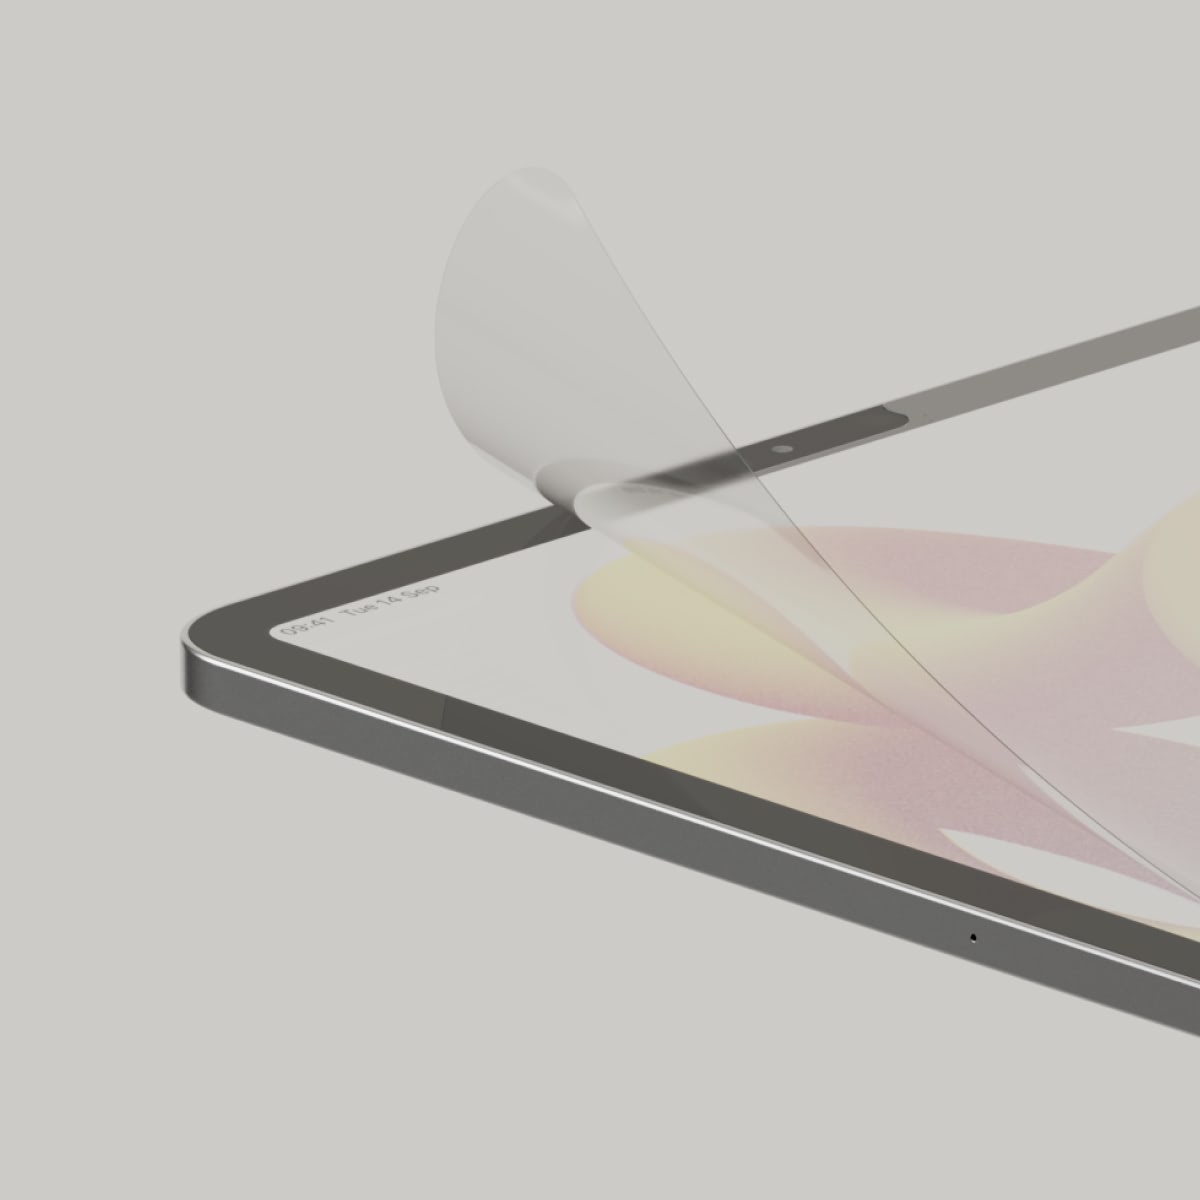
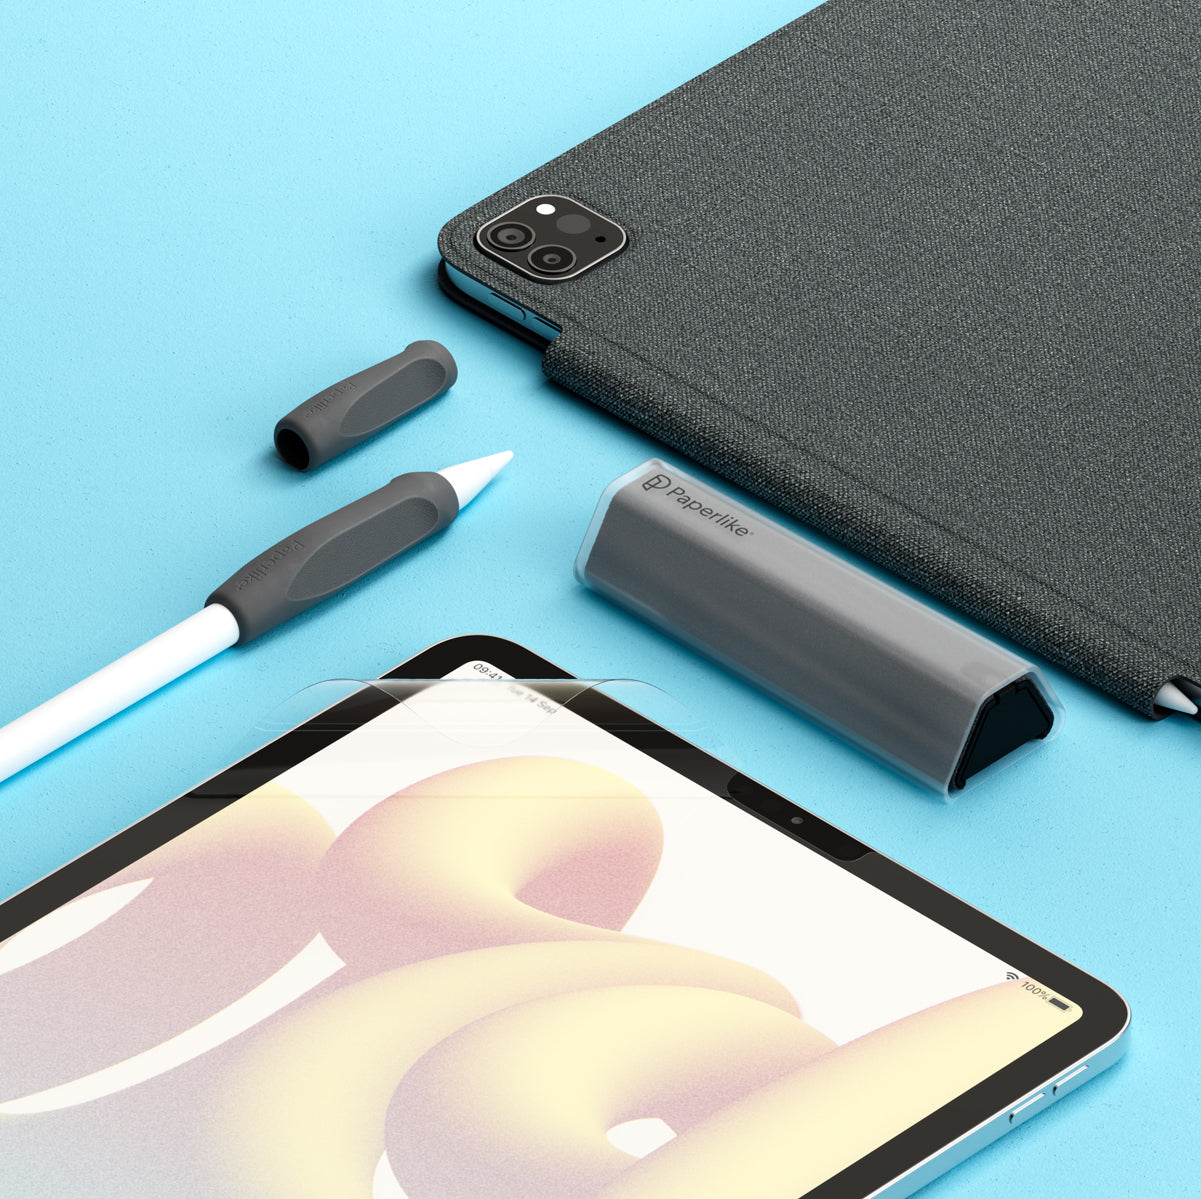
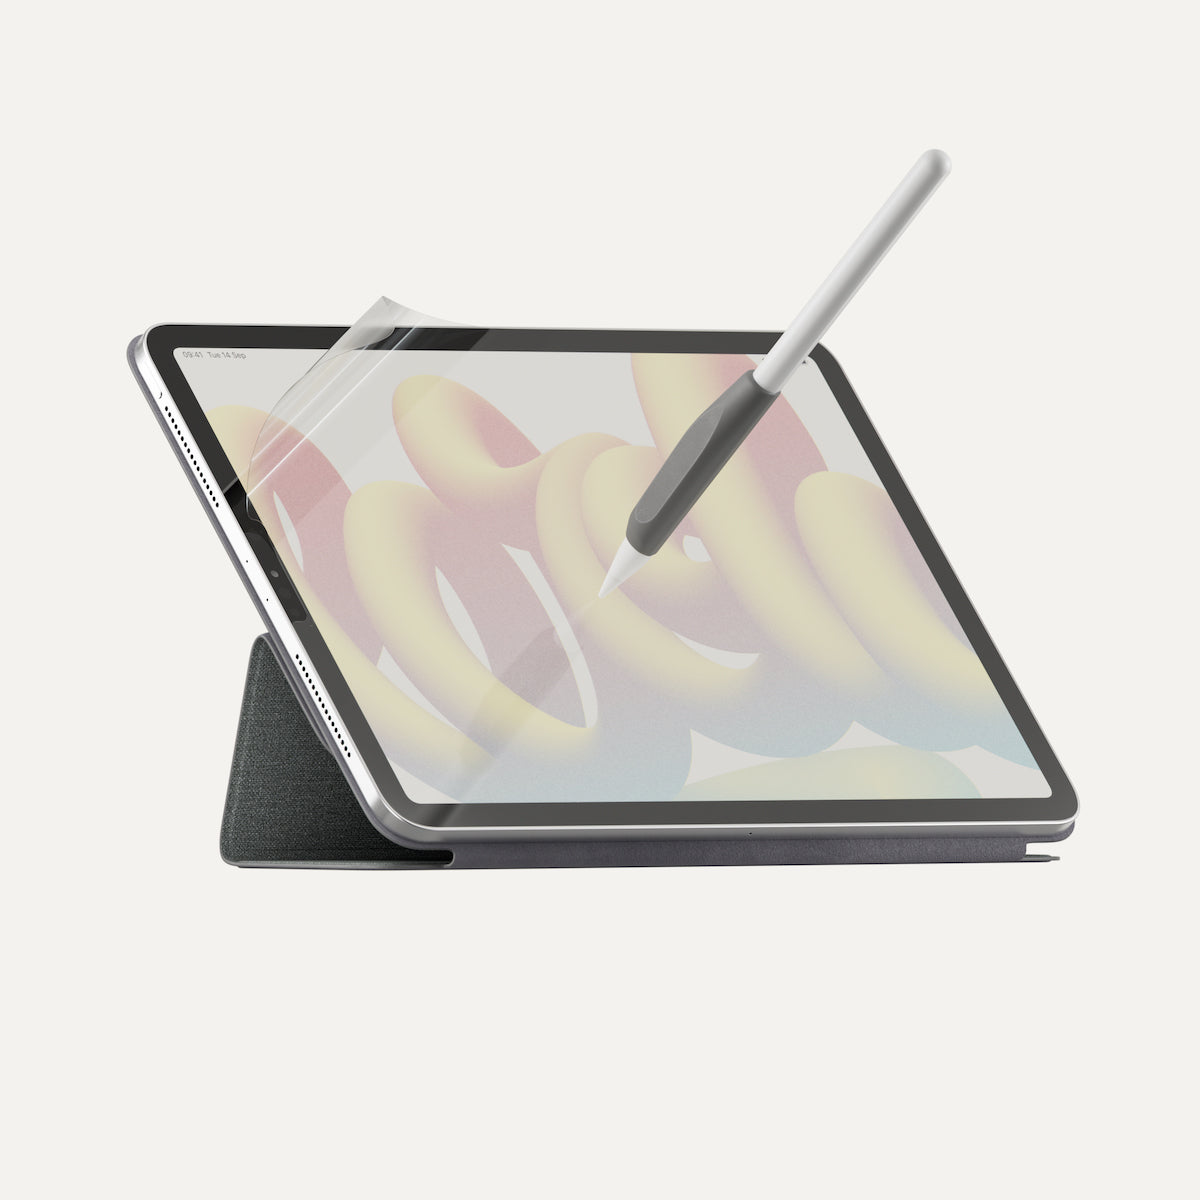
If you hate trying to write on a slippery glass surface, our Screen Protector for the iPad makes it feel like you’re writing on a piece of paper.
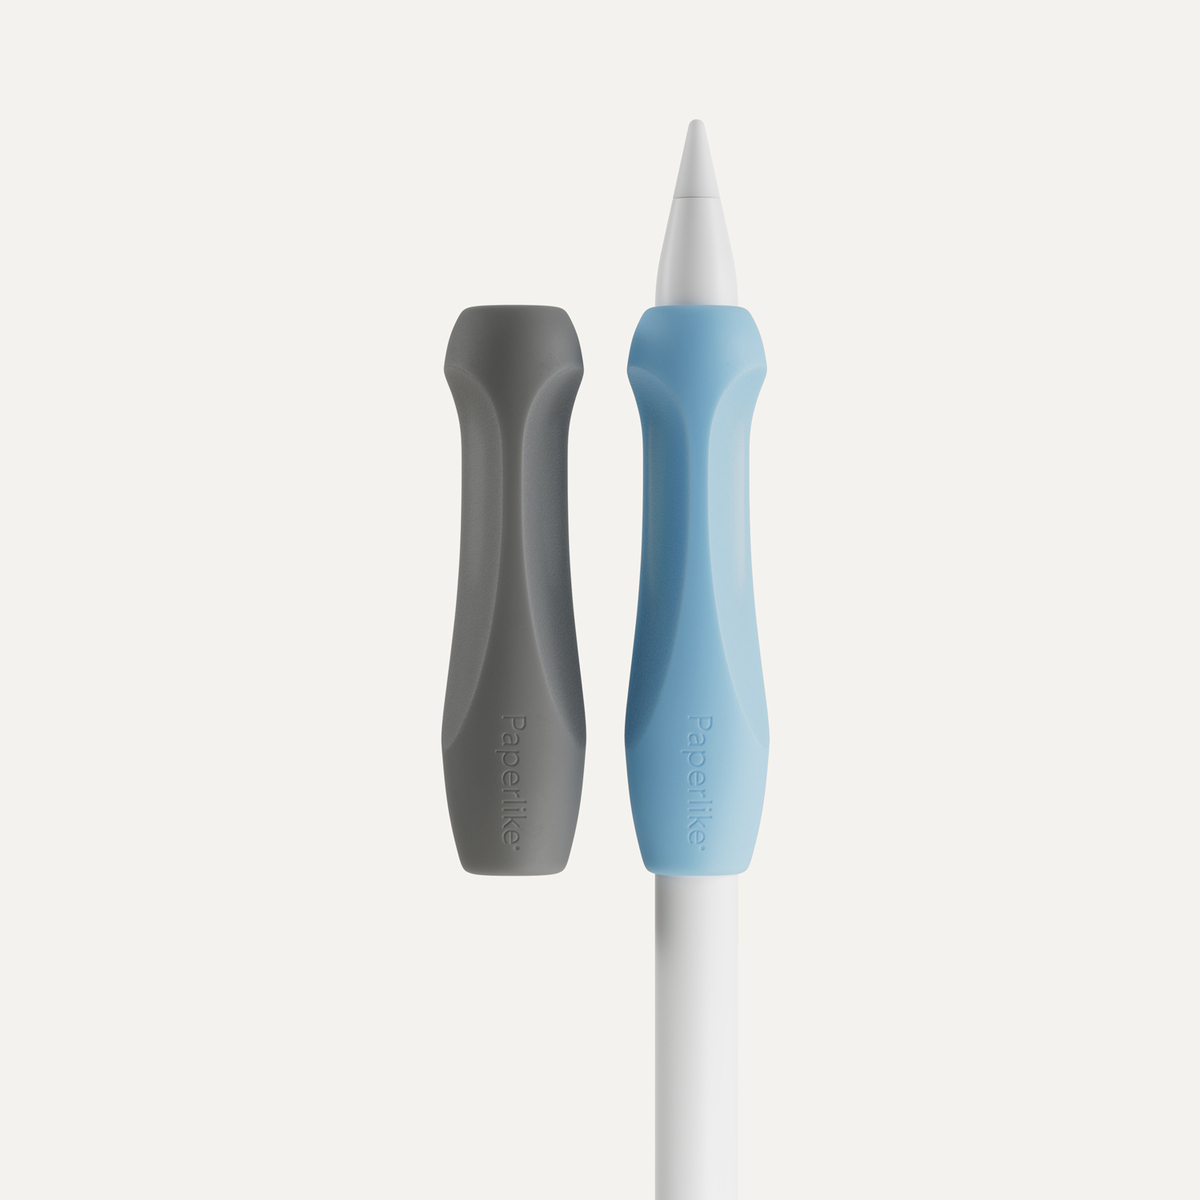
Suffer from hand cramps? Our Pencil Grips can help. They’re designed to reduce cramping and fatigue when you’re writing.

#alt#An image of an iPad covered by a screen protector from Paperlike. An Apple Pencil with a Paperlike Pencil Grip is attached magnetically to the side of the device.
Improve your notes with Paperlike!
No matter what app you use to take notes on your iPad, don’t forget that you can drastically improve your experience by using a Paperlike!
Our Screen Protector transforms the iPad's slick, glass surface into something that feels just like real paper.
It’s a must for notetakers, artists, and creative professionals who want to use their iPads more effectively in class and on the job.